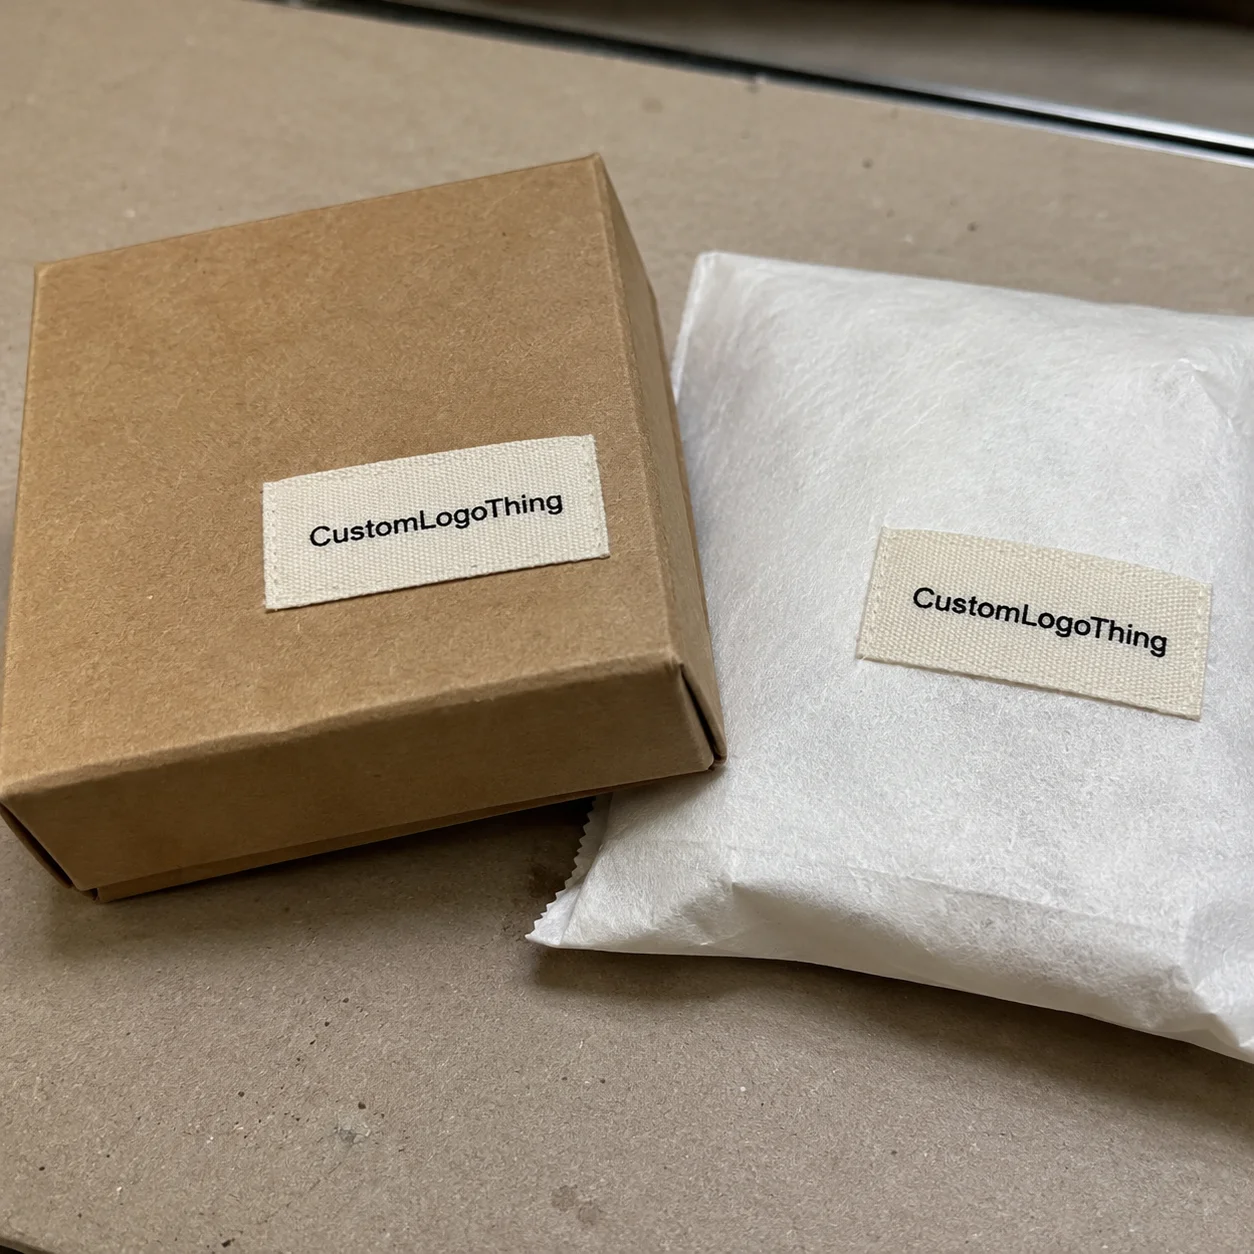
A tiny fabric label can make a plain pouch, hoodie sleeve, candle wrap, or sample kit feel finished. Funny how the smallest branded piece often does the most visible work. Fabric Stickers Custom projects are adhesive-backed textile labels used for logos, care notes, QR codes, size markers, campaign graphics, decorative branding, and the quiet product details That Make Packaging look intentional instead of improvised.
What Fabric Stickers Custom Orders Are Really For
Fabric stickers sit in a useful middle ground. They are softer than paper stickers, warmer than vinyl decals, faster than sew-in woven labels, and easier to apply than embroidered patches. A good one can add texture to boutique bags, hats, uniforms, event kits, subscription boxes, handmade goods, gifting sets, and apparel packaging without asking your packing team to sew anything. That matters when 500 launch boxes have to be finished before a carrier pickup.
The construction is simple on paper: a textile face stock, usually satin, cotton, polyester, felt, twill, or a woven-look fabric, gets printed or decorated, backed with adhesive, then supplied as individual pieces, sheets, or rolls. The finished label feels more tactile than a standard sticker and more premium on craft products, fabric-forward brands, and retail packaging where glossy vinyl would look a little too “laptop sticker.”
Still, fabric stickers are not magic. Adhesive strength depends on the surface, fabric texture, coating, washing, heat, pressure, humidity, storage, and how the label is applied. If someone promises one adhesive that works perfectly on everything, congratulations, they are selling fairy dust.
Good uses include temporary branding, limited-run package labels, sample kits, influencer mailers, size callouts, event swag, handmade product tags, and decorative accents on Custom Labels & Tags. They can sometimes replace sewn labels or heat transfers. Sometimes they cannot. The surface gets a vote.
Buyer rule: treat a fabric sticker like a small branded component, not a random add-on. Specify the material, adhesive, surface, size, artwork, and handling conditions before asking for a price.
How Soft Fabric Labels Work on Real Products
Most soft fabric labels have four parts: a printable or woven-look fabric face, pressure-sensitive adhesive, a release liner, and, in some cases, a protective finish. The label is then die-cut or kiss-cut into shape. Die-cut pieces are cut through the label and backing. Kiss-cut pieces stay on a sheet or roll, which is usually faster for packing stations applying hundreds per hour.
Pressure-sensitive adhesive bonds through pressure. Not stitching. Not embroidery. Not permanent lamination. You remove the liner, place the sticker, press firmly, and give the adhesive time to flow into the surface. For many materials, that bond improves over the first 24 hours. Yes, waiting is annoying. So is peeling inventory.
Surface compatibility is the real test. Smooth cotton, polyester blends, coated paperboard, kraft boxes, hang tags, canvas, plastic bags, rigid gift boxes, and mailers all behave differently. Lint, oils, silicone coatings, waterproof finishes, loose fibers, and heavy texture can reduce grip. A label that behaves beautifully on a matte paperboard sleeve may lift on fleece or ribbed knit.
Adhesive options usually fall into four practical buckets:
- Temporary adhesive: useful for short promotions, light handling, and easy removal.
- Removable adhesive: cleaner peel, lower residue risk, and usually less bond strength on rough materials.
- Semi-permanent adhesive: a balanced choice for packaging, hang tags, and some textile applications.
- Permanent adhesive: stronger bond, less forgiving placement, and higher risk of residue or surface damage on removal.
Buyers often ask for the strongest adhesive as if that solves everything. Cute. The better question is, “What surface is this going on, how long must it stay there, and what happens if someone removes it?” That answer changes the construction.
Printing choices matter too. Digital printing works well for full-color logos, gradients, short runs, and low-to-mid volume orders. Screen printing can be better for bold spot colors and heavier ink coverage. Woven-look or embroidered-style effects fit apparel branding. Metallic effects, specialty coatings, and textured finishes can lift a campaign, but they add cost and testing time.
Shape affects performance. Circles, rectangles, ovals, and rounded corners run cleaner and cost less. Sharp points, tiny tabs, lace-like edges, and skinny extensions can peel faster because there is less adhesive area holding them down. Pretty is nice. Functional is nicer.
Before approving bulk, apply samples to the actual product surface. Press for 5 to 10 seconds with firm thumb pressure or a roller. Wait 24 hours. Rub the edge. Flex the item. Test heat, humidity, packing friction, or warehouse conditions if those are part of the real use case. For shipping performance, brands using labeled kits or bundles may also want to understand distribution testing through standards from ISTA.
Material, Adhesive, Size, and Artwork Specs That Matter
Material choice drives both look and performance. Satin feels smooth and upscale, especially on beauty, gifting, and Premium Retail Packaging. Cotton reads natural, handmade, and craft-friendly. Polyester is durable, versatile, and usually more predictable for printing. Felt feels playful or handmade, but it can be bulky. Twill gives that structured apparel-label look without forcing a sewn application.
For many fabric stickers custom orders, adhesive is the most underrated spec. A label for a kraft mailer does not need the same adhesive as one going onto a hoodie, canvas tote, or textured pouch. Surface beats wishful thinking. Every time.
Size should follow the artwork, not ego. Small brand tabs often land around 0.75 to 1.5 inches wide. Standard logo labels usually sit around 2 to 3 inches. Larger decorative stickers may run 3 to 5 inches or more. Bigger labels cost more because they use more material, but they also provide room for legible text, clean logos, and scannable QR codes.
Artwork files matter more than buyers want them to. Vector files such as AI, EPS, or clean PDF are best for logos and cut lines. High-resolution raster files can work if they are 300 dpi at final print size. Tiny text under roughly 5 to 6 points can fill in on textured fabric. Hairline strokes, detailed crests, low-contrast colors, and miniature QR codes are common troublemakers.
Color behaves differently on fabric than on glossy vinyl or coated paper. Textile faces absorb and scatter light, so colors often look softer and less shiny. Exact Pantone matching may require special ink setup, a physical sample, or a different print method. If brand color is non-negotiable, say that before proofing. Not after 10,000 labels are packed. Funny how that works.
| Material | Typical Look | Best Uses | Watchouts |
|---|---|---|---|
| Satin | Smooth, soft sheen | Gift sets, beauty packaging, premium labels | Can show scuffs; color may shift with sheen |
| Cotton | Natural, matte, handmade | Craft brands, boutique bags, organic-style packaging | Texture can soften fine detail |
| Polyester | Clean, durable, versatile | General product packaging, event kits, apparel packs | May feel less “natural” than cotton |
| Felt | Playful, tactile, thicker | Kids products, craft kits, seasonal promotions | Bulkier; not ideal for tiny typography |
| Twill | Structured apparel-label feel | Hats, uniforms, apparel bundles, brand tabs | Weave texture can affect small graphics |
Format affects workflow as much as appearance. Individual cut stickers are easy for gifting, resale, and kitting. Kiss-cut sheets work well for hand application at low-to-mid volume. Rolls are better for higher-volume packing stations, especially if labels are being dispensed near Custom Printed Boxes, mailers, or retail inserts.
Durability depends on abrasion, moisture, sunlight, folding, edge lifting, and washing. Decide early whether the label is decorative packaging, short-term apparel branding, or a mark expected to survive repeated handling. The construction should follow that answer.
Cost, Pricing, MOQ, and Unit Cost Tradeoffs
Pricing for custom fabric stickers usually depends on material, size, print method, adhesive, shape, quantity, finishing, packing format, proofing, and shipping. There is no universal price list because custom work has variables. Annoying, yes. Also true.
As a practical range, simple small fabric stickers can land from a few cents to under $0.60 each at higher quantities, depending on size and construction. Small runs, specialty fabrics, premium adhesives, complex die-cuts, metallic details, or individual packing can push unit costs closer to $0.75 to $2.50 or more. Ultra-small test orders often look expensive per piece because setup time does not shrink just because the order is tiny.
Minimum order quantities exist because setup, material loading, artwork checking, cutting, proofing, and quality control take time whether the order is 100 pieces or 10,000 pieces. A supplier still has to prep files, line up material, calibrate equipment, cut, sort, and pack. The machine does not care that your brand is “just testing.” Rude machine.
The tradeoff is simple. Low MOQ protects cash and reduces risk. Higher MOQ lowers unit cost but requires better forecasting, more storage discipline, and confidence in the design. If your packaging design might change next month, do not order a year of inventory just to save three cents.
| Order Choice | Typical Benefit | Typical Risk | Smart Buyer Move |
|---|---|---|---|
| Low MOQ test run | Lower cash risk and faster design learning | Higher unit cost | Use for new surfaces, launches, or uncertain artwork |
| Mid-volume order | Better unit price with manageable storage | Requires more accurate demand planning | Ask for 2 to 3 quantity breaks before deciding |
| Large bulk run | Lowest unit cost and fewer reorders | Design changes can create dead stock | Use only after adhesive and artwork are proven |
| Complex custom shape | More distinctive package branding | Higher waste, slower cutting, edge-lift risk | Round sharp corners and avoid tiny extensions |
Ask whether setup fees, die fees, sample fees, rush fees, and shipping are included or separate. Quotes sometimes grow extra limbs after the first email. A clean quote should show the quantity, size, material, adhesive, print method, format, lead time, and freight terms.
To reduce cost intelligently, choose standard shapes, avoid oversized labels, simplify color if the design allows it, order efficient quantities, and provide clean artwork from the start. Sheets or rolls can reduce handling cost for packing teams. Individual cuts look nicer for resale or gift kits, but they can cost more to sort and pack.
Do not buy only by cheapest unit price. Poor adhesive, fuzzy printing, off-center cutting, or late delivery can make a cheap sticker expensive fast, especially if it delays a retail launch or damages finished goods. Cheap is a feature only if the label actually works.
Process and Timeline From Quote to Delivery
A normal custom fabric label project follows a clear path: inquiry, spec review, artwork check, quote, proof, sample if needed, approval, production, quality control, packing, and shipping. Skip steps and you usually pay later. Not always in money. Sometimes in panic.
Send useful details at the quote stage. Quantity. Size. Shape. Material preference. Adhesive goal. Product surface. Artwork file. Color needs. Packing format. Deadline. Delivery address. Durability or compliance requirements, if any. If the label touches consumer packaging, retail displays, or shipment kits, explain the real environment, not just the pretty mockup.
Digital proofs confirm size, layout, colors, cut line, bleed, safe area, and sheet or roll format. They are not always exact physical color or texture matches. A PDF on a backlit screen cannot show cotton texture, satin sheen, adhesive thickness, or edge behavior. For high-risk launches, request a physical sample.
Simple repeat orders can move faster because the supplier already has the files, specs, and production notes. New custom cloth sticker projects often need extra time for artwork cleanup, material sourcing, sampling, adhesive testing, proof revisions, and approval delays. A realistic planning window might be 5 to 10 business days for proofing and sampling, then 7 to 18 business days for production after approval, plus shipping. Rush work may be possible, but it removes breathing room. Brilliant, until it is not.
Projects slow down for boring reasons: missing vector art, vague adhesive requirements, changing sizes after proofing, untested product surfaces, custom dies, special materials, slow approvals, and freight constraints. Build a buffer for retail launches, event kits, influencer mailers, or seasonal branded packaging. Plan backward from the in-hand date, not the ship date. Carriers do not care about your launch calendar. Rude, but consistent.
A practical approval rule: do not approve bulk production until size, adhesive, surface compatibility, and artwork are confirmed. Fixing a PDF is cheap. Fixing 20,000 wrong labels is not.
If sustainability claims matter, ask about material sourcing, liner waste, and packaging documentation. For paper-based companion pieces like hang tags or backing cards, FSC-certified options may be relevant; the Forest Stewardship Council explains certification basics clearly. Do not make eco claims unless your supplier can support them. Vague green language gets brands into trouble.
Common Ordering Mistakes That Cause Peeling, Waste, or Delays
The first mistake is assuming fabric stickers stick to every fabric equally. Rough canvas, fleece, ribbed knits, oily textiles, waterproof coatings, and silicone-treated surfaces can all fight adhesion. Smooth packaging surfaces are usually easier than fuzzy or flexible apparel surfaces, but even coated paperboard varies by finish.
The second mistake is making the label too small for the artwork. Tiny QR codes, hairline fonts, detailed crests, and multi-line taglines may look great at 400% zoom and terrible at one inch wide. Print at actual size before approving. If you cannot read it on paper at final size, fabric will not magically improve it.
The third mistake is choosing complicated shapes without thinking about application. Sharp corners, thin extensions, and delicate cutouts slow down hand placement and create more edges that can lift. Rounded corners are boring in the best possible way. They work.
The fourth mistake is skipping samples for high-volume or high-visibility orders. If the sticker is going on apparel, premium product packaging, or anything customers will touch repeatedly, test first. Hope is not a quality-control method.
The fifth mistake is ignoring application conditions. Dust, lint, moisture, cold rooms, humid warehouses, and rushed packing staff can reduce bond strength. Application pressure matters too. A sticker barely tapped onto a textured pouch will not perform like one pressed evenly for several seconds.
The sixth mistake is approving color without understanding fabric texture. Matte textile surfaces can make colors look softer than glossy labels. That can be beautiful. It can also make a bright red logo look muted if nobody expected it.
The seventh mistake is ordering the exact quantity needed. Add overage for application errors, quality sorting, event extras, sales surprises, or replacement kits. A 3 to 10 percent buffer is often cheaper than reordering in panic mode, especially if freight or setup fees apply.
- For 500 pieces: add 25 to 50 extras if application is manual or the event count may change.
- For 2,000 pieces: add 100 to 150 extras for packing damage, samples, and internal use.
- For 10,000 pieces: confirm storage conditions, roll direction, and lot labeling before production.
Next Steps Before You Request a Fabric Sticker Quote
Before requesting pricing, gather the details that help a manufacturer quote accurately and recommend the right construction. “I need a fabric sticker with my logo” is not a spec. It is the start of a guessing contest, and nobody wins those except the reprint department.
Create a simple spec sheet with the basics: size, shape, quantity, material preference, adhesive goal, product surface, artwork file, color requirements, packing format, and in-hand deadline. If the sticker is part of a larger packaging system, include the box, pouch, tag, sleeve, or insert it will touch. Brands ordering across Custom Packaging Products should keep label specs tied to the full kit, not floating around in a separate email thread.
Prepare product context. Send photos of the application area. Describe whether the surface is cotton, polyester, kraft, coated board, plastic, canvas, felt, or something treated for water resistance. Note whether the item bends, gets handled, goes outdoors, gets washed, sits in hot storage, or ships through cold weather. Adhesive selection gets much easier when the supplier sees reality instead of a mood board.
Decide your top priority. Lowest unit cost, premium feel, removable application, strong bond, fast turnaround, retail-ready presentation, and exact brand color are not always best friends. You can usually optimize for two or three. Trying to maximize all of them without paying for testing is how projects get weird.
Ask for the right proof or sample level. A digital proof is fine for straightforward packaging labels on proven materials. A physical sample is smarter for new fabric, uncertain surfaces, color-sensitive branding, or labels applied to garments. A production sample makes sense for expensive or high-volume programs where one wrong assumption could become thousands of wrong pieces.
Use a final approval checklist before giving the green light:
- Confirm dimensions, shape, cut line, bleed, and safe area.
- Check spelling, logo placement, QR code function, and text size.
- Verify material, adhesive type, finish, and color expectations.
- Confirm quantity, overage, sheet or roll format, and packing method.
- Check delivery address, in-hand deadline, freight method, and approval date.
Fabric stickers custom projects go smoothly when buyers treat them like small branded products, not afterthoughts. Define the surface, test the adhesive, approve clean art, and order with enough lead time to avoid expensive little surprises.
Fabric Sticker FAQs
Are custom fabric stickers washable?
Some can handle light moisture or limited washing, but wash durability depends on the fabric face, adhesive, application surface, water temperature, detergent, and agitation. For apparel that will be laundered repeatedly, ask for wash-tested materials or consider woven labels, heat transfers, or sewn patches instead. Always test on the actual garment before ordering bulk quantities.
What is the best adhesive for fabric logo stickers?
The best adhesive depends on the surface. Smooth cotton, polyester, canvas, coated packaging, and textured knits all behave differently. Permanent adhesive is stronger but less forgiving, while removable adhesive is cleaner but may lift sooner. Send the supplier your product surface details and request a sample if adhesion is critical.
How much do fabric stickers custom orders usually cost?
Pricing varies by size, material, adhesive, print method, quantity, shape, finishing, and packing format. Higher quantities usually lower unit cost, while small runs, specialty fabrics, complex cuts, and rush production raise it. Ask for pricing at two or three quantity breaks so you can see the real cost tradeoff.
Can fabric stickers use full-color artwork or gradients?
Yes, many fabric sticker options support full-color digital printing, including logos, gradients, illustrations, and small photographic details. Fabric texture can soften fine detail, so small text, thin lines, and low-contrast colors need extra review. Vector artwork is preferred, and a physical sample is smart for color-sensitive package branding.
What lead time should I plan for custom cloth stickers?
Simple repeat orders can be faster, but new custom cloth sticker projects need time for artwork review, proofing, material selection, production, quality control, and shipping. Build extra time for samples, adhesive testing, custom shapes, special materials, and international freight. Plan from your required in-hand date, not the date you hope production starts.


