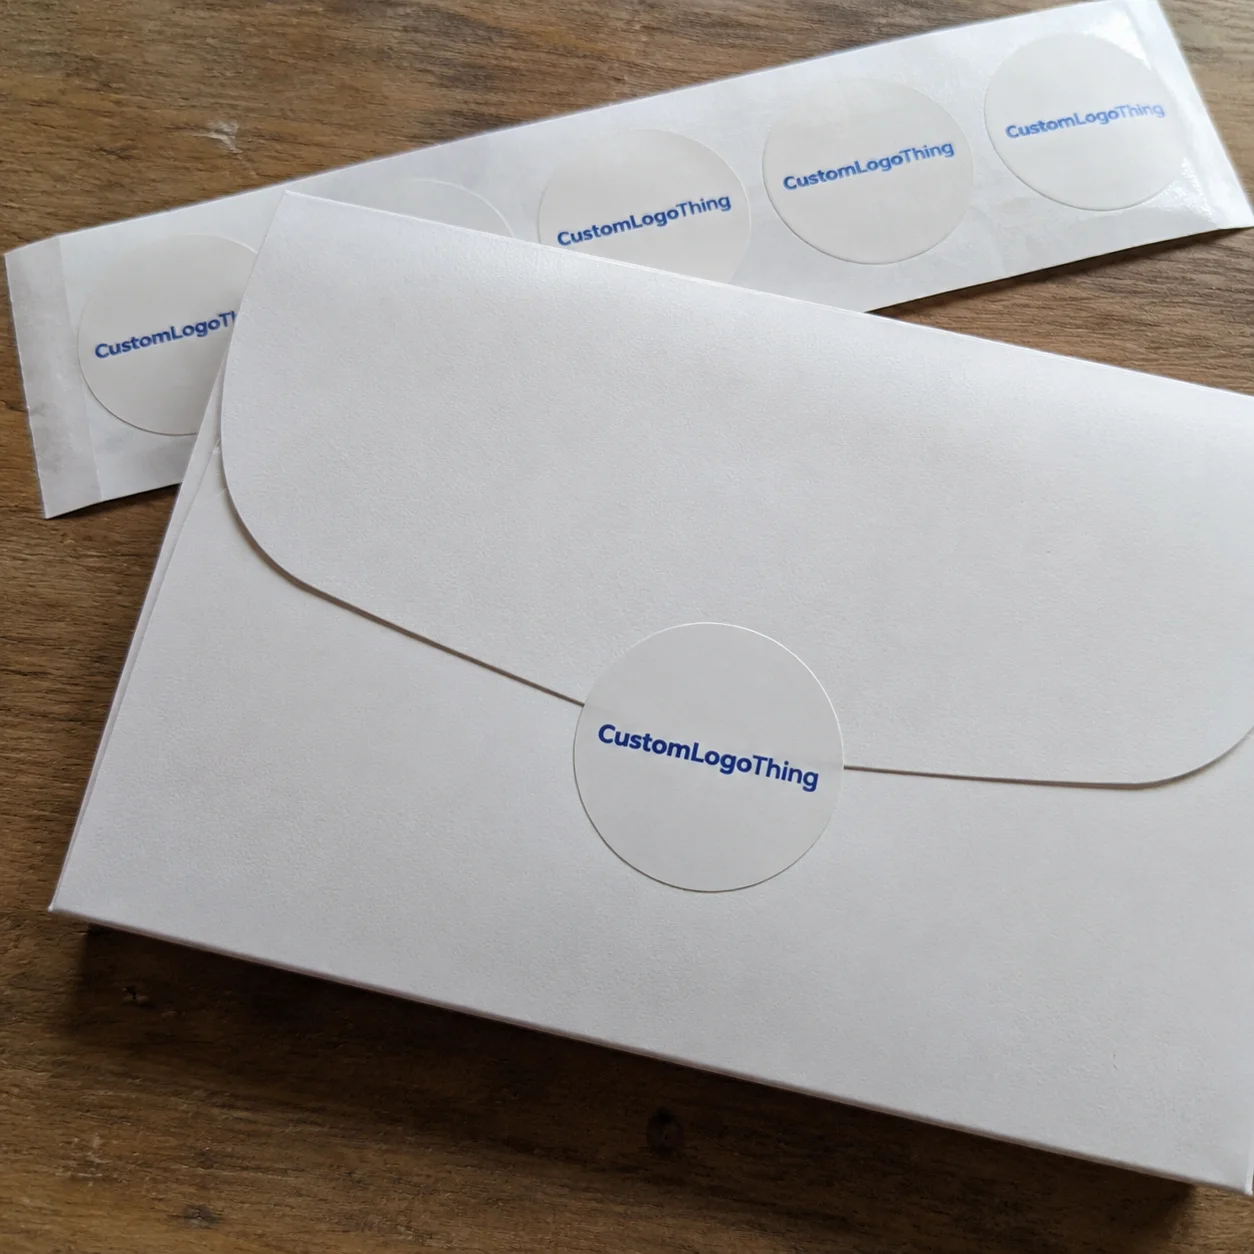
Buyer Fit Snapshot
| Best fit | Freight Packaging Comparison projects where brand print, material claims, artwork control, MOQ, and repeat-order consistency need to be specified before quoting. |
|---|---|
| Quote inputs | Share finished size, material target, print colors, finish, packing count, annual reorder estimate, ship-to region, and any compliance wording. |
| Proofing check | Approve dieline scale, logo placement, barcode or warning zones, color tolerance, closure strength, and carton packing before bulk production. |
| Main risk | Vague material claims, crowded artwork, missing packing details, or unclear freight terms can make a low unit price expensive after revisions. |
Fast answer: Freight Packaging Comparison: Choose the Right Method should be specified like a repeatable production item. The safest quote records material, print method, finish, artwork proof, packing count, and reorder notes in one written spec.
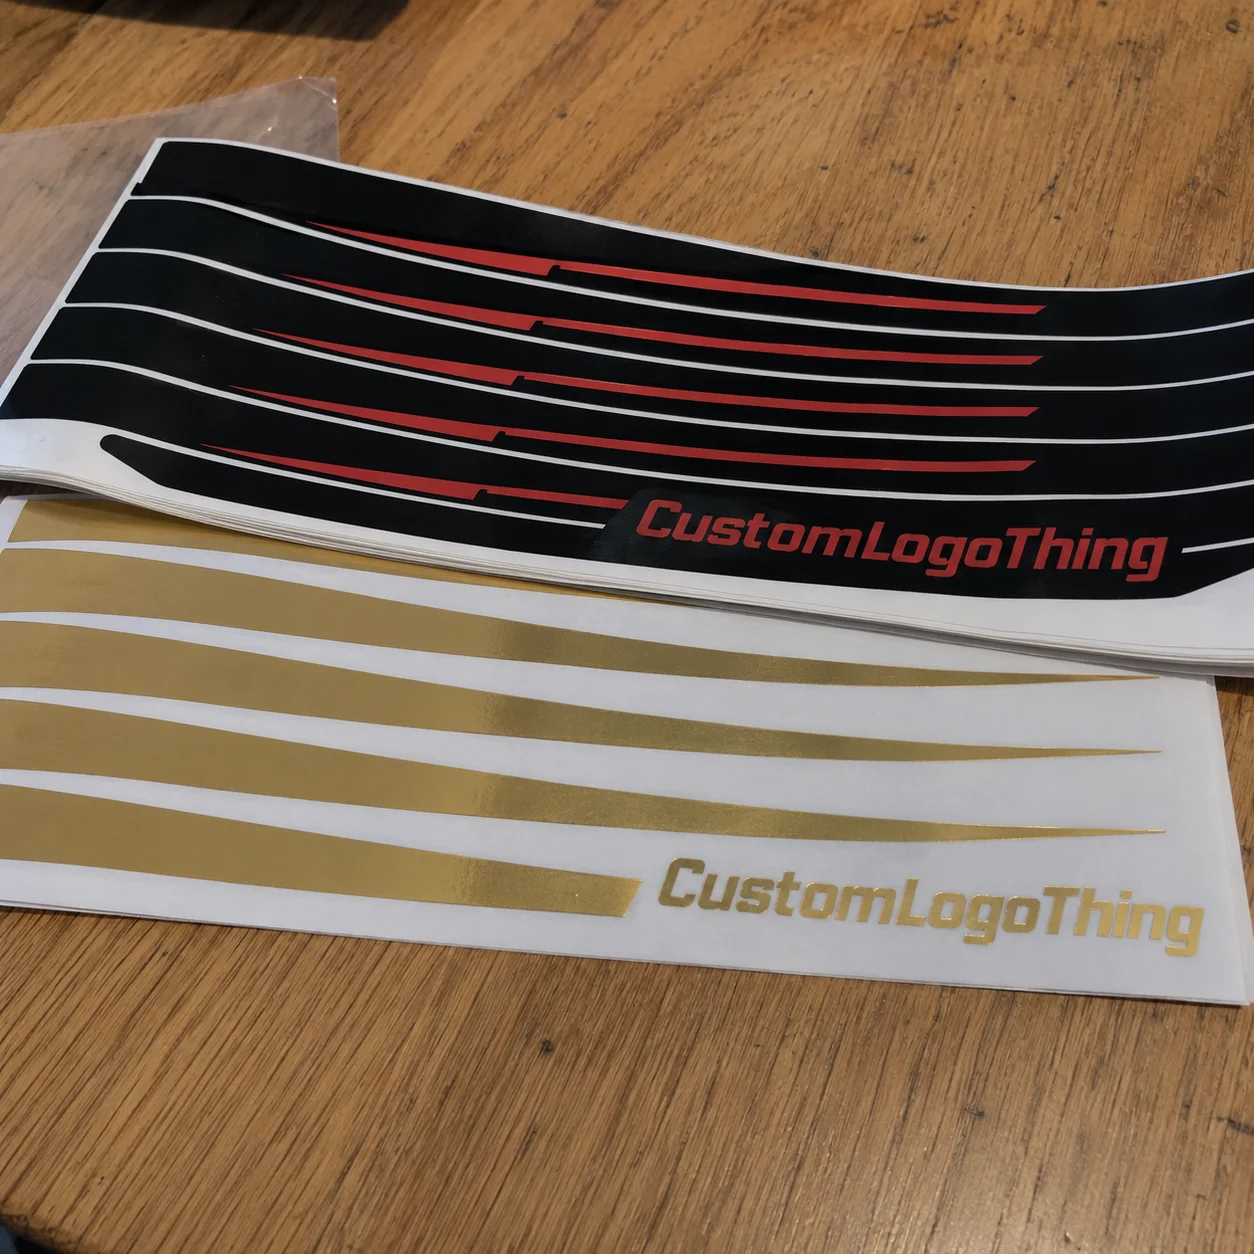
Production checks before approval
Compare the actual filled-product size with the drawing, then confirm tolerance on folds, seals, hang holes, label areas, and retail display edges. Reserve space for logos, QR codes, warning copy, and material claims before decorative graphics fill the panel.
Quote comparison points
Review material grade, print process, finish, sampling route, tooling charges, carton quantity, and freight assumptions side by side. A quote is only useful when the supplier can repeat the same color, closure quality, and packing count on the next order.
Freight packaging comparison sounds tidy on a spreadsheet until the shipment hits the dock and the “cheap” option starts collecting damage claims, rework, and surprise freight charges. The real question is not which package is cheapest at the dock; it is which one protects the product, fits the lane, and keeps shipped cost from quietly creeping upward.
That is where a freight packaging comparison earns its keep. The work lives in the details: board grade, cushion height, pallet patterns, crate geometry, wrap containment, and how all of that behaves once a load leaves a clean warehouse floor and starts bouncing through real transit. A decent-looking box or crate is not enough. The package has to survive the actual trip, not the sanitized version shown in a presentation.
For brands that care about branded packaging, package branding, and how a shipment looks when it reaches a customer or retailer, the stakes rise fast. Dented corners, crushed graphics, and sloppy wrap can make premium product packaging feel ordinary. That matters for retail packaging too, especially when the outer shipper is part of the customer experience rather than a throwaway shell. I have seen a polished print job lose half its impact because the carton arrived scuffed and bowed. That is a hard lesson, but a useful one.
If you are comparing Custom Printed Boxes, corrugated trays, pallets, or engineered crates, the right answer usually comes from the full picture, not a single line item. A freight packaging comparison should balance protection, freight density, labor, dimensional weight, and lead time so the choice fits the product and the lane, not just the quote sheet. If it feels like a lot to juggle, that is because it is. If you need a starting point for sourcing and format options, Custom Packaging Products can help frame the comparison around real packaging structures instead of guesses.
Freight Packaging Comparison: What Changes First

The first shift in a freight packaging comparison is usually the economics. A package that looks inexpensive per unit can turn costly the moment dimensional weight, pallet damage, or repacking enters the picture. I have watched a difference of only a few dollars in material cost grow into a much larger gap once the shipment was counted by pallet position, freight class, and labor hours. The math changes fast, kinda annoyingly fast.
A freight packaging comparison is not only a materials exercise. It is a side-by-side review of the whole shipment chain: how the unit is packed, how many units fit on a pallet, how the pallet stacks, how much void space remains, and how much risk shows up during handling. The best method is rarely the thickest board or the heaviest crate. It is the one that protects the product without wasting cube or creating needless labor.
Think about two shipments moving the same product. One uses a loose, oversized shipper that gives the carrier more air than product. The other uses tighter Custom Printed Boxes with proper inserts and a cleaner pallet layout. The first may look acceptable at the box level, but the freight packaging comparison usually exposes the hidden cost: more pallet count, more trailer space, more corner crush, and a weaker unit load profile. The second might cost more on paper, yet ship cheaper once everything is counted honestly.
Shipment profile matters too. A single pallet going to a regional distributor behaves differently from mixed freight moving through a retail network or a fulfillment center. Fragile items, high-value electronics, and products with finished surfaces push the freight packaging comparison in different directions. For a light but bulky item, cube efficiency may matter more than board strength. For dense or brittle goods, protection and edge performance can outweigh a modest freight savings.
Common board specs also matter here. A single-wall carton in the 32 to 44 ECT range often works for lighter freight, while double-wall structures in the 48 to 61 ECT range are commonly used when stacking, moisture, or rough handling becomes a concern. Those are not hard rules, but they are useful reference points when the comparison needs a practical baseline instead of a vague idea.
The cleanest place to begin is blunt: decide whether the goal is lower material spend, lower freight spend, lower damage rate, or some measured combination of the three. A freight packaging comparison should reveal what is worth paying for and what is just extra material. Start there, and the numbers become easier to trust. Skip that step and everyone ends up arguing about the wrong thing.
How Do You Run a Freight Packaging Comparison?
A practical freight packaging comparison starts with product data, not package preferences. Exact dimensions, weight, stacking limits, surface finish, fragility, and special handling rules all shape the result. If a unit has a glossy printed face, a load-bearing edge, or a sensitive component that shifts under vibration, those details belong in the first round of the comparison, not the last. Otherwise the test is built on guesses, and guesses are expensive.
From there, the package is judged under conditions that resemble real shipping. That means stack pressure, vibration, corner crush, moisture exposure, forklift contact, and the chance of a pallet getting nudged by another load. A design that survives a clean bench test can still fail once it is loaded with a little off-center weight and wrapped by a rushed dock team. That is one reason a freight packaging comparison should never rely on appearance alone.
There is also a useful distinction between packaging cost and landed shipping cost. Packaging cost covers the box, tray, cushion, pallet, wrap, tape, labels, and assembly labor. Landed shipping cost adds freight rates, accessorial charges, claims, returns, damage replacement, and sometimes expedited reshipments. A freight packaging comparison that only looks at the packaging quote can miss the larger number by a wide margin.
For fragile or high-value shipments, I like a simple framework that keeps the comparison fair:
- Protection performance - Does the design handle vibration, stacking, and corner impact?
- Freight density - How much cube does each unit consume on the pallet and in the trailer?
- Labor time - How long does assembly, filling, sealing, and palletizing take?
- Supply availability - Can the package be sourced consistently without rushed substitutions?
- Damage risk - What is the likely claim rate if the lane gets rough?
That kind of freight packaging comparison is especially useful when the shipment is irregular or expensive. If a product does not fit a standard assumption, testing becomes part of the process. I would include lab work or a lane trial whenever the freight is fragile, oversized, moisture-sensitive, or likely to be handled by multiple carriers. The current ISTA test library at ISTA is a strong reference point for building that kind of evaluation. It is not magic, and it is not a substitute for experience, but it gives the process a common technical language.
For teams building product packaging programs, this is also where packaging design matters in a practical way. The outer shipper, the insert, the pallet pattern, and the wrap all work together. A freight packaging comparison does not reward clever packaging in one area if the rest of the system is weak. The test is the whole shipment, not the best piece of it. That is why packaging validation belongs in the process early, not as a cleanup step after damage appears.
If the program needs multiple structural options, it often helps to compare them through a packaging supplier that can quote both standard and custom formats. That is where Custom Packaging Products can give the team a broader set of realistic samples, such as corrugated shippers, inserts, tray-and-lid sets, or pallet-ready formats, without changing the evaluation criteria midstream.
Cost and Pricing in Freight Packaging Comparison
Pricing gets clearer once you split it into parts. In a freight packaging comparison, I separate material cost, labor to assemble, storage footprint, and freight charges. That keeps the conversation honest. A package that uses less material but takes twice as long to assemble can lose on total cost before the first pallet ever leaves the dock.
Material cost is only one slice of the picture. Labor can move the numbers quickly, especially in higher-volume programs where every extra step matters. If one option requires folding a special insert, taping an additional seam, or double-wrapping the pallet, the labor difference can outweigh the board savings. In a freight packaging comparison, a few seconds per unit may not sound like much, but at 10,000 units it becomes more than 55 hours of labor. That is not theoretical; it is the kind of math operations teams feel in their bones.
Freight is often the biggest hidden variable. Cube efficiency affects how many pallets fit in a trailer, how much dimensional weight a shipment carries, and whether you end up paying for empty space. If one design adds 2 inches of height across an entire pallet, that may sound minor until it creates an extra pallet position or forces a less efficient trailer load. A freight packaging comparison should measure freight cost per shipped unit, not just box cost per unit.
Hidden costs are where most teams get caught. Damage claims, customer downtime, repacking, receiving delays, and replacement shipments can wipe out any savings from a lower-cost material. A weak package might save $0.40 on the front end and cost $40 to fix later. That is not a rare edge case. It shows up whenever the comparison ignores real handling conditions or assumes that freight moves gently, which it often does not.
To make the numbers easier to compare, I like a simple pricing table that keeps assumptions aligned across options. The ranges below are illustrative, not universal, because board markets, print coverage, and labor rates move around. Still, they show how a freight packaging comparison should be framed.
| Packaging Option | Typical Unit Material Cost | Assembly Time | Freight Impact | Best Fit |
|---|---|---|---|---|
| Single-wall corrugated shipper with basic fill | $0.40-$1.10 | Fast | Lower protection, moderate cube risk | Light, non-fragile freight |
| Double-wall custom printed boxes with inserts | $0.90-$2.80 | Moderate | Better protection, better brand presentation | Retail packaging and controlled freight lanes |
| Engineered palletized shipper or crate | $4.00-$18.00 | Slower | Strong protection, higher weight, often efficient for high-value goods | Fragile, oversized, or high-value freight |
| Reusable container or returnable tote system | $12.00-$60.00 initial investment | Fast after setup | Can reduce waste and claims, but requires return flow | Closed-loop supply chains |
The table also shows why a freight packaging comparison needs consistent assumptions. Ask every supplier to quote the same quantity, lead time, print coverage, board grade, and pallet configuration. A quote for 2,500 units with plain stock board is not comparable to a quote for 10,000 branded cartons with custom inserts. Apples-to-apples discipline matters more than the lowest number on the page.
For fiber-based options, sustainability can matter too. If a buyer wants recyclable board or certified fiber, the sourcing side should be part of the freight packaging comparison rather than an afterthought. The Forest Stewardship Council has useful information on responsible fiber sourcing at FSC. That does not pick the package for you, but it helps narrow the material choices when brand requirements and environmental goals are both in play.
From a buyer's point of view, the smartest freight packaging comparison looks at total cost per shipped unit. That number is far more useful than the cost per box, tray, wrap roll, or pallet. It is also much harder to argue with once everyone sees the freight, labor, and damage pieces in the same place.
Key Factors That Decide the Winner
Product fragility usually decides the first round of any freight packaging comparison. If the item chips easily, flexes under pressure, or carries a finish that marks on contact, you need more than a simple outer box. Edge strength, insert design, and the way the unit sits inside the shipper all become part of the decision. For heavier goods, weight distribution and bottom support matter just as much as board grade.
Stackability is another major factor. A carton that looks fine by itself may collapse once three or four pallets are stacked in a warehouse or trailer. In a freight packaging comparison, I pay close attention to how the load behaves under compression, not just in transit. That includes the pallet pattern, the amount of overhang, and whether the top layer can carry the stress of another load without bowing or shifting.
Freight class and cube utilization matter in a way many teams underestimate. A package with excellent protection but poor cube efficiency can push the shipment into a more expensive freight pattern. Trailer efficiency matters too. If the pallet footprint leaves too much dead air in the trailer, the freight packaging comparison can tilt away from the heavier or bulkier option even if the unit cost looks attractive. Logistics math is a little unforgiving that way.
Environmental conditions deserve a spot in the conversation too. Moisture resistance, temperature swings, and dock exposure can be the difference between a clean delivery and a soft box that loses strength before it reaches receiving. If the route crosses humid regions, cold storage, or unconditioned warehouses, the freight packaging comparison should account for board performance in those conditions rather than assuming a dry, controlled environment. One humid week can expose a weak spec faster than a month of polite testing.
Supply reliability is easy to overlook until it causes trouble. A package that is perfect on paper is still a bad choice if it takes too long to source or requires a difficult setup every time the run repeats. That is why I like to compare lead time, minimum order quantity, and storage footprint along with protection and freight cost. A slightly more expensive option may win the freight packaging comparison simply because it can be produced and assembled without constant firefighting.
The cheapest box stopped being the cheapest the moment the claim came in.
That line sounds blunt, but it captures the core lesson. A freight packaging comparison is really a risk exercise. You are deciding where to spend money so the shipment does not spend more money later. Good packaging design protects the product, but it also protects the schedule, the receiving team, and the brand behind the shipment.
For teams balancing package branding with freight performance, this is where the tradeoff gets real. A clean, well-printed shipper can support the customer experience, but a decorative outer layer should never weaken the structure. The better freight packaging comparison keeps the branded packaging intact while still using the right board grade, wrap pattern, and insert geometry for the lane.
Step-by-Step Freight Packaging Comparison Process
Start with the product, not the package. Gather exact dimensions, weight, stacking limits, breakability, finish sensitivity, and any special handling requirements. If a unit has a fragile corner, a painted face, or a component that cannot shift more than a few millimeters, that needs to be documented up front. A freight packaging comparison is only as good as the data that feeds it.
Next, build two to four realistic options. I prefer one low-cost baseline, one middle-ground option, and one higher-protection option. That makes the freight packaging comparison more useful because it shows the tradeoff range instead of hiding it. If the shipment needs custom printed boxes, an insert, or a different pallet layout, that should be included in the sample set. The goal is to compare real candidates, not imaginary ones.
Then estimate the full timeline. Sample building might take a few days if materials are already available, or one to two weeks if new tooling or print plates are needed. Testing, review, and approval can add more time depending on the lane and the damage risk. A freight packaging comparison that ignores timeline can create a production problem even if the final package is excellent. In packaging programs, timing is part of the result.
After that, run a lane-based test. A lab test is helpful, but the best freight packaging comparison uses the real route whenever possible. A route with multiple cross-docks, hot trailers, or rough regional handling can expose weaknesses that a generic test might miss. If that is not possible, at least match the test profile to the actual shipping profile as closely as you can. That is where methods like ISTA-inspired sequencing and practical handling review become valuable.
A simple ordered workflow keeps the team moving:
- Collect product and shipment data.
- Build sample packaging options.
- Quote each option with the same assumptions.
- Test for vibration, compression, and handling stress.
- Review damage, freight, and labor results together.
- Choose the package with the best total shipped value.
That process also helps sales, operations, and procurement stay aligned. If you are sourcing through a supplier that offers Custom Packaging Products, the same framework can be used to compare corrugated styles, inserts, display-ready shippers, and palletized freight solutions without mixing up the numbers.
Documenting the results in a one-page scorecard is one of the best habits a team can build. Use the same fields for every option: protection, cost, cube, labor, lead time, and damage risk. When the freight packaging comparison is written down in the same format every time, the decision becomes easier to defend and easier to repeat for the next shipment family. That paper trail also helps when a new manager asks why a slightly more expensive package was chosen; the answer is already there.
Common Mistakes in Freight Packaging Comparison
The biggest mistake is comparing only unit material price. That approach misses freight, labor, and damage exposure, which are often the larger numbers. A freight packaging comparison built on unit cost alone can point a team toward the wrong package very quickly. I have seen buyers save pennies on material and lose dollars on freight and claims. It happens more often than people admit.
A close second is testing in ideal conditions and assuming the results will hold in the real world. A package may look great in a clean sample test, but freight lanes are not clean sample tests. They involve vibration, stacking, forklifts, moisture, and the occasional rough transfer. A freight packaging comparison needs real handling assumptions or the results can become misleading.
Overpackaging is another trap. Extra board, heavier wrap, or an oversized crate can create a false sense of security. It may protect the product well, but it can also add cube, weight, labor, and storage burden. A freight packaging comparison should ask a harder question: does the added material actually reduce total cost and risk, or does it just make the package feel safer? Those are not always the same thing.
Inconsistent assumptions also distort the result. If one option is quoted with full inserts, another with partial fill, and a third with a different pallet pattern, the comparison stops being fair. The same is true for differences in print coverage, board grade, or lead time. The point of a freight packaging comparison is to compare like with like, not to let each supplier quote its favorite version of the job.
Lead time and storage constraints are easy to forget during early discussions. A package that requires long production time, bulky storage, or specialized assembly equipment may look good in a spreadsheet and fail in operations. That is why the freight packaging comparison should include practical details like minimum order quantity, warehouse space, and the time required to train staff on the build. If it cannot be built and stored cleanly, it is not really a viable option.
Finally, do not ignore the effect on brand presentation. In some programs, the shipping container is part of the customer's first impression, especially when branded packaging or retail packaging shows up at the receiving dock or in a retail replenishment flow. A freight packaging comparison that protects the product but damages package branding may still be a poor fit for the business. That tension is real, and pretending otherwise does not help anyone.
Most of these mistakes are avoidable once the team slows down and compares the full system. The best freight packaging comparison is disciplined, fair, and grounded in the actual lane rather than in guesswork or habit.
Expert Tips and Next Steps for Freight Packaging Comparison
Use a one-page comparison sheet and keep it consistent. I like to list the package style, material specs, pallet pattern, unit cost, assembly time, freight effect, and damage risk on the same page. That gives everyone a shared view of the freight packaging comparison without dragging the discussion into memory and opinion. Once the data is lined up, the winner is usually easier to spot.
Ask for sample builds before you commit to a larger run. A small trial can reveal fit issues, awkward folds, missing protection, or pallet inefficiencies that never show up in a quote. For fragile products, high-volume freight, or packages with a strong visual component, this step is worth the extra time. A freight packaging comparison becomes far more reliable when at least one option has been physically built and handled.
Review actual damage history after the trial. Claims, customer complaints, crushed corners, and receiving issues tell you more than theory ever will. If one package is slightly more expensive but consistently arrives in better condition, that is usually the better business decision. Freight packaging comparison should reward the design that performs in use, not the one that merely sounds good during procurement.
Pay attention to assembly speed and palletizing ease as well. A design that saves 20 seconds per unit may look small on paper, but across a full production run it can be a meaningful labor win. The same is true for easier stretch wrap application, cleaner pallet corners, and simpler stacking. In a freight packaging comparison, operational ease is often worth a modest material premium because it reduces both labor strain and variability.
If the package has a fiber-based structure, consider sourcing requirements alongside performance. Some teams need recycled board content, chain-of-custody documentation, or certified fiber sourcing. That is where a supplier conversation can include material credentials without losing sight of freight performance. The right freight packaging comparison balances the physical realities of shipping with the brand and procurement goals behind the program.
If you are building that process now, start small and stay disciplined. Audit your current shipments, compare two or three realistic alternatives, test them on a real lane, and score them against the same criteria. A good freight packaging comparison will usually reveal one option that protects the product, keeps freight efficient, and respects the pace of your operation. The practical takeaway is simple: compare total shipped value, not just packaging price, and let the lane decide the winner.
What should I compare in a freight packaging comparison?
Compare total shipped cost, not just the box or pallet material price. Include protection level, cube efficiency, assembly labor, and freight class impact. Check how each option performs under real handling, stacking, and transit conditions.
How long does a freight packaging comparison usually take?
A simple comparison can take a few days if sample materials are already available. A more reliable test cycle often needs time for sample building, transit testing, and review. The timeline depends on product risk, supplier response time, and how many options you test.
Can a cheaper package increase freight costs?
Yes, if the design adds cube, weight, or poor pallet efficiency, freight can rise quickly. Weak protection can also create damage claims, returns, and replacement shipments. The lowest material price is not always the lowest total cost.
What data do I need before starting the comparison?
Gather product dimensions, weight, fragility, stacking limits, and special handling needs. Collect shipment frequency, route details, pallet specs, and any damage history. Use the same data set for every option so the comparison stays fair.
How do I know which freight packaging option is best?
Choose the option that protects the product while keeping freight and labor efficient. Look for the best balance of cost, timing, and real-world handling performance. If needed, run a lane test and compare results with a scoring sheet before deciding.