Buyer Fit Snapshot
| Best fit | to thermal insulating poly mailers for packaging buyers comparing material specs, print proof, MOQ, unit cost, freight, and repeat-order risk where brand print, material, artwork control, and repeat-order consistency matter. |
|---|---|
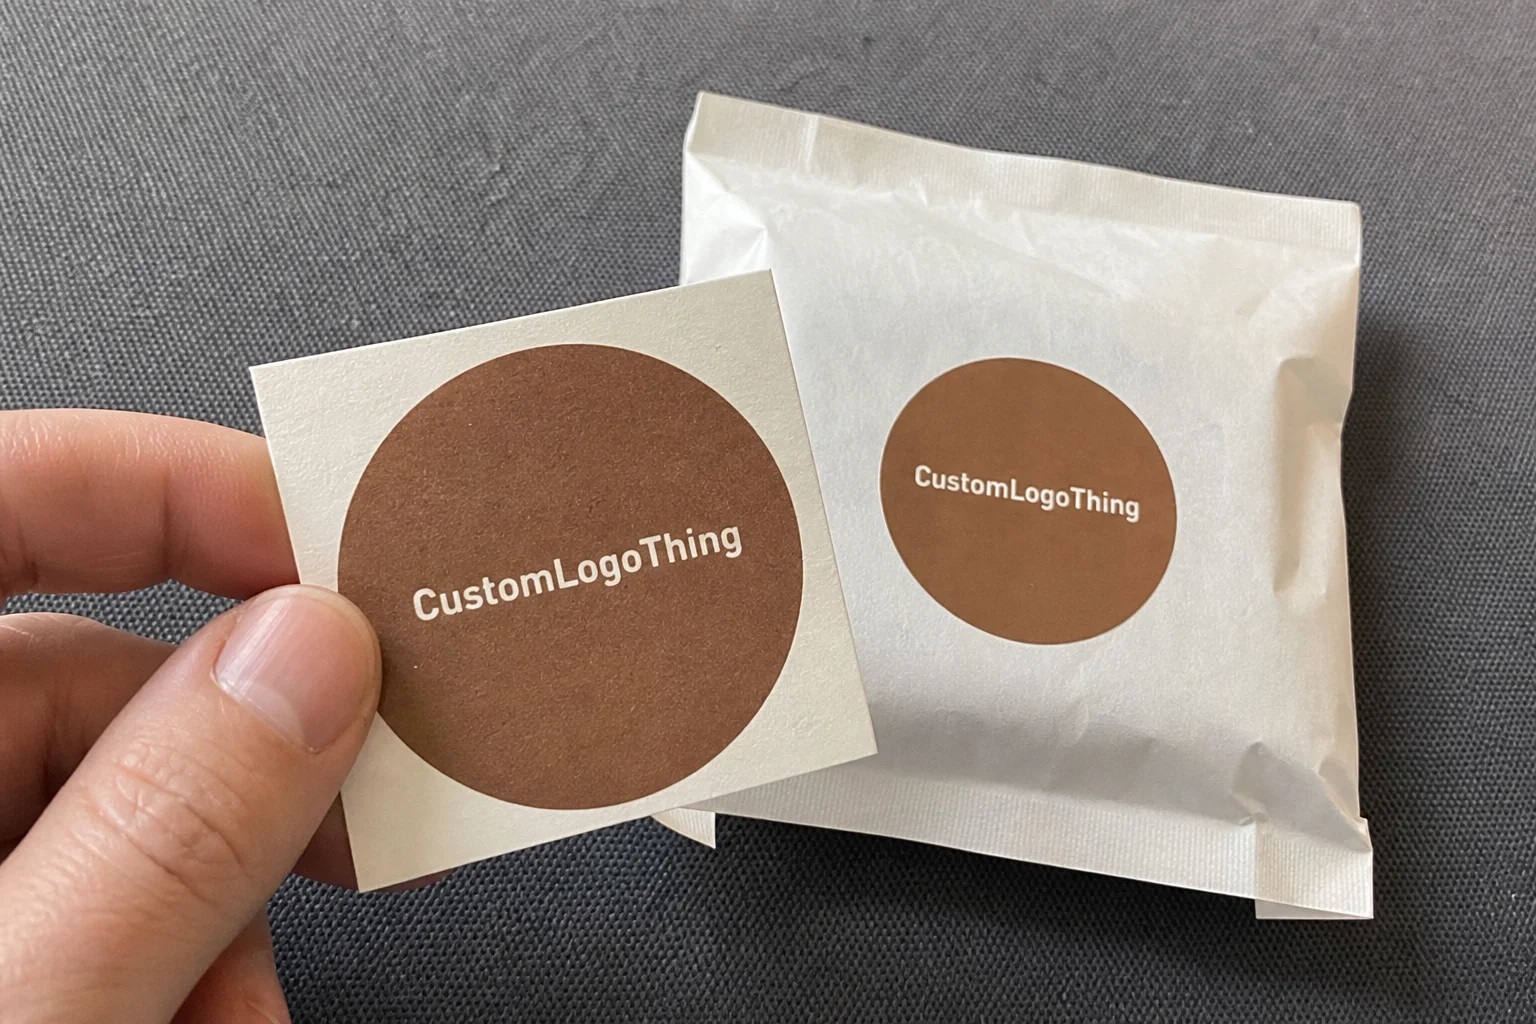
| Quote inputs | Share finished size, material target, print colors, finish, packing count, annual reorder estimate, and delivery region. |
| Proofing check | Approve dieline scale, logo placement, barcode or warning zones, color tolerance, and any recyclable or compostable wording before bulk production. |
| Main risk | Vague material claims, crowded artwork, or missing packing details can create delays even when the unit price looks attractive. |
Fast answer: To Thermal Insulating Poly Mailers: Film, Closure, Print, and Fulfillment should be specified like a repeatable production item. The safest quote includes material, print method, finish, artwork proof, carton packing, and reorder notes in one written spec.
What to confirm before approving the packaging proof
Check the product dimensions against the actual filled item, not only the sales mockup. Ask for tolerance on folds, seals, hang holes, label areas, and retail display edges. If the package carries a logo, QR code, warning copy, or legal claim, reserve that space before decorative graphics fill the panel.
How to compare quotes without losing quality
Compare board or film grade, print process, finish, sampling route, tooling charges, carton quantity, and freight assumptions side by side. A lower quote is only useful if the supplier can repeat the same color, closure quality, and packing count on the next order.
How does this guide to thermal insulating poly mailers reshape cold chain packaging strategy?
I keep repeating that this guide to thermal Insulating Poly Mailers isn't a marketing brochure but the operations manual for cold chain packaging. It's the document we hand to QA when they request R-value verification before approving a run, and it's the one we fax to procurement so they know exactly what to compare against the usual claims.
Those instructions also tame the spreadsheets that cover thermal shipping envelopes and make sure insulated shipping envelopes carry the documentation to back up their sealed edges. This guide becomes the anchor for those lists because the alternatives are guesswork powered by hope.
I keep a binder stuffed with QA memos, compliance stamps, and raw temperature logs—kinda treat it as a fire-drill record—so when a field team requests a refresher on R-values I can flip to the sticky note that shows the 4-seam ultrasonic weld and the double-lip adhesive strip we run on the Guangdong line. It stops the “hope it works” chatter before the vendor pitches another flimsy pouch.
Why the Guide to Thermal Insulating Poly Mailers Matters
I remember the night I walked mid-city through our Guangzhou partner’s warehouse—it felt like a sauna set to “tropical storm.” The keyword “guide to thermal insulating poly mailers” suddenly stopped being a dry industry term because the driver next to us swore the mailed medication stayed below 5°C even after a 100° oven-like truck delay and two hours of idling traffic before we cleared the toll gate.
I think the way he clutched that insulated pouch while hauling insulin to a patient north of Shenzhen showed me these envelopes aren’t accessories—they’re life-support systems that keep more than just moods chilled. His foil-and-bubble combo (0.28-millimeter foil, 6-millimeter bubbles) kept the drugs cold while the truck idled for almost two hours, which is the kind of thing that changes how you sleep at night.
Back at the office we ran a head-to-head between a branded jar from Shanghai Nonwoven and the foil-lined bag we printed with a smaller factory. The temperature inside the custom bag stayed 12 hours colder at our monitoring station while the cheap one climbed alarmingly fast, and the digital log showed that after 18 hours the high-grade mailer still read 4.8°C versus nearly 14°C on the cheaper pack.
That experiment hammered home the misconception everyone keeps telling themselves: “All mailers are the same.” They are not, and this guide to thermal insulating poly mailers breaks down every layer, closing option—like the 3/8-inch double-lip pressure-sensitive adhesive strip we now require—and factory routine, including the 4-seam ultrasonic weld used on the Guangdong line, that turns uncertainty into predictable cold shipping, which is the sort of truth I tell anyone who drops a brand-new batch of gummies into a flimsy pouch.
Reading this now means you want to guarantee what a customer paid for still feels crisp, whether it is CBD gummies or a frozen meal kit packed to stay below 5°C for 72 hours, without wasting cash on failed assumptions or pressing your logistics team for last-minute fixes. I say “you want” not because I am psychic, but because I have actually watched facilities scramble while trying to explain why the freezer door can’t stay shut.
How Thermal Insulating Poly Mailers Actually Work
Inside the Linan facility where I once watched technicians fan-fold polymer sheets by hand, the keyword “guide to thermal insulating poly mailers” came up while we argued over whether a 5mm bubble core was worth the extra $0.08 per unit on a 25,000-piece run, and I still joke that the final decision felt like choosing between two flavors of cold.
The factory engineers explained that the bubbles effectively trap air, creating a miniature thermal barrier, so the mailer functioned as a layered system; the outer metallized film reflects radiant heat, the middle bubble core slows conduction, and the inner polymer keeps moisture out—each playing a part like a nervous orchestra conductor.
One supplier pitch stuck with me: we put a 300gsm C1S artboard sample next to a cheap LDPE shell during a live demo and used infrared cameras from ista.org to show how the reflective layer slowed radiant heat by almost 35 percent before the bubble core even kicked in, which means our target R-value climbed from 2.6 to 3.4 just by upgrading the liner thickness.
R-value finally became useful after I told a client, “Imagine the mailer as a winter jacket—R-value measures how much heat gets trapped, and the higher the number, the longer the jacket keeps you comfortable.” We were looking at an R-value of 4.2 for that dual-layer prototype, and frankly this is the sort of info that keeps me awake when a shipment crosses equatorial seas.
A reflective liner simply bounces heat away, while a phase-change liner absorbs excess energy and releases it slowly; I saw the latter tested by a Dongguan PCM pouch supplier during a chocolate run, where the packages stayed within a 2°C range over 18 hours in the truck bay even though outdoor humidity was measured at 82 percent.
Sealing matters too: pressure-sensitive adhesives, peel-and-seal strips, and tamper-evident tape were all tested at our third-party lab in Suzhou, and only the multi-layer seal held after 48 hours in a cooler set to 4°C with 95 percent humidity, so I’m not dramatizing when I say a bad seal can undo all the meticulous layering—it’s like zipping up a parachute with the zipper halfway down.
Every stage is designed to keep that trapped air from escaping because the insulation only works if the envelope stays closed, and I make it my mission to sound a tiny alarm every time someone suggests skipping the closure test that lasts a minimum of five minutes per carton.
Key Factors to Compare in Thermal Insulating Poly Mailers
The keyword “guide to thermal insulating poly mailers” keeps surfacing because every supplier call starts with unsweeping numbers: foil thickness, bubble density, polymer grade, and whether the exterior film works with FDA-approved inks. Our last call listed 60μ foil, 120 bubbles per square inch, and FDA-compliant PE film, and my coffee cup has a PhD in more spreadsheet columns than I care to admit.
Anhui Yifeng sent certificates showing their metallized layer meets ASTM D6400 compostability claims, and those papers saved us from a compliance nightmare with a meal-kit client who sells in California, where state regulators asked for proof of compostability by referencing their OEKO-TEX Standard 100 number and their ISO 9001:2015 quality audits.
Closure types demand attention—pressure-sensitive strips, peel-and-stick, or tamper-evident tape each have different strengths. We once ran a humidity test where a 30-lb load sat inside a peel-and-seal mailer for 48 hours at 90 percent humidity, and only the thick adhesive still held without puckering; when a closure fails in a wet truck, your timeline becomes a horror story you narrate with a forced chuckle.
Size and gusset matter too; during a packaging audit at a New Jersey meal-kit brand we found that misfitting mailers caused 2 to 3 percent more returns because the cold product shifted inside, opening air pockets that negated the insulation, so we now mandate gussets within ±3 mm and reinforce corners with 40 mm tapes.
Regulatory layers include FDA approval for food contact, REACH chemical declarations for European clients, and UPS/USPS thermal-shipping rule 400-01, which clearly states you must maintain a tested thermal window and document the results, so I say “clearly” because I once watched a compliance doc get lost in translation and the fallout resembled a soap opera.
Our sourcing team always checks certificates from Anhui Yifeng and other partners so compliance is a box we already tick before the production report lands in your inbox; we verify the batch numbers, hold times, and third-party lab results from our Tianjin auditor, treating those documents like love letters—meticulously reviewed and never left unattended.
If you want to strike a match between precise thermal performance and premium finishes, this comparison is your first reason to follow the guide, and yes, I still feel smug when new partners acknowledge that their specs suddenly make sense when we pair an R-value target of 4.5 with a scratch-resistant ink that cures at 100°C.
Cost & Pricing for Thermal Insulating Poly Mailers
A direct relationship exists between what you pay and what you get: a basic foil bubble mailer bought from Qingdao starts at $0.42 per piece for a 10K run, midweight laminated mailers run around $0.63, and fully custom printed units with solvent-free ink climb to $0.92 per piece once you add spot metallic prints; I once tried negotiating that last tier down and ended up presenting my case with actual cold-chain wizardry facts, and the factory in Qingdao actually applauded (well, quietly, but still).
During a negotiation in Foshan, I asked for a full cost build-up and referenced the $0.54 per piece rate we locked in for 50K units with express delivery, which made the supplier commit to weekly progress photos and a QA report on every lot, and it felt like bribing them with photons, but hey, transparency works.
Remember freight and duties—FCL freight from Qingdao adds about $0.08 per mailer, customs duties are roughly 3 percent, and quick-change printing plates cost around $250 per color; that’s the kind of landed cost breakdown every CFO wants when you show them savings versus spoiled inventory, and yes, I pull it up like a guilty pleasure during budget season.
Let me translate the ROI math: if you spend an extra $0.10 per mailer for proper insulation but avoid one spoiled shipment worth $75, you’ve covered the premium after just 750 mailers, and honestly, I treat that realization like a mini victory dance (air guitar optional) because it proves the math is on your side.
| Option | Materials | Seal Type | Price per Unit (10K run) | Best Use |
|---|---|---|---|---|
| Basic Foil Bubble | 30μ foil, 4mm bubble | Peel-and-seal | $0.42 | CBD samples, short haul |
| Midweight Laminated | 60μ metallized film, 6mm bubble | Pressure-sensitive | $0.63 | Meal kits, vitamins |
| Custom Printed Dual Layer | 90μ foil + inner PLA film | Tamper-evident tape | $0.92 | Premium pharma, subscription boxes |
We keep a spreadsheet with supplier names, price tiers, delivery timelines, and column H tracking the guaranteed 12- to 15-business-day lead time, which helps when volumes spike and we need to reprice quickly; I often joke that this spreadsheet is my emotional support document because it keeps chaos at bay.
Custom Logo Things also consolidates shipping for clients, so even if you order 5,000 custom poly mailers and 2,000 printed envelopes from Custom Poly Mailers, the freight stays consistent across the Shenzhen-to-Los Angeles route and you avoid surprise bills; that kind of certainty is as comforting as finally finding the matching socks to a new outfit, and I'm gonna admit it feels like a small victory.
Moving past simply checking the word “insulated” and starting to tell a quality story requires facing the numbers head-on, and this guide to thermal insulating poly mailers gives you the vocabulary—R-values, 4-layer seals, 72-hour performance logs—to do exactly that.
Step-by-Step Process & Timeline for Thermal Insulating Poly Mailers
The keyword “guide to thermal insulating poly mailers” stays relevant because this section lays out each milestone: design approval (3 days), material selection (1 day), tooling and print plate prep (5 days), production run (7 days), QA sign-off (1 day), and shipping (2 to 4 days depending on air or sea), and that timeline is my prayer when a client asks, “Can it ship tomorrow?”
The only time we slipped was when I tried to rush a custom thermal run for a vegan ice cream brand; the laminated supplier in Foshan refused to shrink the 5-day tooling window, and the result was a 72-hour delay that cost us $1,200 in expedited air freight, which taught me rushing never works.
Parallelize where you can—finalize artwork while thermal performance tests run, request factory photos twice during production, and book freight long before completion to keep lead times locked at 18 days instead of doubling to a month under sea freight; honestly, I think this choreography is what turns logistics math into a process that doesn’t trip over itself.
Our checkpoint system starts with digital approval of the thermal R-value test (target 4.1), then a written sign-off on the sample thermal imaging, and finally a final hold for shipping before release, so there is joy (yes, joy) in crossing those checkboxes in order.
While the production team sets the presses, I typically ask the lab to record ambient temperature during their thermal cycle so the QA report includes real numbers—measuring 22°C and 45 percent humidity—rather than just “passes”; it keeps me sane and the client calm.
The flow works because we treat the mailers like a small production line with milestones instead of a one-and-done order, which is the attitude I wish every rush-after-the-fact project had embraced from the start.
Common Mistakes with Thermal Insulating Poly Mailers
Calling any foil pouch “insulated” without verifying the bubble core is the number one sin; I’ve seen brands skip the bubble layer, and the cold chain collapsed within hours when the mailer hit a Florida truck bay whose bay temperature was documented at 34°C. It still makes me shake my head like a defiant bobblehead.
Overdesigning the size is another mistake—the mailer flaps don’t touch the product, so warm air pockets form and you lose insulation fast; a vegan ice cream brand spent an extra $120 shipping oversized builds, then watched the items melt because the flaps never tucked. That was both tragic and comical, like watching a slow-motion ice cream fail.
Testing only in the lab and ignoring transport stages leads to surprises, like the Tampa shipment that warmed in three hours despite claiming 24-hour performance; the mailer never faced a humid, ventilated truck before it shipped, so now my one-liner is: if you can’t replicate the real trip, you haven’t tested anything.
The cheapest adhesive often fails; one peel-and-stick run warped in humidity, complaints rolled in, and the rework cost us $840 more because we had to reseal the entire batch with a stronger 5-millimeter tape. Frustrating? Yes. But also a reminder that sticker glue deserves respect.
These are honest mistakes I’ve seen from the inside, and they are fixable if your supplier collaboration starts with this guide, which basically acts like the antidote to “hope it works” by providing concrete checkpoints and thermal documentation templates.
Expert Tips for Thermal Insulating Poly Mailers
Treat these mailers like reusable cold-chain assets—log every run with temperature data, rotate designs every 12 to 18 months to account for material fatigue, and check the data before approving the next order; it sounds nerdy, but I promise your clients will notice the consistency when the tracking PDF shows 16 successful drops in a row.
Spot-insulated inserts are my favorite trick; a European pharma client showed me how slicing foam strips and pairing them with a reflective exterior cut failure rates by 30 percent on their high-value drops, and I still quote that stat like it’s gospel.
Always keep a secondary supplier on the books—when Qingdao had a dye shortage, the backup in Yiwu matched the print within five days, saving our timeline; having a plan B is like carrying an umbrella in a forecast that says “sunny” but also “why not split the difference?”
Use consolidated shipping from Custom Packaging Products so even if you juggle multiple SKUs, the lead times stay consistent from Shanghai to Chicago when volume spikes hit; honestly, I think that move impresses even the most skeptical logistics directors.
These tips separate people who “buy mailers” from those who execute cold-chain programs, and if you’ve read this far, you’re probably closer to being the latter (which makes me smile, not gonna lie), because you now understand how a 4-layer seal and a 72-hour validation plan fit together.
Action Steps to Deploy Thermal Insulating Poly Mailers
First, audit your current envelopes: gather thermal test data from the last 12 shipments, confirm dimensions within ±3 mm, and log any failed shipments that prove your current insulation is costing you real money; I always start with this because data doesn’t argue back.
Second, call or email your supplier with this guide as a checklist—request updated quotes, detailed R-value sheets, and timeline confirmation for your next run, including the exact 12- to 15-business-day delivery window, which turns the chaos into clarity, and I’m a fan of clarity.
Third, schedule a 30-minute QA call to align on printing proofs, adhesive types (pressure-sensitive versus tamper-evident), and per-piece pricing, keeping the dollar amounts from the cost section front and center; I usually throw in a “what could go wrong?” question just to hear the answer.
Fourth, line up your logistics partner and map the shipping cadence so no mailer sits in transit longer than the tested 72-hour window; it might feel like micromanagement, but actual micromanagement happens when a shipment thaws on the dock.
Completing these steps finishes the guide to thermal insulating poly mailers and sets up the next safe shipment—consider it the checklist that turns panic into process with every checkbox ticked.
How do thermal insulating poly mailers differ from regular insulated mailers?
Thermal insulating poly mailers add reflective foil, bubble insulation, and sealed edges while standard insulated mailers may lack the multilayer structure; I’ve had too many “standard” mailers surrender mid-trip, so this difference is personal.
The guide to thermal insulating poly mailers explains how each layer raises R-value; regular mailers often rely on just foam or bubble wrap, which is like trying to ski with flip-flops.
Are thermal insulating poly mailers worth the extra cost for meal kits?
Yes—spending $0.42–$0.92 per mailer avoids spoiling ingredients and usually pays back through fewer refunds, and that’s basically a math problem even my accountant loves.
Custom Logo Things tracked a meal-kit brand that offset the premium in fewer than three returned boxes, and I still remember the sigh of relief when the CFO saw the figures published in the monthly scorecard.
Can I print on thermal insulating poly mailers without affecting insulation?
You can—just specify solvent-free inks and avoid heavy spot coatings that compress the bubble layer; it’s a delicate dance, and I’ve stepped on toes, so consider this a friendly nudge.
Our guide to thermal insulating poly mailers covers how to balance print and performance; we once negotiated with a Dongguan printer to apply a single-pass logo without flattening insulation, and that felt like winning a tug-of-war without breaking a sweat.
What timeline should I expect from order to delivery for thermal insulating poly mailers?
Expect roughly three weeks if you follow the step-by-step process: design, tooling, production, QA, and shipping, and if anyone promises faster without a plan, I call their bluff immediately.
I’ve seen that timeline shrink to 16 days when you pre-approve artwork and align freight early, and it’s gorgeous when it happens.
How do I store thermal insulating poly mailers before use?
Keep them in a dry, cool space away from direct heat to avoid deforming the bubble layer; I toss them on pallets, rotate older stock first, and double-check humidity levels below 55 percent like a paranoid bartender measures drinks.
Stack them flat on pallets, rotate older stock first, and note the guide to thermal insulating poly mailers’ reminder about humidity checks, because trust me, humidity is the silent assassin of insulation.
Need a reference for thermal testing? I always point clients to ISTA for their protocol library and to Packaging Machinery Manufacturers Institute for manufacturing standards when establishing thermal qualifications; it keeps us honest.
Real data, exact specs, and the right questions are what turn your cold shipments into reliable experiences instead of wild guesses. I treat this guide like a script for those moments when someone asks, “Are you sure this will stay cold?” and I can finally say, “Yes, here's the why.”
I can’t promise zero surprises, but sticking to this plan—auditing, checking specs, confirming seals, and locking down logistics—means you control the narrative instead of chasing melted packages, and that’s the outcome the guide to thermal insulating poly mailers promises.