A product label can look sharp on a screen and still fail on the shelf. High quality Stickers Custom Made for products are small printed components, not decoration alone. They need the right face stock, adhesive, ink system, finish, and cut tolerance for the way they will actually be handled.
One buying mistake appears again and again in packaging work: the design receives all the attention, while use conditions are treated as a minor detail. Then the adhesive lifts on a curved jar. Ink scuffs during shipping. A finish that looked rich in the mockup turns dull under retail lighting. These are not random failures. They usually trace back to a mismatch between design intent and production specification.
The sticker has to survive its job.
What Makes High Quality Stickers Custom Worth Ordering?
Sticker quality is not one feature. It is a chain of decisions: print resolution, color control, adhesive selection, die-cut accuracy, surface finish, liner behavior, and packing that protects the order before it reaches your team. Miss one link, and even good artwork can look cheap.
Commodity stickers are fine for casual giveaways, envelope seals, event swag, and short-term indoor use. Product-ready stickers carry a heavier load. They may sit on glass bottles, paperboard cartons, jars, pouches, mailers, laptops, retail displays, or promotional kits while still looking intentional. A label that curls at the edge or scratches before launch does not read as “budget efficient.” It reads as unfinished.
Buyers do not need to know every press setting. They do need to understand the choices that affect performance and cost: substrate, adhesive, print method, finish, cut style, quantity, packing format, and deadline. Get those right, and high quality stickers custom printed for a product can add real packaging value without turning the project into a technical maze.
Practical rule: specify the sticker for the surface and handling conditions first, then style it for the brand. Appearance matters. Performance keeps the label in place.
How Custom Sticker Production Steps Work
Most custom sticker orders move through the same basic sequence: artwork review, material selection, proofing, printing, finishing, cutting, quality checks, packing, and shipping. Equipment varies by supplier, but the risk points are similar.
Artwork preflight is the first filter. A production team checks file resolution, vector paths, bleed, trim lines, safe zones, font handling, color mode, and image quality. Thin borders, tiny type under 5 or 6 points, and delicate reverse-out text can look acceptable on a monitor and break down at actual size. Barcodes and QR codes need enough quiet zone and contrast to scan after printing, coating, and cutting.
Bleed and safe margins deserve special attention. A typical custom sticker may need about 1/8 inch of bleed outside the cut line, though the supplier’s template should always win. Text and critical graphics should sit safely inside the trim area. Normal cutting movement can be around 1/32 inch to 1/16 inch depending on equipment, shape, and material. That tolerance is small, until a hairline border makes it obvious.
Printing may be digital, flexographic, screen, or offset. Digital printing is common for short runs and frequent artwork changes because setup is efficient. Flexographic production can make sense for longer roll-label quantities. Screen printing can be useful for heavy ink coverage or certain specialty effects. Offset is less common for simple sticker runs but may appear in larger paper-based projects.
Format changes the job. Roll stickers suit repeated hand application, dispensers, and machine application. Sheet stickers keep sets organized. Individually cut stickers are easy to drop into mailers, retail kits, subscription boxes, and event bags. A beautiful sticker in the wrong format can still slow down fulfillment.
Finishing affects both feel and durability. Gloss lamination increases shine and color saturation. Matte lamination reduces glare and gives a quieter, refined look. Soft-touch films can feel premium, though they may show fingerprints or skin oils more readily. UV coating can add gloss and some scuff protection. Clear stocks create a no-label look on glass or glossy plastic. Metallic films, foil-like effects, and spot finishes can add attention, but they also raise proofing and production complexity.
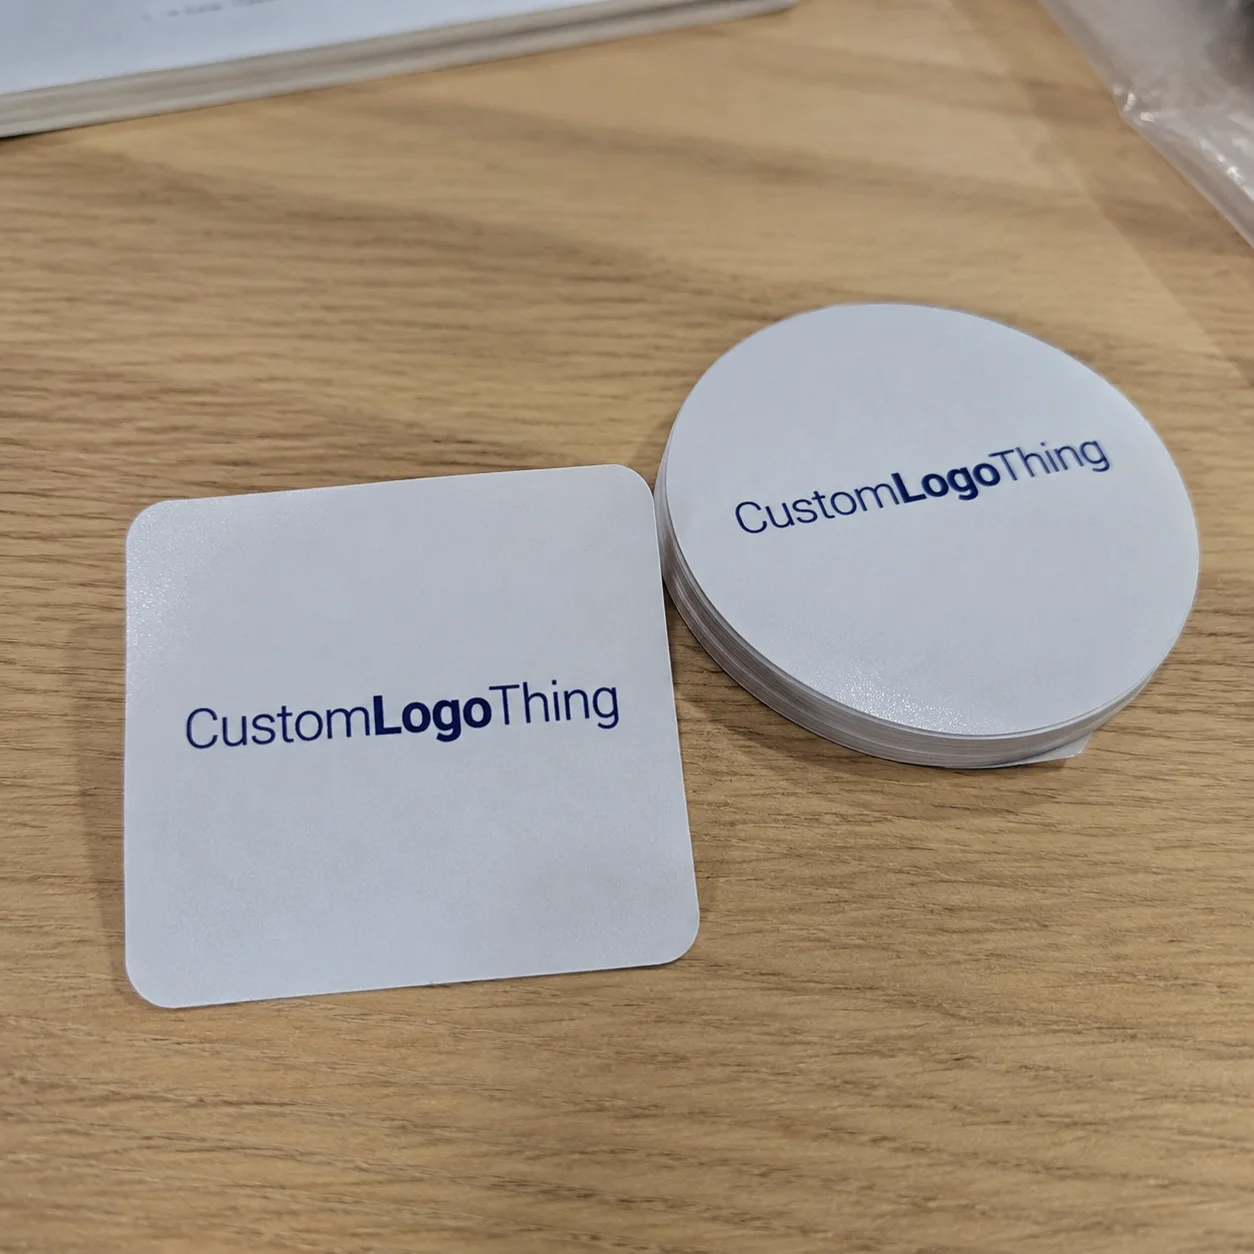
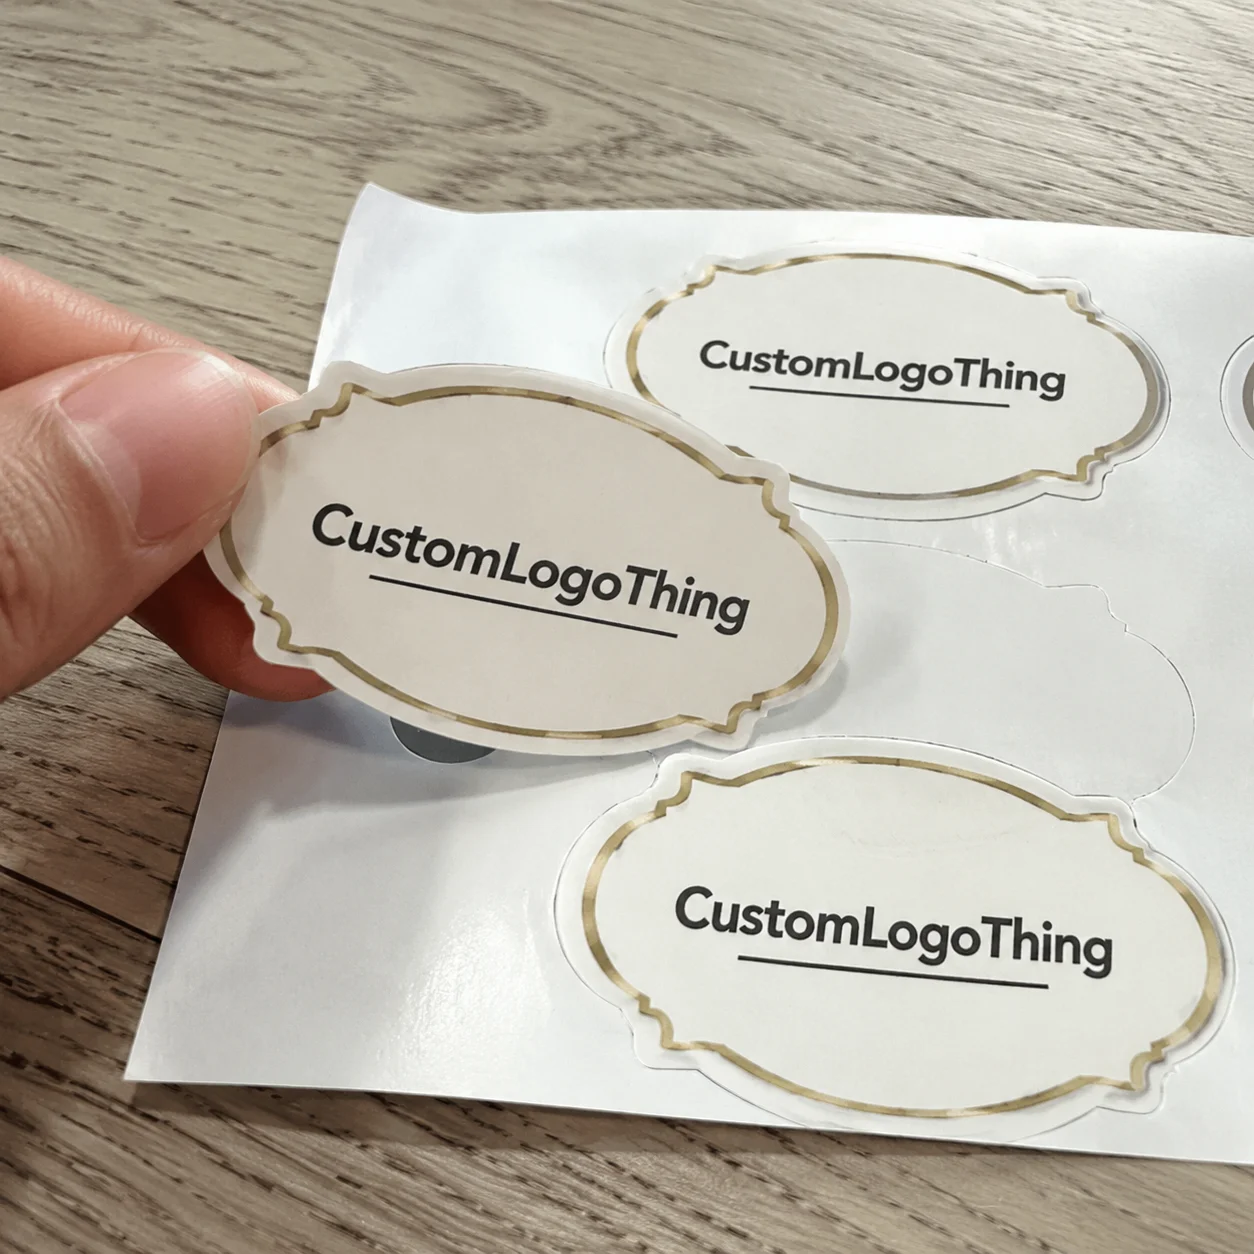
Cutting is the shape-making stage. Stickers may be kiss-cut on sheets, die-cut as singles, supplied on rolls, made with square corners, rounded corners, or contour-cut around the artwork. Rounded corners often reduce edge lifting on labels that are handled frequently. Sharp points and delicate cutouts can look striking, but they may be slower to peel and more vulnerable to damage.
Quality control should be boring and strict. Useful checks include color consistency, cut alignment, scuffing, surface defects, count accuracy, roll direction, liner release, and packing protection. For larger packaging programs, transport test methods from groups such as ISTA may be relevant if stickers are part of finished retail packs or e-commerce kits.
Materials, Adhesives, and Finishes That Affect Durability
Material choice drives much of the sticker’s real-world performance. Paper stickers are economical and print cleanly for dry indoor use, especially on cartons, kraft bags, inserts, bakery boxes, and short-life promotional pieces. White vinyl is a strong all-purpose film with moisture resistance and solid color reproduction. Clear BOPP, a polypropylene-based film, is common for bottles and containers where the brand wants the graphics to appear printed directly on the package.
Polypropylene is lightweight and widely used for food, cosmetic, household, and personal-care labels. Polyester is usually tougher, with better dimensional stability and heat resistance, making it useful for equipment labels, durable goods, electronics, and harsher environments. Kraft paper brings a natural texture for handmade, organic, or rustic packaging, but it is not the first choice for wet handling unless it is protected and tested.
Adhesive matters as much as the face stock. Permanent adhesive works for many product labels and retail packaging applications. Removable adhesive is better for temporary promotions, pricing labels, event badges, or short-term instructions. Freezer-grade adhesive is designed to stay bonded in cold storage, where standard adhesive can stiffen or lose grab. High-tack adhesive helps on textured boxes, recycled paperboard, low-energy plastics, and other difficult surfaces.
Surface compatibility needs a real test whenever the schedule allows. Glass is usually cooperative, but condensation can interfere with application. Plastic varies widely; HDPE and polypropylene containers can be harder to bond than PET or coated paperboard. Cardboard may be smooth, rough, coated, recycled, dusty, or textured. Flexible pouches create stress because they bend, wrinkle, and shift during filling, shipping, and use.
Environmental exposure adds another layer. Water, oils, alcohol, abrasion, sunlight, refrigeration, shipping friction, and repeated handling can all change the right specification. Outdoor stickers need UV and weathering discussion. Food, cosmetic, supplement, and beverage labels may face oil, damp hands, cold storage, or product residue. Paper-based buyers who care about sourcing may also review certification information from FSC.
The best material is not always the most expensive one. A matte paper sticker on a dry candle box may be exactly right. A laminated BOPP label on a refrigerated beverage bottle may be the safer choice. High quality stickers custom specified for surface, shelf life, handling, and brand presentation tend to outperform premium-looking stickers chosen by appearance alone.
| Sticker Material | Best Use Cases | Typical Strengths | Watchouts |
|---|---|---|---|
| Paper | Dry boxes, bags, inserts, short-term labels | Lower cost, good print detail, many textures | Weak around water unless coated or protected |
| White Vinyl | Outdoor decals, product labels, promotional stickers | Durable, flexible, moisture resistant | Can cost more than paper |
| Clear BOPP | Glass jars, bottles, glossy containers | No-label look, good moisture resistance | Requires careful white ink planning |
| Polyester | Durable goods, equipment, long-life labels | Stable, tough, heat resistant | Often higher priced for simple retail use |
| Kraft Paper | Natural branded packaging, bakery boxes, handmade goods | Textured, warm, earthy appearance | Less moisture resistant than films |
Cost and Pricing Factors for Custom Stickers
Sticker pricing is shaped by size, shape, material, adhesive, print coverage, finish, cut style, quantity, proofing needs, packing format, and shipping destination. A 2-inch paper circle on sheets is a different job from a 4-inch laminated clear BOPP label on rolls with a specific unwind direction.
Unit cost usually drops as quantity increases because setup, proofing, print calibration, cutting, and packing labor are spread across more pieces. As a planning range, a simple 2-inch paper sticker might land around $0.08 to $0.18 per piece at several thousand units. A laminated film sticker in a custom shape may run closer to $0.18 to $0.45 per piece, depending on coverage, finish, and converting. Small runs can be much higher per unit because setup time does not disappear just because the order is small.
The cheapest sticker can become expensive if it fails. Poor adhesion creates waste during application. Weak coating can scuff inside cartons. Inaccurate color can make a product line look inconsistent next to printed boxes, sleeves, or hang tags. A difficult release liner can slow staff if hundreds or thousands of labels must be applied by hand.
Format affects cost too. Roll stickers are efficient for repeated application and are often preferred for label dispensers or machine application. Sheet stickers are convenient for multiple designs or organized sets. Individually cut stickers need more converting and packing labor, but they work well for inserts, giveaways, and promotional bundles.
Minimum order quantity, often called MOQ, varies by material, print method, finish, and setup. A digital short run may have a low minimum. A specialty film, custom adhesive, metallic stock, or complex finish may require a larger quantity. Buyers usually get better results by comparing total project value, not just the lowest unit price.
To get a useful quote, prepare the final size, shape, quantity, application surface, indoor or outdoor use, expected exposure, finish preference, artwork file, delivery deadline, and packing format. If the sticker supports a broader Custom Packaging Products program, share that context. Packaging structure often affects label size, finish, and application method.
Step-by-Step Guide to Ordering Product-Ready Stickers
Ordering product-ready stickers becomes easier when every decision follows the sticker’s job. A compliance label, box seal, jar brand mark, tamper-evident closure, and giveaway decal do not need the same specification.
- Define the job. Decide whether the sticker will brand a jar, seal a box, add compliance information, label a seasonal product, support package branding, or act as a promotional insert.
- Measure the application area. Leave room for curves, seams, lid edges, folds, and areas touched frequently by hands. On small bottles, even 1/8 inch can change how cleanly a label lays down.
- Choose the format. Rolls work well for repeated application. Sheets help organize multiple stickers. Individually cut pieces are practical for inserts, events, and influencer kits.
- Select material and adhesive. Match the stock to the surface and environment before choosing by appearance alone. A beautiful paper label is still a poor choice for a wet cooler.
- Prepare artwork properly. Include bleed, safe margins, outlined fonts, high-resolution raster images, and clear color notes. For logos and cut paths, vector files are usually best.
- Review the proof slowly. Check spelling, barcode readability, small type, cut line position, finish, quantity, dimensions, and roll direction if machine application is planned.
- Approve only after matching real use. A design mockup can look perfect while the actual sticker is too large for a curved surface or too delicate for shipping friction.
If the sticker functions more like a product label than a giveaway, it may belong in a larger label and tag program. Review related options under Custom Labels & Tags so material, finish, and size language stay consistent across the order.
Timeline, Lead Time, and Turnaround Expectations
A realistic timeline includes quote review, artwork check, proof creation, proof approval, production scheduling, printing, finishing, cutting, quality control, packing, and transit. The clock usually starts after final artwork and proof approval, not after the first inquiry.
For standard digital sticker orders, production after proof approval may take around 5 to 10 business days, with transit added separately. More complex jobs, such as specialty films, metallic effects, custom rolls, color matching, or larger retail quantities, may need 10 to 20 business days or more. These ranges depend on workload, material availability, and order complexity, so treat them as planning guidance rather than a guarantee.
Several factors speed up production: print-ready files, clear specifications, standard materials, simple shapes, fast proof approval, and a realistic delivery plan. Other factors slow it down: missing bleed, low-resolution artwork, special-order materials, complex contour cuts, multiple decision-makers, color matching requests, and last-minute quantity changes.
For launches, events, or retail resets, work backward from the in-hand date. Add time for shipping, internal review, and application testing. If stickers must be applied to finished goods before a shipment leaves, add that labor window too. A team applying 2,000 labels by hand can lose hours if the liner is hard to peel or the label size fights the container curve.
Rush orders may be possible, but rushing should not mean skipping proofing or material checks. Stickers often touch finished goods. A mistake can create rework across the full product packaging run.
Common Sticker Buying Mistakes That Hurt Results
The first mistake is choosing only by price without confirming whether the material can handle moisture, cold, abrasion, oils, or outdoor exposure. A low-cost paper sticker might be fine on a dry mailer and completely wrong on a refrigerated bottle.
The second mistake is designing too close to the edge. Slight cutting movement is normal in print converting. If a thin border sits right on the trim line, normal tolerance can make the sticker look off-center even if production is within spec. Bleed and safe zones are cheap insurance.
The third mistake is using tiny text, hairline strokes, or low-contrast colors that look clean on a monitor but become hard to read at actual size. A 1.5-inch sticker does not give the same visual space as a full-screen mockup. Barcodes and QR codes also need enough size and contrast to scan reliably.
The fourth mistake is ignoring the application surface. Curved bottles, textured boxes, flexible pouches, recycled paperboard, compostable packaging, and containers with condensation all behave differently. If the surface is dusty, oily, cold, or uneven, adhesive performance can change quickly.
The fifth mistake is approving proofs too quickly. Check dimensions, spelling, color notes, finish, material, quantity, and roll direction. Roll direction matters if labels feed into an applicator, because the copy may need to lead top-first, bottom-first, left-first, or right-first depending on the machine setup.
The sixth mistake is waiting until finished packaging arrives before ordering. That leaves no time for testing, reprints, or shipping delays. For new products, sample the sticker on the actual container before committing to the full run whenever the schedule allows.
Next Steps Before You Request a Sticker Quote
Before requesting a quote, gather the basics: final size, shape, quantity, application surface, indoor or outdoor use, moisture exposure, finish preference, and desired delivery date. Those details help a manufacturer recommend the right material instead of guessing from artwork alone.
Testing is especially useful for bottles, jars, cold-chain products, oily products, textured mailers, curved containers, and flexible pouches. Apply a sample to the real surface, then check it after 24 hours. If the product will be refrigerated, handled with damp hands, packed tightly in cartons, or exposed to sunlight, test those conditions too.
Good artwork files make the process smoother. Vector files such as AI, EPS, or print-ready PDF work well for logos, text, and cut paths. Raster images should be high resolution at final size, often 300 dpi for standard print work. Fonts should be outlined or packaged. Bleed should usually extend at least 1/8 inch past the cut line unless the supplier specifies otherwise.
If color accuracy matters, include brand color references, Pantone targets, or a previously approved printed sample if available. Digital screens vary. A proof viewed on a laptop is not the same as ink or toner on film or paper. Clear expectations reduce surprises.
Ask direct questions if the use case is uncertain. Which adhesive works on this container? Will the finish scuff in cartons? Can the roll unwind direction match the applicator? Is the white ink layer needed under clear material? These details sound small until production starts.
Ordering high quality Stickers Custom Made for a product is easiest when the design, surface, material, finish, quantity, and timeline are defined before the quote request. Gather the specs, photograph the application surface, confirm the deadline, and include those details with the artwork.
Custom Sticker FAQs
What are the best materials for high quality custom stickers?
White vinyl is a strong all-purpose option for durability and clean color. Clear BOPP works well for a no-label look on glass, plastic, and glossy containers. Paper stocks are cost-effective for dry indoor use, while polyester or specialty films are better for tougher environments. The best choice depends on the surface, moisture exposure, handling, and desired finish.
How much do high quality stickers custom printed for products cost?
Pricing depends on size, quantity, material, adhesive, finish, shape, packing format, and shipping. Larger quantities usually reduce unit cost because setup and handling are spread across more pieces. Special finishes, complex cuts, premium films, or rush timelines can increase the final quote. A good quote request should include size, quantity, material preference, use case, artwork, and delivery deadline.
How long does it take to produce custom product stickers?
Lead time usually includes artwork review, proof approval, production, finishing, cutting, quality control, packing, and transit. Production timing typically begins after proof approval, not after the first email or quote request. Standard materials and print-ready files usually move faster than specialty stocks or complex contour cuts. Buyers with launch dates should add buffer time for shipping, internal review, and application testing.
Are custom stickers waterproof or weather-resistant?
Some stickers are water-resistant or weather-resistant, but performance depends on the material, adhesive, ink, and protective finish. Vinyl, BOPP, and polyester films generally handle moisture better than uncoated paper. Lamination or coating can improve scuff resistance and protect printed graphics. Outdoor, refrigerated, or wet-use stickers should be specified clearly before quoting.
What artwork files are best for high quality sticker printing?
Vector files such as AI, EPS, or print-ready PDF are best for logos, text, and cut lines. Raster images should be high resolution at final print size to avoid blur or pixelation. Fonts should be outlined or packaged, and files should include bleed and safe margins. If color accuracy matters, include brand color references or Pantone targets when available.