Buyer Fit Snapshot
| Best fit | box closure type selection buyers comparing material specs, proofing, MOQ, unit cost, lead time, freight, and reorder risk where brand print, material, artwork control, and repeat-order consistency matter. |
|---|---|
| Quote inputs | Share finished size, material target, print colors, finish, packing count, annual reorder estimate, and delivery region. |
| Proofing check | Approve dieline scale, logo placement, barcode or warning zones, color tolerance, and any recyclable or compostable wording before bulk production. |
| Main risk | Vague material claims, crowded artwork, or missing packing details can create delays even when the unit price looks attractive. |
Fast answer: Box Closure Type Selection: Tuck, Magnet, Seal, and Shipping Reliability should be specified like a repeatable production item. The safest quote includes material, print method, finish, artwork proof, carton packing, and reorder notes in one written spec.
What to confirm before approving the packaging proof
Check the product dimensions against the actual filled item, not only the sales mockup. Ask for tolerance on folds, seals, hang holes, label areas, and retail display edges. If the package carries a logo, QR code, warning copy, or legal claim, reserve that space before decorative graphics fill the panel.
How to compare quotes without losing quality
Compare board or film grade, print process, finish, sampling route, tooling charges, carton quantity, and freight assumptions side by side. A lower quote is only useful if the supplier can repeat the same color, closure quality, and packing count on the next order.
How to Choose Box Closure Types for Reliable Shipping
I remember when I first scribbled that headline on a cocktail napkin after a particularly chaotic trial at the Memphis line—there was adhesive everywhere, and I promised myself I’d help everyone understand why how to choose box closure types matters so much.
Overview: Why Box Closures Matter More Than You Think
Early one morning at the Custom Logo Things plant in Orange County, I watched a pallet of 200-pound handheld scanners ride two dozen 3-foot forklift drops out of curiosity rather than necessity, and a simple tucked flap closure with a 1-inch double score still held the entire load together—quiet proof that how to choose box closure types can make the difference between a safe load and a rework mess.
Supply teams tend to think the decision starts at the tape gun, yet our corrugated suppliers in the Chicago innovation center often specify closures before a single board is cut, because the chosen closure dictates scoreline placement, hand hole positioning, and even secondary handling equipment such as pick belts or tilting plates; honestly, I think more engineers should spend a morning there just to hear the conversations (yes, they still use whiteboards) before they lock in a design.
The same day, our Orange County automation guru pointed out that choosing the wrong closure can force a line speed drop from 80 to 60 cases per minute simply because the erector has to pause for a glue gun reset—an unnecessary constraint when how to choose box closure types is handled earlier during die design while still factoring in adhesives, sensors, and cure time, and frankly, it drives me nuts when someone blames the erector for a decision made months earlier.
This overview invites you to treat closures as a structural decision that balances strength, brand presentation, and tooling compatibility before the first corrugate lifts off the pile, so your material planners can breathe a little easier knowing the next run will behave.
How Box Closures Work on Packaging Lines
How to choose box closure types begins with a reality check on the case erector, because whether the line is applying a tuck, a glued flap, or a hot-melt bead dramatically alters the flow: hot-melt nozzles need time for the adhesive to set, compression rollers add dwell, and sensors must verify bead placement before gates release the carton—and I still chuckle remembering how the rookie tech tried to speed things up by waving a magnet (don’t ask, it was a bad idea).
We break the production process into scoring, folding, adhesive or tape application, compression, and inspection, with each stage timed precisely; at our Louisville facility, tuck closures only require a 0.2-second dwell, while hot-melt continuous gluing demands 0.6 seconds per seam plus a 5-second curing buffer before stacking, which makes the scheduler grit their teeth when we switch between SKUs (those buffer seconds add up fast).
A field engineer once brought a beverage client into our Memphis lab to demonstrate; they thought how to choose box closure types was a tape selection, but after watching the folding rail misalign an interlock slot at 52 CPM, they realized the closure dictated conveyor speed, not the other way around, and they thanked us with coffee that afternoon (I still count that visit as a win).
Viewing the closure as a mechanical system lets you plan conveyor belts, carton erectors, and robotic palletizers with intentional cadence, ensuring the adhesive, tape width, or tuck is compatible with your target throughput rather than forcing the line to adapt mid-run—so please, let’s avoid those frantic late-night calls.
How to Choose Box Closure Types: Key Factors When Evaluating Box Closure Types
Assessing how to choose box closure types should begin with load requirements, because knowing that a shipment will carry 50-pound ceramic kits stacked three high means you need more than a simple tuck; the load profile pushes you toward reinforced flaps with hot-melt beads and support tape that can resist 150 pounds of stacking pressure, and frankly, I’ve seen those kits fall apart without the right closures (not something I enjoy reliving).
Match closure materials to environmental conditions: for shipments leaving our Miami dock in the wet season, we prefer water-activated adhesives that bond to the 350gsm C-flute board and thrive in 85% relative humidity, while premium retail cartons headed to boutique stores lean toward die-cut tuck closures that preserve the soft-touch lamination and keep brand imagery crisp—because aesthetics matter, but not at the cost of a soggy nightmare.
Operational speed matters, so interlocking slot-and-tab closures are precise but slow the line to 30–40 CPM, whereas pressure-sensitive tape and pre-applied hot-melt heads can push 70 CPM with minimal training—this is a key consideration in how to choose box closure types for high-volume SKUs, and in my opinion, you should never compromise cycle time unless your product physically demands it.
Don’t overlook regulatory needs; pharmaceutical clients require tamper-evident seals and FDA-compliant adhesives, so we include tamper tapes in their closure matrix, documented according to ISTA procedure 2B, ensuring compliance is part of the selection conversation rather than a retrofit, because chasing compliance after the fact is one of those headaches you really don’t need.
Step-by-Step Guide to Choosing the Right Closure
How to choose box closure types starts with a thorough needs audit: document every shipping hop, the typical drop height, bounce from conveyor transfers, and customer expectations for presentation, then rank closures by their ability to meet those conditions—I still keep an old notebook from the first audit; it’s dog-eared and full of scribbles, a testament to how messy real-world decisions get.
Next, work closely with your Custom Logo Things project manager to sample combinations; we often run five closure styles—tuck, hot-melt, water-activated, pressure-sensitive, and locked tab—on a single press run so warehouse leads can compare ease of application and handle real-world stresses, because nothing replaces seeing something fail in front of you (and admit it, you learn faster that way).
During a client meeting in Cincinnati with a nutrition brand, they insisted on tape for aesthetic reasons, but after we demonstrated a quick pilot where hot-melt cut the cycle time by 15 seconds and held up on the vibration table, they saw that how to choose box closure types involves short pilots rather than assumption, and I remember the relief on their faces when the vibration table didn’t send everything scattering.
Analyze integration by asking whether the closure adds utility upgrades such as 220-volt hot-melt transformers or extra compressed air for tuck axles; simple tuck closures rarely need new hardware, but locked joints might require servo adjustments and extra maintenance—so when someone asks for a fancy joint, I usually ask them to bring their maintenance crew along for the conversation.
Validate by running a short pilot batch, sending cartons through drop testing with 40 drops at varied heights, tracking compression data, and gathering warehouse feedback, then finalize the decision once everyone agrees the closure endures real handling; trust me, consensus saves a lot of late-night troubleshooting calls.
Cost & Pricing Considerations for Closure Types
When budgeting for closure work, break it down into specific line items: material costs, labor impact, and machine wear. Gummed tape may run $0.15 more per foot than pressure-sensitive tape but holds up to 140° F and resists humidity, which cuts freight claims in half for certain coast-to-coast clients, and honestly, those savings pay for the tape within a day.
Calculate labor time with precision: hand-tucked closures take 2.4 seconds per case on average and tie operators to the line, whereas an automated tape arm drops to 1.1 seconds per case and frees up a lead to monitor adhesives, even if the tape head requires quarterly belt replacement—so in my view, you owe it to your crew to run the math instead of guessing.
Factor in downtime—changing closure types often means swapping tooling on the case erector, so plan those swaps during low-volume runs and log the 45-minute setup in your cost-per-order sheet. Our plant schedulers in Oklahoma City flag those windows well in advance when clients specify closures during the kickoff, and they honestly deserve a medal for juggling that schedule.
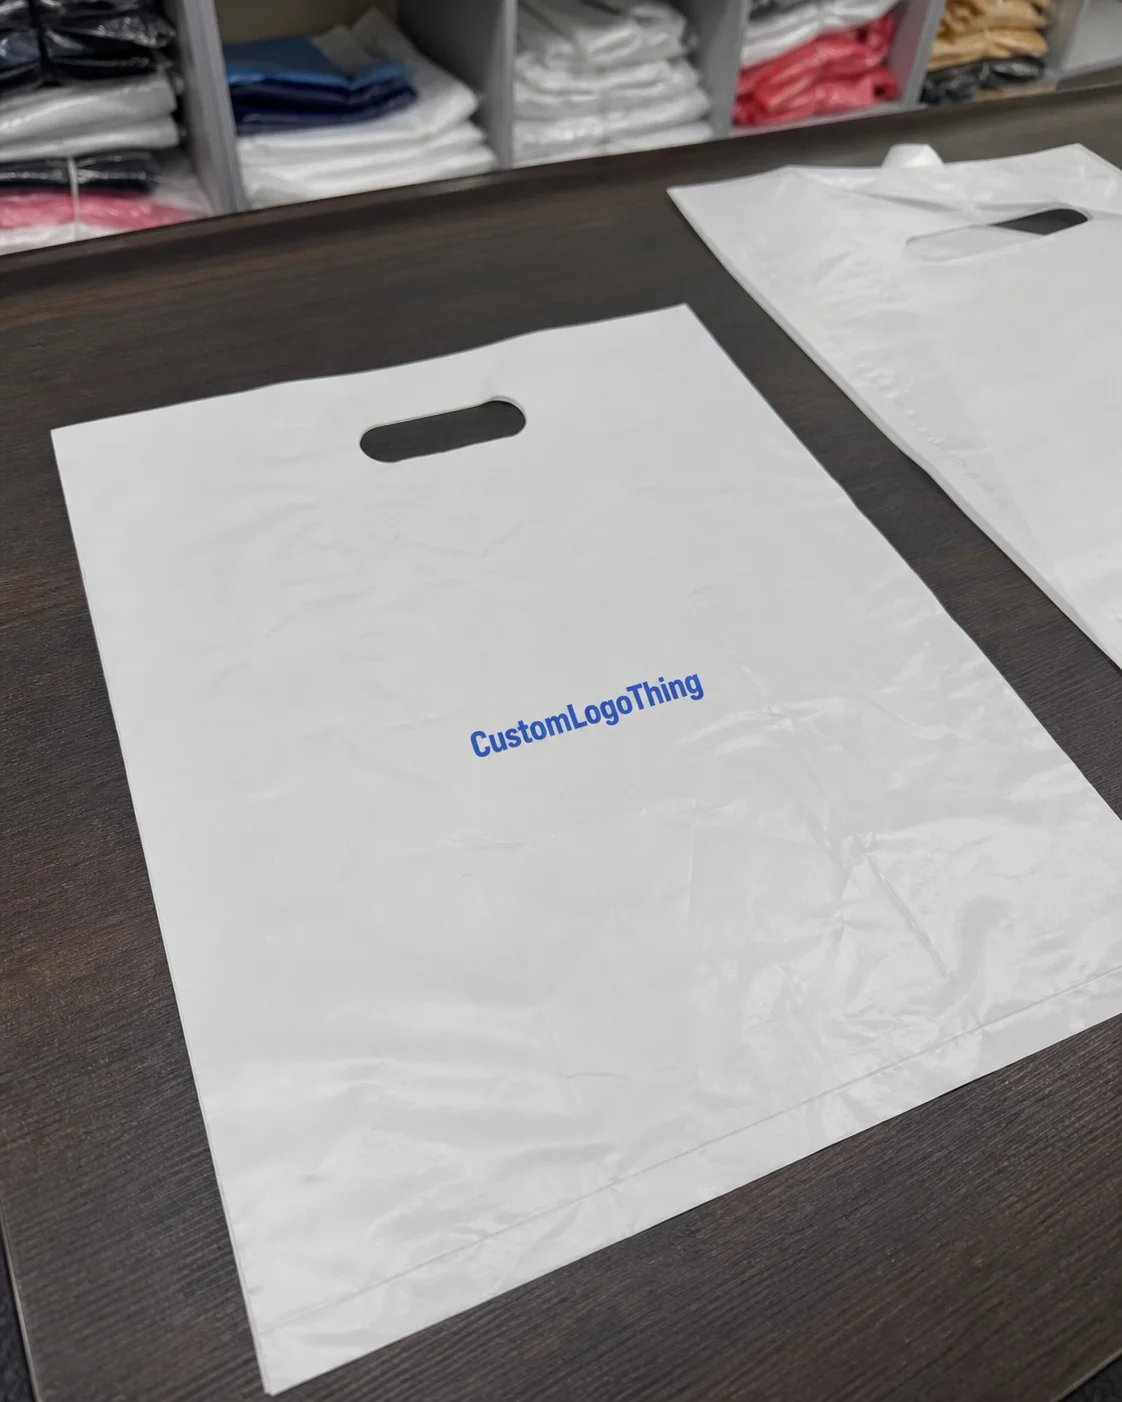
Custom Logo Things also offers bundled pricing when closure types are settled early. That lets our facilities buy adhesives, tapes, or mechanical components in bulk and schedule runs without premium rush fees, bringing per-unit costs down to as low as $0.18 on certain carton sizes, which makes procurement managers cheer—and that’s not hyperbole.
Common Pitfalls When Selecting Closure Options
Don’t let retail aesthetics override performance; I once watched a client opt for glossy tuck closures to appeal to boutique shoppers, only to have the cartons split along the center seam during regional shipping and come back from Seattle with internal inserts ruined—an expensive reminder that how to choose box closure types must honor structural integrity before the sheen, and yes, I slammed my fist on the table (metaphorically, mostly).
Avoid ignoring line speed: a closure that works perfectly in a lab may trap every fifth case in production if it demands precise hand placement, so always test closures under full-speed conditions with the actual crew to identify jams before a launch, because watching a line slow down is the most frustrating thing when you’ve already promised delivery dates.
Watch for incompatible adhesives; pairing a high-tack tape with recycled corrugated can cause delamination and tear the liner. Our floor teams now rely on adhesive compatibility charts that tie tape recipes to specific board grades, preventing those stoppages and reducing waste—seriously, those charts are like the holy grail of glue.
Lastly, beware of blanket recommendations. A closure that works for beverage totes rarely performs the same for electronics crates, so the decision for how to choose box closure types must stay contextual to the product, transit route, and handling lane, which is why I always ask for the story behind every SKU.
Expert Tips from Custom Logo Things Factory Floors
Lean on your plant’s operators. At our Oklahoma City facility, veteran machine tenders often detect closure drift long before QA, so cultivating communication between shifts and maintenance keeps runs tight and avoids late-night panic calls—plus, they tell the best stories.
Standardize documentation; capture settings for each closure type—glue bead length of 0.35 inches, 12 cycles of compression, 5 seconds dwell time, and roller pressure of 18 psi—so variability drops when new technicians step onto the line, because there’s nothing worse than inheriting a run sheet that looks like a ransom note.
Whenever possible, consolidate closures across SKUs. If two product lines can share the same tape width, bead recipe, or tuck style, shipping teams see simplified palletization and operators spend more time loading cartons than calibrating heads, and frankly, that’s a massive quality-of-life upgrade.
Take advantage of your Custom Logo Things material lab. We regularly send closures through drop towers, compression testers, and even salt spray chambers to document performance, then share those data sheets with clients to confirm their choices before full production—those reports feel like a secret weapon (but it’s not really a secret anymore).
One supplier negotiation taught me this: asking for a narrow 3/4-inch PSA tape to match a brand aesthetic increased adhesive failure until we moved back to 1.25-inch tape and added a 2-inch overwrap, reinforcing the seam without sacrificing the look—pro tip: sometimes the cutest tape is the worst performer unless you back it with science.
Actionable Next Steps for Choosing Box Closure Types
Start by gathering your shipment profile—actual weights, transit roughness, climate conditions, and branding needs—then map those realities to a shortlist of closure candidates documented within your production plan, because if you skip that step, you’re basically shooting in the dark.
Schedule a pilot run with your Custom Logo Things packaging engineer, requesting samples of each closure option, noting application speeds, and recording adjustments made by line crews so that how to choose box closure types becomes a collaborative experiment rather than a one-off guess, and honestly, those pilot runs are the best part of the job for me.
Document the total cost impact, including adhesive spend, labor time, changeover minutes, and potential savings from damage reduction; use that analysis to choose the closure that balances performance with budget, because financial clarity keeps everyone happy (well, mostly).
Formalize the decision with an internal checklist that includes closure maintenance requirements, operator training, and QA checkpoints so your team confidently knows how to choose box closure types before the next run, and if you ever need a template, just ask—I've got a stack of them.
Conclusion
With 20-plus years walking lines and negotiating adhesives, I can honestly say that understanding how to choose box closure types keeps load integrity, throughput, and brand presentation aligned, turning the closure into a dependable partner rather than an afterthought, and honestly, it’s the part of packaging that quietly saves the day.
Whether you are balancing moisture-sensitive shipments, pacing automation, or convincing procurement to invest in a different tape width, lean on data from drop towers, ISTA protocols, and your own operators so closures serve more than aesthetics—they preserve every hard-won package, and if anyone tells you otherwise, ask them to show you the ruinous return report.
FAQs about Box Closure Types
What is the best box closure type for heavy items?
Choose closures that interlock or combine reinforced adhesives—locked-tab joints with hot-melt beads provide structural support and resist separation during drops; pair them with high-ECT board and consider a $0.10 per carton over-tape strip for double-stacked warehouse resilience.
How do environmental conditions affect choosing box closure types?
Humidity and temperature influence adhesive cure; water-activated tape thrives in damp ports, while pressure-sensitive tape prefers cool, dry climates; for cold-chain shipments, test closures in a climate chamber—our Custom Logo Things lab drops samples to -10°F to verify pliability.
Can automation influence how to choose box closure types?
Absolutely—closure choices must align with case erectors, glue guns, or tapers; if your line runs at 60 CPM, choose closures that the existing equipment can apply consistently, and involve your automation techs early to avoid mismatched cycle times or mechanical jams.
Are there cost savings tied to specific box closure types?
Yes—some closures lower labor and damage claims; simple tuck closures may cut material spend but increase manual handling, while automated tape systems cost more upfront yet speed throughput; run a total-Cost Comparison That includes adhesive price, labor, and damage rates.
How often should I revisit how to choose box closure types?
Reevaluate whenever you launch a new SKU, change shipping lanes, or upgrade line equipment; even small shifts in product weight or destination climate can call for a different closure, so set quarterly reviews with your packaging engineer.
For deeper standards, I rely on the Institute of Packaging Professionals at packaging.org for closure alignment guides and the International Safe Transit Association at ista.org for testing protocols, making sure every decision stays grounded in proven processes.
Related Articles
- Personalized Makeup Packaging Wholesale Bulk Buying Guide
- How to Choose Right Box Size Guide: Smart Fit Tips
- Personalized Packaging Inserts Wholesale: Complete Guide
- Sustainable Packaging Cost Analysis Report Insights
- How to Start Custom Packaging Company Without Guesswork