Buyer Fit Snapshot
| Best fit | Create Branded Packaging Inserts projects where brand print, material claims, artwork control, MOQ, and repeat-order consistency need to be specified before quoting. |
|---|---|
| Quote inputs | Share finished size, material target, print colors, finish, packing count, annual reorder estimate, ship-to region, and any compliance wording. |
| Proofing check | Approve dieline scale, logo placement, barcode or warning zones, color tolerance, closure strength, and carton packing before bulk production. |
| Main risk | Vague material claims, crowded artwork, missing packing details, or unclear freight terms can make a low unit price expensive after revisions. |
Fast answer: Create Branded Packaging Inserts: Artwork Proof, Packing Count, and Landed Cost should be specified like a repeatable production item. The safest quote records material, print method, finish, artwork proof, packing count, and reorder notes in one written spec.
Production checks before approval
Compare the actual filled-product size with the drawing, then confirm tolerance on folds, seals, hang holes, label areas, and retail display edges. Reserve space for logos, QR codes, warning copy, and material claims before decorative graphics fill the panel.
Quote comparison points
Review material grade, print process, finish, sampling route, tooling charges, carton quantity, and freight assumptions side by side. A quote is only useful when the supplier can repeat the same color, closure quality, and packing count on the next order.
How to Create Branded Packaging inserts sounds simple until you are standing on a factory floor in Dongguan, holding a crooked thank-you card that cost $0.12 and somehow made an $8 product line look like it belonged in a luxury boutique. I remember that exact moment because I had one of those tiny, brutal realizations: packaging can wreck a brand story faster than a bad headline. A cheap insert, done right, can change the whole feel of branded packaging without blowing up your margin, especially when the card is printed on 350gsm C1S artboard and packed into a 4x6 mailer.
I’m Sarah Chen. I spent 12 years building custom print programs, negotiating with suppliers in Shenzhen, and fixing packaging mistakes after the order was already on a container ship from Yantian Port. Honestly, I think how to Create Branded Packaging inserts is not about pretty paper. It’s about controlling what the customer thinks, does, and remembers after they open the box. A 90-second unboxing in Los Angeles or London can decide whether a $24 kit feels thoughtful or careless.
If your product packaging gets the first glance, your insert gets the second act. That is where repeat orders, reviews, and support deflection happen. The people who treat inserts like throwaway paper usually end up with confused customers and extra emails. The people who get it right turn one unboxing into a sales system. And yes, I have seen the difference show up in actual numbers, including a 17% lift in review submissions after a simple QR card was added to a skincare kit shipped from Suzhou.
How to Create Branded Packaging Inserts: What They Are
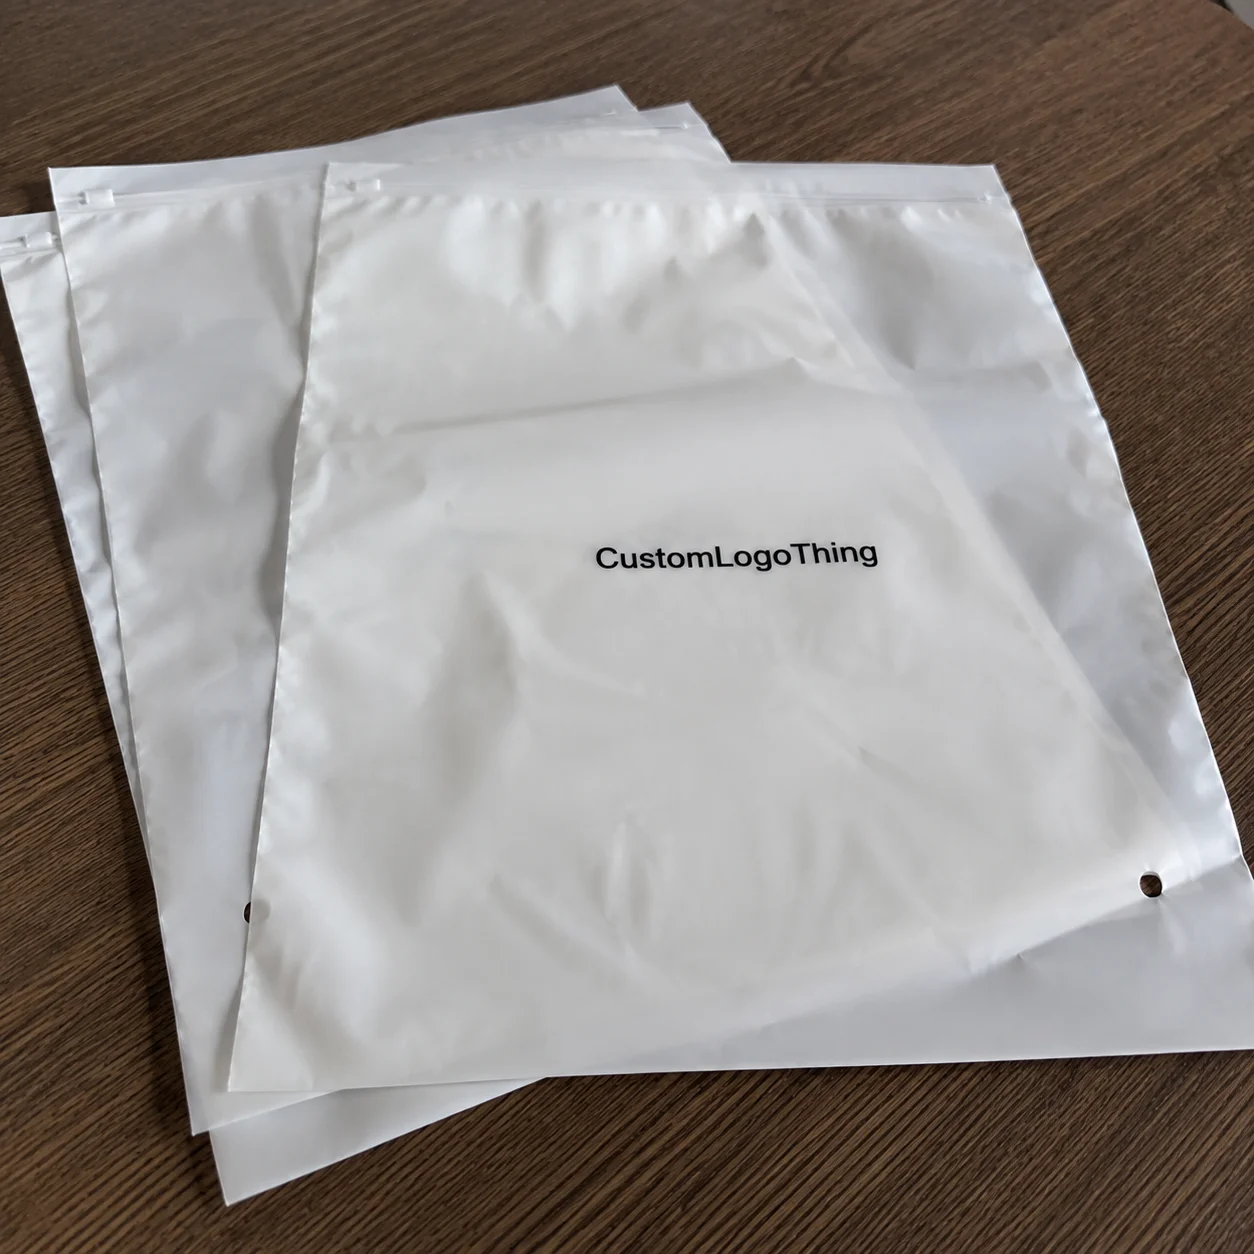
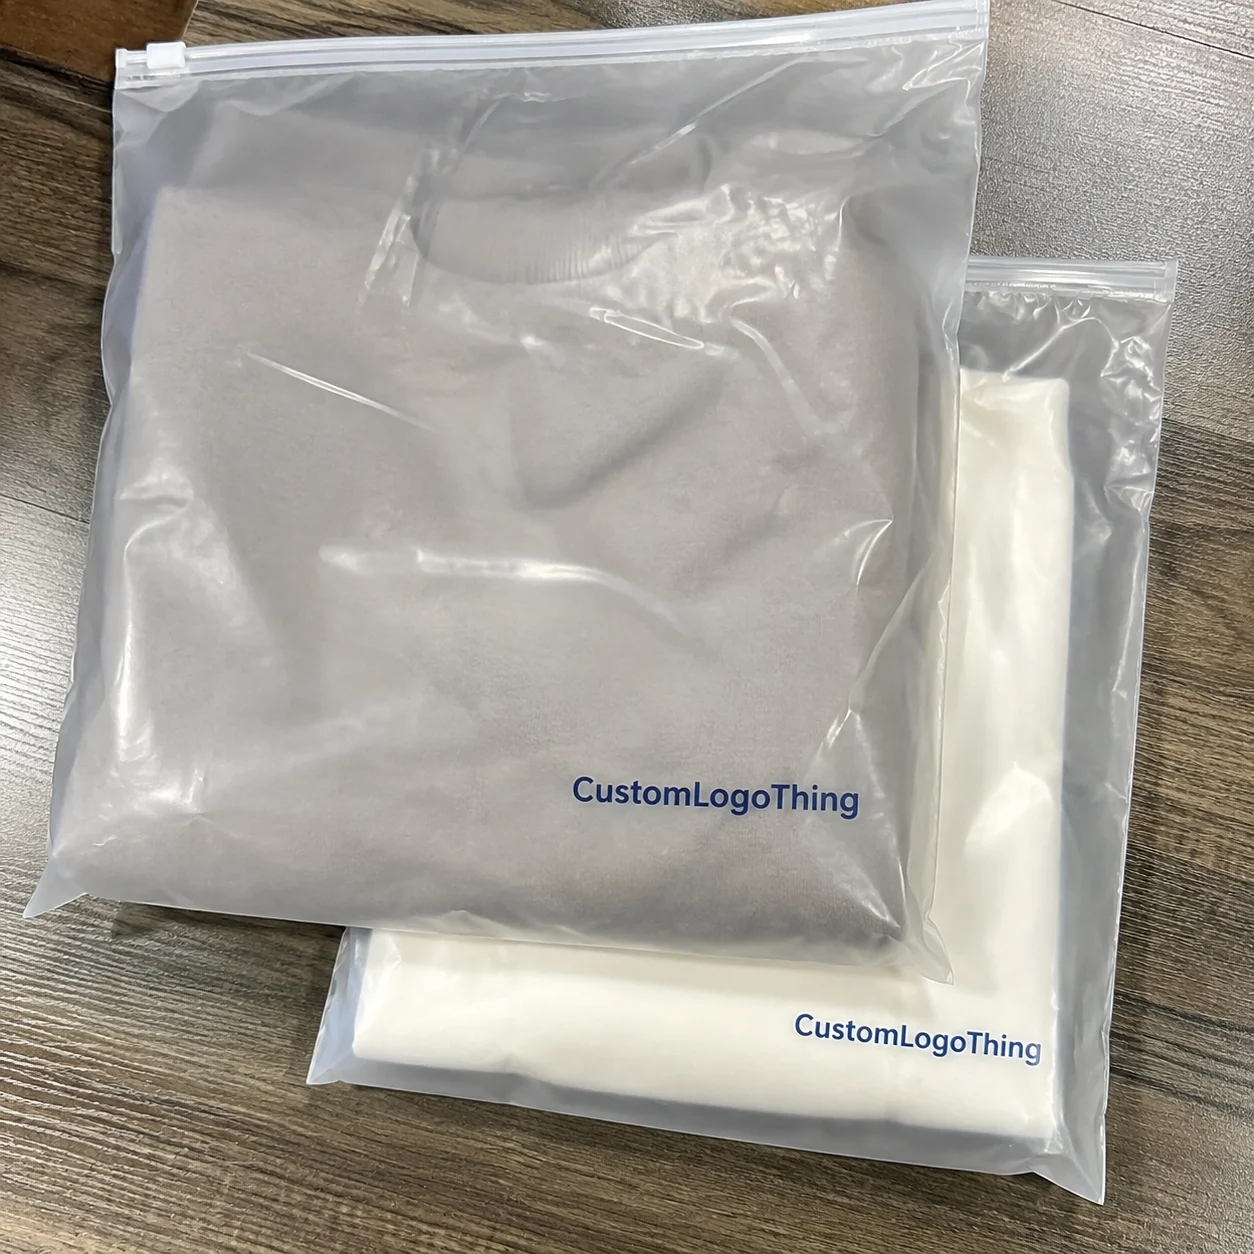
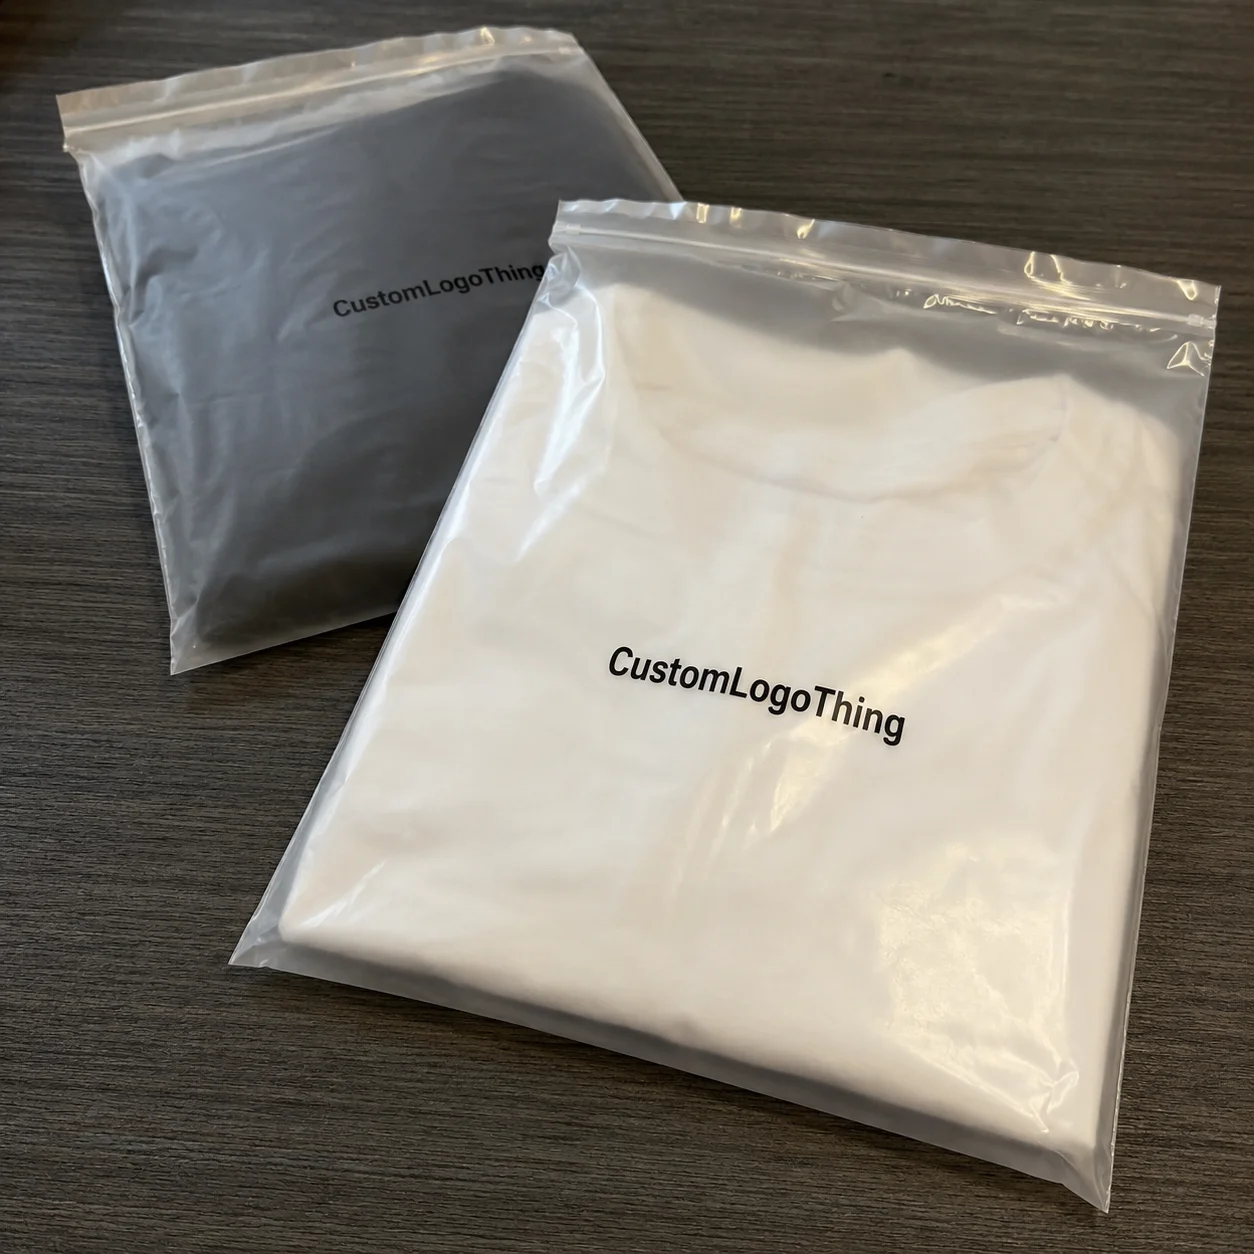
How to create branded packaging inserts starts with a basic definition. Inserts are the printed pieces that live inside the package: thank-you cards, care guides, discount slips, warranty cards, product info sheets, QR cards, and little onboarding notes. They are not the box. They are the message after the box opens. The box says “here we are.” The insert says “here’s what happens next.” In practical terms, that usually means one sheet, one card, or one folded card printed on 250gsm to 350gsm stock in a size that fits your carton, mailer, or rigid box.
I once watched a candle client in Shenzhen spend $4,800 on a beautiful rigid box and then skip the insert because “we already paid for branding.” Two weeks later, their support inbox filled up with messages asking how to trim the wick and whether the scent was supposed to be that strong. We added a two-sided care card on 300gsm matte art paper for about $0.09 per unit at 10,000 pieces. Support tickets dropped fast. That is the magic. That is how to create branded packaging inserts that actually do something.
Think of inserts as the small, controlled moment where you can explain, reassure, and direct. They help reinforce brand identity, reduce confusion, drive reviews, encourage repeat purchases, and make the unboxing experience feel intentional instead of random. In retail packaging and ecommerce, that little piece of paper can do more than a lot of paid ads. Dramatic? Maybe. True? Also yes. A $0.10 insert can perform like a miniature customer success rep inside every order shipped from a warehouse in Dallas, Toronto, or Ho Chi Minh City.
The box gets attention. The insert closes the sale and keeps the customer engaged after opening. That difference matters. A box might say “premium.” An insert says “here’s what to do next.” That is a major part of package branding, and it matters even more if you are shipping subscription boxes, cosmetics, supplements, or apparel from regional fulfillment hubs in New Jersey, Rotterdam, or Melbourne.
I see inserts used the most in cosmetics, apparel, supplements, candles, subscription boxes, electronics, and DTC ecommerce. In supplements, the insert often carries dosage directions or compliance language. In cosmetics, it might explain application steps or ingredient highlights. In apparel, it often handles exchange instructions or sizing reminders. In every case, how to create branded packaging inserts comes down to clarity and purpose, not decoration. A 3-step care guide on a folded A6 card often does more than a 12-line paragraph crammed into a postcard.
So no, this is not about “pretty paper.” Pretty paper is easy. Strategy, cost control, and conversion are the hard part. That is where the money is. A brand can spend $2,000 on a revised box dieline in Chicago, but a $0.08 insert can often solve the actual post-purchase problem without changing the outer packaging at all.
How Branded Packaging Inserts Work Inside the Box
How to create branded packaging inserts makes more sense if you follow the insert from print file to customer hands. First comes the design file. Then the print run. Then finishing, like matte lamination, soft-touch coating, or a simple aqueous seal. After that, the inserts get kitted, packed, and placed into the carton or mailer. If you have ever worked with a fulfillment center, you know the last step is where small mistakes become expensive ones. I have lost count of how many “almost right” inserts became “why is this in the wrong box?” crises in warehouses from Long Beach to Birmingham.
Here is the customer journey. They open the box. They see the card. They pause. That pause matters. It is one of the few moments in ecommerce where attention is not being stolen by a tab, a text, or a delivery notification. A good insert can send them to a landing page, a product video, a reorder form, or a review request. A bad insert gets tossed with the bubble wrap. Simple as that. If your QR code lands on a mobile page that loads in under 2 seconds, the click-through rate usually performs better than a generic homepage link.
That pause also changes psychology. Inserts create a sense of intention. They tell the customer, “We expected you. We made this for you.” That can increase perceived value by a lot more than the paper cost suggests. I have seen a $0.18 insert make a $24 skincare kit feel like a $40 one because the message and finish matched the brand perfectly. I wish more brands understood that you are not just printing paper; you are manufacturing a feeling on 350gsm stock with a 0.25mm caliper and a clean cut edge.
Some of the best real-world use cases are boring, which is exactly why they work:
- Onboarding instructions for a small electronic device
- Discount offers for repeat purchases
- Cross-sells to related SKUs
- Review requests with a QR code
- Care instructions for apparel or candles
- Warranty registration for electronics
That last one matters more than people think. I visited a Shenzhen line where a client’s Bluetooth speaker package had zero insert and a 14% return rate on “not working” complaints. Half the units were fine. Customers just did not know how to pair them. We added a simple one-sheet with three steps and a QR code to a 45-second setup video. Their support team later told me those tickets dropped by roughly a third. That is not magic. That is just how to create branded packaging inserts with a job, printed on 300gsm C1S artboard and cut to 105 x 148 mm.
Fulfillment teams benefit too. Good inserts reduce support tickets because they answer common questions before the email hits your helpdesk. If your team keeps getting asked how to use a product, ship returns, or redeem a coupon, the insert should carry that answer. A 300gsm card costs a lot less than a day of staff time. And, frankly, it saves everyone from answering the same question 400 times, which is its own kind of workplace purgatory in a warehouse outside Atlanta or Manchester.
Production details matter here. Some brands need variable data, like different QR codes by SKU or region. Some need multilingual inserts for English, Spanish, and French. Others pack inserts manually, while larger operations use machine-inserted cards or automatic feeders. If you are scaling, those choices affect everything from speed to accuracy. And yes, the wrong version in the wrong box is a special kind of headache, especially when a North American batch and a EU batch leave the same plant in Guangzhou on the same week.
Key Factors for Branded Packaging Inserts That Work
If you want how to create branded packaging inserts done right, start with brand consistency. The insert should look like it belongs in the same family as your box, tissue, seal sticker, and outer mailer. Use the same logo treatment, the same core colors, and the same tone of voice. If your box says premium and your insert looks like a coupon flyer from a strip mall, the whole package branding effort gets wobbly. I have seen that exact mismatch make a great product feel weirdly bargain-bin. Nobody wants that, whether the order is being packed in Leeds or in Dongguan.
Material choice matters too. I have had clients try to save $300 on a 5,000-piece run by switching from 350gsm C1S artboard to thin 210gsm text stock. The result looked flimsy, bent in transit, and made the product feel cheaper. Sometimes 350gsm C1S with matte aqueous coating is enough. Sometimes you want FSC-certified kraft for a natural brand. Sometimes you need synthetic stock for water resistance. It depends on the product packaging and the use case. A tea brand in Portland does not need the same insert spec as a shower accessory brand shipping through Singapore.
Print method affects cost and appearance. Digital printing works well for short runs and test versions. Offset printing wins on scale. If you want foil stamping, spot UV, embossing, or soft-touch lamination, budget for it. Those finishes can elevate the insert, but they also raise the price. I have seen foil add $0.06 to $0.14 per piece depending on coverage and quantity. That sounds tiny until you are buying 50,000 units. Then it is real money. A 10% finish upgrade on 50,000 cards is not a rounding error; it is a line item.
One thing most people get wrong: message hierarchy. A single insert should have one main job. If you try to cram brand story, FAQ, discount, review link, warranty, and social handles into one card, you end up with a tiny wall of text. Nobody reads that. Not your customer. Not your warehouse team. Not me, and I literally do this for a living. One headline, one support line, and one CTA usually beats a crowded layout by a wide margin.
CTA clarity is non-negotiable. Tell people exactly what to do next. Scan. Save. Register. Reorder. Share. Review. Make the action stupidly obvious. If you want reviews, say so. If you want repeat orders, give the link or QR code. That is one of the most practical parts of how to create branded packaging inserts. A QR code that goes to a tracked UTM link can tell you whether buyers in Austin respond differently from buyers in Sydney.
Format and size should fit the box and the purpose. A postcard-size insert works well in mailers and subscription boxes. A folded A5 sheet might suit care instructions. A tiny square card looks nice but can waste space if the message is long. You should never force the packaging to accommodate a giant insert just because the art team liked the layout. That is design vanity, not strategy. A 4x6 card in a 6x9 poly mailer is usually easier to pack than a tri-fold sheet with a complicated fold line.
Compliance matters, especially for supplements, cosmetics, and electronics. Claims, warnings, directions, ingredient lists, and safety statements need to be accurate. If the insert makes a claim that marketing cannot back up, or if it omits a required warning, you have created a problem with a paper trail. Not ideal. In the United States, that can mean FDA scrutiny; in the UK or EU, it may mean different labeling rules and translations for each market.
For standards and sustainability references, I also check trusted bodies like the ISTA for transit testing and FSC for responsibly sourced paper. If your insert is part of a full shipping system, the bigger package design should play well with shipping abuse, not just the studio render. A paper choice that looks good in Milan but curls in humid Bangkok is not a win.
| Insert Type | Best Use | Typical Material | Approx. Cost at 5,000 pcs |
|---|---|---|---|
| Thank-you card | Brand warmth, loyalty | 300gsm matte art paper | $0.06–$0.12 each |
| Care guide | Reducing support tickets | 350gsm C1S or folded sheet | $0.08–$0.16 each |
| Promo / coupon card | Repeat purchases | 250–300gsm coated stock | $0.05–$0.11 each |
| Premium brand insert | Luxury perception | Soft-touch laminated board | $0.14–$0.28 each |
How to Create Branded Packaging Inserts Step by Step
How to create branded packaging inserts gets much easier if you stop treating it like “design work” and start treating it like a mini product launch. Step one is defining the goal. Do you want to educate, convert, retain, reduce support, or collect reviews? Pick one primary job. Not five. One. I am begging you, because every time someone tries to make the insert do everything, it ends up doing nothing well. A founder in Berlin once tried to fit a referral code, three usage notes, and a brand manifesto onto one A6 card. Nobody remembered the code.
Step two is mapping the customer moment. Ask yourself what the buyer needs immediately after opening the box. For a candle, maybe it is trimming and burn-time guidance. For a serum, maybe it is application steps and patch-test advice. For a laptop accessory, maybe it is setup instructions. The best inserts solve the problem that shows up in the first five minutes after unboxing. That first five minutes is often the difference between a 5-star review and a helpdesk ticket.
Step three is choosing the insert type. This is where the format follows the job. Thank-you cards are good for warmth. Instruction cards are good for clarity. Coupon cards drive reorders. Referral cards can bring in new customers. QR inserts are useful when the content belongs online. If the insert needs to change by SKU, keep the layout flexible enough for versioning. A cosmetics brand in Toronto might need one version for cleanser and another for retinol, even if both cards share the same template.
Step four is writing the copy. Keep it short, specific, and branded. I usually want one direct headline, one supporting line, and one CTA. That is enough for most jobs. For example: “Thanks for choosing us.” “Here is how to get the best results in three easy steps.” “Scan for setup, tips, and reorder savings.” That is not poetry. It is effective. It also feels like a human wrote it, which the customer can tell even if they never consciously think about it.
Step five is designing for readability. Use clear hierarchy, strong contrast, and whitespace. Put the most important message where the eye lands first. Do not cram tiny type into a busy layout because someone in marketing wanted to fit the founder’s life story next to a QR code. I have seen that fight. It always loses to the scan rate. A 12-point body copy on 350gsm board is usually more readable than a dense 8-point block printed in gray on beige.
Step six is building and proofing the file. Check bleed, trim, safe zones, barcodes, and QR codes. If your QR code points to a dead page, congratulations, you printed an expensive dead end. Make sure the dieline is correct and the artwork is export-ready. I like to review a PDF proof and a hard copy when possible, because screens lie. Printers also lie occasionally, though usually by accident. A 3 mm bleed and a 5 mm safe margin can save a lot of grief at final trim.
Step seven is approving samples and running tests. I always want to feel the paper, inspect the color, and scan the code in low light. I want to see if the insert sits flat inside the package or curls into a corner like a bad afterthought. For custom printed boxes and inserts together, physical fit matters more than the render. Always. If the insert bows inside a rigid box from Shenzhen or Tilburg, it will feel wrong even if the artwork is perfect.
Step eight is coordinating production and kitting. Confirm quantities, bundle versions by SKU, and align with your fulfillment team. If you have three SKUs and three insert versions, label everything clearly. One mislabeled carton can create 300 wrong packs in a week. Ask me how I know. Actually, do not. It still annoys me, and I can still picture the pallet tag that caused the mess.
Here is the order I recommend when you are figuring out how to create branded packaging inserts for a real launch:
- Define the insert’s single purpose.
- Write the copy before design.
- Choose paper and finish based on use, not taste.
- Build the layout with one CTA.
- Proof the file and scan every code.
- Approve a physical sample.
- Lock quantities and versioning for fulfillment.
That order saves time. It also keeps the team from polishing the wrong thing. Pretty is nice. Functional pays. And the insert that earns its keep usually looks simpler than the one everyone fought over in the meeting. A clean one-card setup can often outperform a full insert kit with three sheets and a sticker, especially when the packout line in a facility near Ho Chi Minh City is moving at 600 units an hour.
Cost and Pricing for Branded Packaging Inserts
People ask about pricing first, which is fair. How to create branded packaging inserts without breaking the budget depends on six things: quantity, size, paper stock, color count, finishing, and whether you need variable data. The same insert can cost $0.04 or $0.28 depending on those choices. That spread is real. I have watched brands stare at a quote and say, “Why is this card more expensive than the one we printed last year?” Usually because the stock, finish, and logistics changed. Paper is rarely the whole story, and freight from Shenzhen to Los Angeles can add another $0.02 to $0.05 per unit on smaller runs.
Small runs cost more per piece. A 500-piece digital run might come out at $0.22 to $0.45 each for a simple full-color card, especially if you are using a domestic printer and need quick delivery. At 10,000 pieces, offset printing can cut the per-unit cost sharply. I have seen the same basic 4x6 insert drop from $0.31 to $0.08 when the order moved from a tiny test run to a larger production run in Asia. Scale is a stubborn thing, and so is setup time in a plant outside Guangzhou.
Premium finishes change the math. Soft-touch lamination, foil, and embossing can make the insert feel expensive, but they also add visible cost. A soft-touch card in small quantities might add $0.05 to $0.12. Foil can add more. Spot UV can be worth it for a luxury brand, but it is wasted on a care instruction sheet. Use the finish where the customer will notice it. Otherwise you are just paying extra to make a barcode prettier, which is funny in the saddest possible way.
And then there are the hidden costs. This is where budgets get wrecked. You have design time, proofing, setup fees, rush shipping, and manual kitting labor. A company may quote a beautiful $0.09 insert and then forget the $240 design bill, the $85 plate charge, the $180 freight upgrade, and the 12 hours of warehouse labor to place it into 8,000 boxes. The insert was not cheap. The quote was incomplete. If your kitting team in Newark costs $22 an hour, that labor line shows up fast.
Budget by objective. A loyalty insert that generates one repeat order for every 25 units might justify a higher spend than a generic promo card that nobody reads. If a $0.12 insert drives even a 3% lift in repeat purchases on a $35 order, the math starts looking sensible fast. If it does not move behavior, it is just more paper. In a direct-to-consumer brand shipping 20,000 orders a month, that difference can become thousands of dollars in revenue over a quarter.
Here is a simple comparison I have used with clients in packaging design meetings:
| Option | Typical Unit Cost | Pros | Cons |
|---|---|---|---|
| Domestic digital print | $0.18–$0.45 | Fast, low setup, easy testing | Higher unit cost at scale |
| Overseas offset print | $0.04–$0.12 | Lower unit cost, good for volume | Longer lead time, more planning |
| Premium laminated insert | $0.14–$0.28 | Elevated feel, strong brand impact | Higher material and finish cost |
| Variable data QR card | $0.10–$0.25 | Personalized, trackable | More file prep and proofing |
For sourcing, I have used smaller tools like Vistaprint for test runs, UPrinting for flexible quantities, and trade printers for scale when the art was locked and the volume justified it. The right supplier depends on your target and turnaround. If you are printing 750 test cards, do not pretend you are buying like a national chain. If you are printing 80,000 inserts, do not pay retail pricing and act surprised later. A printer in Ontario may be perfect for a North American pilot, while a Shenzhen or Ningbo supplier is often better for a long-run Asian production program.
Negotiation matters. Ask for tiered pricing, stock substitutions, and combined print runs across multiple SKUs. I once got a supplier in Guangzhou to shave 11% off a job by combining two insert versions on the same sheet and changing only the last panel. Tiny change. Real savings. That is the part people miss when they focus only on the pretty mockup. A 10,000-piece order can often unlock a better per-unit rate than two 5,000-piece orders shipped separately.
And if you want to compare your insert strategy to broader packaging systems, take a look at Custom Packaging Products for box and insert combinations, or browse Case Studies to see how other brands handled print, cost, and fulfillment decisions. Real numbers beat guesswork every time, especially when you are comparing a $0.07 card in Mumbai with a $0.19 card produced domestically in Texas.
Process and Timeline for Branded Packaging Inserts
How to create branded packaging inserts on a real schedule means building around the production chain, not wishful thinking. A realistic timeline starts with brief and strategy, then copy, then design, then proofing, then production, then finishing, then shipping. Simple inserts can move fast. Fancy inserts with special stock or legal review can stretch the plan by days or weeks. I have had “simple” inserts turn into three-week projects because someone remembered a compliance line at the last second. A classic move in any plant from Dongguan to Denver.
For a straightforward digital job, I have seen a turnaround of 4 to 7 business days after proof approval. For a more custom offset run with lamination or foil, 12 to 15 business days is more realistic, and that is before international freight. If your box launch is tied to retail packaging deadlines, build cushion. Factory calendars do not care about your investor deck. Chinese New Year can add two to three weeks of disruption if you are sourcing through southern China, and a port delay in Los Angeles can add another 3 to 5 days.
The biggest delays are almost always approvals. Legal review, compliance checks, barcode testing, and brand sign-off are the usual culprits. Marketing says “yes” in one day. Legal takes three. Compliance finds a line break issue. Finance wants to revise the coupon discount. Then everyone asks why print is late. I have been in that meeting. It is never about the paper. It is about the chain of approvals, from the creative director in New York to the operations manager in Nashville.
Production sequencing matters too. If inserts must match a box launch, ask whether they are printed separately or bundled with the packaging order. Separate production gives you more flexibility. Bundling may save freight or simplify receiving, but it can also tie your insert schedule to the box schedule. One delay and everything slips together. That can be fine. It can also be expensive, especially if your outer carton is coming from a plant in Xiamen and the insert is being printed in Bangkok.
Rush ordering is possible, but it comes with a bill. Expedited jobs often cost more and may reduce finish options. A printer can move fast, sure. They will also charge fast. I have seen rush fees add 20% to 35% on a job when a brand needed inserts two days early because the warehouse “forgot” the original delivery date. That warehouse, by the way, was not surprised by the rush fee. They were just hoping. A 48-hour print request in Chicago is a different animal from a 15-business-day run out of Shenzhen.
Plan inventory with a buffer. Print enough to cover forecast demand plus replacement stock for damage, mispacks, seasonal spikes, and reorders. A buffer of 5% to 10% is common for most small ecommerce programs. If you have frequent SKU changes or multilingual versions, keep more safety stock or you will be reprinting on a timer. A seasonal candle brand in Minneapolis learned that the hard way when a Christmas insert ran out nine days before peak shipping.
I also recommend tying insert production to the same approval calendar as your other branded packaging assets. If your box, tissue, sticker, and insert all live in separate spreadsheets, you are not running packaging. You are running confusion with a printer attached. A single shared timeline in Airtable or Google Sheets can save hours during launch week.
Common Mistakes and Expert Tips for Better Inserts
There are a few mistakes I see again and again when brands ask how to create branded packaging inserts. The biggest one is making the insert all about the brand instead of the customer. Nobody bought your candle to read a manifesto about your founder’s morning ritual. They bought it because it smells good, looks nice, and arrived on time. Respect that. I am serious. Customers can smell ego from across the box, and a founder bio squeezed onto a 4x6 card in Portland will not save a weak message.
Another common mistake is too much text. If the main message is buried, the insert becomes expensive confetti. I have watched teams cram a 400-word essay onto a 4x6 card and then wonder why their QR scans are low. A clean layout with a 12-point headline, 1 supporting sentence, and one CTA performs better than a thesis. Every time? Not always. Better often enough to matter. The insert should fit the customer’s attention span, which is usually measured in seconds, not paragraphs.
Mismatched stock or colors can also undermine the look. If your box uses a deep navy with a matte finish, and your insert comes back in a shiny lighter blue on thin stock, the whole package feels off. Customers do not always name the issue, but they feel it. That is the weird part about packaging design: people cannot always explain the problem, but they know when something feels cheap. A pale C1S sheet inside a rigid box from Milan can look like a leftover from another brand.
Missing the CTA is another classic. If the goal is reviews, say so. If the goal is reorder, make the path obvious. If the goal is support reduction, give the steps clearly and maybe add a QR code to a setup video. The insert should do one job, and the customer should know what that job is in three seconds or less. A QR code linked to a 30-second landing page is often enough; a six-step explanation is not.
Here are the expert moves I would actually recommend:
- Create separate versions for first-time buyers, repeat buyers, and VIP customers.
- Use a QR code to a mobile landing page instead of stuffing all instructions onto the card.
- Test one variable at a time: headline, offer, paper stock, or CTA.
- Keep the layout fulfillment-friendly so packers can work fast and accurately.
I will give you a real example. A beauty brand I worked with in a Guangzhou facility had three insert ideas: one for education, one for reviews, and one for repeat orders. They wanted all three on one card. I pushed back. Hard. We split them into different customer stages instead. First orders got education. Second orders got a reorder incentive. VIP customers got a thank-you note with early access. Their repeat order rate moved enough that the founder later joked she should have hired a therapist for the original insert strategy. She was not wrong.
Here is another one. I met a supplement founder who insisted on putting every disclaimer, usage note, and brand promise on a 5x7 card. The print looked fine. The user experience was a mess. We moved the compliance info to one side, kept the customer-facing message short, and linked to a full web page from the QR code. Support tickets dropped. Readability rose. Common sense won, which always feels a little rare in packaging meetings, especially when a compliance team in New Jersey and a marketing team in London are trying to edit the same proof.
Next Steps to Create Branded Packaging Inserts
If you are serious about how to create branded packaging inserts, start by choosing one goal: education, retention, reviews, upsell, or support reduction. One goal. Not all of them. That choice drives the format, the copy, the finish, and the call to action. A $0.08 card can do a lot, but it cannot be the entire brand strategy.
Next, audit the current package and identify the biggest gap the insert should fix. Are customers confused? Are they not scanning the QR code? Are they not coming back for a second order? Are support tickets clogging your inbox because instructions are missing? The answer tells you what the insert needs to solve. In many cases, the answer is sitting in your Zendesk tags or Shopify reviews already.
Then draft the copy before you open design software. I know, it feels less glamorous. It also saves time. Write the headline, the supporting line, and the CTA in plain English. Once that is done, the design can support the message instead of decorating an empty layout. If your insert needs to be bilingual for the US and Canada, write both versions before the file is laid out.
Get a printer quote using your exact size, stock, quantity, and finish. “We need an insert” is not enough. Give the supplier the real numbers. If you want a 4x6 card on 350gsm matte stock at 10,000 pieces with one-sided print, say that. If you want foil and soft-touch, say that too. The price difference can be surprisingly large. A supplier in Hong Kong will quote differently from one in Dallas, and both may be right for different timelines.
Request a physical sample and test it in the actual box before full production. I cannot stress that enough. A card that looks beautiful on screen may buckle inside a narrow mailer or slide around in transit. The sample tells you whether the insert belongs in the package or needs a redesign. Test the sample with tissue, tape, and the real product, not just an empty carton on a desk.
Build a rollout plan for fulfillment so inserts are packed correctly and versioned by SKU. If your team is using bins, labels, or batch inserts, make the process as boring as possible. Boring is good here. Boring means fewer mistakes. A clearly labeled pallet in a warehouse in Phoenix or Leicester beats a “creative” sorting method every time.
After launch, track performance. Review rate. Repeat purchase rate. QR scans. Support ticket reduction. Those numbers tell you whether how to create branded packaging inserts was handled as a design project or as a conversion tool. There is a difference, and it shows up in the data. Even a small lift, like 8% more QR scans or 4% fewer “how do I use this?” tickets, can justify the entire print run.
“The nicest box in the world still leaves money on the table if the insert does not tell the customer what to do next.”
My final advice is simple. Create a one-page brief. Send it to a printer. Produce a test batch. Then scale once the insert has proved it can do the job. That is how I would approach how to create branded packaging inserts for a real brand, whether you are shipping 300 units or 30,000. If you are sourcing in Shenzhen, Manchester, or Los Angeles, the process is the same: define the job, prove the file, test the result.
Frequently Asked Questions
How to create branded packaging inserts for small orders?
Use digital printing for low quantities because setup costs are lower and you can test multiple versions. Keep the design simple to reduce cost and turnaround time. Start with one insert type, such as a thank-you card or care card, before adding more variations. If you are ordering 250 to 1,000 pieces, a domestic printer in Chicago, Dallas, or Toronto is often the easiest path, and proof approval to delivery can sometimes fit into 4 to 7 business days.
What size should branded packaging inserts be?
Choose a size that fits the box and the message, not the other way around. Common options include postcard-size, A6, and square inserts for standard ecommerce packaging. Test the insert in the actual package to make sure it sits flat and does not shift during shipping. A size that looks great on a mockup can become annoying inside a narrow mailer, especially if the carton is only 160 mm wide and the card is 148 mm tall.
How much do branded packaging inserts cost?
Pricing depends on quantity, stock, print method, and finishing. Basic inserts can be inexpensive at scale, while premium finishes like foil or soft-touch lamination raise the cost. Always include design, proofing, and kitting in your budget, not just the printed piece. For a realistic quote, ask for the exact stock, size, and quantity you need, such as $0.08 per unit for 10,000 pieces on 350gsm C1S artboard or $0.15 per unit for 5,000 pieces with a matte finish and one QR code.
What should I put on a branded packaging insert?
Use one main message and one clear call to action. Good content includes thank-you notes, care instructions, product tips, review requests, and discount offers. Avoid overloading the insert with every possible message; it should be fast to read. If the customer cannot understand it in a few seconds, it is too crowded. A good rule is one headline, one supporting line, and one CTA, whether the insert is for a skincare kit in Paris or a supplement order in Phoenix.
How long does it take to produce branded packaging inserts?
Simple insert jobs can move quickly once the artwork is approved. Complex finishes, legal review, and sample approvals can extend the timeline. Plan early if the inserts need to arrive before a packaging launch or seasonal shipment. For many jobs, 4 to 7 business days is possible for digital runs, while custom offset work can take 12 to 15 business days from proof approval, plus 3 to 7 more days for international freight if the print run is coming from Shenzhen or Guangzhou.