Buyer Fit Snapshot
| Best fit | Create Memorable Unboxing Experience for Brands projects where brand print, material claims, artwork control, MOQ, and repeat-order consistency need to be specified before quoting. |
|---|---|
| Quote inputs | Share finished size, material target, print colors, finish, packing count, annual reorder estimate, ship-to region, and any compliance wording. |
| Proofing check | Approve dieline scale, logo placement, barcode or warning zones, color tolerance, closure strength, and carton packing before bulk production. |
| Main risk | Vague material claims, crowded artwork, missing packing details, or unclear freight terms can make a low unit price expensive after revisions. |
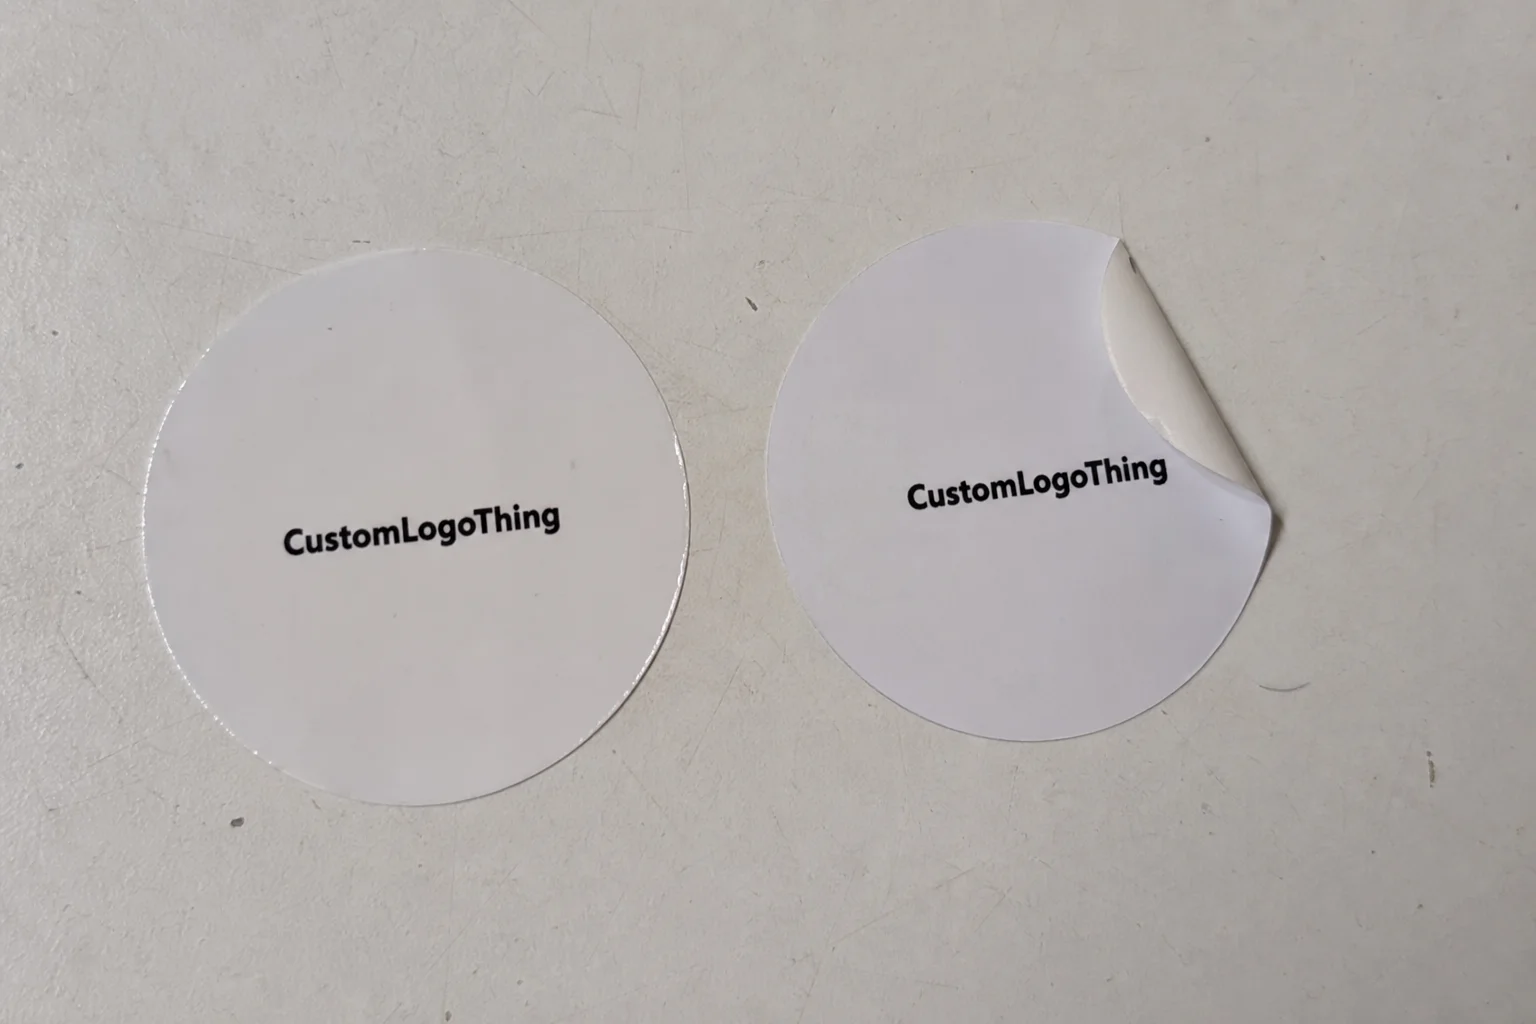
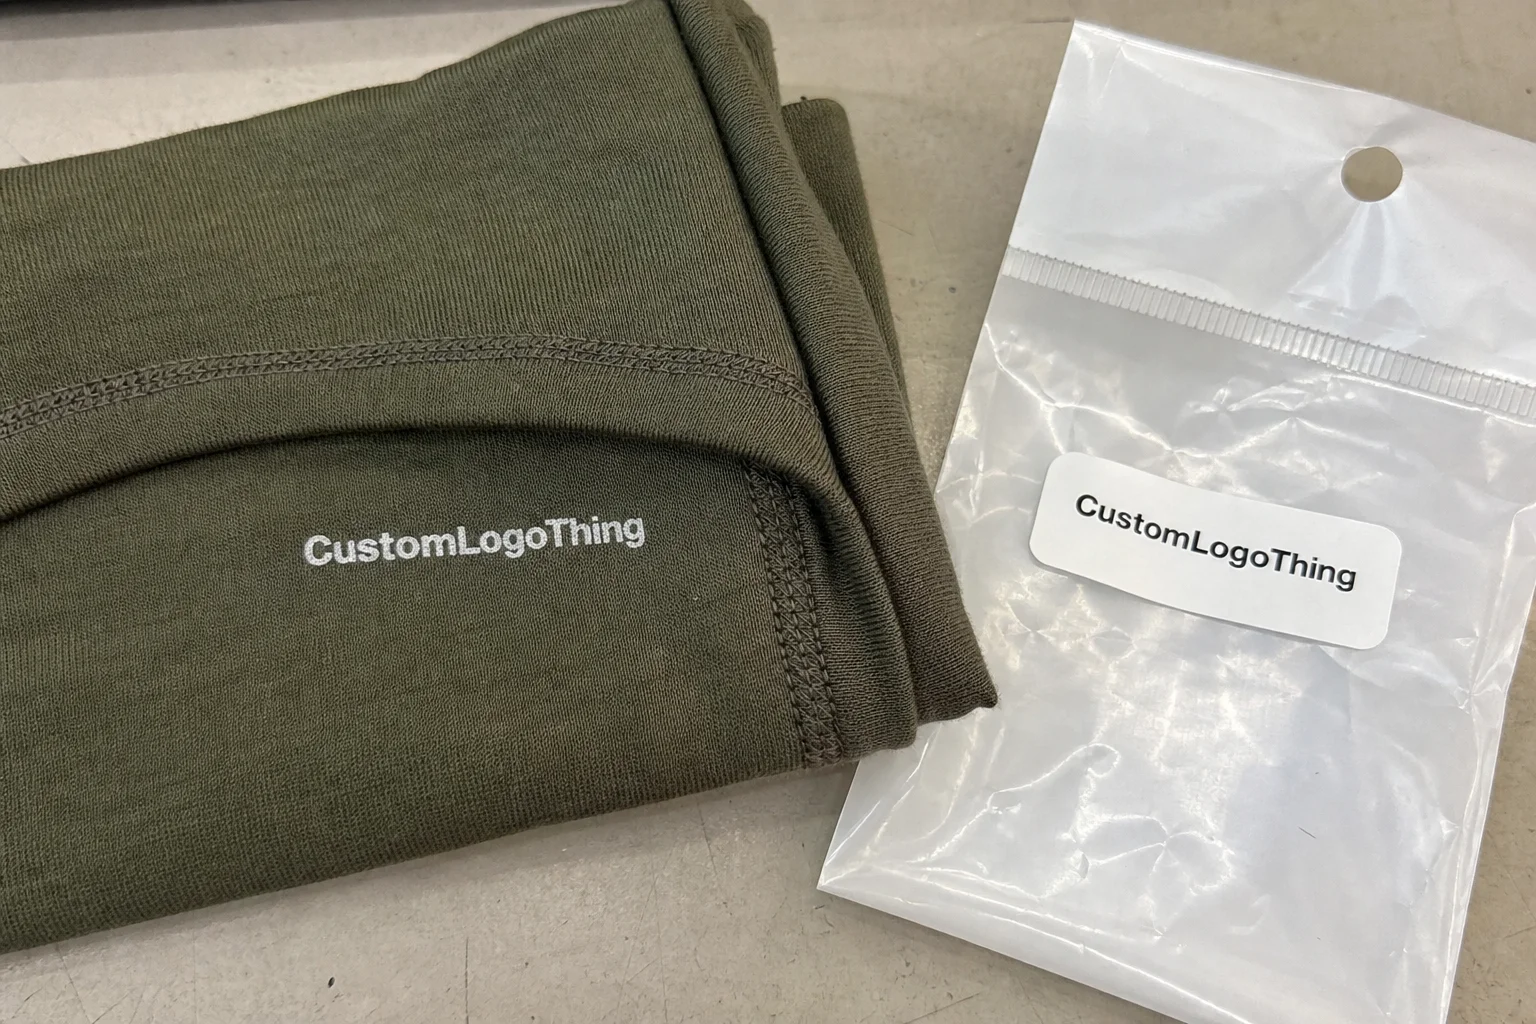
Fast answer: Create Memorable Unboxing Experience for Brands: Board, Finish, Dieline, and Unit Cost should be specified like a repeatable production item. The safest quote records material, print method, finish, artwork proof, packing count, and reorder notes in one written spec.
Production checks before approval
Compare the actual filled-product size with the drawing, then confirm tolerance on folds, seals, hang holes, label areas, and retail display edges. Reserve space for logos, QR codes, warning copy, and material claims before decorative graphics fill the panel.
Quote comparison points
Review material grade, print process, finish, sampling route, tooling charges, carton quantity, and freight assumptions side by side. A quote is only useful when the supplier can repeat the same color, closure quality, and packing count on the next order.
Many customers decide whether a brand feels premium within the first 7 seconds of opening a parcel. I’ve watched that moment play out on factory floors in Dongguan, in client meetings in Los Angeles, and at packing benches where a simple kraft mailer either quietly confirms quality or kills the mood before the product is even seen. If you want to know how to Create Memorable Unboxing Experience, start there: with the instant emotional read, not the logo alone. The box is often doing more brand work than the product description ever will. No pressure, right?
Honestly, most brands still underestimate packaging as a revenue tool. They treat it like a shipping container, then wonder why repeat purchase rates stall at 18% or why customers do not post about the order. The practical truth is that how to Create Memorable Unboxing Experience is less about decoration and more about designing a sequence of expectations, confirmations, and small surprises that make people feel they chose the right brand. That feeling is doing half the selling for you, especially when your average order value sits at $42 and your margins are already tight.
What a Memorable Unboxing Experience Really Is
A memorable unboxing experience is the full journey from the outer shipping carton to the final product reveal. It includes the sound of the tear strip, the feel of the paper stock, the smell of fresh ink, the way the insert lifts, and the moment a logo appears exactly where the customer expected it to be. That combination shapes customer perception far faster than copy on a website. In my experience, people judge “premium” packaging the same way they judge a restaurant table setting: within seconds, and often before they can explain why. Humans are weird like that, especially when a 350gsm C1S artboard mailer lands on the doorstep instead of a bland 32 ECT box.
I still remember a skincare client in southern California who moved from plain corrugate to a two-piece rigid box with a 120gsm custom tissue wrap and a 450gsm insert tray. The project ran through a supplier in Suzhou, and the first approved sample arrived 11 business days after dieline sign-off. Product complaints stayed flat, but social posts doubled in six weeks. Nothing in the product formula changed. The packaging did the storytelling. That is the part most brands miss when they ask how to Create Memorable Unboxing experience without changing the item itself. They keep obsessing over the product and forget the package is the first performance.
There is a real gap between ordinary packaging and memorable packaging. Ordinary packaging delivers a product. Memorable packaging delivers a feeling, a brand story, and a cue that says, “You bought from the right company.” That cue influences brand recognition, especially for newer labels that cannot rely on decades of awareness. One good pack can create the same mental shortcut as a dozen ads, and it can do it from a fulfillment center in Shenzhen or a print shop in Chicago without needing a huge media budget.
Factory-floor truth: if a package feels intentional at each touchpoint, customers assume the product inside was made with the same care. I’ve seen that assumption hold even when the product itself was priced 12% above a competitor’s and shipped 1,200 miles farther.
That is why how to create memorable unboxing experience should sit inside the brand strategy, not in the “nice-to-have” folder. For custom packaging brands, it is part of the product. Not extra. Not optional. Part of the promise. A $0.15-per-unit tissue wrap on a 5,000-piece run can matter more than a $300 photoshoot if the tactile cue is the thing customers remember.
Here is the simplest contrast I use with clients:
- Ordinary packaging: brown box, loose fill, product, invoice, done.
- Memorable packaging: branded carton, intentional reveal, protected product, message card, and a final visual moment worth remembering.
The second one takes planning. It also takes discipline, because every layer needs a job. When a package has no job, it becomes clutter. That is one reason how to create memorable unboxing experience is really a design exercise in restraint, not a shopping spree at a print finishing catalog.
How to Create Memorable Unboxing Experience Through Packaging Psychology
The brain loves anticipation. That is not marketing fluff; it is a practical reason layered packaging works. Seals, wraps, and nested inserts create a tiny reward loop. The customer opens one layer, confirms the brand, then moves to the next. Each reveal adds tension and releases it again. That is a strong emotional pattern, and it is one reason how to create memorable unboxing experience often starts with structure rather than print effects. Even a 1.5mm reveal gap around a rigid lid can change how the hand and eye interpret the first lift.
Visual hierarchy matters too. The outer mailer should orient the eye. The inside should guide it. The product should appear exactly where the customer expects it, or slightly better. If everything screams for attention, nothing feels premium. I learned that on a cosmetics line in New Jersey where the team had stuffed five messages into the lid, the insert, the tissue, and the thank-you card. Customers called it “busy.” We stripped it down to one top-line brand message, one care card, and one product reveal. Return rates did not budge, but positive feedback rose noticeably over the next 30 days. Which, frankly, is what we wanted in the first place.
Tactile cues are powerful. A soft-touch lamination on a rigid box, a 1-color embossed logo on uncoated stock, or a matte custom tape on a recycled mailer can do more than a full-color flood. The hand feels quality before the eyes finish processing. That tactile consistency is central to brand identity. If a $78 candle arrives in a flimsy 32 ECT corrugated box with cheap loose fill, customers notice the mismatch instantly. If a $24 supplement pouch arrives in a heavy rigid box with foil and magnetic closure, the mismatch can work the other way, and not in a good way. That’s the sort of thing people remember for all the wrong reasons.
That is why sensory consistency matters so much in how to create memorable unboxing experience. The packaging style needs to match the product price point and the brand promise. When those elements align, customers read it as credibility. When they clash, the whole package feels staged. And nobody wants a box that feels like it tried too hard, especially if it took a supplier in Ningbo three rounds of samples to get the finish right.
Why shareable packaging expands reach
One smart packaging moment can generate organic reach without a media buy. Customers film what feels satisfying: the peel, the lift, the reveal, the neat insert, the handwritten note, the final presentation. I have seen a single thoughtfully designed subscription box generate 1,400-plus tagged posts in a quarter because the interior had one clean branded reveal panel and a simple message line that fit in a phone frame. That is not luck. That is design for the camera, and it costs a lot less than a $12,000 creator campaign.
Ask yourself a practical question while thinking about how to create memorable unboxing experience: if someone opened this box on a kitchen counter with one hand and filmed it on a phone, would the story still hold? If the answer is yes, you are close. If the answer is “well, technically maybe if the lighting is perfect,” then no. Not close. A package that only works under studio lights is not packaging. It is props with a shipping label.
Key Factors That Shape a Memorable Unboxing Experience
Several factors decide whether an unboxing experience feels thought-through or improvised. The first is brand consistency. Color, typography, icon style, and logo placement should feel like they came from the same visual system. I’ve seen brands use one font online, another on the box, and a third on the insert card. The result is confusion. Customers may not consciously identify the mismatch, but they feel it. That feeling weakens brand recognition, especially when the package moves from a 10,000-unit run in Guangzhou to fulfillment in Austin.
Product protection comes next. A beautiful box that arrives crushed has failed. Full stop. I spent one afternoon in a Midwest fulfillment center near Indianapolis where 8 out of 50 test parcels showed corner damage after a basic drop sequence. The client had spent money on hot stamping but only 22 ECT single-wall outer cartons. We changed the shipper to a stronger 32 ECT, adjusted the insert thickness by 2mm, and the problem disappeared. Pretty packaging matters, but it must survive transit first. Otherwise, you are just paying for disappointment in a nicer font.
Customer convenience matters just as much. If the box is sealed like a vault, the excitement turns to frustration. You want the open to feel deliberate, not combative. A tear strip, a thumb notch, or a ribbon pull can help. The best packages balance controlled reveal with easy access. That is one of the less glamorous truths behind how to create memorable unboxing experience: friction kills delight fast, and a box that takes 45 seconds just to get into is already losing the room.
Budget shapes every choice. With packaging, $0.18 per unit can buy a lot at 5,000 pieces if you stay with a printed mailer and a single insert. At the same volume, a rigid box with foil, a custom tray, and specialty coating may run several dollars per unit, depending on tooling and finish complexity. A small upgrade, though, can outperform a large discount when the goal is perceived value. I have seen a $0.11 custom tissue upgrade create more positive feedback than a 10% coupon. Customers don’t frame it as “I saved money.” They frame it as “this brand gets it.”
Sustainability is now part of the conversation, whether brands want it there or not. Recyclable materials, right-sized boxes, and reduced filler can improve the story without adding waste. The EPA’s packaging and waste reduction resources are a useful reference point for brands trying to reduce material impact while keeping presentation strong: epa.gov/recycle. For many buyers, sustainability is not a bonus line. It is part of whether the package feels modern and credible, especially in cities like Portland, Amsterdam, and Melbourne where customers compare waste choices as closely as price.
Messaging extends the experience beyond the physical reveal. A thank-you note, product usage tip, care card, or QR code to an onboarding video can keep the relationship going after the box is open. I’ve watched brands increase repeat orders simply by adding a one-card “first 3 uses” guide. That card cut support questions by 17% in one case, which is another way packaging affects operations, not just emotion. And yes, fewer support tickets means fewer headaches. Everyone wins.
| Packaging option | Typical feel | Approx. unit cost at 5,000 pcs | Best for |
|---|---|---|---|
| Kraft mailer with branded tape | Simple, clean, eco-leaning | $0.18–$0.42 | Light products, direct-to-consumer shipping |
| Printed folding carton with insert | Balanced, polished, retail-friendly | $0.48–$1.10 | Beauty, wellness, small electronics, gift sets |
| Rigid box with custom tray | Premium, heavy, giftable | $1.85–$4.25 | Luxury, limited editions, high-margin products |
| Multi-part custom kit | Highly controlled reveal | $2.80–$7.50+ | Launch kits, influencer sends, VIP orders |
These numbers vary by board grade, print coverage, and finishing. But the pattern is stable: if you are serious about how to create memorable unboxing experience, the package should support the product margin, not drain it. A $0.24 insert upgrade on a $68 product is easier to justify than a $1.90 magnet closure on a $15 item.
How to Create Memorable Unboxing Experience Step by Step
If a brand asks me how to create memorable unboxing experience from scratch, I start with the current journey. Open a sample package on a table and document every move: cut tape, remove filler, find product, read message, inspect product, store leftovers, recycle materials. That audit usually exposes 3 to 5 friction points right away. Maybe the tape tears unevenly. Maybe the insert shifts. Maybe the customer has to dig for the product code. Small irritations add up, which is annoying because tiny problems are usually the expensive ones, especially when you have already paid for 5,000 printed cartons.
Step 1: Audit the current path. Use a stopwatch. Record open time, which should ideally stay under 90 seconds for most DTC products unless you are intentionally creating a luxury ritual. Check damage rate, insert movement, and whether the product is immediately visible. I once timed a candle unboxing that took 4 minutes and 20 seconds because the client had nested the jar inside shredded paper, a cotton bag, and a card sleeve. It looked nice in photos. It felt tedious in real life. Cute on Instagram, irritating at home, especially when the candle itself was only $28.
Step 2: Define the emotional goal. Do you want the package to feel luxurious, playful, clean, eco-conscious, or giftable? Pick one primary emotion and one supporting emotion. Too many brands want all five. That is how design gets muddy. A wellness brand I worked with in Toronto wanted “high-end and earthy and futuristic.” Those three directions fought each other until we narrowed the target to “clinical calm.” Sales pages got clearer, and the packaging finally matched the brand promise. Funny how removing chaos improves results.
Step 3: Choose structure and materials. Start with product dimensions, weight, fragility, and shipping method. A 220gsm folding carton may be enough for a lightweight cosmetic tube, while a 2mm rigid board with a wrapped lid suits a premium gift set. If the product travels through parcel networks, test the shipper against basic ISTA-style transit checks. The International Safe Transit Association has useful standards and testing context here: ista.org. If your product ships from Shenzhen to Dallas, assume the box will be dropped, stacked, and squeezed. Because it will be.
Step 4: Map the reveal sequence. Good how to create memorable unboxing experience planning follows a clear order: outer box, internal wrap, product holder, message card, product reveal, final thank-you. I like to sketch this as a storyboard. When I visited a Shenzhen production line that was running influencer kits for a fashion brand, the team had positioned the fabric sample first, the scent card second, and the product third. The sequence was wrong; the scent card dominated the opening. We flipped the order and the package suddenly felt intentional. Before that, it looked like someone packed it while being chased.
Step 5: Prototype and test. Do not approve art in isolation. Build a physical sample. Hand it to five people who have never seen the product. Measure open time, confusion points, and visible delight. Ask them one simple question: “What did this package make you feel in the first 10 seconds?” Their answer will tell you more than a mood board. I have seen a matte black box with silver foil score well with founders and poorly with target buyers because the real audience wanted warmth, not drama. Founders love drama. Customers usually want clarity, especially if they are opening the box after a $49 purchase on a Wednesday night.
Step 6: Refine for production. Translate the sample into a dieline that can run at scale. Confirm board grade, coating, glue points, fold tolerances, and print registration. If the package requires a special finish, build in sample approval time. In our shop conversations, I usually recommend one revision cycle for structural changes and one for artwork. More than that can push timelines into the danger zone. That is why how to create memorable unboxing experience should always include production reality, not just design ambition. Beautiful plans do not save bad specs, and a supplier in Xiamen will not magically fix a 3mm size mismatch.
One more thing: do not confuse complexity with quality. Some of the strongest packages I’ve seen used only three elements: a strong carton, one beautiful insert, and a clean thank-you line inside the lid. No clutter. No drama. Just a precise sequence that made the customer feel seen. That’s the kind of packaging a buyer remembers two weeks later, not because it shouted, but because it was calm and exact.
Cost, Pricing, and Timeline Considerations
Packaging budgets can get slippery fast. The main cost drivers are box style, board thickness, print coverage, finish level, insert complexity, and order quantity. A folding carton printed on 350gsm C1S artboard with a single-color interior can stay relatively efficient. Add foil, embossing, soft-touch lamination, and a custom insert tray, and the pricing climbs quickly. That does not mean you should avoid upgrades. It means you should choose them for a reason. The best how to create memorable unboxing experience decisions are tied to actual brand value, not decoration for decoration’s sake. On a 5,000-piece run, even a $0.08 ink change can matter if the margin is already thin.
Scale usually improves pricing. A run of 10,000 pieces often costs less per unit than 2,000 because setup is spread across more units. But custom features can increase tooling, sampling, and lead time. I have seen a brand save $0.09 per unit by simplifying the insert, only to lose two weeks on a revised dieline because the product shifted inside the box. Cheap is not always cheap. Sometimes it is just delayed regret with a lower invoice, plus a reprint out of a factory in Dongguan.
Here is a practical comparison I often share in client reviews:
| Option | Material | Typical unit cost | Lead time | Brand impact |
|---|---|---|---|---|
| Basic kraft mailer | Single-wall corrugate | $0.18–$0.55 | 7–12 business days | Clean, minimal, low-cost |
| Printed carton + insert | Folding carton, 350gsm board | $0.48–$1.25 | 12–18 business days | Balanced, brand-forward |
| Rigid presentation box | 2mm board wrapped with printed paper | $1.85–$4.25 | 18–28 business days | Premium, giftable, high perceived value |
Timelines deserve more respect than they usually get. Concepting takes 2 to 5 days if the brief is clean. Dieline approval may take another 2 to 4 days. Sampling can take 5 to 10 business days. Revisions add time, and shipping adds more. If you are working toward a launch, build in a 10 to 15 day buffer for artwork changes and a separate buffer for quality checks. Rushed timelines often force design compromises that weaken the final unboxing experience. And then everyone acts surprised when the box arrives looking like a compromise. Shocking.
One supplier negotiation I remember clearly involved a brand that wanted foil stamping, magnetic closure, and a custom two-layer insert, but the target landed at $1.20 per unit. It was not feasible. We removed the magnet, switched to a tuck-in flap, and kept the foil on the exterior only. The package still felt premium, and the budget stopped bleeding. That is the sort of tradeoff smart teams make when they are serious about how to create memorable unboxing experience without pretending cost is infinite. The factory in Qingdao even quoted the revised build in 13 business days, which was a lot kinder than the original concept would have been.
Common Mistakes That Ruin the Unboxing Experience
The first mistake is overpacking. Too many layers create resistance. Resistance becomes annoyance. A package should guide the customer, not make them work like they are opening a shipping safe. I’ve seen boxes stuffed with paper confetti, foam peanuts, tissue, stickers, ribbon, and a tiny product sitting underneath all of it. The customer’s first thought was not “wow.” It was “where is it?” That is a bad start to any unboxing experience, especially if the whole thing took 70 seconds just to reach the product.
The second mistake is using cheap-looking inserts or loose filler that clashes with the rest of the design. If your outer carton feels polished but the inside looks like a warehouse cleanup, the illusion breaks. Visual branding must hold across the entire sequence. This is where many brands misunderstand brand identity. They think identity means the logo only. It does not. It is the texture, the spacing, the message tone, the carton structure, and the way the product sits inside the box. In other words, the boring stuff is the brand.
The third mistake is ignoring shipping abuse. I once inspected a parcel failure where the outside looked fine, but the inner tray had collapsed because the glue line was too narrow and the product bounced in transit. The customer blamed the brand, not the carrier. That happens more often than teams admit. If you are working on how to create memorable unboxing experience, transit testing is not a side task. It is part of the brief. Run the sample through at least 10 drop tests from 30 inches if the box ships through parcel networks in the United States or Europe.
The fourth mistake is making the box hard to open. A strong tear strip is useful. A fully sealed shell that requires a knife, scissors, and patience is not. Excitement dies quickly when the package is physically annoying. There is a reason better consumer goods teams obsess over opening torque, fold tension, and adhesive placement. Small details save the emotional reveal, and a 3mm thumb notch can do more than another printed slogan.
The fifth mistake is inserting too many messages. Thank-you note, discount card, referral card, upsell card, survey card, QR code flyer, loyalty sheet. It gets noisy. One clear message can do more than four competing ones. If you are trying to improve how to create memorable unboxing experience, choose one primary call to action and one support message. That is enough. The customer does not need a tiny marketing conference in the box, especially not one printed on six different paper stocks.
The sixth mistake is chasing expensive finishes that do not match the product or the audience. A premium foil on a $9 commodity item can feel exaggerated. A plain recyclable carton for a $140 specialty product can feel underbuilt. Alignment matters. The best packages sit in the middle of aspiration and honesty. If you are manufacturing in Shenzhen, the finish choices should still match what your customer in Brooklyn, Berlin, or Brisbane expects to pay.
For brands that want a deeper framework, the Packaging Producers Association has useful industry context on materials and formats, and it is worth checking established standards rather than guessing from social media trends: packaging.org.
Expert Tips to Make Your Unboxing Stand Out and What to Do Next
If you want your package to be remembered, choose one signature element and repeat it. Maybe it is a particular shade of green, a blind embossed logo, a satin insert pull, or a custom seal. Repetition builds recognition. One strong cue can do more for brand recognition than five inconsistent ones. I’ve seen brands spend heavily on multiple finishing techniques and still look generic because nothing was repeated long enough to stick. If the factory in Shenzhen nails the signature green on the lid but the tissue paper comes back teal, the whole system starts wobbling.
Design for a camera-friendly moment. The best unboxing experience often includes one clean reveal frame where the product, card, and logo all sit inside a tight visual composition. Phone cameras love clarity. Customers love packages that photograph well without effort. That is one reason influencer seeding kits often outperform standard shipper boxes; they create a scene, not just a parcel. A clean 1:1 reveal area can be worth more than a full-page print spread.
Add one surprise with a purpose. A care card, reusable insert, sample vial, storage pouch, or product reminder can increase utility and reduce waste. I am not a fan of random freebies that have nothing to do with the brand. A surprise should strengthen the relationship, not clutter the drawer. A reusable card that doubles as a display stand or a recipe guide that helps the customer use the product three times more effectively is far better than a disposable sticker sheet. Cute, yes. Useful, even better. And a useful insert costs less than a second shipment when customers misuse the product.
Track the right metrics. Damage rate matters. Repeat purchase rate matters. Referral mentions matter. User-generated content volume matters. So does support ticket frequency in the first 14 days after delivery. If you are serious about how to create memorable unboxing experience, the package should be measured with the same seriousness you apply to conversion rate or unit economics. A 2% drop in product damage can matter more than a fancy finish, especially when every replacement costs $6.40 to reship.
There is also a sustainability angle that brands should not fake. Many customers notice waste immediately. Right-sized packaging, recyclable paper components, and fewer loose fillers are easier to defend than an oversized luxury box packed with plastic. If the brand story is eco-conscious, the package must reflect that promise in the real world, not just in the copy. A recycled mailer from a supplier in Ho Chi Minh City can still feel premium if the structure is clean and the print is controlled.
Here is the sequence I recommend for teams moving from idea to execution:
- Pick one product.
- Map the current package from outer label to final reveal.
- Choose one low-cost upgrade such as custom tissue, branded tape, or a better insert.
- Request a physical sample.
- Test it with five real customers.
- Measure open time, clarity, and reactions.
- Scale only after you see repeated positive feedback.
That process is practical, not flashy. But it works. And if you are asking how to create memorable unboxing experience, practicality is your friend. Brands that try to impress too early usually overspend on the wrong detail. Brands that test, listen, and refine usually end up with Packaging That Sells better and feels better. The first approved sample often takes 12-15 business days from proof approval if you are coordinating print, lamination, and assembly across one factory in Dongguan.
One last observation from a recent supplier call: the client wanted the box to feel “expensive,” but their price point was $28 and their margin was 41%. We shifted focus to “considered” instead of “luxury.” We used a 1-color exterior, a textured paper wrap, and a short interior message. The package felt thoughtful, not inflated. That is often the smarter move. It still answers how to create memorable unboxing experience, but it does so with more honesty and less theater.
For brands that care about recycled content, material recovery, and responsible design choices, the FSC network is a strong reference point for certified fiber sourcing and chain-of-custody guidance: fsc.org.
How do I create memorable unboxing experience without raising costs too much?
Start with low-cost upgrades like custom tissue, branded tape, a thank-you card, or stronger product placement. Focus on structure and sequencing before expensive finishes. Test one change at a time so you can compare impact against cost with real numbers, not guesses. On a 5,000-piece run, a $0.12 tissue upgrade or a $0.15 printed insert can move perception more than a $1.80 rigid box if the rest of the pack is already clean.
What packaging elements matter most for a memorable unboxing experience?
The reveal sequence, product protection, and brand consistency matter most. Texture, color, and inserts shape perception quickly, but the packaging should feel intentional from the outer box to the final product reveal. If the inside does not match the outside, customers notice the disconnect. A 350gsm C1S artboard carton with a 120gsm insert can outperform a fancier box if the sequence is clear and the fit is exact.
How long does it take to develop custom packaging for unboxing?
A simple concept can move quickly, but custom packaging usually needs time for design, sampling, and revisions. Build in extra days for approvals, production scheduling, and shipping. Complex structures, custom inserts, or special finishes usually extend the timeline by 1 to 3 weeks. In many supplier schedules, a final approved sample typically leads to production in 12-15 business days, longer if foil or embossing is involved.
Is sustainability important when trying to create memorable unboxing experience?
Yes, because many customers notice waste immediately. Recyclable materials, right-sized boxes, and reduced filler can improve brand perception. Sustainability can strengthen the story if it matches the brand promise and does not feel bolted on as an afterthought. A recyclable mailer, FSC-certified board, and soy-based inks can work well together without blowing up your budget.
What is the biggest mistake brands make with unboxing packaging?
They design for appearance and forget usability and transit protection. A box that arrives damaged or is hard to open can erase the emotional payoff. The best packaging balances beauty, function, and cost, which is exactly why how to create memorable unboxing experience is never just a styling exercise. If the shipper fails in transit from Guangzhou to New York, the customer will not care how pretty the mockup looked on your desk.
If I had to reduce the whole subject to one line, it would be this: how to create memorable unboxing experience is about making the customer feel that the package was built for them, not for a warehouse conveyor or a mood board. Get the sequence right, keep the structure honest, protect the product, and choose one or two details that customers can actually remember. That is how to create memorable unboxing experience in a way that supports repeat orders, stronger brand recognition, and a better unboxing experience every single time, whether the package ships from Dongguan, Suzhou, or a small co-packer in Ohio.