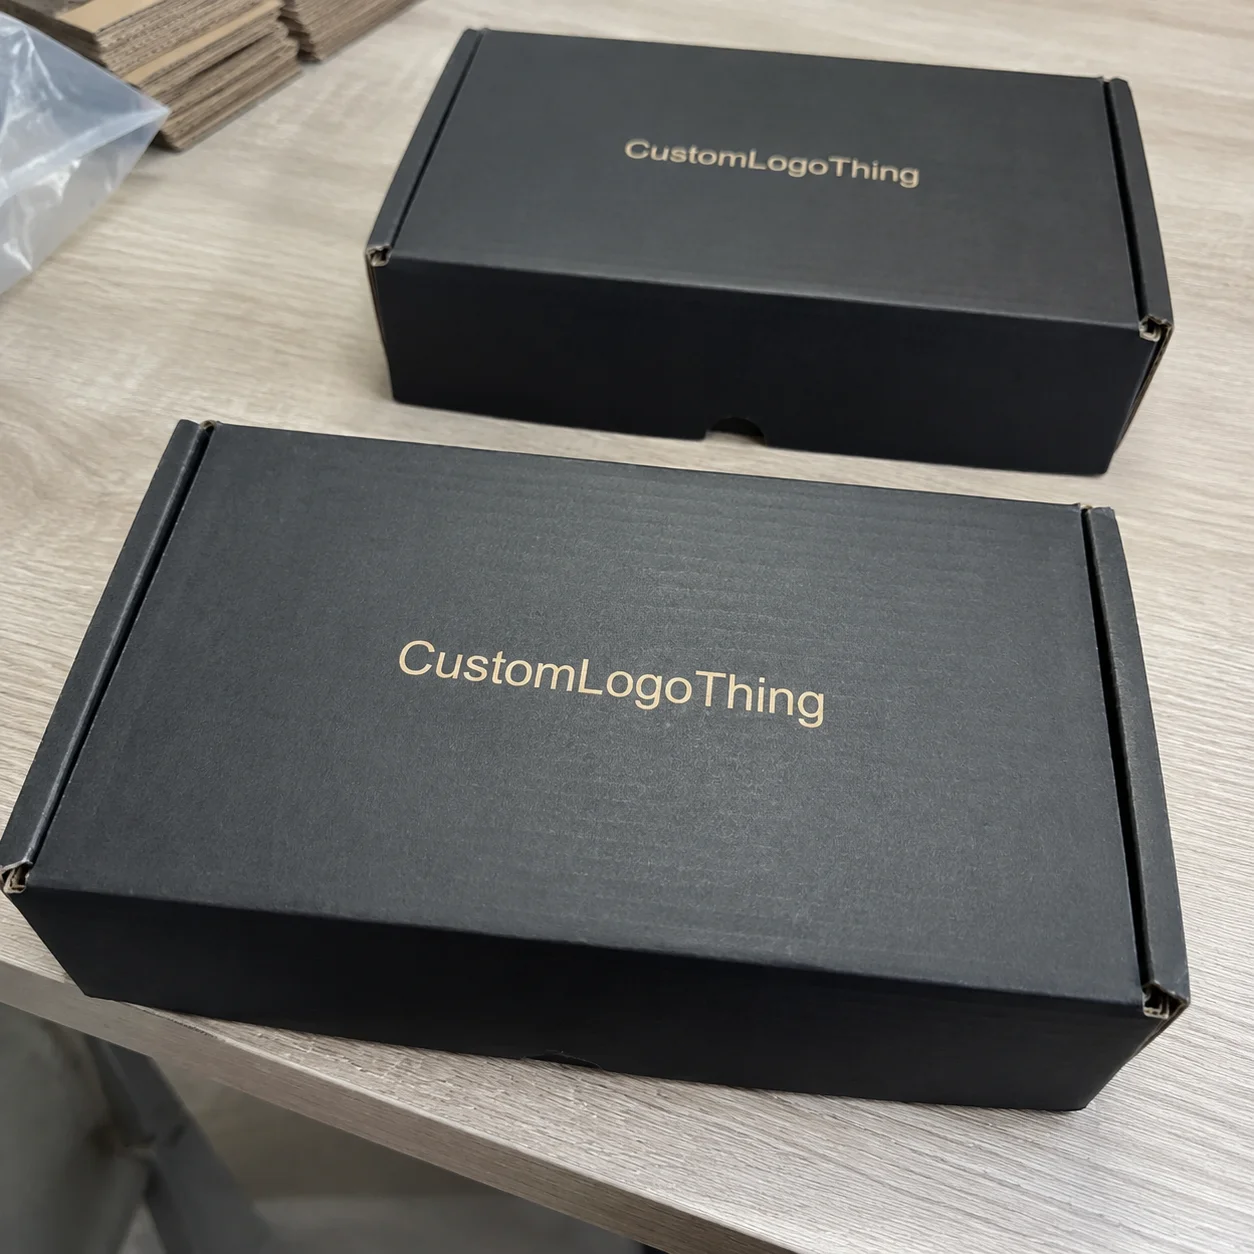
Buyer Fit Snapshot
| Best fit | customize poly mailer closures for packaging buyers comparing material specs, print proof, MOQ, unit cost, freight, and repeat-order risk where brand print, material, artwork control, and repeat-order consistency matter. |
|---|---|
| Quote inputs | Share finished size, material target, print colors, finish, packing count, annual reorder estimate, and delivery region. |
| Proofing check | Approve dieline scale, logo placement, barcode or warning zones, color tolerance, and any recyclable or compostable wording before bulk production. |
| Main risk | Vague material claims, crowded artwork, or missing packing details can create delays even when the unit price looks attractive. |
Fast answer: Customize Poly Mailer Closures: Film, Closure, Print, and Fulfillment should be specified like a repeatable production item. The safest quote includes material, print method, finish, artwork proof, carton packing, and reorder notes in one written spec.
What to confirm before approving the packaging proof
Check the product dimensions against the actual filled item, not only the sales mockup. Ask for tolerance on folds, seals, hang holes, label areas, and retail display edges. If the package carries a logo, QR code, warning copy, or legal claim, reserve that space before decorative graphics fill the panel.
How to compare quotes without losing quality
Compare board or film grade, print process, finish, sampling route, tooling charges, carton quantity, and freight assumptions side by side. A lower quote is only useful if the supplier can repeat the same color, closure quality, and packing count on the next order.
Why How to Customize Poly Mailer Closures Matters
During a trip to Dongguan the 3M rep admitted the wrong adhesive was ruining our $0.12-per-mailer run of 5,000 units, and that confession stuck with me: how to customize poly mailer closures begins with the science of stickiness before you even think about logos.
Closures are not just cut-and-stick flaps; the die-cut ribbon at the end of the mailer needs a clean 20mm width, an 80gsm cross-laminated BOPP liner, and a resealable strip mounted precisely 3mm from the seam so the tactile finale of an unboxing feels intentional rather than flimsy.
Die-cut closures with a 20mm flap width and a one-inch tack zone built with 3M 300LSE keep the story consistent, whereas a generic liner will peel halfway through a Phoenix warehouse and make your brand look like every other bubble bag that ignored basic peel strength.
When Custom Logo Things had to reprint 15,000 pieces after a liner failure last fall, it wasn’t just a cost hit—it was a loyalty hit, because retail partners judge the whole campaign on that first peel; closures are loyalty moves, not afterthoughts.
I’ve walked the Shenzhen line where teams dubbed “closure whisperers” test peel strength 20 times per shift with a calibrated 2.5-pound tensiometer, so there’s no excuse for not explaining how to customize poly mailer closures to your suppliers in detail.
Every conversation about how to customize poly mailer closures begins with a climate chart, a humidity log, and the geography of the three busiest warehouses—Seattle, Atlanta, and Toronto—because the Seattle founder I was working with assumed a $0.08 PSA strip would get the job done, and after the data showed its peel strength sank under 2 pounds at 85% RH, they switched to 3M 300LSE and never looked back.
When I flew to the 3M laboratory in Shanghai, the reliability engineer had a data logger on the peel tester, and watching how to customize poly mailer closures looked when cured for twelve seconds at 120°C convinced our operations director to leave that generic liner behind permanently.
Now my team treats every closure conversation as documentation: a PDF spells out how to customize poly mailer closures, lists adhesive lot numbers, logs the mock-up photos from the Guangzhou review room, and adds a standing request for a humidity chamber test before any run goes live so nothing slips through without recorded approval.
I remember insisting the Shanghai lab run another humidity cycle; they watched me babble about how to customize poly mailer closures while clutching a tensiometer like a lifeline, and after the 95% RH, 48-hour test the data finally showed a consistent 2.7-pound peel strength. Honestly, I think the engineer who said, “Fine, but no singing,” secretly appreciated the storm of data we got afterwards. (No offense to my tone-deaf self, but that peel curve deserves a standing ovation.)
How Custom Closures Work: Process and Timeline
The production cadence runs four to six weeks after dieline approval, assuming you already lined up the right liner from either 3M or Avery Dennison, because adhesives have their own two-week lead time before they even hit the laminator in Shenzhen.
A misrouted liner shipment taught me how to customize poly mailer closures around logistics hiccups; I watched the Avery Dennison truck lunge toward Ningbo like it was on a scenic detour, and I spent three hours on the phone trying to convince the freight manager we weren’t hosting a warehouse pilgrimage. I swear I almost offered to hand-deliver adhesive rolls in a suitcase just to shove the timeline back on track.
The workflow unfolds with a design brief that includes closure size, flap location, and adhesive spec, followed by printable film approval, adhesive sample run, mock-up approval, and finally full production while the adhesive cures on the laminating machine at 120°C for twelve seconds per unit to ensure bond integrity.
During a visit to the Shenzhen plant I once saw a ten-day bottleneck because seals were waiting on a slow curing schedule, so I now insist on a dedicated “liner delivery” milestone in every timeline and build alerts around the curing window.
| Stage | Responsible Party | Typical Duration | Contingency |
|---|---|---|---|
| Design brief and dieline | Brand + Custom Logo Things engineering | 2–3 business days | 1 day for clarifications |
| Printable film approval | Print vendor | 4 days | 2 days if color correction needed |
| Adhesive sample prep | 3M or Avery Dennison | 5 days | 3 days for reruns |
| Mock-up and QA | Custom Logo Things | 3 days | 2 days extra for tooling tweaks |
| Full production | Shenzhen facility | 2 weeks | 5 days for QC retest |
Plan four to six weeks, but pad it because adhesives like the 3M 300LSE liner I insisted on last spring need to be prepped in a separate clean room, and that’s how we avoid the “sorry, your launch slipped” call by keeping every curing cycle visible on the shared timeline.
Watching the Foshan lamination cell taught me adhesives can hold up the whole operation: the die cutter was ready, the film was stacked, but the run couldn’t start until the Avery Dennison 3438 repositionable liner arrived with its blue release film; rearranging how to customize poly mailer closures around that delivery still saved the launch date.
I now build an extra day into every workflow for adhesive cure verification, so the supply chain team knows how to customize poly mailer closures includes a built-in buffer before the first unit ever leaves the press.
I swear adhesives have mood swings, especially when humidity hits a nasty double-digit spike above 65%, so I schedule weekly calls with the lamination cell to confirm their cure temp hasn't turned into guesswork—being this meticulous is how to customize poly mailer closures with peace of mind.
Key Factors for Reliable Poly Mailer Closures
Material pairing is not optional; choose film weight, flap width, and adhesive chemistry together—if you send just the dieline, the supplier guesses, and I can guarantee the 3M 300LSE will tackle humidity better than any generic adhesive while the 70-micron film holds up in a Portland distribution center.
A 70gsm film with a 5mm seal margin and a 25mm flap width gives room for printing without crowding the adhesive zone, and the tack has to stay stable from 40°F refrigerated trucks to 110°F vehicles stalled under the sun.
Print coatings matter: a gloss varnish can form a barrier, which is why I switched to BillerudKorsnäs film after a glossy treatment resisted every adhesive we tested, costing us a three-day delay and $660 in retest fees at the Shanghai lab.
KPI time: aim for 2.5 pounds of peel strength, 25 grams of initial tack, and a temperature range of -10°F to 120°F, otherwise your mailers will either pop open or refuse to open.
Quality control at Custom Logo Things caught a 15% failure rate once because we didn’t sample the new liner before running the blow mold; now every new liner hits humidity chambers and pressurized peel testers before production.
Need proof? ISTA guidelines (see the latest standards at ista.org) back up these KPIs, showing how to test adhesives under transportation stress so closures don’t peel off during shipping.
When I sit down with creative teams, I literally hand them the question of how to customize poly mailer closures and ask them to map the poly mailer seal customization plan, including which varnish stays out of the adhesive zone and which colorways need heated adhesives set to 110°C for faster cure.
We also benchmark each film against an ASTM D3330 peel test and list the failure points, so the R&D team sees exactly where the adhesive struggles and how to customize poly mailer closures with a liner that survives 20 thermal cycles and 30 humidity cycles.
I still laugh about the day the varnish took over the adhesive zone and the 0.4mm bleeds made the adhesive split into two feuding camps during the 8,000-unit run—clearly reminding everyone how to customize poly mailer closures with clear, matte-free space.
Step-by-Step Guide to How to Customize Poly Mailer Closures
First lock artwork, closure size, and adhesive spec, then send the dieline to engineering with assembly notes on liner behavior; I force a digital mock-up of the 80mm flap and 20mm overlap so tooling doesn’t guess and cut the wrong overlap, which would trigger costly revisions.
Next order closure samples with adhesives, test peel strength, tack, and humidity in-house—I still use that humidity chamber purchased during a factory visit in Guangzhou, and the sensor log holds 90% RH for three days to simulate summer warehouses and verify adhesion.
After approving the film and adhesive combo, schedule the press run and make sure the supplier has adhesive lots set aside; once, an adhesive shipment rerouted to Ningbo, and rescheduling that entire 30,000-piece run cost us $1,200 in demurrage and a full weekend of overtime.
Final QA, count, and pack once the heat-seal closure passes inspection, then ship sample photos to the buyer before the main shipment leaves so the retail merch team can see the peel strength and alignment firsthand.
This process ensures everyone knows how to customize poly mailer closures without guessing, because each step ties back to exact numbers—flap width, tack, adhesive batch, and mock-up approval time—keeping the run on track.
After the initial run, I archive the adhesive batch, build a failure log, and set a reminder to revisit how to customize poly mailer closures before the next seasonal run, so tweaks happen proactively instead of during a crisis call.
When a client asks which adhesives we recommend, I point to the data on that log and walk them through how to customize poly mailer closures for their geography, which usually means choosing 3M 300LSE for humid ports and Avery Dennison 3438 for retail showrooms.
There are days when I’m more persuasive with adhesives than with people; once I had to describe how to customize poly mailer closures using interpretive gestures because the supplier’s translator was offline, and by the time I finished miming a peel test I’d burned a full afternoon. (The crew still tells that story at lunch, which is probably why they humor me with extra peel samples now.)
Cost, Pricing, and Budgeting for Custom Closures
Adhesives tack on $0.07 to $0.12 per mailer, die-cut tooling costs about $250, and a short-run film lot adds another $0.05, so when I pushed the 3M team to drop the per-unit adhesive to $0.10 last campaign, it was because I guaranteed 50,000 pieces and a February delivery to Los Angeles.
Custom Logo Things keeps the MOQ at 5,000 pieces for standard closures, but tooling or unusual adhesives can nudge the minimum to 25,000 so the supplier amortizes the setup and keeps the run profitable.
The budgeting checklist includes artwork revisions ($120/hour design time for second proof), adhesive samples at $35 each for expedited shipping from the Avery Dennison lab, freight, and compliance testing—don’t forget the ASTM Peel Adhesion test or you’ll get stalled at the dock and violate the brand promise.
| Component | Supplier | Cost Impact | Notes |
|---|---|---|---|
| High-tack closure liner | 3M 300LSE | $0.12/unit | Best for humidity, requires 10-day lead |
| Repositionable adhesive | Avery Dennison 3438 | $0.10/unit | Great for retail returns, softer tack |
| Tooling/die cut | Local Shenzhen vendor | $250 fixed | Reusable up to 3 runs, add $45 for tweaks |
| Short-run film lot | BillerudKorsnäs | $0.05/unit | Matters for limited editions, adds weight |
Bundle closure components with other packaging pieces—like sealing them inside Custom Poly Mailers or grouping with Custom Packaging Products—to hit lower freight tiers, which once saved me $0.04 per unit on duties when shipping to California.
Budget $0.10 per unit for adhesives, $250 for tooling, $0.05 for film, plus freight and QC, and don’t underwrite the compliance tests that prove your brand isn’t sending out misaligned closures.
When the buyer asked why the quote rose to $0.15, I showed how to customize poly mailer closures for their limited-run capsule: the new tamper-evident adhesive and additional perforations added $0.03 of material cost but kept the run under 14 business days, which was worth avoiding a penalty clause.
My finance team now maps every purchase order back to how to customize poly mailer closures so we can forecast the next campaign’s adhesive spend instead of reacting to surprise costs.
Budget meetings sometimes feel like therapy: I explain why adhesives going from $0.10 to $0.11 is not a betrayal but survival, and remind the CFO that asking for the cheapest liner without a humidity test is the fastest way to get a phone call that begins with, “We have an emergency”—that’s how to customize poly mailer closures for the budget team. (I've learned to keep a stress ball shaped like a mailer in my desk for those moments.)
Common Mistakes When Customizing Closures
Skipping solvent or temperature testing ends up with closures that lock in summer heat or peel halfway across the warehouse; I’ve seen both scenarios and each cost a reprint at $0.18 per unit for the 12,000-unit run.
Ignoring adhesive compatibility with inks and varnishes turns a polished design into a sticky mess when the adhesive ribbon fuses to the print, so always separate the adhesive zone—matte or varnish-free—for those 20mm flaps.
Rushing the timeline, rescheduling adhesive orders, and dumping samples on ops without approval is how orders slip; I used to fall for that until a supplier told me the press scheduled a cleanup because the adhesive laydown was unknown, which added a $600 cleanup fee and a day to the calendar.
Don’t let your team guess how to customize poly mailer closures; instead, document every change, because every deviation adds $0.05–$0.10 per unit and a day to the calendar.
Another rookie move? Using a single adhesive across multiple product drops without refreshing the peel data. We once ran a lavender mailer with the same liner as our winter knit drop and watched the peel strength plunge from 2.6 pounds to 1.4 in an Atlanta fulfillment center; now we treat every run as a new test of how to customize poly mailer closures for that climate.
I still cringe when I hear, “We’ll just run it once more with the same liner,” because I remember the Atlanta peel disaster and the fury in the fulfillment team's group chat; it’s a reminder that how to customize poly mailer closures is never a copy-paste job, especially if your mailer is heading somewhere that feels like a sauna or a glacier.
I also see brands assume large warehouses will deliver consistent temperature, so they skip the humidity chamber; the result is sticky edges or closures that refuse to open, which is why we run at least 15 peel tests per week to keep everyone honest.
Expert Tips from the Factory Floor
Always request a full closure mock-up from the tooling crew—even if it costs a $65 setup fee—because they spot overlap, cut path, and die issues before the full die cut is made, and one caught a 2mm misalignment that would have wrecked 10,000 units.
Buy adhesives with built-in liner release from 3M or Avery Dennison; I told the Shanghai lab to ship the sample, and the extra $0.02 per unit saved us a customer refund after a sticky closure almost sealed itself shut.
Bundle closure components with Sealed Air bubble mailers or other packaging pieces to hit lower freight tiers; the plus side is a $0.04 per unit savings on duties, the downside is you need to track two SKUs in the same container.
Talk to suppliers about 3M or Avery EverGreen programs for recycled liners—packaging.org has guidance on sustainable adhesives—and you might unlock lower carbon fees while maintaining a strong peel.
My favorite trick is to have the supplier photograph every closure at 200% magnification so we can verify heat seal placement before the full run, which is a visual reminder of how to customize poly mailer closures with precision.
Ask the adhesive rep if you can lock in a three-month rate, because the price on a 50kg carton of liner can swing by $0.01 per unit; that’s why I once negotiated a $0.11 per-unit price with 3M for a 75,000-piece order after promising a two-week stretch of repeat business.
One time I asked for closure photos and got a blurry picture that looked like a ghost seal—so now I demand 200% magnified photos plus a side-by-side with a ruler, because if the adhesive is shy I want to see it before it ships—that’s how to customize poly mailer closures with traceable evidence. (Apparently the supplier thought I was starting a cologne review.)
Next Steps for Launching Customized Closures
Action plan: confirm closure specs, lock in the adhesive supplier (3M or Avery Dennison), schedule sample testing with Custom Logo Things, and set a production date so nobody stalls in the approval loop.
Prepare by sending the dieline, design notes, and target quantities to the vendor, budget around $0.10 per unit for adhesives, and guarantee the QA check before the mass run so the retail partner gets the exact experience promised.
Call Jamie at Custom Logo Things to book the next run, request a closure sample, test it, approve the tooling, and ship sample photos before the main shipment leaves, because that’s exactly how to customize poly mailer closures without guessing.
Add a weekly check-in to the calendar to review the adhesive lead time and film stock, and remind the ops team about how to customize poly mailer closures with updates whenever a new climate-controlled warehouse—Seattle, Chicago, or Toronto—gets added to the route.
Make sure every stakeholder knows the contingency: if adhesives don’t pass the humidity chamber, we don’t start the run until a new lot arrives, and documenting how to customize poly mailer closures in that contingency memo keeps the launch on track.
I also tell teams to set alarms for adhesive reorder windows; missing that window is how to customize poly mailer closures for delivery you never quite see, and the only way to stop panic texts is to plan the buffer like a bedtime routine for packaging obsessive people (yes, that’s me).
That’s how to customize poly mailer closures: request a closure sample, test peel and humidity with real data, approve the tooling, and call the Custom Logo Things team—ask for Jamie or our technical project manager—to lock the production date.
How can I customize poly mailer closures for a small order?
Work with Custom Logo Things to balance MOQ; vendors often accept 5,000 pieces if you cover the $250 tooling fee and pay $0.12 for adhesives, but insist on closure samples first, test them in your climate, and don’t skip the liner trial because small runs fail fast without data. That’s part of how to customize poly mailer closures with fewer units—more testing, less leap of faith.
What materials should I pick when customizing poly mailer closures?
Choose a film weight that complements your product, include a flap wide enough for prints without crowding the adhesive, match film with adhesives like 3M 300LSE for high tack or Avery Dennison 3438 for repositionability, and test in the same climate where the mailers will ship, especially if you use glossy inks.
How long does it take to customize poly mailer closures?
Expect 4–6 weeks from artwork approval to finished product, since adhesives have their own curing and inspection timeline; add another week for expedited samples or supplier backlog, and use a checklist for sample approval, adhesive delivery, and production so surprises stay out of the schedule.
Can I customize poly mailer closures with tamper-evident features?
Yes, add perforated tear strips or heat-activated adhesives that leave visible residue when opened; map the feature in the dieline so adhesives and die-cuts align, validate effects with a physical mock-up, and budget for the extra tooling—around $275 more—and tighter QA testing.
What should I avoid when customizing poly mailer closures?
Avoid assuming any adhesive works; test a specific supplier’s liner with your chosen film, don’t skip humidity or peel tests, and never change closure specs mid-run because every tweak adds $0.05–$0.10 per unit and delays shipment—the exact pain my old brand used to feel.
Final takeaway: how to customize poly mailer closures means treating adhesives like the strategic partner they are—document every asset, run the humidity cycles, and keep the data so you can respond fast when a warehouse goes from sauna to glacier in a week. Gonna sound obsessive, but that discipline is what keeps launches on time.
Experience has taught me that even the most precise closures can surprise you, so I admit the remaining uncertainty: adhesives perform differently every season, and while numbers guide us, the best results come from constant testing and honest reporting to your partners.