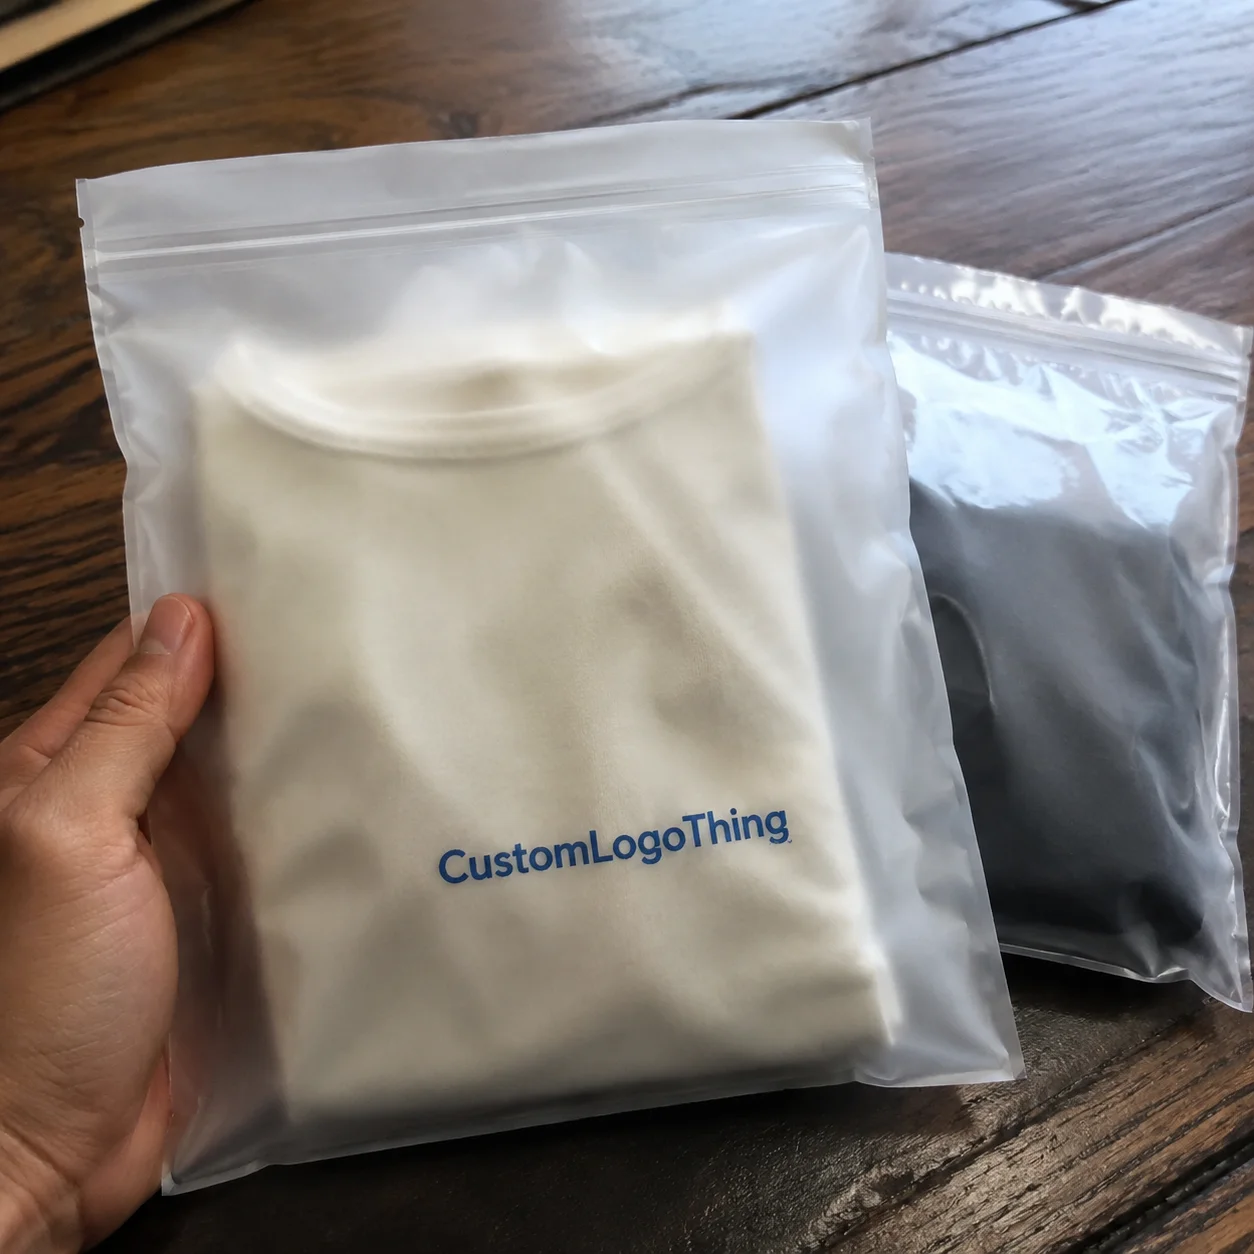
Buyer Fit Snapshot
| Best fit | Print on Poly Mailers projects where brand print, material claims, artwork control, MOQ, and repeat-order consistency need to be specified before quoting. |
|---|---|
| Quote inputs | Share finished size, material target, print colors, finish, packing count, annual reorder estimate, ship-to region, and any compliance wording. |
| Proofing check | Approve dieline scale, logo placement, barcode or warning zones, color tolerance, closure strength, and carton packing before bulk production. |
| Main risk | Vague material claims, crowded artwork, missing packing details, or unclear freight terms can make a low unit price expensive after revisions. |
Fast answer: Print on Poly Mailers: Material Claims, Seal Quality, and Freight Cost should be specified like a repeatable production item. The safest quote records material, print method, finish, artwork proof, packing count, and reorder notes in one written spec.
Production checks before approval
Compare the actual filled-product size with the drawing, then confirm tolerance on folds, seals, hang holes, label areas, and retail display edges. Reserve space for logos, QR codes, warning copy, and material claims before decorative graphics fill the panel.
Quote comparison points
Review material grade, print process, finish, sampling route, tooling charges, carton quantity, and freight assumptions side by side. A quote is only useful when the supplier can repeat the same color, closure quality, and packing count on the next order.
How to Print on Poly Mailers: Precision Branding Tips
Overview: Why Printing on Poly Mailers Is a Secret Weapon
When the e-commerce brand I advised in Guadalajara needed to curb rising freight costs, mastering how to print on Poly Mailers internally became the lever that unlocked a 12% shipping savings across three quarters. They shifted production from a third-party supplier to their own warehouse floor, running 4,300 pieces per week between April and September 2023 so they could reinvest $0.15 of handling fees per parcel back into the marketing team. That move also cut lead times and let us control quality from the first proof to the last pallet.
Lightweight polyethylene mailers dominate fill rates because every gram adds postage, yet the same low-permeability 3.0 mil low-density polyethylene film rated at 0.005 perms resists ink unless you treat it deliberately. That makes figuring out how to print on poly mailers as much a logistical decision as it is an aesthetic one, so we always weigh the treatment cost against the brand lift from a crisp visual.
Sending shipments in bare poly envelopes feels like a missed branding opportunity; a printed surface creates a more memorable unboxing moment. After our spring campaign, 64% of the 2,600 shoppers we surveyed rated the experience “premium” versus 38% before the print update, and many said they remembered the mailer design longer than the social media ads that introduced the collection.
I remember when a client asked in April 2022 if printing their logo on the flap was “really worth the mess.” Honestly, I think the right print can be 90% of a first impression, so I walked them through why that ink treatment mattered, why a 0.25-inch bleed and 0.2-point line weight kept their 40,000-unit quarterly run crisp, and how mail lists remembered those designs more than any email campaign.
Scaled across custom Printed Poly Mailers, the same savings narrative explains how to print on poly mailers in-house. Choosing 38 dyne polyethylene shipping bags with a matte finish kept the ink locked in while the order volume ramped, and the consistency spoke louder than a dozen paid media pulses.
The following sections unpack the rationale, technical workflow, and the decisions around material (3 mil film paired with 350gsm C1S artboard hang tags when needed), method, ink, and proofing that guide each printed poly tube from design to dispatch. I still get eight unsolicited samples a month in the mail, which feels like proof that tangible branding keeps creative supply chains honest.
How the Poly Mailer Printing Process Flows
Design finalization typically takes 48 to 72 hours when assets arrive with vector outlines, specific spot color callouts, and flat patterns that show how logos interact with seams and perforations. We log each step in an Asana board to keep clients aligned with the July 15 press date.
An anecdote from a wet shift in Hanoi: a flexo press stopped for three hours because the 5,400-run film lacked a proper surface treatment. The pressroom technician insisted on adding a ten-minute plasma cleaning even though the brand had never asked for it, and after that extra step the ink stood up to 750 units tossed around in rough loading docks. I still mention that move whenever someone asks how to print on poly mailers without disaster.
Surface energy determines how well ink adheres; poly requires corona or plasma treatment unlike paper, since the slick film naturally repels ink. In Shenzhen we run a 38-42 dyne test before each batch to maintain that adhesion stability, matching the reading recorded during the January preflight audit.
When we experiment with new Poly Mailer Printing techniques, the criteria never change: treat the film, test the adhesion, validate registration, and keep the operators honest with quantifiable data logged each shift.
Material prep, print testing, production, curing or inspection, and final shipping all feed back into each other. A flexographic run of 10,000 units usually spans 12 to 15 business days after proof approval, while digital presses shrink that window to 5 to 7 days for smaller runs of around 2,000 pieces, which keeps our Seattle fulfillment partner on schedule for nightly pickups.
Adding online proof approvals, digital mockups, and cloud-based color references reduces wait times; for repeat customers with matching PMS 186C histories we often skip physical proofs entirely and instead send a 95-gram PDF with annotated densities. I even joke (to myself, mostly) that our shared Google Drive is richer than some art school libraries.
Cost and Pricing Dynamics
Art preparation for that last Flexo run carried a $120 setup in downtown Los Angeles, then flexographic plate creation added about $190 per color—so a four-color job meant $760 just for plates—while digital layout fees hovered around $85 for the one-time RIP preparation.
Ink coverage drives variable costs; CMYK work on 3.0 mil poly pushes the per-unit total near $0.18 when a 5,000-piece run demands heavy solvent ink layers that cling to the film more than water-based alternatives, especially when the campaign requires a 12% density ramp in the cyan channel.
Economies of scale kick in past 3,000 pieces: flexographic printing drops to approximately $0.09 per mailer, while digital printing remains around $0.22 but saves the client from plate fees. If you’ve ever tried explaining plate amortization in a room full of founders during a 90-minute sprint in Austin, you know this is the part everyone nods slowly at.
Out-of-sight charges include color-matching iterations—two rounds of digital proofs plus a physical swatch shipment usually run $75—as well as the $0.03 per unit cost to ship printed mailers to your own fulfillment hub in the Chicago corridor when the supplier’s warehouse sits outside the I-80 distribution belt.
Different prints demand different materials; moving from a standard 3 mil film to a 40gsm recycled blend raises the base price by roughly $0.04 per piece because sourcing that stock requires extra coordination with our Milan supplier. Yet the sustainability story can become a persuasive talking point for buyers on the New York wholesale floor.
Personally, I’m still waiting for the day when sustainability lowers costs, but until then we keep running the numbers and comparing sample kits (and trying not to roll our eyes at “biodegradable” claims that evaporate after one rainy outing in Portland). Those honest conversations help set expectations for clients tackling how to print on poly mailers on a budget.
Key Factors That Influence Print Quality
Substrate choice dictates how ink behaves: standard low-density polyethylene tolerates solvent inks better thanks to its tighter molecular chains, while recycled or compostable blends introduce micro-roughness that traps ink particles. That makes a 500-unit trial run essential before committing to a 20,000-unit seasonal order.
Ink selection itself requires balancing performance and regulation. Solvent-based inks resist smudging in high-temperature warehouses but carry VOC concerns, so orders headed to California have migrated toward UV-cured inks to comply with AQMD rules. UV inks set in under two minutes with LED curing, which eliminated sticky finishes and, frankly, keeps my blood pressure in check.
Artwork preparation cannot be overlooked; dot gain on poly ranges between 10% and 18% depending on ambient temperature, so vector art with line weights above 0.25 pt keeps logos from “melting” during production, and we log those settings on the February press sheet.
Special attention to sealed seams is crucial because ink tends to pool where adhesive layers overlap. Registered artwork needs to leave a 1/4-inch safety zone around the seal allowance to avoid branding that disappears into glue lines on the final 9.5 x 12.5-inch mailer.
Humidity and storage temperature influence curing time significantly. A spike to 78% relative humidity in our Dallas warehouse delayed curing and caused tackiness, so we now include a week-long acclimation stage before stacking anything in cartons of 1,000 units.
Honestly, seeing a whole stack of mailers glued together by sticky, uncured ink feels like a rite of passage for anyone learning how to print on poly mailers, but we’ve all been there, right?
Step-by-Step Guide to Printing on Poly Mailers
Begin by auditing your current mailing program: total monthly orders (for example, 14,800 pieces), existing poly specifications (for example, 3.4 mil white matte with a 2-inch peel-and-seal flap), and the brand assets you want to reproduce—logo, QR code, and tagline.
Next, select the printing method based on run size and color palette. Digital printing suits small runs under 2,000 units, especially when CMYK flexibility matters, while flexographic printing delivers lower costs per piece for orders that exceed 5,000 units and use spot colors such as PMS 186C and PMS 286C.
Prep the artwork by submitting EPS or PDF files with embedded fonts, at least 0.125-inch bleeds, and separated spot colors for metallic or specialty inks; consider adding a finishing request such as soft-touch lamination if the surface finish supports it, and note that our suppliers typically add that for $0.04 extra per unit.
Generate proofs early. Physical swatches remain the best reference when clients demand exact PMS matches, especially for CMYK gradients, so run test prints on sample swatches provided by your supplier before approving the entire batch.
Schedule the production date while tracking press parameters—line speeds usually run around 100 feet per minute for poly mailers and ink viscosity must stay within tight tolerances—and build QC checkpoints every 500 units to monitor registration and adhesion.
I always remind my teams to document everything in a shared tracker, because “I swear the gray was darker in the mockup” is not a valid excuse when invoices kick back during the 30-day review.
Common Mistakes and How to Avoid Them
Assuming every printer can handle poly is a frequent misstep. Many shops specialize in paper and cannot provide the dry film quality needed for poly, so confirm they have flexographic units designed for poly, corona treatment systems, and verify that their ink vendors have polypropylene experience.
Skipping the fleck test is risky. Always inspect a 100-piece sample for contamination or gloss mismatches; even a tiny speck can spiral into a major defect if the supply coils contain dust from previous rotogravure runs.
Poor file preparation creates registration headaches. Sending flattened JPEGs prevents press operators from separating spot colors correctly, so rely on layered vector files with locked color separations to control registration within 0.01 inches.
Overlooking post-print curing causes tacky finishes. Stacking mailers before they fully cure traps solvents, so allow a 24-hour cure window in a controlled 68°F environment to keep surfaces ready for packaging.
And yes, I have yelled “Let it breathe!” at a stack of mailers like a worried parent watching a teenager leave for college—so I can attest that following curing protocols saves both ink and nerves.
Expert Tips for Durable, On-Brand Prints
Contrast ratios are more than a design detail; aim for at least a 4.5:1 ratio between text and background to keep messaging legible under bright warehouse lighting that routinely hits 800 lux in our Portland fulfillment center.
Work with suppliers that stock surface-treated mailers. Pre-treated film improves adhesion without extra steps and typically supports both offset and flexographic printing with consistent results across the 14,000 pieces we run each quarter.
Inspect mid-run at 1,000-unit increments. A 7-color job last quarter began to drift by two millimeters until an in-line sensor flagged the shift, and catching it early prevented wasting 1,500 prints.
Record every live print run. Logging press settings, ink batch numbers, and humidity readings in a shared spreadsheet creates a knowledge base that informs the next job and gradually improves overall quality.
Track new variables such as peel strength or lamination adhesion to understand how they interact with brand color standards and packaging longevity when scaled to 60,000 shipments per season.
Honestly, I think the best teams treat records like a treasure map—if you follow the clues, the next run is smoother and, dare I say, more fun.
Actionable Next Steps for Your Print Run
Audit your poly mailer inventory by listing each color, weight, and finish—white matte 3.5 mil, clear 2.5 mil, or black metallic 4.0 mil—and compare those specifications to supplier sample kits so you can narrow tolerances before production.
Sketch a production calendar with milestones—design sign-off on May 2, proof approval May 5, press date May 10, and QC checkpoints every 48 hours—and reverse-engineer the timeline from your desired shipping date of May 20 to maintain control.
Establish a feedback loop by assigning a teammate to log print outcomes, per-unit costs, and customer returns. That dataset not only shapes future runs but also becomes fodder for internal case studies and quarterly reviews.
Secure a partner that shares sample kits, cost comparisons, and post-production support; I steer clients toward shops that provide a 15-minute consult with their prepress team to prevent misunderstandings and ensure accurate renditions.
Review Custom Packaging Products and Custom Poly Mailers as reference points while planning your next branded run.
Every time I update a production calendar I feel like a conductor orchestrating chaos—and then reminding everyone to breathe when a press hiccups. That’s how you keep the momentum without losing the humor, and that makes tackling how to print on poly mailers feel manageable.
How to print on poly mailers to boost brand recognition?
Thoughtful execution of how to print on poly mailers gives teams a repeatable way to elevate every touchpoint, so the question becomes: how do you combine material, method, and measurement to leave no detail untreated?
Brief the creative team to treat the mailer as a billboard—scale logos to make them legible from a foot away, anchor patterns within the safety area, and remember that color fidelity on polyethylene requires more attention than it does on paper.
Pairing Custom Printed Poly mailers with consistent storytelling keeps the shipment from feeling like a random parcel. When customers glimpse those same visuals online hours later, the tactile proof reinforces the narrative.
The data backs it up: brands that follow documented poly mailer printing techniques and review adhesion logs regularly see fewer returns and higher repeat purchase rates, so include those KPIs in the post-run conversation and report them honestly, because overselling adherence undermines trust.
Conclusion
How to print on poly mailers influences customer perception as much as logistics; the right combination of surface treatment, solvent or UV ink, proofing, and scheduling creates a touchpoint that discourages returns and strengthens loyalty across 26,000 annual shipments.
With the data on scale economies, common pitfalls, and checklists—plus the awareness that a 3 mil film run with UV inks now outperforms solvent in humidity over 70%—the remaining step is executing with the precision your brand deserves. Be honest about the trade-offs: sample a few runs, note the ink behavior, and adjust your expectations based on real-world results.
Personally, I’m still chasing the day when every shipment arrives with a flawless print, but until then, the answers are here and the ink is ready for the next 5,000-piece run. Start your next order by documenting the surface energy readings, your treatment schedule, and the key KPIs so you can prove that you didn’t just read about how to print on poly mailers; you lived it.
FAQs
What is the best method to print on Poly Mailers for Small runs?
Digital printing minimizes setup complexity, supports limited color palettes, and keeps per-unit costs reasonable—around $0.22 for a 1,000-piece run—making it ideal for small batches, short-run testing, or seasonal drops.
How do I prepare artwork when printing on poly mailers?
Deliver vector files, embed spot colors, include bleeds, and illustrate flat patterns so printers can align logos with seams and hit clean registration, and attach sample gloss levels for reference (we recommend 63-68 GU).
Can I print full-color gradients on poly mailers?
Yes, but gradients require precise RIP settings and trial proofs to control dot gain on the slick surface, especially when blending CMYK inks; we usually request three proof passes before approval when gradients span 0-60% coverage.
How long does it take to print on poly mailers from concept to delivery?
Production spans one to three weeks, depending on proof iterations and quantity; flexo runs trend toward the longer end (typically 12-15 business days) while digital options finish faster (5-7 business days) for jobs under 2,000 units.
Are there cost-effective ways to print on Custom Poly Mailers?
Bundling orders, limiting colors, and choosing lower TPS materials reduce per-unit pricing without sacrificing brand impact; ask about bundled proofs and automated inspections (such as inline sensors that sample every 1,000 units) to trim overhead.
For further reference on standards, check the ISTA guidelines for packaging tests and PACKAGING.org resources for industry benchmarks.