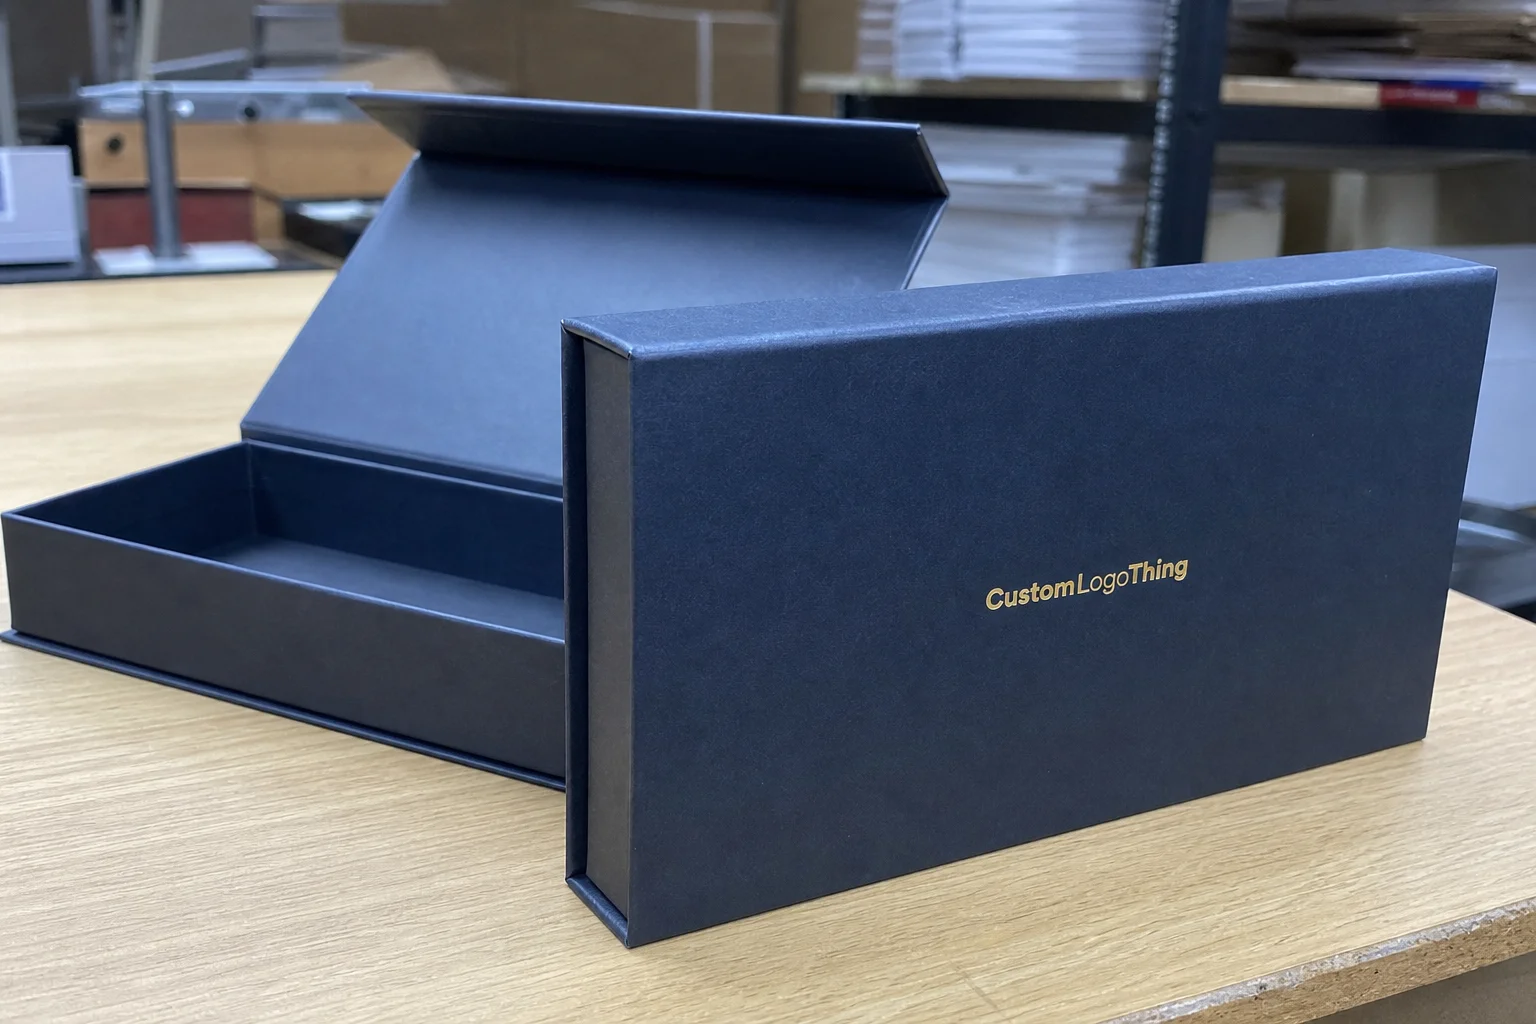
Mailer Boxes Sample Approval Checklist for Smart Buyers
Why a Mailer Boxes Sample Approval Checklist Matters
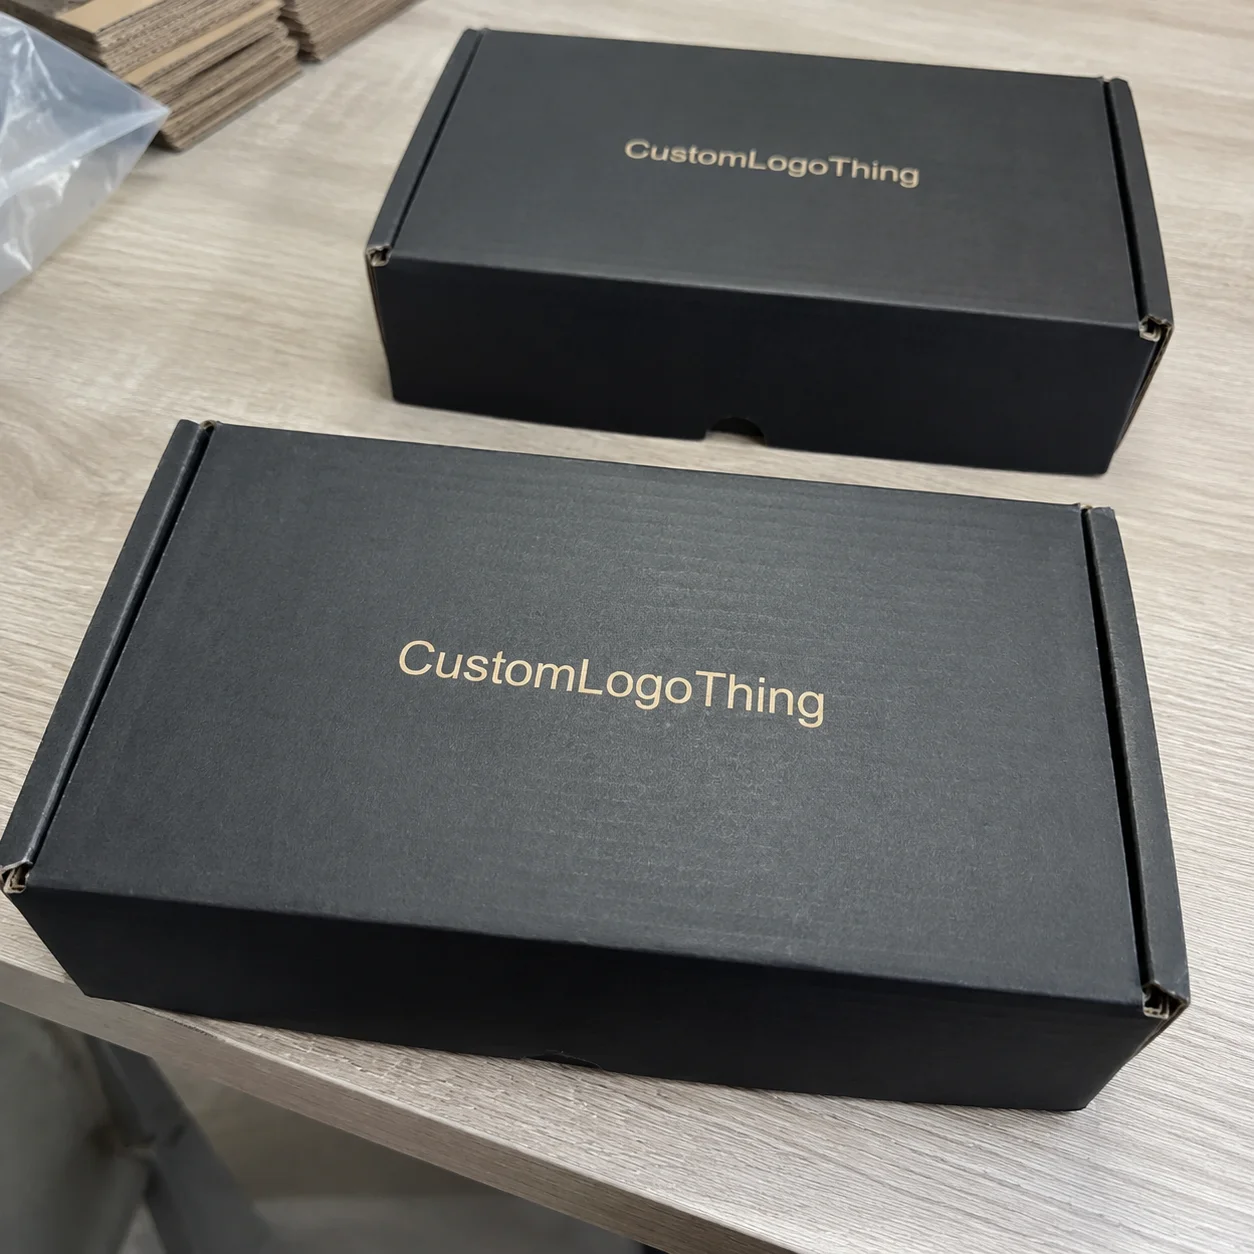
A mailer box can look precise, balanced, even expensive on a screen. Then the physical sample arrives with a tuck flap that drags, a brand color that has gone flat, or an insert cavity that lets the product slide because the fit is off by 3 mm. That small gap explains why a mailer boxes Sample Approval Checklist belongs in the buying process. It gives buyers one practical quality gate before approving hundreds, thousands, or tens of thousands of boxes.
For ecommerce orders, subscription boxes, PR kits, retail-ready packs, and gift packaging, the sample is the first moment the concept becomes an object. You can feel the board. Fold the ears. Test whether the front lock holds once the product is inside. See whether matte coating softens a color more than the proof suggested. The difference between a polished unboxing and a frustrating one often starts here, in the quiet, slightly forensic work of handling a sample.
Sample approval is not decorative paperwork. It protects unit cost, launch timing, brand presentation, and the customer’s first physical contact with the product. A box that looks premium but slows the packing team adds labor. A box that ships well but hides the barcode can create receiving delays or retail compliance problems. Packaging errors tend to move downstream, where they become more expensive. In manufacturing, a 2 mm miss can behave like a 2-inch problem.
A sample can confirm structure, fit, print position, color direction, board feel, coating, and assembly experience. It cannot prove every variable in mass production. Press speed, die wear, board shade, humidity, and batch-level ink behavior still create normal production tolerances. Treat the approved sample as the target standard, not a promise that every carton will match it down to the last speck of ink.
Buyers usually see several sample types along the way: a digital proof, a white structural sample, a printed production sample, a pre-production sample, and sometimes a finished sample pulled from the final run. Each one answers a different question. A disciplined checklist keeps those questions separate: what has already been approved, what still needs a physical check, and what would trigger a new quote or schedule change.
How Sample Approval Works From Artwork to Physical Box
The approval path usually starts with the dieline. The box style, interior dimensions, lock style, tuck depth, dust flaps, and glue or no-glue construction are confirmed first. Artwork is then placed on the dieline with bleed, safe zones, panel orientation, barcode position, and inside-printing direction checked before a digital proof goes back to the buyer.
Artwork approval and sample approval are connected, but they are not interchangeable. Artwork approval checks layout, spelling, logo placement, barcode size, bleed, copy, and file setup. Sample approval checks the real box in hand: how it folds, how it closes, whether the product fits, whether the printed panels land correctly after scoring and die cutting, and whether the board feels right for the product weight. One is graphic accuracy. The other is operational reality.
Structural samples are often made with the actual board grade or a close comparable material. A sample table or CAD cutter creases and cuts the sheet so the buyer can test folds, locking tabs, dust flaps, and inserts before production tooling is committed. With custom mailer boxes, a small change in tuck depth or front wall height can alter the entire opening experience. The geometry is simple until it is not.
Printed sampling adds more variables. The supplier has to account for print method, ink coverage, lamination or coating, scoring, die cutting, folding behavior, and extras such as foil, spot UV, embossing, debossing, ribbon pulls, sleeves, or product inserts. Heavy ink over a score line can crack on some boards. A large solid black panel on kraft may look textured and muted, not like the dense black a buyer saw on a backlit monitor.
Keep one approved sample in good condition. That sample becomes the control reference for production, receiving inspection, and future reorders. If a later discussion starts around color, fit, fold tension, or finish, everyone can compare against the same physical target instead of relying on screenshots, memory, or a phone photo from three weeks earlier.
Write changes with precision. Mark the sample version, add photos, circle panel issues, note measurements, and state the requested correction in plain language. “Move logo up 5 mm on front panel” gives the production team something to act on. “Logo feels off” does not. A useful sample approval process pushes buyers toward specific, measurable comments.
Mailer Boxes Sample Approval Checklist: Key Specs to Inspect
Start with structure. Measure the interior length, width, and depth, then pack the actual product with every real component: inserts, tissue, cards, labels, protective wrap, instruction booklets, and bundled accessories. A 2 mm clearance may be fine for a soft apparel item. It can be too tight for a rigid jar, candle, electronics unit, or product with sharp corners. A mailer boxes sample approval checklist is most useful when it reflects the real pack-out, not an idealized version.
Board and flute selection matter more than many first-time buyers expect. E-flute is common for corrugated mailer boxes because it gives a neat profile, decent crush resistance, and a strong print surface. B-flute feels thicker and can handle more stacking pressure, though it may look less refined for premium unboxing projects. Microflute and paperboard-backed options can feel sharper in hand, but they often need closer attention around scoring and heavy ink coverage.
Check the folds slowly. Tuck flaps should close cleanly without whitening, cracking, or fighting the side walls. Ears should not tear after a few open-close cycles. Front locks should hold without bulging. Once assembled, the box should stay square rather than twisting into a diamond shape. That kind of twist often points to scoring, board grain, or dimension balance problems. A strong packaging sample checklist captures those clues before they turn into production waste.
Print quality deserves the same patience. Look at logo sharpness, ink density, small text, color registration, QR code readability, barcode scan quality, and artwork crossing fold lines. If the artwork wraps from lid to front panel, confirm that the score allowance still looks intentional after folding. Paper moves. Corrugated board has thickness. Good design leaves room for both.
Finishes change color behavior. Matte lamination can make a brand color feel softer and more restrained. Gloss coating can raise contrast and make dark solids feel deeper. Aqueous coating helps with rub resistance, though it is not the same as plastic film lamination. Kraft board naturally mutes bright colors, especially light blues, yellows, and soft pinks. If your brand depends on exact visual cues, review the box under more than one lighting condition.
Practical rule: assemble more than one sample if you have them. One box tells you what is possible; three to five samples start to show whether the fold, fit, and print position are consistent enough for real packing.
Shipping validation depends on product risk. For heavier ecommerce products or fragile items, ask whether the design should be tested against a protocol from ISTA. Not every project needs formal lab testing, but the logic behind compression, vibration, and drop performance is useful even for smaller runs. That is especially true if the mailer is expected to function as the shipper and the brand presentation at the same time.
Process and Timeline: What Happens After Sample Feedback
Sampling takes time because each stage draws on different resources. A digital proof may be reviewed and revised within 1 to 2 business days if the artwork is clean. A white structural sample often takes 3 to 7 business days, depending on dieline complexity and material availability. A printed or embellished sample can take 7 to 15 business days or longer because printing, coating, cutting, scoring, and finishing all have to be scheduled.
The type of feedback determines the delay. A copy edit may only require a revised proof. A change to box size, board grade, insert layout, tuck style, or finish usually means a revised dieline and another physical sample. If foil, embossing, spot UV, or inside printing is involved, even a small design move can affect tooling or setup. The checklist helps teams see which comments are cosmetic and which ones trigger a structural restart.
Approve samples before the launch calendar starts closing in. Production should not begin until the buyer, packaging supplier, and internal packing team agree on the final build. If the packing team has not tried the sample, marketing may approve a box that later slows fulfillment. That is no longer a design problem. It is an operating cost, repeated every time somebody packs an order.
After approval, the handoff gets specific. Final files are locked. Materials are ordered or allocated. Tooling is confirmed. Production is scheduled. Quality checkpoints are set for board, print, color, die cutting, folding, packing, and outer carton labeling. Finished boxes are then packed for shipping, usually flat-packed in master cartons to control freight cost and warehouse handling.
Name one decision-maker. Comments from design, operations, merchandising, and leadership can all be useful, but one person should own the final written approval. Version confusion is one of the most common causes of slow sampling, especially when one email thread approves artwork while another asks for a structural change. The checklist only works if authority is clear.
Before giving final approval, ask the supplier three direct questions: Which sample stage is the final approval point? What changes are still allowed afterward? Do post-approval changes affect cost, lead time, tooling, or material purchasing? Clear answers here prevent expensive assumptions.
Cost, Pricing, and MOQ Details to Confirm With the Sample
The sample approval stage is a good time to confirm the numbers behind the box. A small physical change can shift the unit cost across the full production run. Increasing depth by 12 mm may push the box into a larger sheet layout. Adding inside print may require a second pass or different setup. Changing from aqueous coating to matte lamination can alter both cost and lead time. The sample is physical, but the implications are financial.
Main cost drivers include box size, board grade, flute type, print coverage, number of ink colors, inside printing, lamination, foil, embossing, spot UV, inserts, special packing, and freight carton configuration. A simple one-color kraft E-flute mailer at 5,000 pieces sits in a different price band than a full-color printed mailer with inside artwork, matte lamination, and a die-cut insert.
Sample costs and production costs should not be confused. A one-off sample may cost $50 to $250 or more depending on print, finish, and freight, because it is not made at full production efficiency. Production unit cost depends heavily on quantity and how far setup costs can be spread. As a rough buyer-side range, a small printed corrugated mailer might land around $0.65 to $1.40 per unit at several thousand pieces. Larger, heavily printed, embellished, or insert-heavy builds can move well above that. Actual pricing depends on specifications, order quantity, material markets, and freight.
| Specification Choice | Typical Cost Effect | Approval Check |
|---|---|---|
| White E-flute with outside full-color print | Moderate; common for ecommerce and subscription packaging | Check color density, fold cracking, and logo registration |
| Kraft board with one or two ink colors | Often lower than laminated full-color builds, depending on coverage | Confirm muted ink appearance and natural board shade variation |
| Inside printing | Adds setup, ink, handling, and inspection steps | Review panel orientation after assembly and unboxing sequence |
| Foil, embossing, or spot UV | Raises cost through tooling, registration control, and finishing time | Inspect alignment, pressure, scuffing, and finish consistency |
| Custom insert | Can add material, cutting, packing labor, and extra sampling | Pack the real product and test movement during handling |
Minimum order quantity is tied to material purchasing, press setup, die cutting, labor, and finishing setup. A lower MOQ may be possible, but it often raises the unit cost because setup expenses are spread across fewer boxes. The better buyer question is not only “What is the lowest MOQ?” It is also “Where does the unit price start to make sense?”
Confirm that the quoted price matches the approved sample exactly. That means dimensions, board, flute, print method, coating, insert, packing method, master carton quantity, and shipping terms. If sample review leads to any physical change, ask for a written quote revision. The production team needs one locked specification to build from, and finance needs the same number operations approved.
If responsible sourcing matters to your brand or retailer, ask early about FSC-certified paper options and chain-of-custody documentation through FSC. Certification, recycled content, and material claims should be confirmed before approval, not added casually after artwork and sampling are finished.
What Should a Mailer Boxes Sample Approval Checklist Include?
A useful mailer boxes sample approval checklist should cover five areas: structure, fit, print, finish, and commercial terms. Structure means dimensions, board grade, flute type, folds, locks, and squareness. Fit means the real product plus all accessories, protective materials, cards, and inserts. Print means color, registration, barcode scan quality, QR readability, small text, and panel orientation. Finish covers coating, lamination, foil, embossing, and rub resistance. Commercial terms include unit price, MOQ, lead time, freight terms, and the exact sample version being approved.
It should also record what is acceptable. Buyers often note defects, but they fail to define tolerances. Is a slight score crack acceptable on the inside panel? Is color variation within a certain range acceptable on kraft? Can the box bow slightly once packed, or is that a rejection point? Without those standards, the checklist becomes descriptive rather than decisive.
The best versions are short enough to use, specific enough to protect the order, and consistent enough to support reorders. Think of it less as a form and more as a control document. In quality systems, the difference matters.
Common Sample Approval Mistakes That Cause Rework
The biggest mistake is approving a sample without packing the real product. Photos and dimensions help, but they do not replace loading the actual item with all accessories, cards, inserts, labels, tissue, and protective wrap. A product that fits by itself may not fit once the full retail presentation is packed. The checklist only works if it meets the product in real life.
Color review is another weak spot. Poor lighting can make a dull print look acceptable or a good print look wrong. Check samples in daylight-balanced light if possible, then compare against the proof and brand target. Screen color, digital proof color, and ink on corrugated board will never match perfectly. The goal is an approved physical color direction with realistic tolerance.
Dieline mistakes are easy to miss until the box is assembled. Artwork may sit too close to folds. Graphics may cross creases without allowance. Panels may be rotated incorrectly. Required information can disappear under a flap or end up on the bottom panel instead of a customer-facing surface. Good packaging fails in surprisingly bureaucratic ways.
Shipping conditions deserve respect. A beautiful mailer that is too light for the product weight, carrier handling, or stacking pressure may arrive crushed, scuffed, or popped open. For heavier products, ask about board compression strength, edge crush considerations, outer carton packing, and whether a ship-in-own-container use case needs more testing.
Verbal approvals create trouble. So do scattered comments across five email threads. Use one written approval tied to the correct proof number, sample version, and specification sheet. A mailer boxes sample approval checklist keeps the conversation grounded because every major decision is visible in one place.
Specification changes after signoff can affect price, schedule, tooling, material purchasing, and production slots. Sometimes changes are unavoidable. Fine. Treat sample approval as a real production commitment, not a casual design checkpoint.
Next Steps Before Approving Your Final Mailer Box Sample
Use a repeatable routine before signing off. Assemble the sample. Pack the actual product. Close the mailer. Shake it lightly. Open it the way a customer would. Photograph the front, back, sides, lid, inside panels, bottom, insert, and packed product. Then compare the result against the quote, dieline, and artwork proof. A mailer boxes sample approval checklist is strongest when it is used as a sequence, not just a list.
Measure the interior and exterior dimensions with a ruler or caliper. For most ecommerce mailers, a tolerance of a few millimeters may be normal, but the acceptable range depends on the product, board, and packing method. If the box must meet carrier size tiers, shelf dimensions, or retail compliance requirements, confirm those numbers before production starts.
Create a simple signoff note. Include the sample version, date, box dimensions, material, flute type, print method, finish, approved changes, remaining concerns, and the person responsible for approval. If there are open items, separate them clearly from approved items. “Approved except barcode pending scan test” is much better than a vague approval with a hidden condition.
- Fit: product, accessories, insert, tissue, and cards packed as intended.
- Structure: folds, locks, tuck flaps, ears, corners, and squareness checked after assembly.
- Print: color, logo, small text, barcode, QR code, registration, and panel orientation reviewed.
- Finish: coating, lamination, foil, embossing, rub resistance, and score cracking inspected.
- Commercials: price, MOQ, timeline, payment status, freight, and carton packing confirmed.
Keep the approved sample clean and labeled. Store it with the approved proof or specification sheet, especially if the order will be reordered or split across multiple production batches. For broader packaging programs, it also helps to keep a small library of approved boxes, boards, coatings, and print references, including related formats such as Custom Packaging Products and shipping alternatives like Custom Poly Mailers.
Before the production clock starts, confirm the final timeline, payment status, ship-to address, carton packing count, pallet requirements, barcode needs, and any retailer or marketplace compliance details. If the mailer will be used for a subscription drop, PR launch, or retail delivery window, build in a few days for inbound receiving and internal packing trials.
Careful sample review is the cheapest insurance a packaging buyer has. A clear checklist catches fit, color, cost, and timing issues while they are still fixable, before the boxes are made in volume and every small miss becomes a full-run problem.
Mailer Box Sample Approval FAQ
What should be included in a mailer box sample approval checklist?
Include box dimensions, product fit, board grade, flute type, fold quality, closure strength, artwork placement, print color, coating, inserts, barcode readability, shipping durability, quote details, and final production timeline. The mailer boxes sample approval checklist should also name the approved sample version so the buyer, supplier, production team, and receiving team are working from the same reference.
Is a printed sample necessary before approving custom mailer boxes?
A printed sample is strongly recommended when color, logo placement, inside printing, coatings, foil, embossing, or retail presentation matter. For simple repeat orders, a structural sample plus updated digital proof may be enough if the buyer already knows the material, print method, and expected production result.
How long does mailer box sample approval usually take?
Simple digital proof review can move quickly, often within 1 to 2 business days if files are clean. Physical structural samples and printed samples usually require additional business days for file setup, material preparation, printing, cutting, finishing, inspection, and shipping. Revisions to dimensions, artwork, coatings, or inserts can add another approval round, so buyers should build sampling time into the launch calendar.
Can I change the box size after approving the sample?
Yes, but a size change after approval may require a revised dieline, new structural sample, quote update, and schedule adjustment. If tooling, material purchasing, or production setup has already started, the change may also create extra cost.
Does sample approval guarantee every production box will look identical?
Sample approval sets the target standard, but normal production tolerances can still create slight variation in color, fold tension, board shade, finish, and score behavior. Keeping an approved control sample helps the supplier and buyer judge whether production stays within an acceptable range. That is one more reason to keep the mailer boxes sample approval checklist attached to the approved sample instead of treating it as a one-time form.