Buyer Fit Snapshot
| Best fit | Order Branded Rigid Box Sample Kits for Confident Sourcing projects where brand print, material claims, artwork control, MOQ, and repeat-order consistency need to be specified before quoting. |
|---|---|
| Quote inputs | Share finished size, material target, print colors, finish, packing count, annual reorder estimate, ship-to region, and any compliance wording. |
| Proofing check | Approve dieline scale, logo placement, barcode or warning zones, color tolerance, closure strength, and carton packing before bulk production. |
| Main risk | Vague material claims, crowded artwork, missing packing details, or unclear freight terms can make a low unit price expensive after revisions. |
Fast answer: Order Branded Rigid Box Sample Kits for Confident Sourcing should be specified like a repeatable production item. The safest quote records material, print method, finish, artwork proof, packing count, and reorder notes in one written spec.
Production checks before approval
Compare the actual filled-product size with the drawing, then confirm tolerance on folds, seals, hang holes, label areas, and retail display edges. Reserve space for logos, QR codes, warning copy, and material claims before decorative graphics fill the panel.
Quote comparison points
Review material grade, print process, finish, sampling route, tooling charges, carton quantity, and freight assumptions side by side. A quote is only useful when the supplier can repeat the same color, closure quality, and packing count on the next order.
Your first mockup can look expensive, clean, and perfectly on-brand, then still fail when a buyer opens the lid for the first time. That gap appears most often after tooling is confirmed and freight is already scheduled. Order Branded Rigid Box sample kits before production is the practical way to expose that gap early, when changes are still possible and budget impact is still recoverable.
Packaging in procurement is usually treated like hardware: first confirm function, then commit. A premium rigid box has to protect the product, communicate brand intent under real handling, and survive operational realities like carton loading, labor handling, and transit vibration. Renderings help with design discussion, but they rarely predict corner drift, magnet misalignment, or how wraps react after repeated opening. In practical reviews, a minor fold-line tolerance issue can cost more than the entire sample phase if it is only discovered after production has started.
For teams shipping retail-ready gifts, cosmetics, and subscription kits, the key question is simple: can the final structure be handled, opened, re-opened, and returned without becoming a defect report? If that answer is uncertain in physical form, approvals remain theoretical. This page is arranged to reduce that uncertainty with measurable checks and realistic decision points, not generic vendor language.
Why order branded rigid box sample kits before production
Visual approval is not physical approval
High-resolution renderings are useful, but they are not the final arbiter. A lid gap off by 1 mm, a 0.3 mm board variation, or a wrap paper that shifts at fold-ins can change the perceived quality far more than color correction. If you order branded rigid box sample kits, these failures usually surface while alternatives are still practical.
In Magnetic Closure Boxes, telescoping designs, and book-style structures, this matters most because opening behavior is part of the product experience. A magnet that requires too much force creates a clumsy customer feel; a weak magnet leaves the lid drifting in transit. These are usually standard returns drivers. Catching them in a sample review is commonly cheaper than rework during volume production or explaining the issue after departure is already scheduled.
Sample kits reveal how the box behaves, not just how it looks
Structure beats aesthetics in a rigid packaging build. Once folded, glued, and stressed, you can judge crease memory, board lamination resilience, glue application quality, and wrap tension. If you order branded rigid box sample kits, you can test whether corners stay true after repeated use and whether hinge lines hold without whitening, fraying, or lifting.
The real test is fit with the actual product in place; otherwise you are checking brochure quality, not usability. Perfume bottles, candle jars, power tools, and skincare sets each create different pressure points. A sample that appears generous in a mockup can create tilt, rubbing, or excess headspace once the real product is inside. Teams that order branded rigid box sample kits early usually make faster decisions because they review behavior instead of debating intent.
For teams new to rigid packaging, a common approach is a two-stage sample strategy: one structural sample, then one near-production sample with your intended finish. For many programs, that usually reduces risk before final approvals.
Physical samples make internal sign-off easier
Packaging sign-off is usually cross-functional: marketing validates brand language, operations maps handling risks, finance tracks timing, and procurement checks lead-time feasibility. A physical kit lets every function review one object, not separate screenshots from separate discussions.
In practice, disagreement cycles shrink when teams agree on a shared fact list around seam quality, edge stability, insert grip, and opening rhythm. That effect is common in premium or gift packaging, where emotional reactions are strong and difficult to capture in email. If the box feels too heavy, too glossy, or too soft in hand, it is usually obvious at the table and hard to debate away later.
What you get when you order branded rigid box sample kits
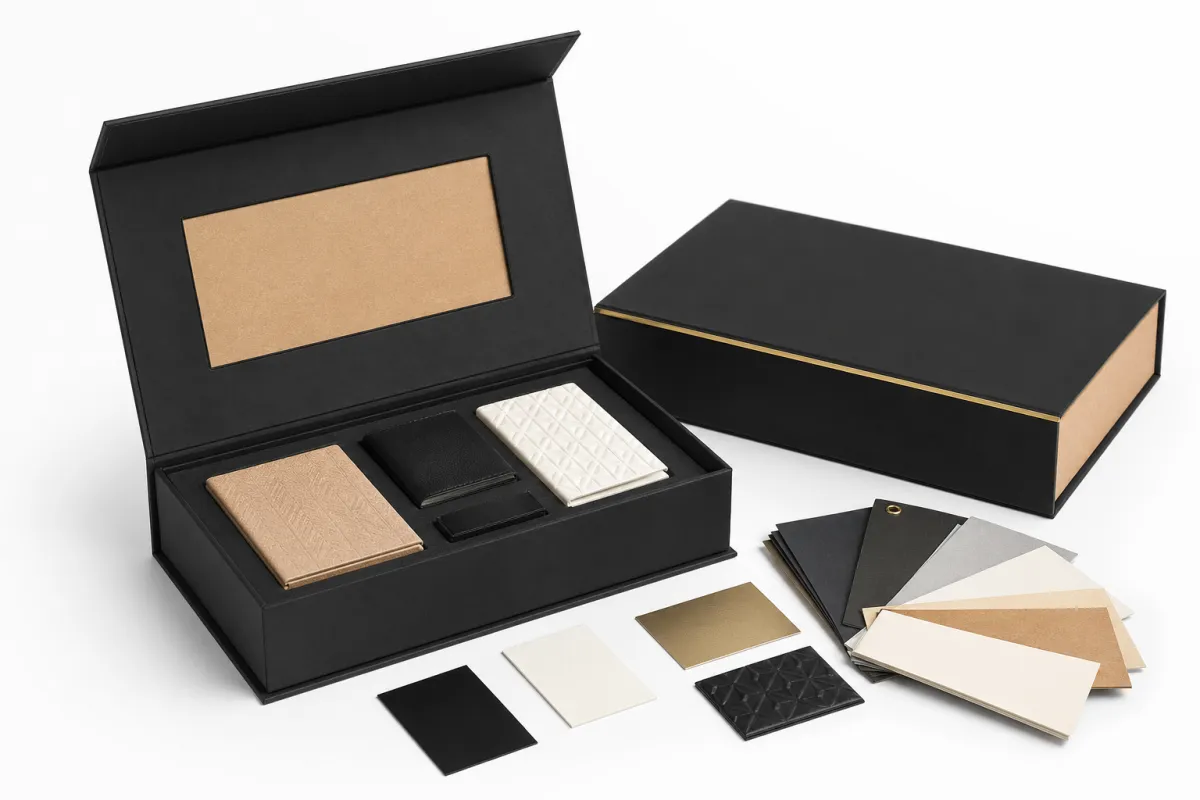
When you order branded rigid box sample kits, the goal is not one flawless sample; it is a decision-ready set that covers structure, print, material, and closure. A practical kit should let you decide quickly on production readiness.
- Structural sample: blank or light-print build that exposes board rigidity, panel dimensions, lid travel, and opening action.
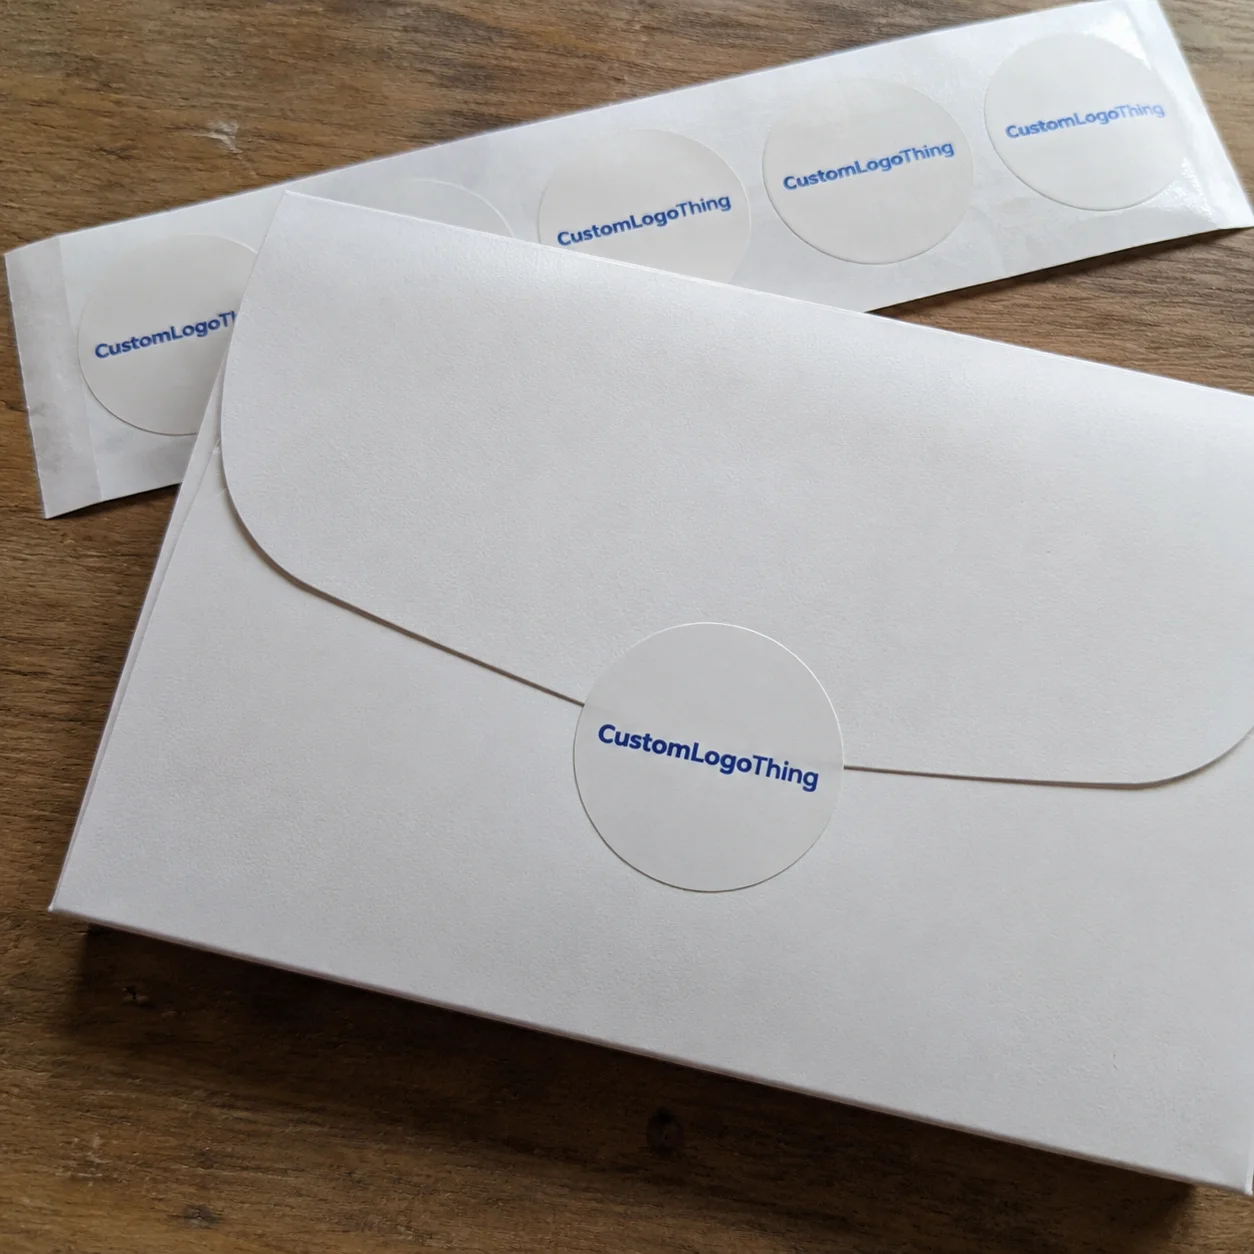
- Printed concept sample: print-direction test for color balance, visual hierarchy, text clarity, and registration.
- Material swatches: paper wraps, specialty papers, soft-touch laminates, and foil samples for direct comparison.
- Insert mockups: paperboard, EVA, molded pulp, or hybrid tray formats to test fit and hold performance.
- Closure and magnet sample: working mechanism to evaluate pull force, alignment, and consistency after repeated cycles.
- Dieline and technical packet: panel dimensions, glue zones, fold radii, and insert geometry with material notes.
Not every sample element is final. A quality supplier should clearly label what is temporary, what is production-equivalent, and what still needs confirmation. Manual foil touches, substitute stock for fast prototyping, and short-run finishing tricks can look better than full volume output. Keep that distinction explicit in writing.
A practical addition is a clear dieline packet because color can look accurate in proof yet deform near folds. This is where teams commonly identify edge cracking, tone shifts, and alignment drift before these issues become line-change events.
Comparative sampling is especially useful with multiple SKUs. Two to three variants are common in one round so Matte vs Gloss, grayboard vs chipboard, and paper vs EVA inserts can be tested side by side under the same lighting and hand pressure. It is less elegant than a render-only process, but much more reliable.
What should you check before you order branded rigid box sample kits?
Before you order branded rigid box sample kits, map checks that affect customer perception and logistics risk: board thickness, wrap stock, adhesive behavior, magnet tension, insert geometry, and finish response. A premium prototype can still fail in hand if one variable drifts, and that drift often appears within the first three open-close cycles.
The most efficient pre-check is straightforward: load the real product, open and close repeatedly, and inspect under both direct and oblique light. Then compare against the dieline because a fraction of a millimeter in score placement changes alignment, closure confidence, and print sharpness. That routine usually surfaces issues earlier than prolonged design review cycles.
If teams are balancing speed and certainty, prioritize function first, logistics risk second, and visual refinement third. A structure issue can still be revised relatively cheaply if discovered before full process sign-off.
Rigid box specifications to verify in every sample kit
If review stops at print clarity alone, the least expensive risk is checked and the expensive risk is ignored. Verify the physical specification against the object: board grade, adhesive behavior, insert depth, and closure mechanics can all derail execution even when artwork appears acceptable.
Board thickness and wrap stock
Premium rigid boxes commonly use a board range of about 1.5 mm to 3.0 mm, with 1200 gsm to 2000 gsm often selected by load class and size. Heavier products such as fragrance glass and dense electronics generally need the upper side of that range. Flex side walls, reseat the lid, and check edge alignment after pressure cycles to confirm the structure stays square.
Wrap stock changes perceived quality as much as board does. C1S, C2S, textured papers, and soft-touch laminates each behave differently at corners and under repeated opening. Gloss can show scuffs sooner; matte can conceal marks in handling. If you order branded rigid box sample kits with intended production finishes, you can confirm tactile direction before committing to tooling and artwork.
Adhesive coverage and corner build
Strong graphics do not rescue weak seams. Inconsistent glue can create bubbling, lifting, or delamination after storage and transport vibration, especially in humid or colder distribution routes. If you order branded rigid box sample kits, inspect overlaps, seam lines, and corner locks under close light and manual stress.
A proper corner should hold compactly without a ridge that drags against neighboring units. This becomes critical for telescoping, magnetized, and book-style structures because they are opened more often than static cartons. In many programs, mechanical consistency is the most direct indicator of repeatable brand quality.
Magnet strength, hinge action, and closure alignment
Magnet systems need load testing. Open the lid, close it, invert safely where appropriate, and apply light shaking. If you order branded rigid box sample kits, look for controlled pull-back, no drift, and repeatable action after cycles.
If magnets are too strong, opening feels forced; if too weak, drift appears after short transport handling. A practical starting test is typically 15–25 open-close cycles; this is not a lifetime test, but it catches early defects in hinge and latch behavior.
Insert type and product retention
Nothing reveals a weak design faster than fitting the real product. Paperboard inserts often balance weight and recyclability; EVA improves grip and damping but changes compression behavior; molded pulp can improve protection while increasing bulk. If you order branded rigid box sample kits, test lift by the base, check tilt, rattle, and friction across print zones.
For brands with sustainability claims—FSC targets, recycled content, or traceable sourcing—material behavior often needs cross-functional review. Some wraps and coatings do not follow the same recycling pathway as the story implies, so inspect samples with marketing, quality, and compliance together.
Print fidelity and finishing effects
Foil, embossing, debossing, and spot UV interact with stock, humidity, and stress points. Fine typography that looks clean in proof can blur under fold stress, and dark solid fields can hide micro-abrasion once edges are handled repeatedly.
If you order branded rigid box sample kits, inspect both direct and low-angle light. Pay close attention to type weight and contrast, especially white-on-dark marks and dense pattern fills. This is often where teams decide whether a finish supports branding or weakens it.
Pricing, MOQ, and cost factors for sample kits
Budget pressure is legitimate, and it is also where physical validation usually pays off the most. In many projects, sample fees are typically far lower than the cost of one production correction cycle, one week of schedule delay, or a preventable return issue.
Typical sample pricing ranges
Simple structural samples are often in the $35–$90 range per unit, depending on size, board grade, and die complexity. Printed concept samples commonly move into $120–$250 as press setup and finishing effort increase. Near-production versions with foil, embossing, magnets, or custom inserts can run around $250–$600, especially with multiple variants and manual assembly steps.
International shipping is often a meaningful cost line because rigid samples are bulky and fragile. Express logistics can add handling and customs pressure quickly for heavy prototypes. In some programs, shipping may match or exceed sample unit cost, but this is often still lower than approving a full run without physical validation.
Minimum order quantities and how they affect sampling
Supplier requirements vary by facility and market. Some teams can start with one or two kits quickly, while others request a full variant brief before cutting samples. Production MOQs are commonly around 500–1,000 pieces for simpler builds and 1,000–3,000 pieces for complex structures, while geography and material complexity can move this range up or down.
If you order branded rigid box sample kits, ask whether sample fees can be credited against final production. When this policy is clear, sampling becomes a planning asset. If not, teams often carry avoidable cost and confusion.
Sample depth should match volume strategy. A low-volume launch often needs one finish and one insert style to reduce risk, while a larger program can justify more iterations once structure and fit are stable.
What drives cost up or down
Board gauge, specialty wraps, tooling complexity, foil coverage, magnet hardware, and hand-finishing sensitivity are common cost drivers. Oversized lids, full-coverage print, drawer, and book formats usually add assembly time and testing load. Those are not always expensive by default, but they should be intentionally budgeted.
A practical cost strategy is staged sign-off: confirm dimensions, rigidity, and opening mechanics first, then request near-production finishes once mechanics are stable. Teams frequently discover they paid high finishing premiums for structures still needing redesign.
Process and timeline after you order branded rigid box sample kits
A sample effort needs a process, not just momentum. The biggest delays usually come from vague expectations: no sample format owner, unclear approvers, or undefined revision limits. A clear workflow usually saves more time than expedited courier cycles.
Most efficient suppliers follow a predictable sequence: spec confirmation, dieline validation, build, quality inspection, shipping, and structured feedback. If this sequence is not defined, ask for a written process before production sign-off begins.
Step 1: Share the product and use case
Send exact dimensions, weight, fragility profile, shelf conditions, and shipping context. A fragrance launch and an electronics subscription can have very different packaging requirements even with the same brand style. If you order branded rigid box sample kits without use-case context, the sample may look premium but fail in handling performance.
Define whether the unit will be returned, repacked, displayed, or reused. These details determine magnet strength, insert style, and corner reinforcement. In these decisions, function should outrank aesthetics.
Step 2: Review dielines and mockups
A dieline is technical instruction, not decoration. Validate glue tabs, fold radii, lid depth, magnet positions, and openings for windows, strips, or ports. If artwork intersects a fold or seam, request correction notes before sample build.
If you order branded rigid box sample kits, your sourcing partner should flag vulnerable zones early and avoid forcing you to discover them during build. For teams wanting deeper process context, our FAQ section outlines common review checkpoints.
Step 3: Build and inspect the first sample
Typical structural samples can arrive in about 2–4 business days after finalized dimensions and dieline. Printed near-production versions generally need 5–10 business days, often longer for foil, embossing, special papers, or complex inserts. Seasonal stock availability and customs paperwork can further extend these windows.
When the sample arrives, inspect like a pre-production audit: seam quality, print register, corner precision, magnet behavior, insert contact, and mass consistency. For exported goods, include a simple transport stress check when possible (light vibration, controlled compression, short temperature swings). You do not need a full lab qualification for every project, but you should use a practical handling-risk mindset.
Step 4: Revise before volume approval
Most first-pass samples need at least one revision, especially for custom formats. If you order branded rigid box sample kits and notice weak magnets, tight inserts, or low contrast logo areas, request correction immediately and run a second sample rather than guessing. The added cycle is often cheaper than correcting issues on an announced launch.
Record revisions with dates, owners, and outcomes; otherwise findings disappear before the next meeting. Good teams track these updates as an issue matrix tied to photos and test results.
Why choose Custom Logo Things for sample-kit sourcing
The strongest signal of a capable supplier is not only delivery speed, but transparency around risk. A solid partner treats sample development as an engineering step, not a cosmetic courtesy. That is what you want when you order branded rigid box sample kits: clarity, not gloss.
Ask directly for material options, revision allowances, production limits, and what is guaranteed versus indicative in sample builds. A trustworthy source is usually direct about what cannot be replicated at sample level, especially with complex foil and specialty hardware.
Documentation is essential for reliability. Keep board specs, wrap specs, finishing notes, and test feedback in one project folder. That history helps future reorder cycles avoid re-deciding old trade-offs. If this helps your team, compare how similar programs were approached in our Case Studies.
One caution: regional material availability and lead times can shift quickly, so confirm final specs and timelines in writing before internal launch commitments. No one supplier can guarantee perfect conditions in every month.
If you are evaluating scale later, review Wholesale Programs for pricing structure and lead-time patterns that often influence sample-to-production timing.
Next steps after reviewing your sample kit
After a sample lands, give your team time to handle it before final approval. The first pass often catches visual issues; the second pass usually reveals practical issues once novelty is gone. That second view is commonly where lid alignment stability and product safety are decided.
Use a repeatable checklist: dimensions, print consistency, finish durability, insert stability, closure behavior, pack density, and box-to-carton interaction. If function fails while visuals pass, adjust structure first. If visuals fail but function is stable, target color and finish refinements before any heavy production move.
At this stage, cost comparisons become more objective because decisions are based on tangible samples. A material upgrade can reduce damage and improve fulfillment efficiency; a decorative change can sometimes add cost without user value. This is where teams should prioritize what affects both experience and logistics.
Assign a final reviewer and a fallback date for decisions, then close the sample loop with a short issue matrix. A documented pass/fail decision is usually better than indefinite discussion.
Conclusion: order branded rigid box sample kits with confidence
A premium rigid box has to perform when touched, shipped, opened, and sometimes reopened, not only when it appears on a screen. That is why order branded rigid box sample kits before production should be a decision gate, not a decorative step. Physical evaluation usually reveals what no PDF can.
Board depth, closure tension, foil behavior, insert retention, and logistics compatibility are easier to correct at sample stage, and they are exactly the variables that determine whether a launch holds its promise. If you do one thing from this guide, do this: define a hard sample checklist and require each review to end with a pass/fail decision tied to product use, not aesthetics.
If done consistently, teams usually spend less on revisions, avoid avoidable shipping issues, and protect margins without sacrificing brand quality. Some surprises will still occur, but they become controlled and recoverable rather than expensive and disruptive.
FAQs
How many sample kits should I order?
For straightforward launches, one structural and one printed sample often provide baseline coverage. Multi-stakeholder programs often need two or three variants so operations, marketing, and quality can compare structure, finish, and fit together. If materials, inserts, or finish choices vary, additional samples usually pay for themselves before production scheduling starts.
Can the sample cost be credited against the final order?
Some suppliers credit sample fees when programs convert to volume, but policies differ. Confirm in writing before build begins. Even without full credit, sample investment is usually smaller than correction cost from an unresolved production issue.
What should I test on the sample before approving it?
Test fit, opening rhythm, closure force, board rigidity, finish behavior, print clarity, insert support, and carton compatibility. If internal process allows, run light handling simulation for transit-like stress. Many recurring defects in larger runs trace back to small fit mismatches or weak structural consistency.
How long does the sample process usually take?
Simple structural samples are often produced in a few business days after final dieline approval. Printed near-production versions with embossing, foil, or custom inserts generally need extra days for manual setup and quality checks. Build revision time into your schedule; rushed approvals are a common source of false confidence.
What if the sample looks good but feels weak in hand?
Trust tactile feedback and treat this as a fail condition until corrected. A rigid box should hold shape without hollow flex, audible bowing, or unstable latch behavior. Confirm whether board spec, wrap softness, or insert density changed from intent, and request correction before approving volume.
Should I ask for a sample before every reorder?
You do not need full sampling every time if no variables changed and the master is stable. Request new physical validation when material, artwork, insert strategy, or factory conditions change. If the same approved stack is being rerun with no known changes, documented continuity checks can often replace full new samples.