Order Color Printed Label Stickers That Sell Better
Color Printed Label Stickers: What Buyers Often Overlook
Place two nearly identical jars on a retail shelf. Before anyone reads the ingredients, weight, scent, flavor, or claim, the jar with sharper color, cleaner die-cut edges, and a finish that suits the container already looks more credible.
That is the quiet power of a label. A few square inches may carry the logo, product name, regulatory copy, barcode, batch details, flavor cue, and brand feel at the same time. Color printed label stickers are pressure-sensitive printed labels used on jars, bottles, boxes, mailers, pouches, tubes, bags, tins, promotional cards, and other surfaces where branding and product information have to work together.
The common mistake is treating a label as artwork on sticky paper. It is a small engineered packaging component made from facestock, ink, coating or laminate, adhesive, liner, die-cut shape, and application method. Change one part, and the whole label can behave differently.
A decorative giveaway sticker is not the same as a label on a refrigerated drink bottle. A warning label needs durability and legibility. A barcode label needs scan quality. A tamper seal may need a thin film that tears correctly. A promotional decal may need removable adhesive so it peels cleanly from a laptop, carton, or counter display.
The first decision is not simply gloss versus matte. Start with where the label will live. Dry shelf? Chilled cooler? Oily cosmetic jar? Freezer case? Corrugated shipping carton? Handled retail sample? A paper label that behaves well on a candle box may wrinkle on a bottle with condensation. A thick film label that looks premium on a flat pouch may lift at the edges on a tight-radius lip balm tube.
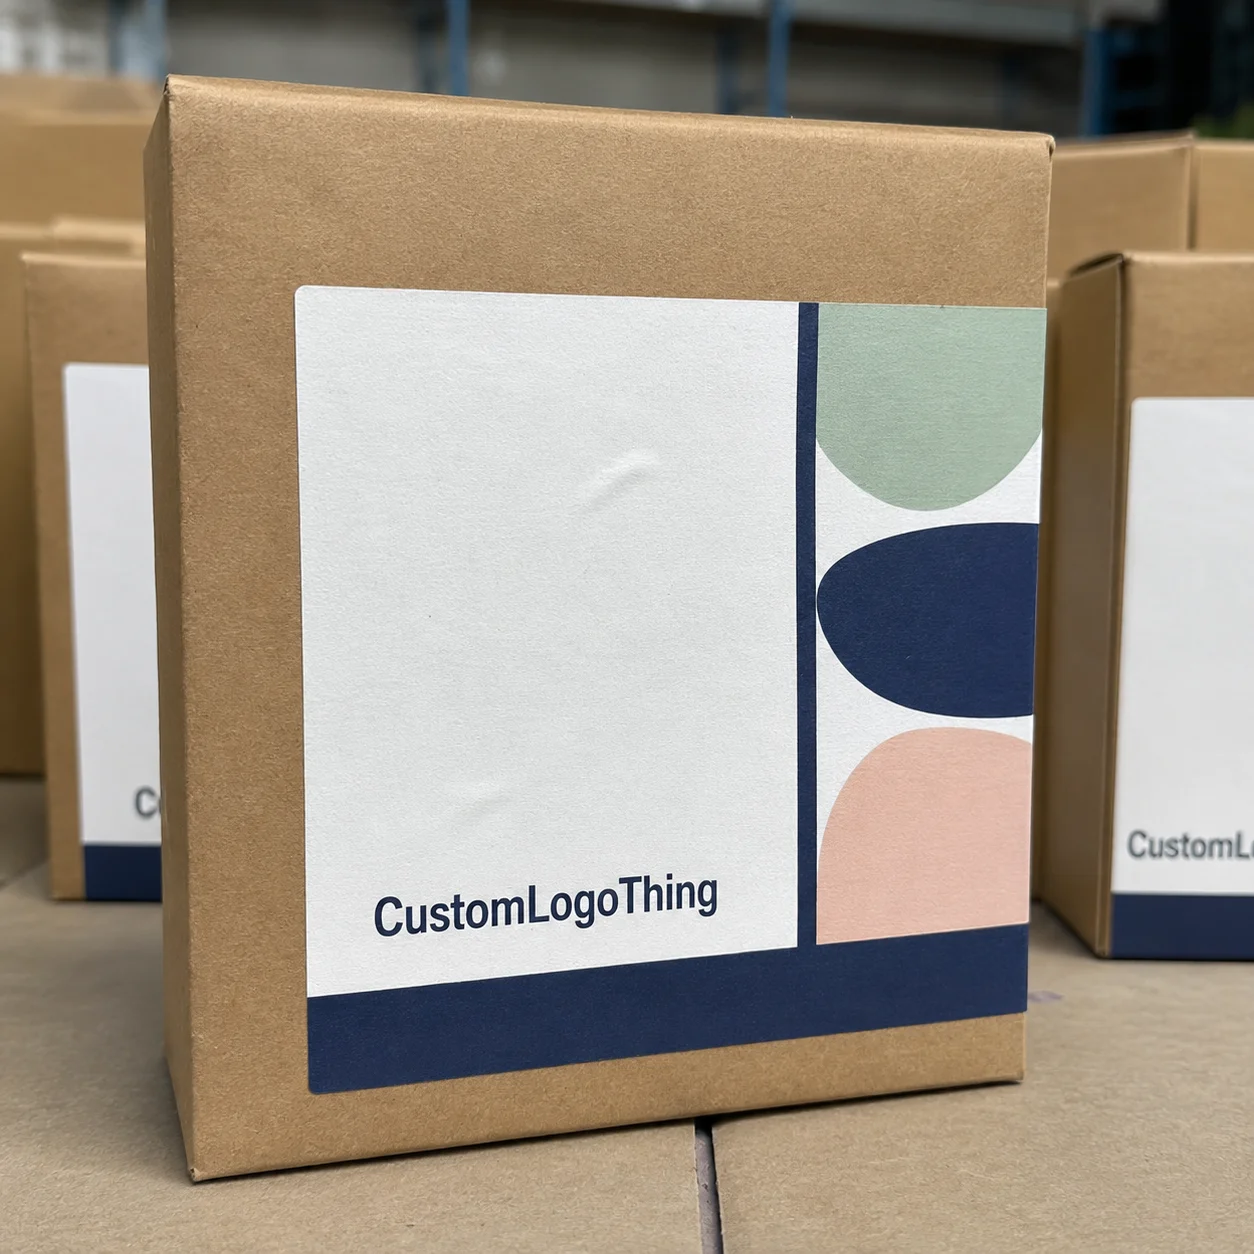
For buyers comparing formats, Custom Logo Things’ Custom Labels & Tags category is a useful starting point for shape, finish, and brand use. The deeper work is matching the label construction to the container, filling process, storage environment, and application method.
How Full-Color Label Printing Actually Works
Full-color label production follows a practical sequence: artwork preparation, color expectation check, material selection, printing, coating or lamination, die-cutting, matrix stripping, rewinding or sheeting, inspection, and packing. The steps sound simple. The decisions inside them are not.
Digital printing is common for short runs, seasonal designs, product launches, and multiple SKU versions because it avoids plate costs and handles artwork changes efficiently. Flexographic printing is often used for larger repeat runs where speed, roll-to-roll output, spot colors, and lower unit cost at volume matter. Specialty decoration can include metallic substrates, opaque white ink under color on clear or silver stock, spot varnish, or foil-like effects, depending on equipment and construction.
Most photographic images, gradients, and complex graphics print in CMYK: cyan, magenta, yellow, and black. Exact brand colors may need Pantone matching, or at least a discussion about tolerance. The pressroom question is not “Can the screen color be copied exactly?” It is “Can the printed result stay close enough for the brand, material, and budget?” Those are different questions.
Screens are backlit. Labels are not. A logo that glows on a phone can look softer on uncoated paper, warmer on kraft, muted on clear film, or deeper on metallic stock. Proofs reduce surprise; they do not force every monitor, ink set, and surface to behave the same way. For brand-critical work, a physical proof or material sample is often worth the extra time.
Label format affects both production and use. Rolls are best for automatic labeling equipment and efficient hand application. Sheets work well for small-batch manual use, office handling, or low-volume product runs. Individually cut stickers suit promotional handouts. Kiss-cut layouts keep the backing intact, making small or detailed shapes easier to peel without tearing the liner.
Finishing protects the print and changes the feel. Gloss varnish gives color more punch and is economical for standard retail labels. Matte lamination softens glare and can feel more premium. Soft-touch lamination has a velvety hand, though it may show oils and scuffs depending on the product. UV coating adds surface protection. Waterproof film constructions, often based on BOPP or vinyl, are chosen for moisture, chill, bathroom use, and repeated handling.
Practical rule: choose finish for the way the package will be handled, not just for the way the artwork looks on a proof.
Material, Adhesive, and Finish Choices That Matter
Material selection starts with the facestock, the visible layer that receives the print. Paper labels are cost-effective and can look excellent on dry indoor packaging such as boxes, bags, candle lids, spice jars kept at room temperature, and promotional inserts. A typical white semi-gloss paper label is a sensible choice for short-life retail goods that do not face water, oil, or heavy abrasion.
BOPP film is one of the most common choices for durable product labels because it resists moisture better than paper and holds up well on bottles, jars, cosmetic containers, and food packaging. Clear film creates the “no-label look” on glass or clear plastic, but it often needs white ink behind the color so the artwork does not disappear against the product. Kraft paper supports natural or handmade branding, though it absorbs ink differently and will not print as bright as white stock. Metallic and holographic stocks can create a premium or promotional effect, especially for limited editions, beauty products, and event packaging.
Adhesive matters as much as the face material. Permanent adhesive is used for long-term packaging where the label should stay put. Removable adhesive suits temporary promotions, closure labels, or applications where clean peeling matters. Freezer-grade adhesive is formulated to bond at low temperatures or survive cold storage. Aggressive adhesive helps on rough corrugated, textured plastics, powder-coated metal, or difficult containers. For sensitive food, cosmetic, or pharmaceutical-adjacent uses, low-migration materials may be part of the discussion, and the right answer depends on the package structure and regulatory requirement.
Surfaces behave differently. Glass is usually label-friendly, but condensation changes everything. HDPE and PP plastics can have lower surface energy, which may require a stronger adhesive. Coated paperboard accepts many label types. Raw corrugated may need extra tack to grip the fibers. Flexible pouches move, flex, and wrinkle, so the label has to tolerate shifting surfaces. Curved containers introduce another problem: if the label is too stiff for the radius, edge lift becomes more likely.
Finish choices should follow exposure. Gloss gives punchy color and high contrast. Matte creates a calmer, upscale look and reduces glare under retail lighting. Laminate adds a protective film layer, useful for scuff resistance, frequent handling, and moisture. Varnish is usually thinner and more economical, fine for many standard retail labels but not always enough for a wet cooler or oily jar.
Size and shape deserve real attention. Leave room for legal copy, ingredient panels, barcodes, bleed, and safe margins. A common print setup may require 1/16 inch to 1/8 inch bleed beyond the cut line and a similar safe area inside the cut line for text. On small jars, lip balm tubes, spice bottles, and narrow boxes, even 1/8 inch can decide whether a label looks centered or crowded. For barcode placement, keep it away from curves and seams whenever possible so scanners can read it reliably.
Pricing, MOQ, and Unit Cost Drivers
Label pricing is shaped by setup, material, print coverage, size, shape, quantity, finishing, proofing, and packing format. Two labels with the same square inches can price differently if one uses standard white paper and the other uses clear film with white ink, matte laminate, and a custom die.
Minimum order quantity depends on the print method and construction. Digital printing may support smaller batches, sometimes a few hundred to a few thousand pieces, especially for simple roll labels or sheets. Flexographic printing and specialty effects usually make more sense at higher volumes because plates, tooling, material changeovers, ink setup, and press time need to be spread across enough labels.
Unit cost usually drops as quantity rises. File preparation, proofing, machine calibration, setup waste, die-cut setup, and finishing setup all happen whether the run is 500 labels or 50,000 labels. More labels spread those fixed costs across more units. Bigger is not always smarter, though. If artwork, ingredients, regulations, or SKU counts may change soon, ordering too much can create obsolete inventory.
| Label Choice | Typical Use | Common Cost Impact | Buyer Watchout |
|---|---|---|---|
| White paper with varnish | Dry boxes, jars, bags, retail samples | Often the most economical standard option | Not ideal for condensation, oil, or rough handling |
| White BOPP with laminate | Bath products, food jars, drink bottles | Higher than paper, lower than many specialty stocks | Confirm adhesive for plastic type and temperature |
| Clear film with white ink | No-label look on glass or clear containers | White ink layer adds setup and print complexity | Artwork may lose contrast without an opaque backing |
| Metallic or holographic stock | Premium, event, beauty, promotional packaging | Material and color control can raise cost | Fine details may behave differently on reflective stock |
Cost adders buyers often miss include custom die shapes, clear stock with white ink, metallic material, soft-touch laminate, variable data, sequential numbering, multiple artwork versions, rush scheduling, and roll orientation for automatic labeling equipment. Roll direction is not a small detail if a machine needs copy leading edge first, left edge first, top off first, or bottom off first.
Size affects cost through material yield, not just appearance. A 2.1-inch label may waste more material than a 2-inch label if fewer pieces fit across the roll. Rounded corners can help application and reduce edge catching, while unusual shapes may require tooling. In many cases, trimming 1/8 inch from the label and keeping the right material is wiser than choosing the cheapest paper and fighting lift, smear, or curl later.
For a useful quote, provide label size, quantity, material preference, finish, application surface, indoor or outdoor use, artwork count, roll or sheet format, and whether labels are hand-applied or machine-applied. For many common custom printed labels, a small digital run may land in the broad range of $0.08 to $0.35 per label, while larger repeat runs can drop below that depending on size and construction. Specialty finishes can push the number up quickly.
The cheapest label is not always the lowest-cost choice. If it curls on a jar, smears in a shipping test, or lifts after filling, the reprint is only part of the loss. Filled product may sit idle, labor may be rescheduled, and launch timing can get squeezed.
Process and Timeline From Artwork to Finished Rolls
A clean ordering process saves time: define the application, confirm size and shape, select material and adhesive, submit artwork, review the proof, approve production, print and finish the labels, inspect the finished rolls or sheets, and ship them with enough time for receiving and staging.
Prepress is where many problems get caught. Files are checked for resolution, bleed, safe area, font outlines, barcode readability, color mode, white ink layers, and die-line placement. Vector files such as AI, EPS, or print-ready PDF are usually best for logos, type, dielines, and barcodes. Raster images should generally be 300 dpi at final print size, although fine text should not be built as a low-resolution image.
Proofing comes in levels. A digital PDF proof confirms layout, spelling, cut line, barcode placement, and general color intent. A physical proof or sample is smarter when the label has brand-critical color, clear stock, metallic stock, unusual adhesive requirements, or a surface that has caused issues before. A proof adds time, but it can prevent a slower problem after production.
Typical timing depends on artwork readiness, stock availability, quantity, specialty finish, custom dies, proof revisions, color matching, and rush capacity. A straightforward digital label order may move in several business days after proof approval. A more involved roll label with special material, laminate, color matching, or die work may need one to three weeks or more. That range is not a promise; it is a planning reality.
Machine-applied labels need roll direction confirmed early. The unwind position controls which edge comes off the roll first. If the labels arrive wound the wrong way, the filling line may not be able to run them without rewinding, relabeling by hand, or delaying production. For hand-applied labels, orientation is more forgiving, but roll size, core size, and label spacing still affect comfort and speed.
Plan lead time backward from the fill date, launch date, or retail delivery appointment. For a first order, add time for fit checks and material testing. Labels should arrive before the main packing push, not the morning production is supposed to start. Even a perfect roll of color printed label stickers needs receiving, inspection, staging, and sometimes a quick line trial before operators commit to a full shift.
For transport testing, Brands That Ship fragile, chilled, or high-value goods may also look at package performance guidance from ISTA. A label is only one part of the package, but abrasion, compression, and temperature swings during distribution can expose weak material choices fast.
Common Mistakes That Cause Reprints or Application Trouble
Artwork mistakes are easy to prevent and still common. Missing bleed leaves white slivers at the edge. Low-resolution images print soft. Tiny reversed-out text can fill in, especially on textured or absorbent stocks. RGB files can shift when converted for print. Unoutlined fonts can reflow. Barcodes placed too close to curves, seams, or heavy gloss areas can scan poorly.
Material mismatches hurt just as much. Paper labels on refrigerated bottles may wrinkle from condensation. Removable adhesive on a retail jar may peel before purchase. A thick label on a small-radius container may lift at the edges within hours. A label that worked on glass may not grip the same way on PP plastic, especially if the surface has mold release residue, dust, or oil.
Color expectation problems often start with approving artwork only on a phone. Kraft stock, clear stock, metallic stock, and bright white film all print differently. A muted cream label may be perfect for a natural soap brand and completely wrong for a high-energy beverage. If the brand color drives recognition, ask about Pantone targets, measured tolerance, or a physical sample.
Size errors are easy to miss on screen. Labels can wrap too far around a bottle, cover required copy, wrinkle on tapered containers, or leave no room for human application variation. A hand-applied front label needs a little forgiveness; operators are people, not servo motors. If the label has a border, even a tiny angle error becomes visible.
Not every application problem is a printing defect. Dusty cartons, cold containers, oily surfaces, low application pressure, and wet bottles can all weaken adhesion. Pressure-sensitive adhesive needs firm contact with the surface. Some adhesives also need dwell time before reaching full bond strength, so a label that can be lifted after ten minutes may perform better after twenty-four hours.
Ordering errors create their own headaches. Buyers underestimate quantity, forget extra labels for setup waste, mix SKU names, or wait until filled product is ready before checking label fit. If you have 5,000 units to pack, ordering exactly 5,000 labels gives no room for line setup, damage, misapplication, QC pulls, or future samples. A small overage is usually cheaper than stopping a packing run.
The prevention mindset is simple: test the label on the actual container, under the actual handling conditions, before committing a large run. Rub it. Chill it. Let it sit. Put it in the shipper. Check the barcode. Then make the order bigger with confidence.
What to Confirm Before Requesting a Quote
Before asking for pricing, measure the container or package panel with a ruler or caliper, not a guess from the artwork file. Photograph the application surface. Decide whether the labels will be hand-applied or machine-applied. Gather the best artwork files available, including logos, dielines, linked images, and barcode files.
Confirm the environment in plain terms: dry shelf, wet bathroom, cooler, freezer, outdoor exposure, oily product contact, shipping abrasion, or frequent customer handling. Those details tell the printer whether paper, BOPP, vinyl, laminate, freezer adhesive, or aggressive adhesive should be considered. If sustainability claims matter, ask about paper sources or certifications; the Forest Stewardship Council is one recognized reference point for responsibly sourced paper materials.
Pick a target finish and a backup. For example, matte film may be the preferred look, while gloss BOPP may be a more economical durable alternative. If the label is mainly for cartons or mailers, a standard paper label may do the job well. If the product will sit in a shower, cooler, or makeup bag, durability should move higher on the list.
Prepare SKU information in a clean list. Include artwork names, quantities per version, label dimensions, material notes, barcode requirements, regulatory copy, and any variable data. If there are five flavors with the same size and material, say so clearly. If one SKU needs a different adhesive or finish, separate it so quoting and production do not get tangled.
Ask for samples when the label must stick to a challenging surface, survive moisture, match a premium brand color, or run through automatic labeling equipment. Samples are also useful if you are comparing custom packaging labels and tags for boxes, bottles, and promotional materials across the same product line.
For the most accurate quote, send a dieline if available, print-ready artwork, quantity, label size, shape, roll or sheet format, finish, adhesive need, application surface, and delivery deadline. If you are still deciding, say that too. A good label specification can be built in stages, but hidden requirements usually cost more later.
Before ordering color printed label stickers, apply one sample to the real package, rub it, chill it, ship-test it if needed, and confirm the look under the same lighting your customer will see. A label that looks right, sticks right, scans right, and survives handling gives the package a better chance to sell before a customer reads a single line of copy.
FAQ
What are color printed label stickers best used for?
They are best for branded product packaging, ingredient labels, promotional seals, shipping carton branding, jars, bottles, pouches, boxes, and surfaces where full-color graphics need to carry product identity and practical information. The right use depends on the material and adhesive: paper works well for dry indoor packaging, while film labels are better for moisture, handling, refrigeration, and products that may face scuffing.
Are full-color product label stickers waterproof?
They can be water-resistant or waterproof when printed on the right film material, such as BOPP or vinyl, and protected with a suitable laminate or coating. Paper labels are usually not the best choice for wet environments unless the application is light-duty and short-term, because moisture can wrinkle the facestock or weaken the print surface.
How much do custom color label stickers cost?
Cost depends on size, quantity, material, adhesive, print method, finish, number of artwork versions, and whether the labels need custom shapes, white ink, lamination, or special roll orientation. Unit cost normally drops at higher quantities because setup, proofing, calibration, and waste are spread across more labels.
How long does it take to produce printed packaging labels?
Turnaround depends on artwork readiness, proof approval speed, material availability, finish requirements, quantity, custom die needs, and whether physical samples are requested before production. First orders often take longer than repeat orders because material choice, fit, color expectations, and application testing need to be confirmed before the run starts.
What artwork files are best for custom printed label stickers?
Vector files such as AI, EPS, or print-ready PDF are usually best, especially when labels include logos, small text, dielines, barcodes, or white ink layers. Artwork should include bleed, safe margins, outlined fonts, high-resolution images, CMYK color setup where appropriate, and clear notes for cut lines, finishes, and any special effects.

