A sticker on a bottle, laptop, carton, or takeout bag has to do more than look good on day one. It gets rubbed, bent around curves, chilled, splashed, and exposed to sun. If it still looks sharp later, that usually comes down to the material stack, not just the artwork.
A vinyl sticker is a printed plastic film with pressure-sensitive adhesive and a release liner, supplied as die-cut singles, kiss-cut sheets, or rolls. The key variables are the vinyl face, adhesive, and protective finish. If one layer is wrong for the surface or environment, the sticker may curl, lift, scratch, or discolor early.
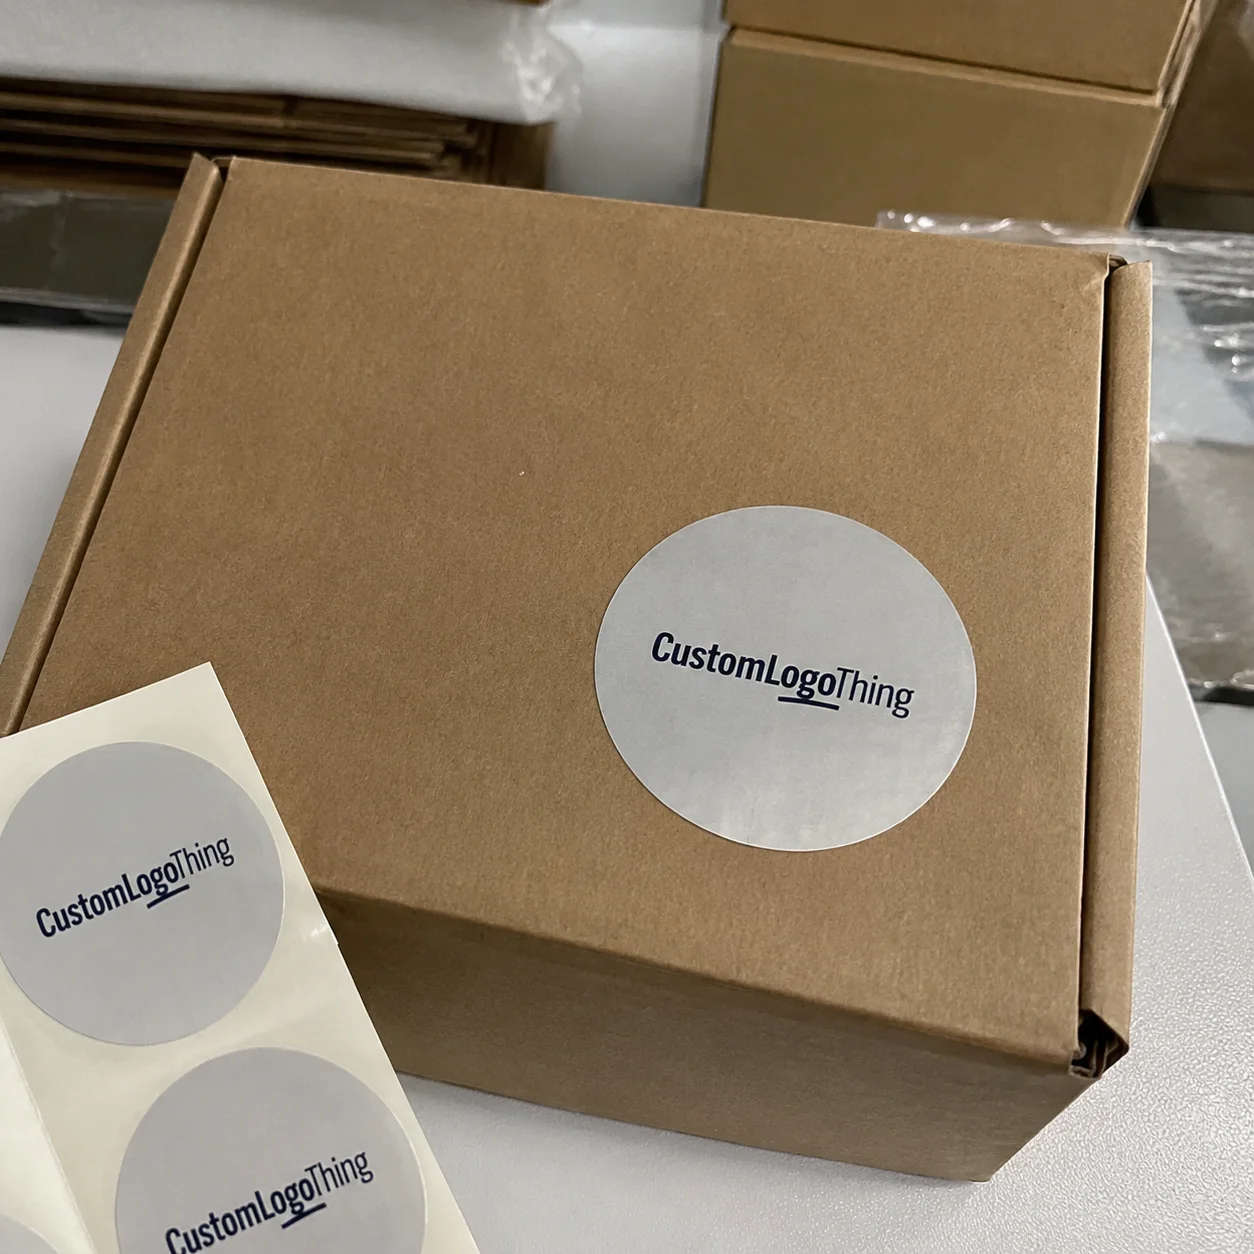
That is why these should not be treated like generic labels. Paper can work for short-life indoor use, and BOPP is often a strong choice for packaged goods in roll form. Vinyl usually earns its cost when the sticker has to flex, survive handling, or hold up outdoors.
Why custom vinyl logo stickers outperform paper in real-world branding
Paper stickers are economical for dry indoor applications, but their limits show up quickly with moisture, friction, bending, or repeated contact. Edges can rough up, the print surface can scuff, and humidity can change the sheet’s feel and appearance.
Vinyl behaves differently because the printable layer is a film instead of a fiber sheet. It flexes more easily over curves, resists water better, and shows less visible wear from rubbing. That makes a practical difference on bottles, laptop decals, handouts, carton seals, and branded giveaways.
The feel matters too. Laminated vinyl usually feels smoother and denser than paper, which helps when the sticker is part of brand presentation rather than just product identification.
BOPP often enters the same conversation because it prints well, handles moisture, and is efficient in roll label programs. Vinyl is usually more forgiving on uneven curves, outdoor use, and surfaces that get squeezed or bumped. For branding pieces rather than basic package labels, that extra tolerance often justifies the higher cost.
Many “print quality” complaints are actually construction problems: film too thin for the surface, the wrong adhesive for cold conditions, or no laminate on a frequently handled piece. The artwork may be fine; the build is not.
If you already use Custom Labels & Tags, vinyl logo stickers often sit between functional labeling and visible brand promotion. They work across more surfaces and hold up better in mixed conditions.
How vinyl stickers work: face stock, adhesive, liner, and finish
A finished sticker looks simple, but several layers determine whether two similar-looking quotes will perform the same way.
Face stock
The face stock is the printable vinyl film. Common options are white gloss, white matte, and clear. White gloss usually gives the brightest color and strongest retail look. White matte reduces glare and suits a softer visual style. Clear vinyl works well on glass or clear packaging, but on dark or busy surfaces it often needs white ink under parts of the design so artwork does not disappear.
Adhesive
The adhesive determines whether the sticker stays put. Permanent adhesive is standard for long-term use. Removable adhesive is better for temporary promotions or cleaner removal. Surface energy matters: glass and painted metal are often straightforward, while corrugated board, textured plastics, polypropylene, polyethylene, and powder-coated surfaces can change bond strength enough to alter the recommendation.
Application temperature matters too. A sticker applied to a cold bottle or damp surface may not grab the same way it would at room temperature.
Liner
The liner is the release backing. It affects sheet stability, die-cut accuracy, roll dispensing, and how easy the sticker is to peel. On small stickers or detailed shapes, liner quality can noticeably affect application speed.
Finish
The finish often decides how well the sticker keeps its appearance. Gloss laminate boosts color and abrasion resistance. Matte laminate cuts glare and hides fingerprints better. Varnish can work for some jobs, but full lamination usually gives better protection for frequently handled pieces.
Format matters as much as material. Die-cut singles are cut through both sticker and backing, so each piece arrives individually. Kiss-cut sheets cut only the sticker layer, leaving the sheet intact, which often makes detailed shapes easier to peel. Roll stickers usually make the most sense at higher volumes or when application is part of regular packing.
Print method usually follows quantity. Short runs often stay digital because setup is fast and versioned artwork is easier. Larger runs may move to flexographic or other methods where setup takes longer but unit cost improves. If the stickers are part of a larger brand system, it helps to review Custom Packaging Products at the same time so finishes and material feel stay aligned.
Key specs that shape performance, appearance, and application
Most quote requests improve once a few basics are clear: size, shape, intended surface, lifespan, and application method. A vague request for a “logo sticker” leaves too much room for a mismatch.
The surface is usually the first thing to confirm. A sticker on smooth glass behaves differently from one on corrugated board, stainless drinkware, a poly mailer, or a plastic jar. Even similar-looking plastics can vary in surface energy and hold adhesive differently.
Thickness matters, but not as an isolated number. Many common vinyl face stocks start around 3 to 4 mil before lamination. A heavier laminated build often feels more premium and resists scuffing better, but on tight curves it may fight the shape and lift sooner than a thinner film.
Artwork setup matters just as much as substrate. Clear vinyl often requires a white ink plan for pale colors, fine type, or brand hues that need to stay consistent on dark and light backgrounds. Thin borders are another common issue because normal cutting tolerance makes any shift more noticeable.
Finish affects readability as well as appearance. Matte often works better for QR codes, small copy, or bright retail lighting because it reduces glare. Gloss usually gives more saturation and shelf impact.
Shape complexity is a quiet cost driver. Circles, ovals, rounded rectangles, and clean contour cuts are efficient to produce and easy to apply. Intricate silhouettes with sharp points, narrow bridges, or tiny internal cuts create more waste, slow cutting, and are more likely to catch and lift in use.
Environmental exposure should be described plainly: refrigeration, sunlight, rain, hand oils, cleaner residue, or repeated splashing. Not every order needs a premium outdoor build, but underbuilding for a mixed-use case is a common reason buyers reorder sooner than expected.
Custom sticker production steps and timeline from proof to delivery
The production path is usually straightforward: artwork submission, file review, proof creation, approval, material allocation, printing, lamination if needed, cutting, packing, and shipping. Timing depends less on press speed than on what has to happen before and after printing.
Prepress is where many preventable problems get caught. Files are checked for bleed, safe area, cut lines, resolution, color mode, and white ink layers for clear material. Vector files such as AI, EPS, or press-ready PDF are usually best for logos because edges stay crisp at any size.
The proof is the buyer’s main control point. This is where dimensions, cut shape, finish notes, spelling, and transparent areas get confirmed. On clear vinyl, one missed white ink layer can change the whole result.
Turnaround depends on quantity, number of versions, cut complexity, adhesive choice, laminate type, and final packing format. A simple digital order may run about 5 to 8 business days after proof approval. More involved jobs often fall closer to 10 to 15 business days before shipping time is added. Specialty materials or split packing can extend that.
It helps to separate three clocks: production time, lead time before production starts, and transit after cartons ship. Launch plans often fail because only the first number gets considered.
Rush service may be possible, but it can narrow options. Certain laminates, specialty films, complex packing formats, or less common adhesives may not be available on an expedited schedule. Freight can also change the landed cost quickly.
Cost and pricing: what changes the quote for custom vinyl logo stickers
Quotes usually move based on size, quantity, material, adhesive, finish, ink coverage, cut style, packing format, and shipping destination. If two suppliers are quoting different constructions, the lower number may not be the better value.
Quantity usually has the biggest effect on unit price because setup and cutting labor are spread across more pieces. As a broad example, a 3-inch laminated die-cut sticker in a run of 250 pieces may land around $0.70 to $1.40 each depending on construction and freight. At 1,000 to 5,000 pieces, that same concept may drop to roughly $0.18 to $0.45 per piece. These are directional ranges, not fixed rates.
Minimums also vary by format. Digital sheets and singles can often start low enough for tests or short campaigns. Roll production usually becomes more attractive once quantity climbs or stickers are being applied regularly to jars, boxes, pouches, or cartons.
Clear vinyl, white ink, specialty textures, thicker laminates, removable adhesives, and intricate contour cuts all add cost. Versioned SKUs, split packing, sample runs, and rush freight can do the same.
| Option | Typical Use | Relative Cost | Notes |
|---|---|---|---|
| White gloss vinyl + gloss laminate | Giveaways, bottles, laptops, general branding | Low to mid | Bright color, good abrasion resistance |
| White matte vinyl + matte laminate | Premium brand look, low-glare applications | Mid | Softer appearance, fingerprints less visible |
| Clear vinyl + white ink + laminate | Window decals, clear packaging surfaces | Mid to high | Needs careful proofing for opacity and readability |
| Roll format with permanent adhesive | Higher-volume product or carton application | Lower at scale | Better unit economics as volume increases |
The strongest quote is the one that clearly defines the stack: face stock, adhesive type, laminate or varnish, final dimensions, packing format, and any special ink layers. That makes supplier comparisons more accurate and reorders safer.
If the sticker supports custom printed boxes or a larger packaging system, piece price is only part of the math. Better adhesion, steadier color, and cleaner die cutting can reduce packing-line waste and complaints after delivery. The International Safe Transit Association can be a useful reference if packaging has to endure shipment stress, and the FSC site may matter if broader material sourcing standards are part of the review.
Common mistakes that shorten sticker life or inflate reorder costs
One common mistake is choosing by appearance alone. A sample can look excellent in hand and still fail on a cold bottle, rough carton, oily container, or surface that gets constant handling.
Another is giving too little application detail. “General purpose” is not specific enough. A giveaway sticker, a box seal, a refrigerated product sticker, and a window decal live in very different conditions.
Artwork also causes avoidable problems. Missing bleed can expose unwanted edges after cutting. Hairline borders make normal cut variation obvious. Low-resolution logos lose sharpness. Tiny reversed text on clear stock can become unreadable if white ink is wrong or the design is simply too small.
Finish selection is often underestimated. Unlaminated vinyl may be fine for short-life indoor use, but it can scuff faster than expected if handled often. On the other side, a high-gloss finish can work against scannability if glare makes QR codes or small text harder to read.
Reorder inconsistency is another preventable issue. If the internal note says only “3-inch matte logo sticker,” the important half of the spec is missing. Record substrate, adhesive, finish, dimensions, cut style, packing format, and artwork version.
Quick prevention mindset: define the surface, environment, lifespan, finish, quantity, and application method before approving production. Most sticker problems start before printing.
How to order the right sticker spec and test before you commit
Start with the actual use case: where the sticker goes, how long it needs to last, and who will apply it. Handouts, bottle graphics, box seals, merch inserts, and window decals may use the same logo, but they do not always need the same construction.
Then choose the format: singles, sheets, or rolls. Confirm finished size and shape. Match the material and finish to the real environment, not just a digital mockup. Prepare print-ready artwork with bleed and cut lines, and review the proof carefully.
If the application is demanding or the surface is unfamiliar, test samples before committing to the full run. Apply them to the real surface, not a similar one. Check bond after 24, 48, and 72 hours because pressure-sensitive adhesives often build over time. If the item will face moisture or temperature swings, expose it to condensation, refrigeration, or sunlight for a few days. For carton seals or mailers, check whether edge lift starts at corners after normal handling.
Useful supplier questions include whether the construction is meant for indoor or outdoor use, whether the adhesive is permanent or removable, what laminate is being used, and whether that exact surface-material combination has been tested before. For clear material, ask how white ink layers should be set up.
Once the right build is approved, document it in a simple internal spec sheet: substrate, adhesive, finish, dimensions, cut style, artwork version, packing format, and proof date. That makes reorders easier and keeps the broader branded packaging program more consistent.
Gather the artwork, list the actual surfaces involved, estimate quantity by use case, and request a quote with those details spelled out. That is the practical way to Buy Custom Vinyl logo stickers That Fit the Job.
What should you know before ordering custom vinyl logo stickers?
How durable are custom vinyl logo stickers for outdoor use?
Durability depends on the vinyl grade, adhesive, ink system, and whether a laminate is added. Outdoor use usually needs better resistance to UV, moisture, and abrasion. Laminated constructions usually Last Longer on windows, bottles, vehicles, and frequently handled items.
What is the difference between die-cut and kiss-cut vinyl logo stickers?
Die-cut stickers are cut through both the face material and backing, so each piece arrives in its final outer shape. Kiss-cut stickers are cut through the sticker layer only, leaving the backing intact. Die-cut singles usually suit handouts, while kiss-cut sheets can be easier to peel for detailed shapes.
How much do custom vinyl stickers with a logo usually cost?
Pricing changes with size, quantity, vinyl type, adhesive, finish, cut complexity, format, and shipping. Short runs cost more per piece, while larger runs usually reduce unit price. Clear vinyl, white ink, specialty laminates, and rush production tend to raise the quote.
Can custom logo vinyl stickers be removed cleanly?
Some can, but clean removal depends on adhesive type, surface, application time, and temperature. Removable adhesives are better for short-term use. Permanent adhesives usually hold more securely but may leave residue or affect delicate surfaces. Testing on the actual substrate is still the safest check.
What file format is best for printing custom vinyl logo stickers?
Vector artwork such as AI, EPS, or press-ready PDF is usually best for sharp edges and scalable logos. Raster artwork can work if it is high resolution at final size. Include bleed, safe area, and a clearly marked cut line. For clear vinyl or white ink printing, separate layers or clear production notes help prevent proofing errors.

