Buyer Fit Snapshot
| Best fit | Packaging Branding Supplier projects where brand print, material claims, artwork control, MOQ, and repeat-order consistency need to be specified before quoting. |
|---|---|
| Quote inputs | Share finished size, material target, print colors, finish, packing count, annual reorder estimate, ship-to region, and any compliance wording. |
| Proofing check | Approve dieline scale, logo placement, barcode or warning zones, color tolerance, closure strength, and carton packing before bulk production. |
| Main risk | Vague material claims, crowded artwork, missing packing details, or unclear freight terms can make a low unit price expensive after revisions. |
Fast answer: Packaging Branding Supplier: Quote Scope should be specified like a repeatable production item. The safest quote records material, print method, finish, artwork proof, packing count, and reorder notes in one written spec.
Production checks before approval
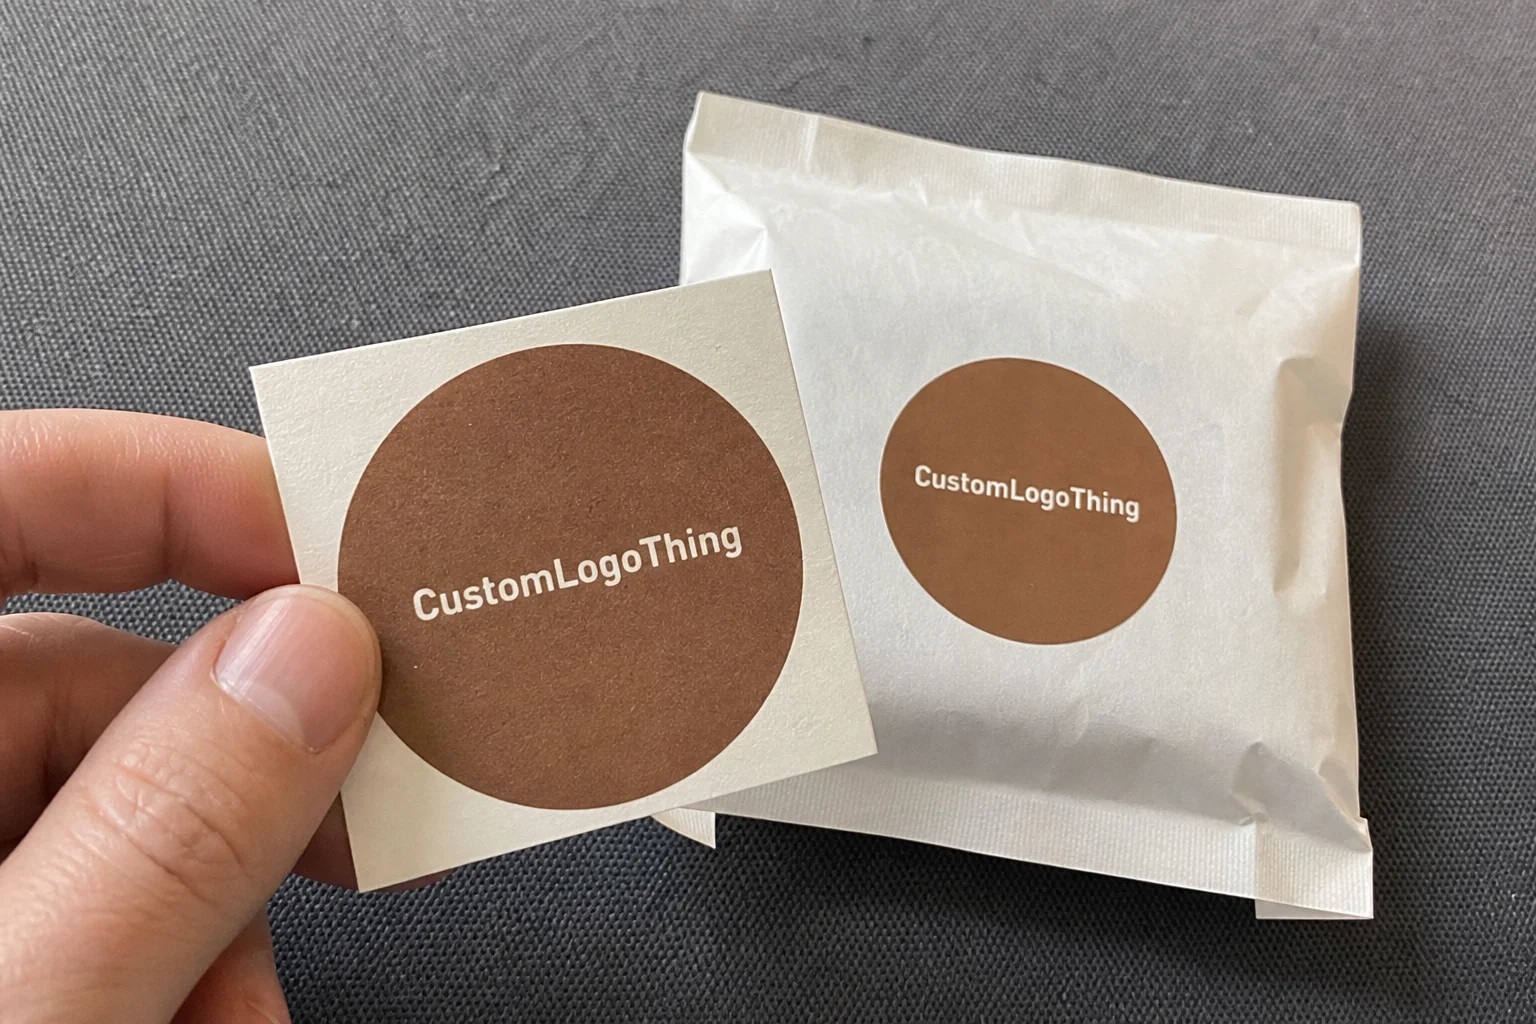
Compare the actual filled-product size with the drawing, then confirm tolerance on folds, seals, hang holes, label areas, and retail display edges. Reserve space for logos, QR codes, warning copy, and material claims before decorative graphics fill the panel.
Quote comparison points
Review material grade, print process, finish, sampling route, tooling charges, carton quantity, and freight assumptions side by side. A quote is only useful when the supplier can repeat the same color, closure quality, and packing count on the next order.
Two boxes can carry the same logo and still tell two completely different stories. I’ve stood on a line in a Dongguan carton plant where one version was printed on 350gsm C1S artboard with soft-touch lamination and the other on thin, uncoated board, and the difference in perceived value was obvious before the boxes were even folded. The first sample cost $0.24 per unit at 5,000 pieces, and the second was quoted at $0.15 per unit, but the cheaper one looked like a rushed prom invite. That’s why a packaging branding supplier guide matters so much: it helps you Choose the Right Partner, the right board, the right print method, and the right finish so your branded packaging actually supports the brand identity you worked hard to build.
At Custom Logo Things, I think the strongest packaging branding supplier guide is the one that treats product packaging as a business decision, not a decorative afterthought. The right setup can improve retail packaging, reduce waste, protect margins, and make the unboxing experience feel intentional instead of improvised. The wrong setup can lead to scuffed varnish, muddy logos, late freight from Shenzhen to Los Angeles, and reorders that look slightly off because nobody locked the spec sheet down properly. I’ve seen all of that happen, and usually it starts with vague supplier conversations and a quote that looks cheap only because half the costs were left out. Classic trap. Packaging loves those, especially the “we can do it cheaper if you don’t need proofs” version.
What a packaging branding supplier guide really means
A packaging branding supplier guide is not just a buying checklist. It is a practical framework for deciding who should make your boxes, how your artwork should be built, which materials support the brand story, and how much control you need over print quality and repeatability. In plain terms, it helps you compare a packaging supplier, a converter, a printer, and a branding partner without mixing those roles together. And yes, mixing those roles is how brands end up blaming the wrong factory for a problem they created in the artwork file. I wish I were joking, but I’ve watched a Miami startup send an RGB logo to a Guangzhou printer and then act shocked when the teal came out swampy.
Here’s the difference I explain to clients all the time. A packaging supplier may source materials and coordinate production. A converter turns rolls or sheets into usable packaging structures. A printer handles the graphics, whether that’s offset lithography, flexography, or digital. A branding partner connects all of that back to your brand identity, making sure the carton, label, or mailer feels like the same company your customers met on your website and social channels. A good packaging branding supplier guide helps you judge whether one vendor can do all four jobs or whether you need a team with a tighter division of labor. Honestly, I think that distinction saves more money than any discount ever will, especially once you add $180 plate fees, $220 foil tooling, and a $95 freight charge for a sample box.
One of the most common mistakes I see is treating packaging design as if it ends at the logo. It doesn’t. Board grade, coating, fold style, spot UV placement, and even the ink density on a dark kraft box can change how premium the package feels. In a supplier meeting I had with a cosmetics brand in Chicago, the marketing team wanted a matte black mailer, but the first sample printed on low-white corrugated stock made the brand look gray and tired. We switched to a higher-brightness liner, adjusted the flood coat, and suddenly the same artwork looked more deliberate and expensive. The sample turnaround from proof approval to hand-built prototype took 8 business days, and that’s the kind of detail a packaging branding supplier guide should surface early, before everyone falls in love with a mockup that can’t survive real production.
“We thought the logo was the hard part,” a client told me after approving a prototype. “Turns out the board and finish were doing half the branding work.”
Packaging is a repeatable brand touchpoint. Customers may only read a landing page once, but they handle the box, tear strip, or label every time the product ships. That repeated contact is why branded packaging can influence perceived quality before the product is even opened. A well-built packaging branding supplier guide gives you a way to think about that repeatability in numbers: board thickness, coating type, MOQ, reprint tolerance, transit damage rates, and lead time. Numbers. The boring stuff. The stuff that keeps the “wow” from turning into “why does this look different on reorder?”
If you want to see how that thinking translates into real packaging programs, our Custom Packaging Products page is a useful starting point, and our Case Studies show how packaging decisions affect both shelf impact and shipping performance.
At the simplest level, a packaging branding supplier guide covers six things: supplier selection, material matching, print capabilities, sampling, pricing, and production coordination. If any one of those is missing, the project tends to drift. I’ve watched brands approve a perfect-looking sample and then run into issues because the supplier could not repeat that exact finish at scale. The guide keeps those gaps visible, which is handy because factories rarely volunteer problems until the truck is already booked. In Dongguan, I’ve had a plant manager admit that the gloss level on a second run would shift by 5% because a replacement coating batch arrived from a mill in Foshan. Better to know that before the pallets leave.
How a packaging branding supplier guide works in real production
In the plant, the process usually starts with a brief and ends with cartons stacked on a pallet, wrapped, labeled, and ready for outbound freight. A solid packaging branding supplier guide walks you through every handoff so you know who owns each step. For folding cartons, that may mean working from a dieline, confirming panel measurements, setting color targets in CMYK or Pantone, and deciding whether the finish should be aqueous, matte lamination, gloss lamination, or soft-touch film. For rigid boxes, there may be added steps for wrapping paper selection, greyboard thickness, and magnet closure placement. For labels, the guide should cover adhesive type, liner compatibility, and whether the label will live on glass, PET, kraft, or coated paper. A 1.5mm greyboard wrapped in 157gsm art paper behaves very differently from a 2.5mm board wrapped in 128gsm coated stock, and if your supplier shrugs at that difference, keep walking.
Here’s the workflow I usually map with clients:
- Brief intake — dimensions, quantity, product weight, retail or shipping use, and target unit cost.
- Structural setup — dieline confirmation, board choice, and fit testing around the product.
- Artwork translation — logo placement, bleed, safe zones, and print method adjustments.
- Prepress proofing — digital proofs, hard proofs, or mockups for review under controlled light.
- Sampling — one-off prototypes, press samples, or short-run samples.
- Production run — printing, finishing, converting, and final packing.
- Dispatch — carton counts, pallet specs, and freight scheduling.
That sequence sounds straightforward, but every stage can introduce delays if the supplier is not disciplined. In a supplier audit I did outside Shenzhen, we found a beauty carton project stalled three days because the artwork file used the wrong dieline version and the foil stamp area overlapped a glue flap. No one noticed until prepress, and that is exactly the kind of expensive slip a packaging branding supplier guide should help prevent. Three days gone because someone “thought the old file was probably fine.” Probably. A terrifying word in manufacturing, especially when the production slot was only 12 business days wide.
Printing methods matter a great deal. Offset lithography usually gives sharper detail and better color control for larger runs. Flexographic printing is common for corrugated and high-volume labels, especially where speed matters. Digital printing is useful for short runs, pilot launches, and highly variable designs. Finishing methods such as foil stamping, embossing, debossing, and spot UV add tactile contrast and visual focus, but they also add setup time and cost. If your supplier cannot explain how those effects behave on the substrate you chose, that is a warning sign. A polite one, maybe, but still a warning sign. A foil stamp on uncoated kraft in Xiamen will not look like the same foil on a 350gsm C1S carton in Suzhou, and pretending otherwise is how sales decks become fiction.
The most useful packaging branding supplier guide also includes a timeline map. I often tell procurement teams to expect artwork approval to consume 20% to 30% of the total project time, especially if the brand uses multiple stakeholders. Material sourcing can add another few days if the paper mill or board converter is tight on inventory. Plate making, die cutting, foil tooling, and post-print curing can each create bottlenecks. On a tight program, I’d rather see 12 to 15 business days from proof approval to ready-to-ship cartons than hear a vague promise of fast turnaround with no milestone dates attached. Fast is not a schedule. It’s a mood, and a useless one when your launch date is locked for the first Monday of Q4.
For packaging and environmental references, I often point people to the ISTA packaging test standards and the EPA recycling guidance because testing and end-of-life considerations affect material choice more than many marketers realize. A supplier who can speak to those standards usually has a better grip on real production conditions. In practice, that can mean knowing the drop-test threshold for a 4kg mailer, or whether a water-based coating will interfere with curbside recyclability in California and Ontario.
One more practical point: sampling is not a formality. It is the bridge between a concept and a repeatable production standard. A physical sample tells you if the flap locks properly, if the coating scuffs when rubbed, and if the product slides too much inside the box. A digital file cannot tell you that. A good packaging branding supplier guide tells you to test the package under real handling conditions, not just admire it on a monitor. I remember one launch where the mockup looked gorgeous, then the actual insert let the bottle rattle around like a maraca. Very premium. Very embarrassing. The fix was a 2mm EVA insert and a tighter tuck flap, which added $0.07 per unit but saved the campaign from looking cheap in every single unboxing video.
Key factors in choosing a packaging branding supplier
If I had to reduce the whole packaging branding supplier guide discussion to a handful of decision points, I’d start with material compatibility. SBS paperboard, kraft, corrugated, chipboard, rigid board, and specialty substrates each behave differently under print and finishing. SBS gives a clean surface for retail packaging and fine detail. Kraft brings a warmer, more natural feel, but brand colors can shift unless the design is adjusted for the substrate tone. Corrugated protects in transit and supports custom printed boxes well, though the flute structure can limit tiny details. Rigid board is ideal when a premium presentation matters, but it carries higher material and freight costs. I’ve seen brands fall in love with rigid boxes for a product that ships every month in huge volumes. Lovely idea. Expensive habit. A 1,000-piece rigid set out of Shenzhen can run $2.40 per unit, while the same concept in a folding carton might land closer to $0.32 per unit at 10,000 pieces.
Print quality matters just as much. On coated surfaces, brand colors often look deeper and cleaner, while uncoated stocks absorb more ink and can mute certain shades. I’ve had brand teams insist on a specific blue that looked perfect in a PDF and then turned slightly purple on a natural board sample. The supplier was not wrong; the material choice was. A good packaging branding supplier guide pushes you to compare physical swatches, not just digital mockups. Screens are charming liars. A Pantone 2935 C on coated stock can look crisp, while the same ink on a 120gsm uncoated insert may lose enough saturation to disappoint a marketing director who approved it from a laptop in Brooklyn.
| Packaging Option | Typical Use | Approx. Unit Cost at 5,000 pcs | Brand Impression |
|---|---|---|---|
| SBS folding carton, matte AQ | Retail product packaging | $0.18 - $0.32 | Clean, crisp, versatile |
| Kraft mailer with 1-color flexo | Subscription and eCommerce shipping | $0.28 - $0.55 | Natural, friendly, practical |
| Rigid box with soft-touch wrap | Premium launch or gift set | $1.80 - $4.50 | High perceived value |
| Corrugated shipper with print | Transit protection and branded unpacking | $0.40 - $1.20 | Durable, retail-ready if designed well |
MOQ flexibility is another major filter. Some factories will happily quote a low quantity, then raise the price sharply because the setup cost spreads over fewer units. Others prefer larger production windows and cannot economically support pilot runs below a certain threshold. If you are testing a new line, a supplier that can do 500 to 2,000 units with digital print might be more helpful than one that only wants a 20,000-unit offset order. That distinction belongs in any practical packaging branding supplier guide. I’ve also seen factories in Wenzhou and Ningbo offer short-run windows at 1,000 units, but the unit price can jump 30% to 45% if you ask for foil plus embossing on top of the box.
Lead times and production capacity should be discussed with hard numbers. I like to hear exacts: 3 days for prepress, 5 days for sampling, 7 to 10 days for production, and 4 to 6 days for sea or domestic transit depending on the lane. If a supplier cannot explain where time is spent, the risk usually shows up later as missed launch dates. A dependable packaging branding supplier guide should treat timing as a controlled variable, not a hopeful guess. For example, a carton plant in Suzhou might promise 12 business days from proof approval, while a rigid box workshop in Dongguan may need 15 to 18 business days because wrapping and hand assembly add labor hours.
Cost is more than unit price. Tooling, plates, foil dies, embossing dies, setup fees, freight, warehousing, and spoilage all affect total landed cost. A box quoted at $0.22/unit can become much more expensive than a $0.29/unit alternative if the cheaper option carries higher rework, higher freight due to poor pack efficiency, or a finish that fails during transit. Honestly, I think this is where many buyers get tripped up: they compare the first number on the quote and ignore the rest of the sheet. A smart packaging branding supplier guide forces the total picture onto the table. I’ve seen a cheap quote in Shenzhen turn into $4,800 of extra freight because the cartons were packed loose instead of nested on Euro pallets.
Communication is often the hidden separator. When a supplier sends clean proofs, answers revision notes in one round, and documents deviations from spec, they are usually easier to trust on repeat work. I once sat through a negotiation where two vendors had nearly identical pricing on a 2,500-piece rigid gift set. One sent a 12-line production schedule, a board sample, and a finish card with Pantone references. The other sent a one-page price email. The brand chose the first vendor, and three reorder cycles later the reason was obvious: fewer surprises. That’s a lesson a packaging branding supplier guide should repeat loudly. Clear communication in Guangzhou or Dongguan beats we’ll handle it every time.
For some product categories, you may also need labels, hang tags, or specialty seals to complete the package story. Our Custom Labels & Tags page can help if your packaging system depends on variable information or layered branding elements.
Packaging branding supplier guide: Step-by-step selection process
A good packaging branding supplier guide should be hands-on. It should help you move from general idea to a supplier decision without wasting weeks on unclear emails. Here’s the process I recommend when a brand wants to build better custom packaging and actually control the outcome. I’ve used this same sequence with startups in Austin and procurement teams in London, and it works because it turns “we need a nice box” into a trackable manufacturing plan.
Step 1: Define the packaging goal. Before you send one inquiry, decide whether the box is meant to protect, present, ship, display, or do all four. A launch box for a skincare line has different priorities than a subscription mailer for apparel, and a packaging branding supplier guide should reflect that difference. Write down the product dimensions, target quantity, shipping environment, budget ceiling, and the feeling you want the package to create in the customer’s hands. If the product weighs 420g and ships from a warehouse in Dallas, that detail matters more than whether the mockup looks pretty on an iPad.
Step 2: Compare supplier capabilities. Ask for sample kits, recent case studies, and a clear equipment list. You want to know whether the factory runs offset presses, flexo lines, digital units, or post-press equipment for foil, embossing, and die cutting. I’ve seen buyers skip this and later discover the supplier had to outsource the most important part of the job. That may be acceptable for some projects, but it should never be a surprise. A strong packaging branding supplier guide insists on transparency before pricing is accepted. If the vendor is in Shenzhen but sends foil work to a subcontractor in Dongguan, you deserve to know that before you approve the order.
Step 3: Submit artwork properly. Use an approved dieline, vector logo files, correct font outlines, and color references in Pantone or calibrated CMYK. Include notes on varnish zones, embossing depth, and any small text that must remain legible at print size. I still remember a food brand that sent beautiful artwork but forgot to define the barcode quiet zone; the supplier had to remake 8,000 labels after the first scan test failed. That delay was avoidable with a tighter packaging branding supplier guide. A 3mm quiet zone around the barcode would have saved two days and roughly $640 in wasted labels.
Step 4: Review prototype samples. Do not judge them by appearance alone. Check the structure, the hinge strength, the magnet pull if it is a rigid box, the flap resistance on mailers, and the scuff resistance on printed surfaces. Hold the sample under normal store lighting and under warmer warehouse light, because color shifts show up fast. An experienced packaging branding supplier guide tells you to inspect the tactile feel as closely as the graphics. If the sample arrives from Guangzhou on day 6 and falls apart when opened 20 times, it’s telling you something useful. Listen to it.
Step 5: Lock in production timing. Ask for milestones in writing: artwork approval date, material ordering date, print date, finishing date, pack-out date, and ship date. If one stage slips, the others move with it. That may sound basic, but a surprising number of brand teams rely on a single expected delivery date and then act shocked when a foil die arrives late or a paper mill goes on allocation. A disciplined packaging branding supplier guide protects the calendar as much as the box. For most carton jobs, I want a written schedule with at least 5 checkpoints and a final buffer of 3 business days before launch.
To help you compare vendor styles, here is a simple decision matrix I’ve used in supplier reviews:
| Supplier Type | Best For | Strengths | Watch Outs |
|---|---|---|---|
| Local short-run printer | Pilot launches, fast tests | Quick sampling, easier communication | Higher unit cost, limited finishing |
| Large packaging converter | Scale orders, repeat programs | Better economics, broader capability | Higher MOQ, longer approval chains |
| Specialty branding partner | Premium presentation and complex builds | Strong packaging design support, high-end finishes | More setup time, more tooling cost |
If you want a deep reference point for materials and verification methods, the FSC site is useful when you are selecting responsibly sourced paperboard and need chain-of-custody clarity. That matters more often than brands expect, especially in retail packaging programs where sustainability claims must be backed by documented sourcing. A supplier in Zhejiang or Jiangsu that can provide FSC paperwork in the first quote round is usually easier to work with later.
One thing I always remind procurement teams: a good packaging branding supplier guide is not about eliminating suppliers quickly. It is about reducing uncertainty. The right vendor will ask smart questions about compression strength, shipping lanes, retail display requirements, and reorder behavior. Those questions may feel slow at first, but they usually save money by preventing structural failures and color drift later. The best conversations I’ve had were with plants in Dongguan and Suzhou that wanted carton stack height, carton count per pallet, and whether the boxes had to survive 72 hours in a humid warehouse.
Common mistakes brands make when evaluating suppliers
The first mistake is chasing the lowest quote and pretending the rest of the details will sort themselves out. They usually do not. A quote that looks 12% cheaper can hide higher setup charges, more expensive freight, weaker quality control, or a finish that looks fine on the first 500 units and drifts on the next 4,500. A practical packaging branding supplier guide always asks, “What does this cost after setup, packing, and delivery?” not just “What does this unit cost?” On a 10,000-piece order, a difference of $0.03 per unit sounds tiny until it becomes $300 in extra spend plus another $150 in waste.
The second mistake is ignoring real shipping conditions. I’ve watched beautiful custom printed boxes get crushed in route because nobody tested the carton under load, drop, or vibration. If your product ships in a stacked warehouse environment or through parcel networks, you should know whether the design survives compression and handling. ISTA test protocols exist for a reason. A serious packaging branding supplier guide should include transit validation, not just design approval. A 6-drop test and a 25-minute vibration run can tell you more than a glossy presentation ever will.
The third mistake is approving color from a monitor. Screens lie. They show backlit RGB values, while printing depends on inks, paper absorption, coating, and press calibration. If color accuracy matters, ask for a hard proof or a press proof under controlled light. I once had a client reject three screens’ worth of digital artwork revisions, then approve the first physical proof in 10 minutes because the print matched the Pantone book much better than the monitor ever could. That experience belongs in any honest packaging branding supplier guide. A hard proof in Guangzhou or a press check in Shenzhen will save you from arguing with a glowing rectangle.
The fourth mistake is overlooking compliance. Food contact rules, label regulations, warning copy, recycling marks, and retailer-specific packaging standards can all affect the final structure. It is not glamorous work, but it matters. A supplier who understands these rules is worth more than one who only knows how to print a pretty box. The best packaging branding supplier guide should push brands to ask about regulatory exposure early, before artwork gets locked. A tea carton going to California, for example, may need very different mark placement than a gift box sold only in Texas or Ontario.
The fifth mistake is forgetting about reorders. I’ve seen brands sign off on one batch and then assume the next run will match automatically, even though paper lots, ink batches, and finishing setups can vary. If you do not define a master standard, the second order may look slightly different from the first. That can be especially noticeable on kraft, textured board, or any premium finish where color shifts are visible. A reliable packaging branding supplier guide tells you to archive approved samples and note the exact substrate, coating, and print specs. Keep the physical master in a climate-controlled drawer if you have to. I’m only half joking.
“A packaging run is only as stable as its last reorder,” a veteran plant manager told me while checking a stack of folded cartons. He was right, and I’ve carried that line into every supplier review since.
There is also a softer mistake that brands make: they assume packaging branding is only for expensive products. That is not true. Even a modest retail SKU can benefit from a consistent box structure, cleaner typography, and a predictable opening moment. Branded packaging can raise trust, and trust is one of the most valuable things a package can deliver. A useful packaging branding supplier guide helps brands at any price point make those improvements without overspending, whether the final box costs $0.19 or $1.90.
Expert tips for better branding, better cost control
After years on factory floors, I’ve found that the best packaging systems are not the most complicated ones. They are the ones that use one or two signature details very well. A soft-touch laminate plus a single foil accent can feel more premium than five different effects stacked together. The extra stamping, extra setup, and extra scrap rarely improve the customer’s impression in proportion to the cost. A seasoned packaging branding supplier guide should encourage restraint where it protects margin. If the difference between matte lamination and soft-touch film is $0.06 per unit, spend that money only if the tactile feel matters to the sale.
Standardize box dimensions wherever you can. If three product sizes can fit into two shared carton footprints instead of three unique ones, your tooling, warehousing, and freight efficiency all improve. I worked with a skincare brand that reduced seven custom sizes to four, and the savings came not only from fewer die lines but also from easier pallet builds and lower carton waste. That kind of practical thinking should be part of any serious packaging branding supplier guide. In one case, the brand cut annual tooling spend by $1,400 and reduced warehouse overflow by 18 pallets a quarter.
Design with the print process in mind. Very thin serif fonts, low-contrast gradients, and tiny reverse type can look elegant on a screen and muddy on press. On a flexographic line, those issues become even more obvious. If your supplier is telling you a detail needs to be simplified, that is usually not a creative failure; it is manufacturing reality. A strong packaging branding supplier guide helps marketing and production meet in the middle. A 6pt reverse font on kraft in Wenzhou is a bad idea; a 9pt bold sans serif is usually fine.
Use samples to validate economics, not just appearance. A pilot run of 300 units can reveal whether your packaging folds efficiently, whether the adhesive line is too aggressive, and whether the board choice creates shipping waste. I like to say that a sample is a conversation with the factory. If you listen carefully, it tells you where the money will go on the full run. That is one of the quiet strengths of a packaging branding supplier guide. If the sample takes 14 seconds to assemble instead of 8, that labor difference becomes very real at 20,000 units.
Build the supplier relationship over time. The best packaging partner learns your seasonal launches, your color standards, and your tolerance for rush work. When that knowledge is documented, not just remembered by one salesperson, reorder performance gets steadier. I’ve seen long-term accounts run smoother because the supplier already knew which gloss level the brand hated and which transit lane was hardest on cartons. A living packaging branding supplier guide keeps that memory attached to the account, not locked in one person’s inbox. That matters whether the factory is in Guangzhou, Qingdao, or halfway across the Pacific with a regional rep in Los Angeles.
Next steps after using a packaging branding supplier guide
Once you’ve worked through a packaging branding supplier guide, the next move is to turn it into a one-page brief. Keep it specific: product name, dimensions, target quantity, material preference, finish preference, print method, budget range, and deadline. If you can include a reference sample or a photo of the current packaging, do it. That small amount of detail can cut down on revision cycles dramatically. A good brief for a 5,000-piece carton run should fit on one page plus the dieline PDF, not twelve Slack messages and a prayer.
Then gather three comparable quotes and look at them side by side. Do not just compare unit price. Compare the proofing process, the quality of samples, the communication speed, the production method, and the total landed cost after freight and any tooling. In my experience, the best supplier is often the one that asks the most precise questions, not the one that answers fastest. A mature packaging branding supplier guide trains you to value clarity over speed alone. I’d rather get a thoughtful reply from a factory in Dongguan in 24 hours than a rushed “yes, no problem” in 5 minutes.
Request physical samples or a prototype before approving production. Test the package in the same conditions your customer will face: parcel shipping, retail shelf display, warehouse stacking, or repeated opening and closing. Check the corners, the print surface, the adhesive lines, and the way the box closes after handling. If the package is meant to elevate the unboxing experience, make sure the experience still holds after real-life use. That is where a packaging branding supplier guide becomes more than paperwork; it becomes a quality system. A prototype should survive at least 10 open-close cycles and one 1-meter drop if the product is going through parcel channels.
Build a review checklist for future orders. Include artwork version, board grade, coating, finish, approved sample date, color standard, and pack-out instructions. A reprint that starts from the last approved spec sheet is faster and cleaner than one that starts from scratch. Over time, your packaging branding supplier guide becomes a living record of what worked, what failed, and what deserves to stay the same. Keep the master record with dates, supplier city, and run quantity, like “Dongguan, 8,000 pcs, proof approved 2025-04-17.” Boring. Useful. The best kind of boring.
If you want a broader view of how packaging support ties into product presentation, the internal resources on Custom Packaging Products, Case Studies, and Custom Labels & Tags can help you build out the rest of the system around the box itself.
For brands that care about responsible material choices, keeping your supplier aligned with FSC-certified sources and recyclable structures can simplify future compliance conversations and retailer reviews. A thoughtful packaging branding supplier guide should help you make those choices with real production constraints in mind, not just theory. That balance is what separates pretty packaging from Packaging That Actually performs, whether the board comes from a mill in Zhejiang or a converter in Jiangsu.
FAQ
What should I look for in a packaging branding supplier guide for small brands?
Look for low or flexible MOQs, sample support, clear pricing, and a supplier that can explain print and finishing choices in plain language. A small brand usually benefits most from a packaging branding supplier guide that focuses on proofing discipline and reorder consistency, not just premium finishes. For a 1,000-piece launch run, I’d want a vendor in Shenzhen, Dongguan, or Suzhou who can quote both digital and short-run offset options.
How does a packaging branding supplier guide help with pricing?
It shows where costs come from, including setup, tooling, finishing, freight, and reorders, so you can compare total value instead of only unit price. A solid packaging branding supplier guide also helps you see when a lower quote may cost more after waste, delays, or extra handling. For example, a carton at $0.22 per unit with a $180 die fee can end up costlier than a $0.28 carton with no tooling charge on a 2,500-piece order.
How long does the packaging branding supplier process usually take?
Timelines vary, but the process usually includes briefing, artwork prep, proofing, sampling, production, finishing, and shipping. In practice, approvals cause the biggest delays, and a well-built packaging branding supplier guide should map milestones so the schedule stays visible from the start. For a standard folding carton, 12 to 15 business days from proof approval to ready-to-ship is a realistic target in many Guangdong factories.
What is the best packaging material for brand presentation?
The best material depends on the product and use case; rigid board feels premium, corrugated protects shipping cartons, and SBS or chipboard often works well for retail display. A useful packaging branding supplier guide will match the material to the brand message, shipping needs, and budget rather than treating one substrate as universally best. A 350gsm C1S artboard carton with matte AQ can be a smarter choice than a 2.5mm rigid box if the product needs volume pricing and fast replenishment.
How can I avoid mistakes when choosing a packaging branding supplier?
Use physical proofs, ask about real production methods, confirm timelines in writing, test packaging in transit, and make sure the supplier can repeat quality on reorders. A careful packaging branding supplier guide reduces the chance of color drift, structural failures, and last-minute redesigns. I’d also ask for the factory city, sample lead time, and whether finishing happens in-house or through a subcontractor in another region.
If you remember only one thing, make it this: a packaging branding supplier guide is really a tool for protecting your brand at the factory level, where board grade, coating, print setup, and finishing decisions are made line by line. I’ve watched good brands get stronger simply because they chose suppliers who understood the difference between a container and a branded experience. That is the real value of a packaging branding supplier guide, and the clearest takeaway is simple: define the spec, demand physical proof, and lock the master sample before the run starts. That’s how you get packaging that looks right, ships right, and still feels right on reorder.