Buyer Fit Snapshot
| Best fit | packaging cost comparison for packaging buyers who need material clarity, print proof, packing fit, cost control, and repeat-order reliability where brand print, material, artwork control, and repeat-order consistency matter. |
|---|---|
| Quote inputs | Share finished size, material target, print colors, finish, packing count, annual reorder estimate, and delivery region. |
| Proofing check | Approve dieline scale, logo placement, barcode or warning zones, color tolerance, and any recyclable or compostable wording before bulk production. |
| Main risk | Vague material claims, crowded artwork, or missing packing details can create delays even when the unit price looks attractive. |
Fast answer: Packaging Cost Comparison: Materials, MOQ, Lead Times, and Quote Checks should be specified like a repeatable production item. The safest quote includes material, print method, finish, artwork proof, carton packing, and reorder notes in one written spec.
What to confirm before approving the packaging proof
Check the product dimensions against the actual filled item, not only the sales mockup. Ask for tolerance on folds, seals, hang holes, label areas, and retail display edges. If the package carries a logo, QR code, warning copy, or legal claim, reserve that space before decorative graphics fill the panel.
How to compare quotes without losing quality
Compare board or film grade, print process, finish, sampling route, tooling charges, carton quantity, and freight assumptions side by side. A lower quote is only useful if the supplier can repeat the same color, closure quality, and packing count on the next order.
I’ve spent enough years on factory floors to know that a Packaging Cost Comparison can mislead even experienced buyers if they only look at the quoted unit price. Two boxes can sit beside each other on a sample table and look almost identical, yet one lands 18% higher because of board grade, print coverage, and finishing details that were buried in the spec sheet. A real packaging cost comparison has to include materials, MOQ, lead times, and freight, not just the number printed on the quote.
At Custom Logo Things, we help buyers compare custom printed boxes, inserts, sleeves, mailers, and presentation packaging with the same practical mindset I learned standing beside die-cutters, offset presses, and rigid box assembly lines. Too many people compare “boxes” instead of complete builds, and the difference shows up later in freight bills, damage claims, and delayed launches. A proper packaging cost comparison saves money before production starts, which is always cheaper than fixing a bad order after the pallets land.
Packaging Cost Comparison Starts With the Real Drivers
I remember one job in a Shenzhen converting plant where two folding cartons shared the same outer dimensions, the same PMS navy ink, and the same matte finish, but one quote came in 22% higher. The reason was plain enough once we broke it down: one used 350gsm SBS paperboard with a soft-touch lamination and full coverage inside printing, while the other used 300gsm CCNB with standard aqueous coating. On paper they looked close. In production, they were nowhere near the same. That is the kind of detail a serious packaging cost comparison has to uncover.
The biggest cost drivers usually come down to material thickness, print method, structural complexity, inserts, coatings, and shipping dimensional weight. A simple folding carton can run efficiently on an offset line with standard die-cutting, while a rigid setup may need hand assembly, wrapped chipboard, and more labor at each station. Add hot foil stamping, embossing, or a custom insert, and your packaging cost comparison changes fast. I’ve seen buyers save $0.06 per unit by changing a coating and then lose $0.14 per unit in freight because the package became bulkier and pushed them into a higher dimensional weight tier.
The lowest unit price is not always the lowest total cost. That sounds basic, yet it gets overlooked in nearly every packaging cost comparison I review. If one vendor quotes $0.42 per unit and another quotes $0.47, the cheaper quote may still cost more once you include plate charges, die fees, sampling, overage allowances, and freight. Add a 3% damage rate on a weak corrugated structure, and the math shifts again. I always push customers to compare total landed cost, because that number includes the cost of getting usable packaging into their warehouse, not just the factory gate price.
“The cheapest quote is often the one with the most missing details,” a procurement manager told me during a cosmetics project, and she was right. We had to redo the quote after discovering the initial supplier excluded inserts, freight, and lamination. That one packaging cost comparison mistake added ten days to the launch calendar.
When I walk a line, I look at the whole chain: die-cutting for the blank, flexographic printing for corrugated, offset printing for retail-ready cartons, laminating for surface protection, and hot foil stamping for premium branding. Each process adds time, setup, and labor. Each one affects the packaging cost comparison. If you are comparing branded packaging options, those process choices matter as much as the artwork itself.
Product Details That Change Packaging Cost Fast
Different packaging formats behave very differently in a packaging cost comparison. Folding cartons are usually the most economical for lighter products like cosmetics, supplements, and small consumer goods, especially when you need shelf appeal and clean package branding. Rigid boxes, by contrast, are built for presentation and often carry a higher labor component because they are wrapped around chipboard and finished by hand or semi-hand assembly. Corrugated mailers and mailer boxes are better for e-commerce protection, while sleeves and inserts are often the simplest way to elevate product packaging without rebuilding the entire structure.
I’ve seen a subscription brand switch from a rigid box to an E-flute mailer and cut unit cost by $0.31 while improving shipping performance. The trick was not just the material; it was the way the new structure collapsed flat, reduced warehouse space, and lowered outbound freight. That is why a solid packaging cost comparison should always include how the package performs in storage and distribution, not only how it looks on a sales sample.
Material choice has a big effect. SBS paperboard is a favorite for premium retail packaging because of its bright surface and print clarity. CCNB is often more budget-friendly for everyDay Custom Packaging when you still want solid graphics. E-flute corrugated offers a thinner, smoother profile than B-flute, which is useful for printed mailers and shelf-ready cartons. Rigid chipboard brings a heavier, higher-end feel, but it also raises material and labor cost. In a proper packaging cost comparison, those material grades need to be set side by side with the same dimensions and print expectations.
Print choice changes the number more than many buyers expect. A 1-color flexographic print on corrugated can be much cheaper than full-color CMYK offset work on a carton, especially at lower volumes. PMS matching adds accuracy for brand color control, but it can affect setup and ink management. Inside printing is another one that catches people off guard. A neat inside panel on custom printed boxes can improve the unboxing experience, yet it increases ink coverage and press time. That detail belongs in every packaging cost comparison.
Finishes are where budgets can drift if the spec is loose. Matte lamination is common and dependable. Soft-touch coating feels excellent, but it costs more and can require more careful handling on the line. Embossing, debossing, spot UV, and foil stamping all add brand value, yet each one changes setup time and often adds a separate tooling or plate cost. I’ve negotiated enough finishing quotes to say this plainly: if the embellishment does not help sell the product, protect the product, or improve opening experience, it probably does not belong in the first packaging cost comparison.
- Folding cartons: best for lightweight retail products, high print quality, lower material use.
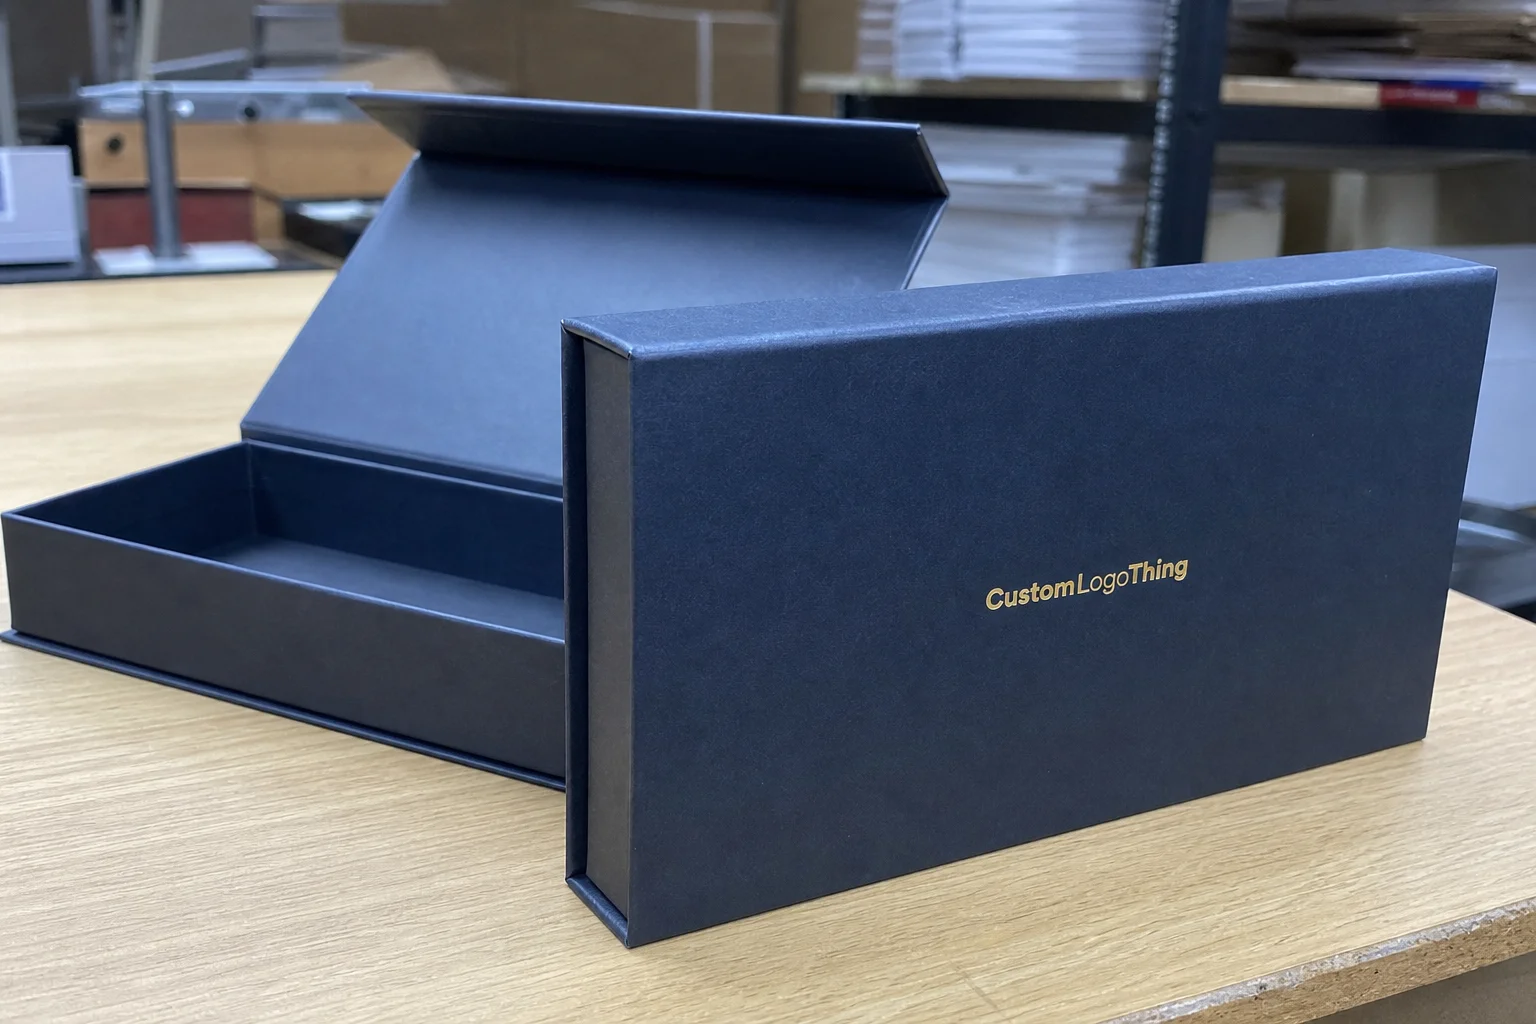
- Rigid boxes: premium presentation, more labor, higher perceived value, more storage space.
- Corrugated mailers: strong shipping performance, good for e-commerce, often cost-efficient at scale.
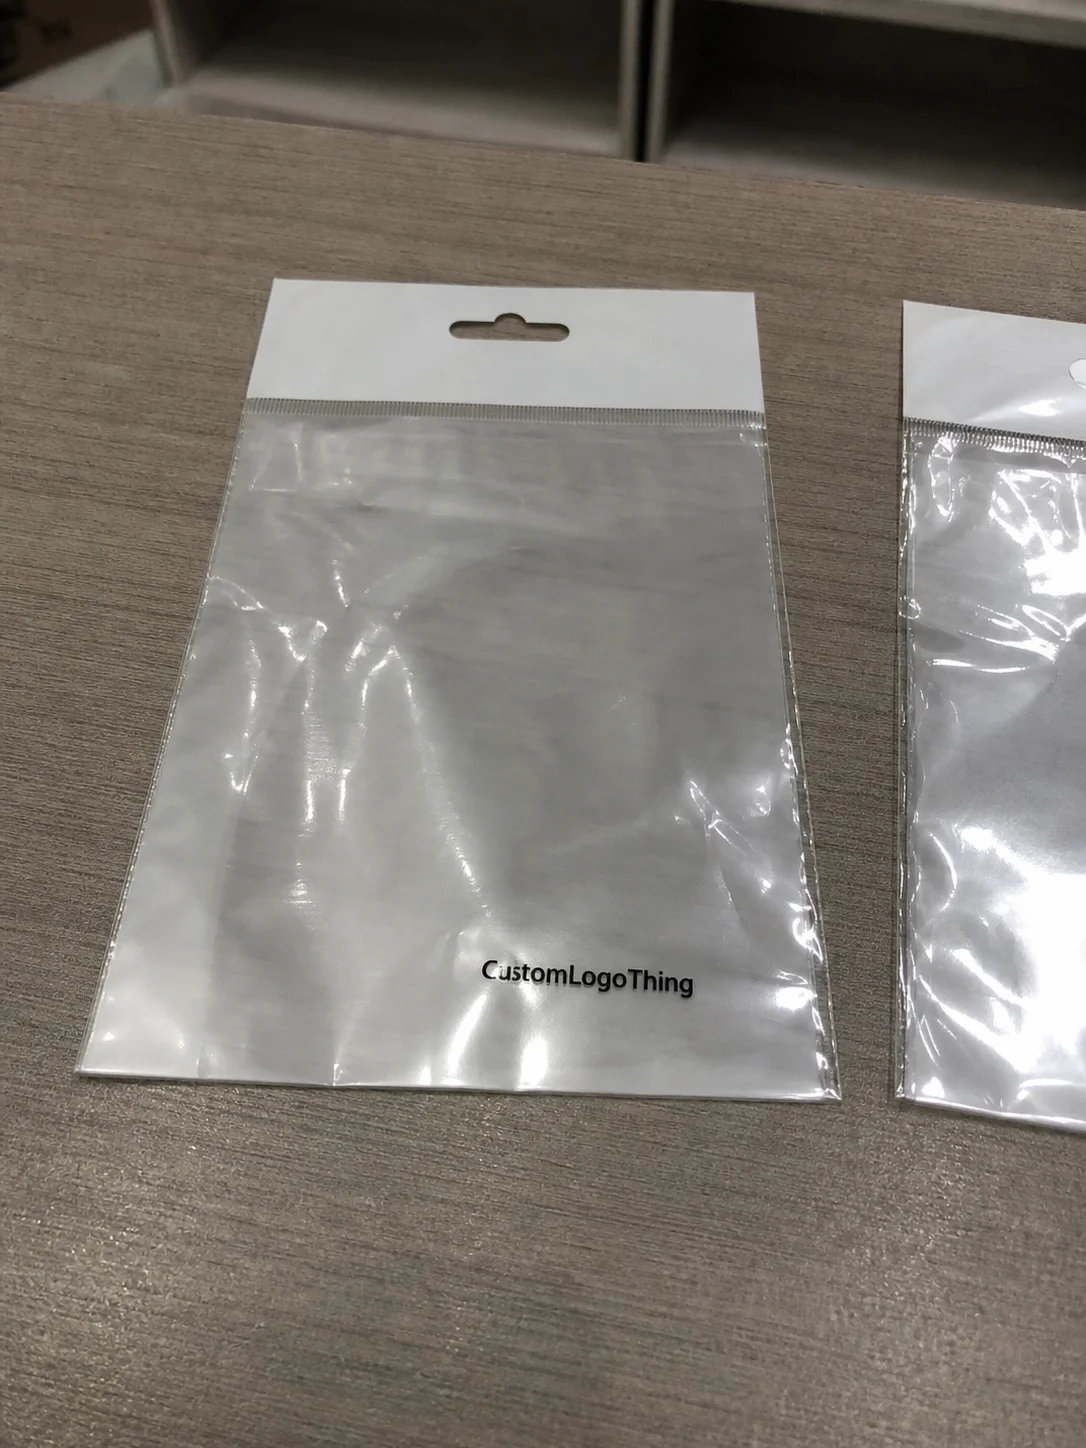
- Sleeves and inserts: add branding or protection without changing the whole structure.
Specifications to Compare Before You Request Quotes
If you want a clean packaging cost comparison, gather the same exact specs for every vendor. That means finished dimensions, board or wall thickness, product weight, insert requirements, and pack-out method. A carton sized at 120 x 80 x 35 mm is not interchangeable with a 125 x 82 x 38 mm version, because even small changes affect die cost, folding behavior, and shipping cube. A quote with missing dimensions is usually a guess wearing a suit.
Accurate dielines save time and money. When a buyer sends rough sketches and hopes the factory will “figure it out,” the approval cycle stretches, sampling multiplies, and revisions eat into both budget and schedule. On one beverage project, we lost four business days because the internal product tray was not specified, and the insert had to be remade twice. That kind of delay does not show up in the first packaging cost comparison, but it shows up everywhere else.
For packaging that must survive storage and transit, ask for tolerances, burst strength, compression strength, and print registration expectations. Corrugated mailers, for example, need different performance targets than folding cartons for shelf display. If the package will stack on a pallet, the board grade and flute selection matter. If it will ride through parcel networks, ISTA test methods can help you think through drop and vibration exposure before production starts. That is a smarter packaging cost comparison than fixing crushed corners after delivery.
Retail and e-commerce compliance needs belong in the quote package too. Barcode space, hang tabs, tamper evidence, and stacking requirements all change structure and artwork layouts. I’ve seen teams pay for a second press run because the barcode landed too close to a fold line, which forced a reprint even though the box itself was fine. The better move is to compare the packaging on a side-by-side spec sheet so every vendor is quoting the same build and not filling in the blanks with assumptions. That alone can make your packaging cost comparison far more accurate.
If sustainability matters, ask about FSC-certified paper options and recycled fiber content early, because those choices can affect both supply and price. The Forest Stewardship Council standards are useful when a buyer needs documented sourcing for retail or export programs. I’ve had customers change specs late and discover the paper grade they wanted was available, but only at a longer lead time and a higher minimum run. That is another reason the packaging cost comparison should include compliance and availability, not just finish.
A good vendor will help you build a side-by-side sheet with columns for board grade, print method, finish, insert type, MOQ, sampling fee, tooling, freight, and lead time. I recommend that every buyer request this format before making a decision, because it removes a lot of the noise from a packaging cost comparison and makes the real differences obvious.
Pricing, MOQ, and Where Packaging Cost Comparison Gets Real
MOQ changes everything. A low MOQ order usually carries a higher unit cost because the die, plate, setup, and make-ready time have fewer pieces to absorb those fixed expenses. At 1,000 units, a $180 plate charge hurts a lot more than it does at 20,000 units. That is why the same structure can move from $1.08 per unit down to $0.46 per unit as volume rises. In a real packaging cost comparison, MOQ is one of the first numbers I check.
Here’s the catch: a higher MOQ can lower unit pricing, but it may not be the best business decision if your storage space is tight or your cash flow is limited. I’ve seen brands buy 25,000 units to “save money” and then pay extra warehouse rent for six months because the sell-through rate was slower than forecast. So yes, the packaging cost comparison should show the cheaper price at higher volume, but it should also show inventory risk, obsolescence risk, and holding cost.
Pricing usually includes a few separate buckets: unit cost, tooling charges, sample fees, freight, and optional finishing add-ons. Sometimes a supplier will quote a very attractive base price and then add costs for every meaningful detail later. That is why I ask for the full picture up front. If the packaging cost comparison includes only boxes and excludes printing plates, custom dies, proof samples, and shipping, it is not a fair comparison at all.
For budget structures, choose simple board grades, a single print color, and minimal finishing. For mid-range branded packaging, add custom dimensions, stronger graphics, and one controlled embellishment such as matte lamination or spot UV. For premium presentation, use rigid construction, custom inserts, foil stamping, or embossed logos, but do it with a clear reason tied to the product and channel. That framework keeps your packaging cost comparison aligned with how the package will actually be used.
One of my favorite factory-floor lessons came from a corrugated plant where the customer insisted on an ornate structure that looked beautiful in a mockup but required three extra folding steps and a more expensive glue pattern. The total quote went up, the line speed dropped, and the client eventually simplified the design. Their final packaging cost comparison saved more than the original “premium look” was worth, and the box still sold well at retail.
Process and Timeline: From Quotation to Production
A practical packaging cost comparison should include timing from quote to shipment. The workflow is usually inquiry, spec review, quote, dieline setup, artwork proof, prepress approval, sampling, production, quality check, and shipment. If any one of those steps gets sloppy, the schedule slips. I’ve watched a three-day proof delay turn into a two-week issue because the press slot was missed and the production queue had already moved on.
Sampling and structural revisions add time, especially for custom inserts, specialty finishes, and complex folds. A simple folding carton may move from approval to production faster than a rigid box with wrapped edges and foil. Rush orders often cost more because the factory has to adjust scheduling, move labor, or break a batch plan. That cost belongs in the packaging cost comparison too, because speed is part of the purchase decision.
Your communication speed matters as much as the factory’s schedule. If a buyer takes four days to approve artwork, the press cannot start. If the dieline is sent back with fresh changes after proofing, the calendar resets. I’ve seen this more than once on cosmetics and nutraceutical jobs where the launch date was fixed, but the artwork approval came in late. The smartest packaging cost comparison aligns launch plans with production windows, freight bookings, and warehouse receiving schedules before anybody signs off on the final quote.
Here is a simple reality check I give customers:
- Confirm the spec in writing.
- Approve the dieline before artwork.
- Build in time for sampling.
- Book freight before production ends.
- Make sure the warehouse is ready to receive.
That sequence keeps the packaging cost comparison grounded in how manufacturing actually works, not how people hope it works.
Why Choose Us for Packaging Cost Comparison
At Custom Logo Things, we position ourselves as a packaging partner that helps customers compare options honestly, not just chase the cheapest box. I’ve sat through enough supplier negotiations to know the temptation is always to quote low and sort out the details later. That approach usually creates rework. Our job is to make the packaging cost comparison cleaner from the start, whether you need Custom Packaging Products for retail shelves, shipping, or premium gift presentation.
Our factory network and production partners handle corrugated converting lines, carton die-cutting, rigid box hand assembly, and quality inspection checkpoints with the same attention I’d expect on a line I was responsible for myself. We can talk through material substitutions, such as moving from SBS to CCNB or from rigid chipboard to an E-flute structure, when those changes protect margin without harming the presentation. That kind of guidance makes the packaging cost comparison more useful because it connects cost to function, not just appearance.
Consistency matters too. If sample accuracy is poor, the whole process becomes guesswork. I have seen brand teams approve one version, then receive a different structure on the run because the spec was not locked. That is why we pay close attention to sample fidelity, communication, and repeatability. A buyer should be able to compare the first order and the tenth order with the same confidence. That is what a serious packaging cost comparison partner should deliver.
And honestly, here’s what most people get wrong: they think package branding is only about ink coverage and logo placement. It is also about the stiffness in the hand, the way the lid closes, the silence of a soft-touch finish, and the efficiency of the carton line when the order scales. Those are not abstract marketing ideas. They are production realities, and they belong in every packaging cost comparison.
How Do You Make a Packaging Cost Comparison That Is Actually Fair?
A fair packaging cost comparison starts with identical inputs. Same dimensions, same print method, same board grade, same finish, same insert style, same MOQ, and the same delivery terms. If one quote includes freight, tooling, and sampling while another excludes them, the lower number is not really lower. It is simply less complete. That is why side-by-side comparison sheets matter so much in packaging procurement.
The next step is to compare total landed cost, not only factory gate cost. Total landed cost includes the pieces that affect what finally arrives at your warehouse: production, packing, freight, customs if needed, and any rework risk tied to weaker specs. I have seen buyers fixate on a 2-cent difference in unit price while ignoring a $400 freight gap caused by dimensional weight. A thoughtful packaging cost comparison makes those differences visible before the order is placed.
You should also compare risk. A lighter board may be cheaper but could crush during parcel shipping. A premium finish may look beautiful but require extra handling and create scuffing during transit. A rigid package may impress on shelf but strain your storage budget. Those trade-offs are not side issues; they are central to a useful packaging cost comparison. The best decision usually balances appearance, protection, and the realities of the supply chain.
For many buyers, the fair comparison becomes clearer after a brief vendor conversation. Ask each supplier to explain their assumptions line by line. Which machine will run the order? Is there a plate charge? Are the inserts glued in or packed separately? What is the lead time after proof approval? A supplier who can answer those questions directly is helping you build a reliable packaging cost comparison, not just a quote sheet.
Next Steps for a Smarter Packaging Cost Comparison
If you want the smartest packaging cost comparison, start with four things: gather your specs, define your budget range, choose the packaging format, and compare total landed cost. Do not compare one quote with a matte lamination, a custom insert, and freight included against another quote that excludes all three. That is how good projects get distorted. A fair packaging cost comparison uses identical dimensions, the same finish, the same quantity, and the same delivery terms.
Ask vendors for sample photos, structural recommendations, and freight estimates before you approve production. A good supplier should be able to show you how a change in board grade, print method, or finishing option affects the final price and the timeline. If you receive a quote that looks unusually low, check the details line by line. Nine times out of ten, the missing line item is what makes the quote look attractive. That is why I keep pushing clients back to the packaging cost comparison fundamentals.
If you need to move quickly, simplify the structure first. Standardize dimensions where possible. Reduce unnecessary inside printing. Choose one premium finish instead of three. Those changes often save more than squeezing another cent out of the unit price. In real production, simplicity is often the fastest route to savings, and it usually improves consistency too. That is the kind of practical insight a good packaging cost comparison should give you.
Here is the checklist I’d use before signing off:
- Confirm finished dimensions and board grade.
- Match print method, finish, and insert requirements across quotes.
- Include tooling, samples, freight, and lead time in the comparison.
- Check MOQ against actual demand and storage capacity.
- Review total landed cost, not just unit cost.
If you use that checklist, your packaging cost comparison becomes a decision tool instead of a guess. That is the real goal: choose packaging that protects the product, fits the budget, and supports the channel without causing headaches later.
FAQs
How do I do a packaging cost comparison for custom boxes?
Compare total landed cost, not just unit price. Use the same dimensions, material, print method, and quantity across every quote. Include tooling, samples, freight, and finishing in the comparison so the numbers reflect the real order cost.
What packaging details affect cost the most?
Material grade and thickness usually have the biggest impact. Complex structures, inserts, and specialty finishes add cost quickly. Higher print coverage and tighter tolerances also raise pricing because they increase setup time and production control.
Does a higher MOQ always mean lower packaging cost?
Usually the unit price drops as quantity rises. But storage, cash flow, and inventory risk can offset the savings. The best MOQ is the one that balances cost with actual usage and realistic sell-through timing.
How long does custom packaging production usually take?
Timeline depends on structure, artwork approval, and finishing complexity. Sampling and revision rounds can add days or weeks before production starts. Faster approvals from the buyer help keep the schedule moving and reduce delays.
What is the cheapest type of packaging to compare first?
Start with simple folding cartons or standard corrugated mailers. These formats often offer strong cost efficiency for many products. Simpler print and finish choices usually keep the budget lower while still giving you solid branding and protection.
Final thought: the best packaging cost comparison is the one that tells the truth early. If you simplify the structure, standardize the specs, and compare total landed cost across the same MOQ, you will usually save more money than chasing the lowest headline quote. That’s the approach I trust, and it’s the one we use every day when helping customers Choose the Right custom package. The takeaway is straightforward: lock the spec, compare the full landed number, and only then decide whether a box is actually cheaper.