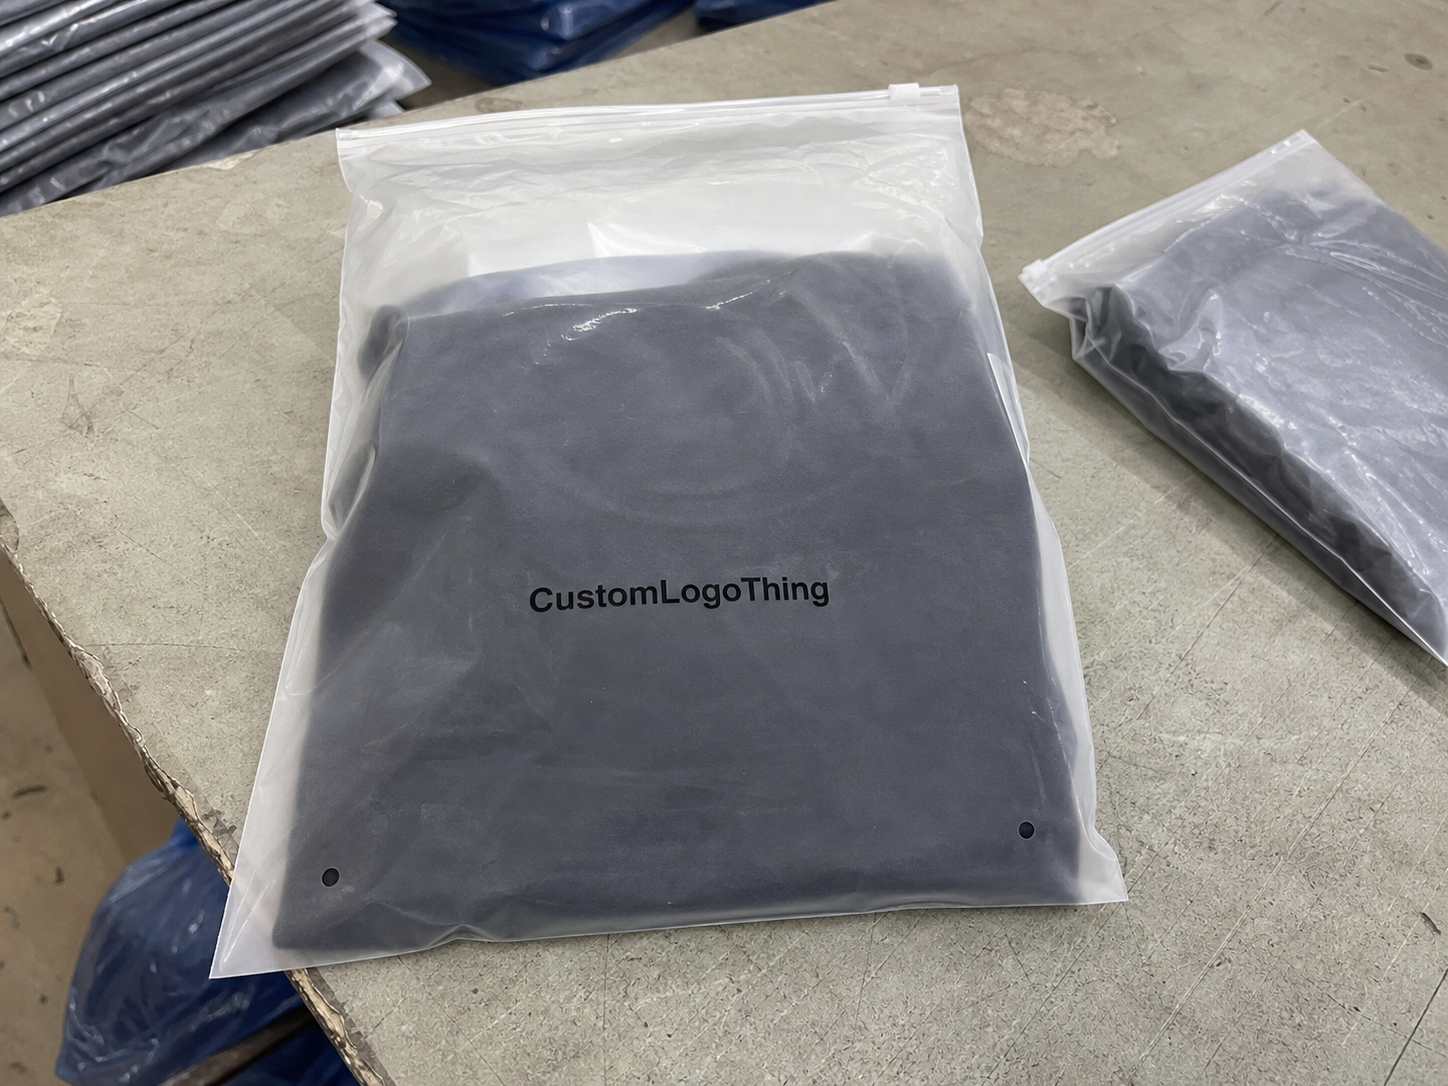
Personalised ziplock bags do more than hold a product. A plain pouch keeps items protected, but a printed one adds recognition every time it is picked up, opened, stored, or shipped. That matters for snack packs, supplement samples, beauty kits, small hardware, and promotional items alike, because packaging often frames the product before anyone reads the label.
For buyers, the appeal is practical as much as visual. These bags combine visibility, resealability, and branding in one format, which keeps the pack simple while still doing several jobs. The challenge is choosing the right build, because the wrong material or closure can turn a neat-looking pouch into a weak link in the supply chain.
Personalised ziplock bags: what they are and why brands use them
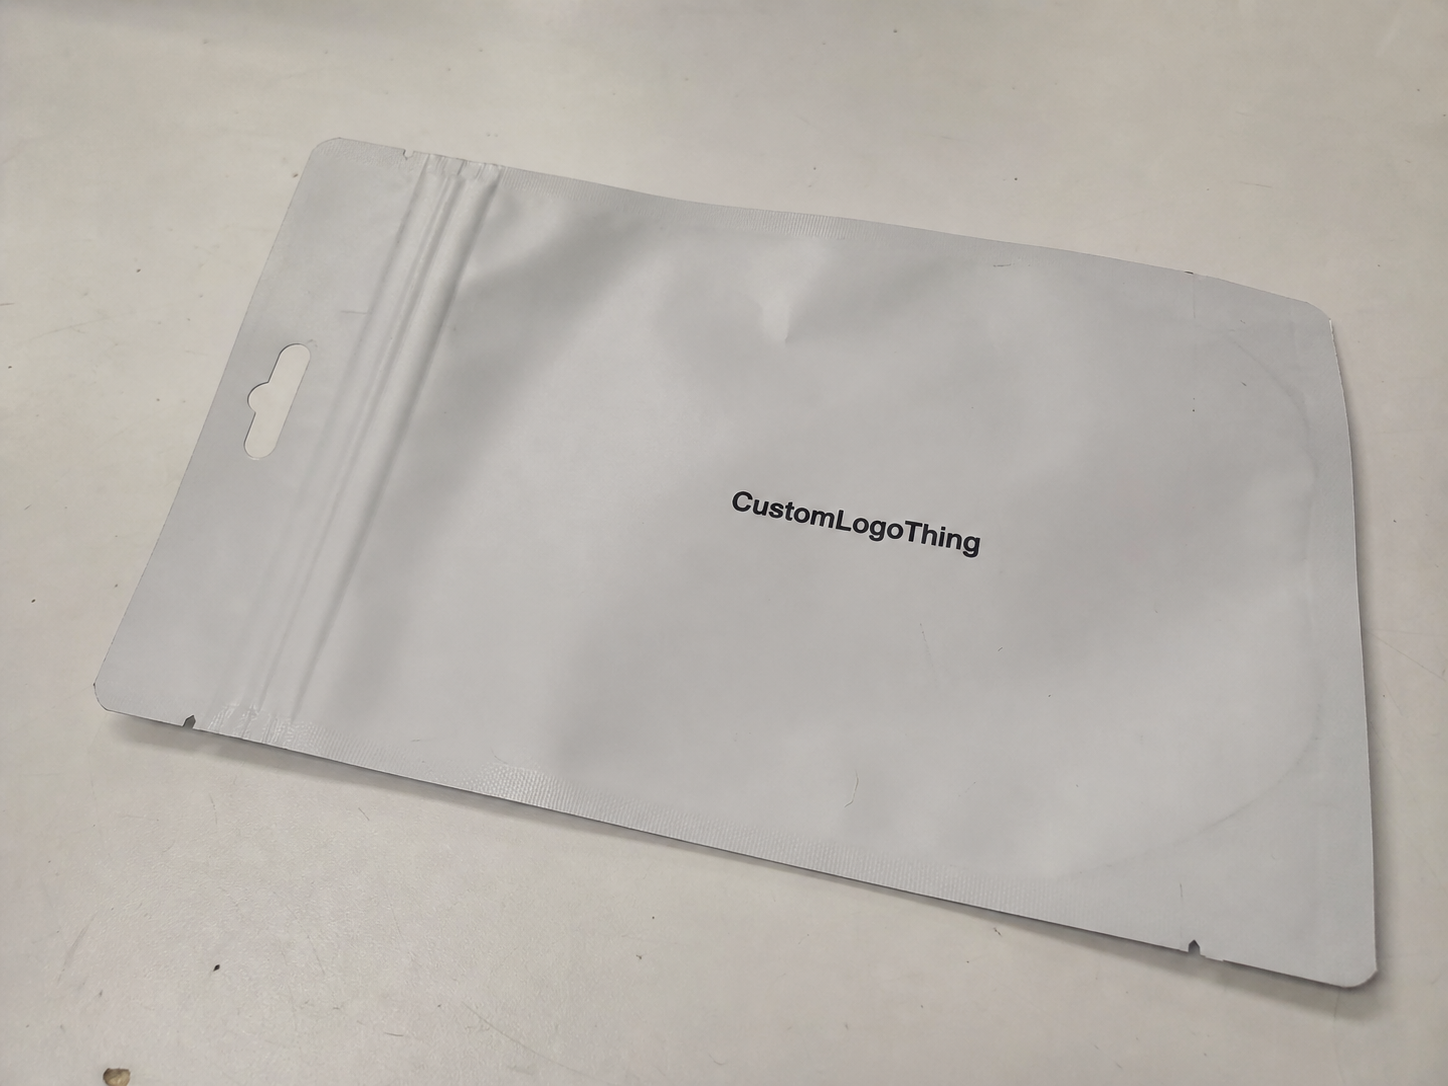
Personalised ziplock bags are resealable pouches or bags custom printed with a logo, product information, barcode, ingredients, or handling instructions. They use a press-to-close or zip-style closure so the customer can open and reseal the pack without clips, tape, or a secondary container. In packaging terms, they sit in a useful middle ground: simple enough for efficient packing, but polished enough to carry a brand.
That balance explains their reach across so many categories. Food brands use them for snacks, herbs, and dry ingredients. Supplement companies use them for trial packs and small-count items. Beauty labels use them for sample sets and accessories. Hardware sellers rely on them for fixings, fittings, and small components that need sorting and labelling. Promotional teams use them because they make small items feel deliberate rather than improvised.
The business case is stronger than many first-time buyers expect. A small product in a printed pouch often feels more valuable than the same item in a clear unbranded bag, even when the contents are identical. That uplift comes from visual order, repeated messaging, and a sense that the brand has thought through the details. Customers notice those cues quickly, especially in retail or unboxing settings.
In e-commerce, the pack keeps working after shipment. A logo, product name, and clear instructions turn the bag into a small, reusable reference point on the customer’s desk, shelf, or kitchen counter. That is one reason packaging is now treated as part of the product rather than a disposable afterthought.
“If the pack feels cheap, the product has to work harder to justify itself.”
That is not always fair, but it is how buying behaviour works. A well-specified pouch can support freshness, reduce handling issues, and improve the way a compact product is judged in a few seconds.
How personalised ziplock bags work from material to seal
The structure of a personalised bag is usually straightforward: base film, closure track, print layer, and, where required, a barrier structure that helps control moisture, oxygen, aroma, or light exposure. The visible part may look simple, yet the performance difference between two similar-looking bags can be substantial once the product is packed.
Most builds start with a base film. LDPE is common when flexibility, lower cost, and easy handling matter. PET laminates are chosen when the pack needs a stiffer feel, sharper graphics, or better barrier performance. Some products need multilayer laminates rather than a single layer because the barrier target is higher than basic clear film can support. Mono-material recyclable options and compostable alternatives are available in some formats, but they are not interchangeable with standard structures; availability depends on size, barrier requirements, and what local recycling or composting systems can actually accept.
The closure is just as important as the film. A standard zip seal is meant for repeated opening and closing. Press-to-close profiles can feel firmer or easier to align depending on the design. Tamper-evident features add a clear first-open signal, which is useful for retail packs and certain regulated products. If the contents are heavy, irregular, or slightly abrasive, the closure needs to be tested with the real product rather than assumed to be sufficient.
Print method affects both appearance and price. Digital print works well for shorter runs, artwork changes, and high-colour detail. Flexographic printing is usually better for larger quantities because plate costs are spread over more units. Screen printing can lay down strong colour on simple artwork, though it is slower and less suited to intricate graphics. The right method depends on volume, print area, and the finish expected on shelf.
Buyers often compare bags by appearance alone, but the details underneath matter just as much. Two pouches with the same external dimensions can behave very differently once they are filled, sealed, and handled in transit.
| Option | Best for | Typical strengths | Common trade-off |
|---|---|---|---|
| LDPE zip bag | General-purpose packs, low to medium barrier needs | Flexible, economical, easy to handle | Less premium feel than laminated structures |
| PET laminate bag | Retail presentation, stronger barrier, sharper graphics | Stiffer, better print appearance, improved protection | Higher unit cost and more material complexity |
| Mono-material recyclable bag | Brands prioritising recyclability claims | Simpler material story, easier brand messaging | Not always the right barrier for every product |
| Compostable alternative | Specific sustainability-led applications | Clear environmental positioning | Performance and availability can vary widely |
Artwork preparation is one of the most common sources of delay. Logos should be supplied as vector files where possible. Bleed usually needs to sit around 3 mm, although suppliers may ask for more depending on the format. Text needs a safe margin from edges and seals, and barcodes need quiet zones and strong contrast if they are going to scan consistently. A well-designed pouch still fails the job if the barcode is unreadable on the packing line.
If your product sits in a regulated category, ask early about the documentation the supplier can actually support. For food-contact packs, beauty packaging, or transit-sensitive goods, material declarations, seal checks, and route-to-market testing may all be relevant. Reference points from organisations such as the Institute of Packaging Professionals and the ISTA can help frame performance expectations, while FSC matters when paper elements are part of the build.
Key factors that affect look, performance, and shelf life
Size is usually the first decision, and it is often guessed too quickly. Buyers measure the product itself, then forget to allow for fill shape, closure allowance, and headspace. A pouch that looks fine on paper can become awkward once the contents are bulkier than expected. Too much empty space creates the opposite problem: the pack looks loose, less efficient, and less premium than it should.
The format changes the presentation. Flat pouches are efficient and economical. Stand-up pouches give more shelf presence. Gusseted bags are better for irregular or fuller items that need more internal volume. Child-resistant versions may be required in specific categories, and that choice should be made before artwork is finalised, not after the design is approved.
Thickness, usually described as gauge or micron, affects puncture resistance, feel, and cost. A lighter film may be fine for dry goods or samples, while heavier fills, sharp edges, or repeated handling call for a thicker specification. Increasing film thickness can improve durability, but it also raises raw material cost and can add shipping weight. There is no universal “best” thickness; the right one depends on the product and the journey it will take.
Barrier performance is where shelf life becomes a practical issue. Moisture-sensitive products need a structure that limits ingress. Aroma-sensitive products need odour retention. Oxygen-sensitive products may need a much better barrier than a basic clear pouch can provide. Light-sensitive goods often benefit from opaque or tinted films. These choices are not cosmetic extras; they are tied directly to product stability.
Transparency versus opacity is a design decision with functional consequences. Clear bags show the product and can build trust when the contents are attractive or visually tidy. Frosted or matte finishes feel more premium and can hide uneven shapes or less attractive contents. For some buyers, that concealment is worth the extra spend because it reduces the need for outer labels or inserts to carry the presentation.
Compliance should be checked before production starts. Food-contact suitability, labelling rules, and seal integrity requirements vary by market and product type. If the bag will travel through distribution, drop testing and transit simulation may also be worth discussing, especially for small, fragile, or temperature-sensitive items. The safest assumption is that performance requirements need to be proven, not inferred from the sample alone.
Cost and pricing: what changes your quote
Pricing for personalised ziplock bags depends on a small set of variables that can shift the quote quickly. Size is obvious. Material is next. After that come print colours, finish, added features such as hang holes or tear notches, and order quantity. The same design can land in very different price bands once those details change.
MOQ matters more than many buyers expect. A small run usually carries a higher unit cost because setup, prepress, and production handling are spread across fewer bags. Larger orders reduce that pressure, which is why the unit price often falls noticeably once a buyer moves from a trial quantity to a repeat run.
It helps to separate setup charges from unit production cost. Artwork preparation, plate-making, colour matching, or tooling may all be billed separately from the bags themselves. If those numbers are merged into one line, it becomes harder to compare suppliers properly. A low unit price may still be expensive overall if the setup fees are heavy or the minimum order is too large for your stock plan.
Here is a simple pricing framework buyers can use:
- Sample or prototype cost: usually modest, though custom tooling or multiple proofs can increase it.
- Production unit cost: affected by quantity, print coverage, and material structure.
- Setup or plate fees: more relevant on flexographic runs than on some digital jobs.
- Shipping and duties: can become significant on heavier or urgent orders.
- Prepress changes: file corrections and artwork revisions can add time and cost.
As a directional reference, a simple unprinted or lightly printed bag in a larger run may sit well below a fully branded, multi-colour laminated pouch. A straightforward spec might be quoted around $0.18 to $0.28 per unit for 5,000 pieces, while a more complex format with premium print and added features can move to $0.35 or more. Those figures are not universal, because size, film structure, and finish change the picture quickly. They do, however, show how quickly the cost moves once the build becomes more complex.
For procurement teams, the real question is not which option is cheapest in isolation. It is which option protects the product, fits the budget, and avoids hidden costs later. A bag that leaks, tears, or scans poorly can cost far more in spoilage, rework, and customer complaints than the few cents saved upfront.
| Cost driver | Lower-cost choice | Higher-cost choice | Why it changes the quote |
|---|---|---|---|
| Material | Basic LDPE | Multilayer PET laminate | Barrier and print performance increase material cost |
| Print method | Simple digital print | Flexo with multiple colours and plates | Setup and colour complexity raise spend |
| Finish | Standard clear finish | Matte, frosted, or soft-touch effects | Special finishes add process steps |
| Order quantity | Small trial batch | Larger repeat run | Fixed costs are spread more efficiently at scale |
Production process and timeline: from artwork to delivery
The production flow is fairly consistent, although the details vary by supplier and print method. It begins with a brief that covers product dimensions, fill weight, storage conditions, branding goals, and any compliance text. The next step is sizing or dieline selection. After that, artwork is prepared in print-ready form, proofed, revised if needed, approved, and then released into production. Quality control, packing, and shipping follow in sequence.
Sampling usually happens in one of two ways. A digital proof shows how the artwork will sit on the pack, which helps confirm layout, type size, and colour balance. A physical sample tells you much more about film feel, zip strength, and shelf presence. If you are ordering personalised ziplock bags for the first time, a physical sample is usually the safer choice, especially for food, wellness, or premium retail products.
Lead time depends on quantity, print method, artwork complexity, and material availability. For straightforward orders, a realistic estimate is often around 12 to 15 business days from proof approval, while more complex jobs take longer. That figure does not include freight, which can extend the total schedule further. Rush production may be possible, but it usually narrows tolerance for changes and can increase cost.
Late artwork changes are one of the biggest causes of delays. Even a small text edit after proof approval can send the job back through prepress. If plates, tooling, or special finishing are already underway, the delay can become expensive very quickly. Clean final files and a stable brief save more time than most buyers realise.
Good suppliers are usually very clear about which choices affect timing. If a different zipper profile, coating, or print setup adds days, that information is useful because it signals that the quoting process is grounded in the actual run rather than only in the headline price.
Common mistakes to avoid before you place an order
The most common mistake is picking the wrong size. A bag that is too small can stress the seal or crush the product. A bag that is too large wastes material and can look loose or underfilled. Both are avoidable if you measure the filled pack rather than the item alone.
Weak artwork files create another set of problems. Low-resolution logos, tiny copy, unreadable barcodes, and colour profiles that do not translate well to print can all delay production. Text placed too close to the edge may disappear into the seal area or trimming tolerance. That kind of issue is usually fixable before the run starts, which is why proof review matters.
Buyers also underestimate closure strength. A seal that seems fine when the bag is empty may behave differently once it contains a heavier, sharper, or slightly oily product. Testing with the actual contents is the only reliable way to judge whether the closure is suitable for the job.
Ordering too early can be just as costly. If ingredients, product claims, or regulatory text are still changing, reprinting dead stock becomes an avoidable expense. It is often better to keep the spec flexible until the key details are settled.
Quote comparison can be misleading if the specs are not identical. A lower unit price may hide a thinner film, a different print method, excluded setup charges, or longer lead times. If two suppliers are not quoting the same gauge, closure type, and print coverage, the numbers do not mean the same thing.
- Confirm the exact size in millimetres.
- Check material grade and thickness.
- Ask which print method is being used.
- Verify whether setup fees are included.
- Test the bag with the real product, not a substitute.
Expert tips for ordering personalised ziplock bags that perform
Start with the product, not the artwork. Weight, sharpness, moisture sensitivity, and storage conditions should shape the spec before the design is finalised. Many packaging problems begin when visual layout is treated as the starting point and product behaviour is left until later.
Ask for samples or a prototype, then use them properly. Fill the bag, seal it, open it, reseal it, and move it through the same handling conditions it will face in use. If possible, run a small practical test with the real product. A pouch that looks polished on a desk can still fail in transit or lose seal consistency after repeated opening.
Use the pack to support the sale without overcrowding it. The most important branding, product naming, and compliance text should sit where the eye lands first. On a small bag, buyers usually scan rather than read in full, so the layout needs to work hard without feeling cramped.
Flexibility is useful too. A size that can tolerate a slightly different fill weight or product shape gives you more room to manage inventory and repeat orders without redesigning the pack every time. That can reduce obsolete stock and make reorders less disruptive.
Keep everything together once the final spec is approved. Artwork files, references, supplier notes, sample photos, and measurements should live in one place so future orders are easier to repeat. That matters even more if you manage several SKUs or seasonal packaging updates.
“The best packaging files are boring in the best way: clear specs, clean artwork, no guesswork.”
Next steps to spec, sample, and order with confidence
A one-page brief makes quoting much easier. Include product dimensions, fill weight, closure preference, barrier needs, branding goals, and any labelling or compliance requirements. The more complete the brief, the more meaningful the quote.
Have your logo files, copy, and regulatory text ready before comparing numbers. A quote based on incomplete artwork is only a placeholder. It cannot be relied on until the final file is in place and the artwork has been checked for size, legibility, and fit.
Ask for sample options, lead time estimates, and a clear split between unit cost and setup charges. Then test the sample in use, not only in hand. Fill it. Reseal it. Check it under the lighting where it will be sold or packed. Move it through the shipping method you actually use. That simple sequence catches most problems early.
Once the bag matches the product and the budget, approve the proof and place the order. At that point, personalised ziplock bags stop being a procurement line and start functioning as part of the brand experience. Done properly, they protect the contents, support repeat recognition, and make small products feel more considered than their size suggests.
FAQs
What are personalised ziplock bags best used for?
They work best for products that need resealing, visibility, and branding in one pack. Common uses include snacks, supplements, cosmetics, samples, small parts, and promotional kits.
How do I choose the right size for custom ziplock bags?
Measure the filled product, not just the item itself, and allow room for the seal and headspace. If the product is irregular, bulky, or likely to settle after filling, request a sample before committing to production.
What affects the price of personalised ziplock bags the most?
The biggest drivers are size, material, print complexity, finishes, and order quantity. MOQ and setup costs often have a major impact on smaller runs.
How long does the production process usually take?
Lead time depends on artwork approval, sampling, quantity, and material availability. Fast approvals and final files can shorten the schedule, while late changes tend to slow everything down.
Can personalised ziplock bags be made for food or regulated products?
Yes, but the material, sealing performance, and compliance details must suit the product category. Confirm food-contact suitability and any required testing before placing the order.