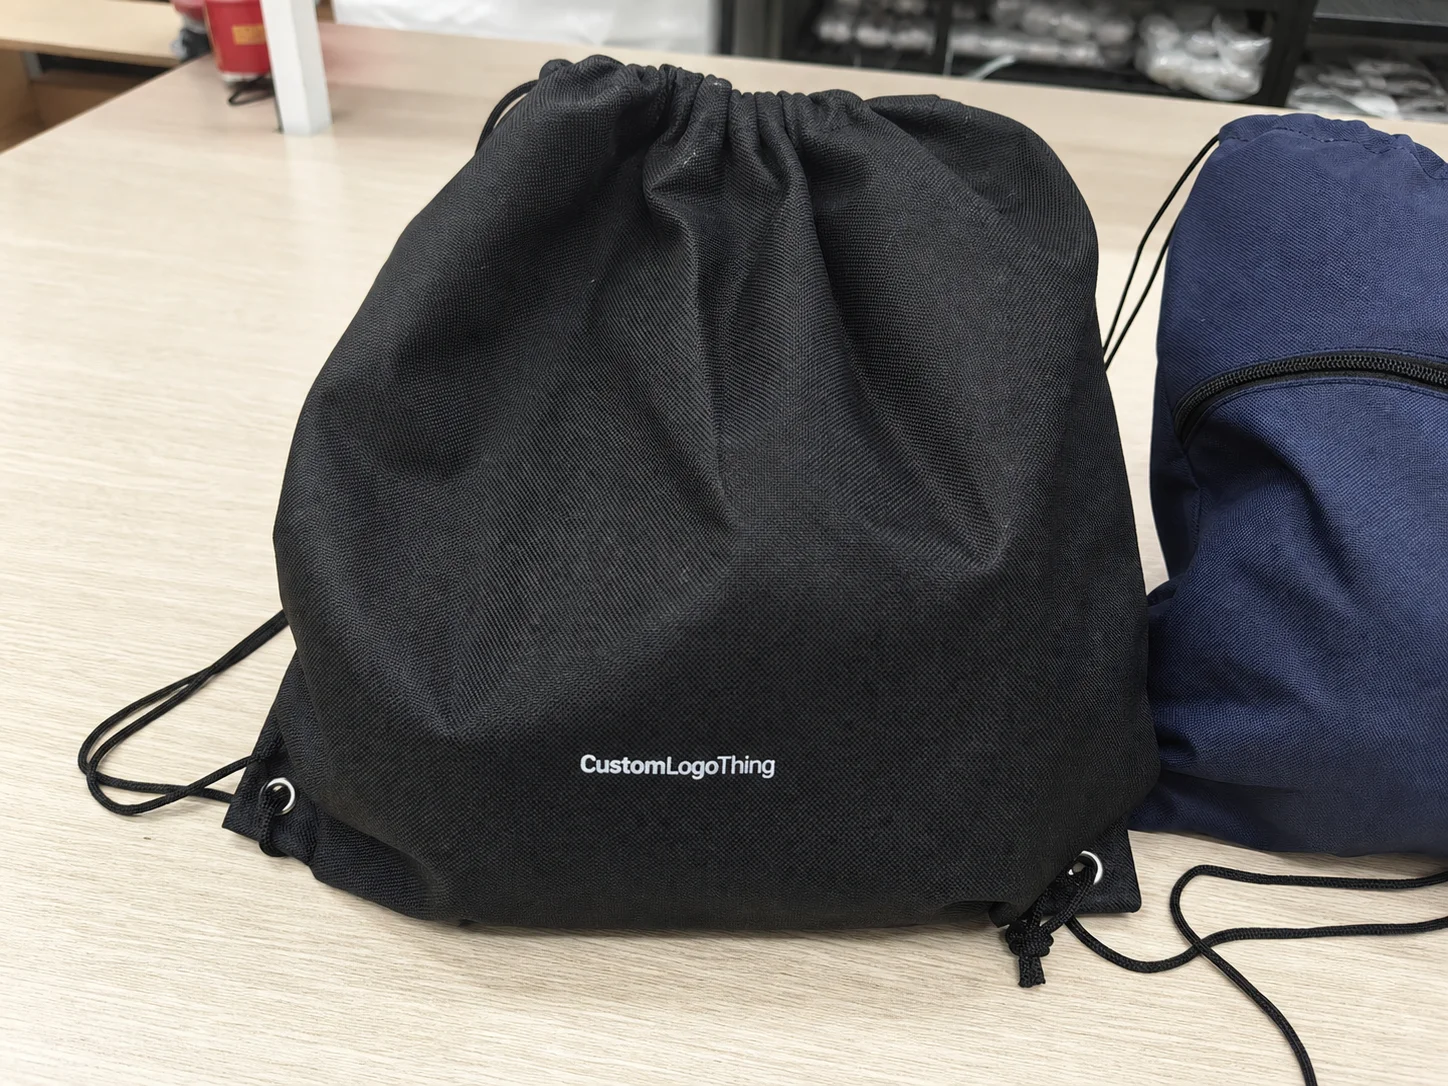
Personalized Cinch Bags are easy to underestimate. On paper, they are only a drawstring bag with a logo. In production, they behave more like a small packaging system: the bag has to hold the product, close without strain, survive handling, and still present the brand cleanly after the giveaway table is gone.
That is why the order details matter more than the mockup. A buyer can approve a design that looks polished on screen and still end up with a bag that feels too thin, prints too faintly, or closes awkwardly around the contents. The difference usually comes down to three things: the material, the decoration method, and whether the bag was sized from the product outward instead of from the artwork inward.
For event kits, retail handoff, sample packaging, or reusable merch, the right bag does two jobs at once. It protects the contents now and keeps working later. If it ends up on a gym bench, in a commuter bag, or at another event weeks later, that is not a bonus feature. That is the actual value.
The cheapest bag is often the most expensive one once a closure fails, the print washes out, or the fabric feels so light that the brand looks temporary instead of deliberate.
What Personalized Cinch Bags Actually Solve
A cinch bag is useful because it is fast. It folds flat, ships compactly, and can be packed in volume without turning fulfillment into a labor problem. That is one reason marketing teams keep coming back to them: they are easy to distribute, easy to store, and easy for the recipient to carry. A box does not follow someone out the door. A bag does.
Personalized versions add another layer of value. The print surface becomes part of the packaging, which means the product carries the brand after the handoff. That matters most when the item inside is not the only thing being remembered. A conference kit, a retail sample, a trade-show handout, or a welcome pack can all benefit from packaging that survives beyond the first touchpoint.
The construction details decide whether the bag feels disposable or reusable. Thin nonwoven bags can work for one-time distribution, especially if the contents are light and the run needs to stay economical. Polyester, woven fabrics, or heavier deniers usually hold shape better and give the bag a more finished feel. Cotton can add a natural look, but it also changes the print behavior and usually increases the unit cost.
Buyers often ask for the logo first and the bag second. That sequence causes problems. If the contents are bulky, the opening needs more depth. If the bag will be reused, the cord points and seams need to handle more stress. If privacy matters, the fabric has to be opaque enough that the contents do not show through. Good specifications start with use, not decoration.
Process and Timeline: From Proof to Delivery
The order usually gets locked in during proofing, not production. Artwork is checked against the real printable area, seams are identified, and the placement is adjusted so the logo does not land too close to a cord channel or edge seam. Vector files are still the cleanest starting point because they scale without softening. If raster art has to be used, it needs enough resolution that small type stays readable at actual print size.
The proof should do more than show the design. It should confirm the bag dimensions, the print location, color references, any special packaging notes, and the direction the artwork faces. A logo that sits a quarter inch too high may not look wrong on a screen, but it can collide with a seam in real production. That is the kind of issue that is cheap to fix before approval and expensive after printing starts.
Once the proof is signed off, the schedule becomes a production sequence. The material is prepared, the decoration method is run, the print cures or sets, the cord or closure is inserted, and the finished bags are counted and packed. On larger runs, there may be a separate inspection step for registration, color consistency, stitching, or closure function. If the bags are going into retail or kit assembly, pack configuration matters too. A bag that arrives in the wrong count or carton arrangement still creates work downstream.
Lead times are driven by quantity, print complexity, bag construction, and any custom sourcing. A simple one-color run on a standard bag can often move within about 12 to 15 business days after proof approval. That window stretches when the order needs custom colors, more decoration coverage, or a heavier fabric that takes more time to source and process. Rush work is possible in many cases, but it is less forgiving. Clean artwork, standard materials, and clear instructions are what make rush schedules realistic.
For programs that move through distribution or travel long distances, packaging should also be considered in context. The bag itself is not a shipping carton, but the overall pack-out still has to survive handling. If the contents are sensitive, fragile, or contamination-prone, the larger transport plan should be reviewed separately rather than assuming the bag alone is enough.
Materials, Sizes, and Print Methods That Change the Result
Material choice changes everything that the buyer feels in the hand. Nonwoven polypropylene is usually the most economical route for high-volume promotions because it folds flat, keeps costs down, and can be printed efficiently. Polyester, especially woven or 190T to 210D constructions, usually feels more substantial and tends to hold up better if the bag will be reused. Cotton and cotton blends can look premium, but they often come with a higher unit price and different print behavior.
Size should be determined from the contents first. That sounds obvious, but it is where many orders go wrong. If the bag is too small, the closure has to fight the contents, the seams carry extra stress, and the finished piece looks cramped. If it is too large, the bag loses the tailored look that makes personalized cinch bags feel intentional rather than generic. The right size leaves a little room for the contents, closes cleanly, and gives the branding a clear field.
The decoration method matters just as much as the bag body. Screen printing is a good fit for bold logos, limited colors, and strong contrast. Sublimation works well on polyester when the design needs gradients, full coverage, or a softer integrated look. Heat transfers and digital transfers can handle smaller runs and more complex art, though the feel and durability depend on the exact system. If the bag is likely to be washed or handled often, the best method is usually the one that balances appearance and wear, not the one that looks most dramatic on a sample.
| Bag Type | Typical Use | Approx. Unit Cost | Notes |
|---|---|---|---|
| Nonwoven polypropylene, 1-color print | Events, giveaways, light kits | $0.28-$0.55 at 5,000+ units | Economical, folds flat, good for high-volume handouts |
| 190T-210D polyester, 1-2 color print | Retail handoff, repeat use | $0.62-$1.20 at 1,000-3,000 units | Better feel and durability, stronger brand presentation |
| Premium woven or specialty finish | Higher-end merchandise or retail programs | $1.10-$2.40+ depending on specs | More setup, more material cost, stronger presentation value |
Two details are easy to miss: cord style and opacity. Flat cords often sit differently in the hand than round cords and may hold up better in a heavy-use setting. Opacity affects whether the contents can be seen through the material, which matters for privacy, retail presentation, or product display. If the item inside is bulky, moist, or delicate, the bag should be chosen around those conditions instead of around the artwork layout.
Pricing, MOQ, and Unit Cost: What Changes the Quote
The biggest cost drivers are usually size, fabric weight, print coverage, number of colors, and any finishing that adds labor or setup. Larger bags use more material. Heavier fabrics cost more to source and decorate. A full-coverage design takes more production time than a simple one-color mark. If the project needs custom cord treatment, special labeling, or additional packaging, the price rises again.
MOQ, or minimum order quantity, exists because setup costs have to be spread across the run. Small orders carry more of the prep cost per unit, so the per-bag price climbs quickly. Larger orders usually lower the unit cost, but they also bring storage and cash-flow questions. A buyer who only needs 800 bags may not benefit from pricing built around 5,000 if the extras sit in a warehouse for a year. The right quantity depends on usage rate, reorder frequency, and storage space.
A quote should include more than the printed bag price. I look for proofing cost, freight, carton configuration, and any rush or special-handling charge. A low number can hide a lighter construction or a less complete service package. The only fair comparison is landed cost: what arrives, where it goes, and how usable it is once the cartons are opened.
| Order Size | Typical Price Behavior | Best For | Tradeoff |
|---|---|---|---|
| 250-500 units | Highest unit cost, most setup per bag | Test programs, small events, pilot retail launches | Less inventory risk, but limited price efficiency |
| 1,000-3,000 units | Middle ground on cost and flexibility | Annual events, recurring promotions, regional campaigns | Good balance, though storage still matters |
| 5,000+ units | Lowest unit cost in many cases | National programs, large retail or distribution runs | Best pricing, but higher cash and storage commitment |
If the program includes inserts, headers, or outer cartons, ask whether the paper components can be sourced with FSC-certified material. That does not solve every sustainability concern, but it keeps the discussion on the full package rather than only the bag shell. In practice, the packaging story is usually broader than one item.
Step-by-Step Guide: Spec the Order Without Misses
Start with the use case. Event giveaway, retail handoff, protective carry item, and kit assembly component all call for different choices. A tradeshow handout can be lighter than a bag meant for customer-facing retail. A bag carrying folded apparel behaves differently from one carrying samples, inserts, or bottles.
Then define the construction details: dimensions, material, closure style, opacity, and artwork placement. Do not select the bag by logo size alone. Select it so the contents sit comfortably and the branding has enough breathing room to look deliberate. If the logo must be centered for visibility, say so. If it needs to sit lower because the closure steals top space, that belongs in the spec too.
Artwork should be prepared for production, not just presentation. Vector files are ideal. Text needs to stay legible at the printed size, not just on a desktop preview. If there are spot colors, provide PMS targets. If the design depends on fine registration or small type, call that out early so the proof reflects the real production risk. On a drawstring bag, simple usually performs better than crowded.
Before approval, check the proof with a practical eye:
- Bag dimensions fit the planned contents.
- Artwork stays inside the safe print area.
- Text remains readable at production scale.
- Color references are specific and realistic.
- Carton counts and pack configuration match receiving needs.
That review step saves money because it catches errors before the run starts. A logo placed too high, a print side marked incorrectly, or a size mismatch can turn a good project into a reprint. Proof notes are not paperwork for its own sake. They protect the expensive part of the order.
Common Mistakes That Hurt Fit, Print, and Durability
The first mistake is undersizing the bag. Buyers often focus on the logo and forget the product. If the bag is too tight, the closure strains, the seams take extra load, and the final package looks forced. If the bag has to hold folded apparel, sample bottles, or a kit with inserts, the depth should be generous enough to let the closure work naturally.
Artwork problems come next. Low-resolution files, tiny details, and color combinations that disappear on the chosen material all create avoidable issues. A dark logo on a dark navy bag may look refined on a monitor and vanish in production. A thin script font can disappear once it is scaled to actual size. If the fabric is textured or slightly translucent, the print method has to account for that surface instead of fighting it.
Load weight is another limit people underestimate. A drawstring bag is not a rigid shipping container. Wet contents, abrasive components, or unusually heavy items can wear through a light construction, especially near the cord points and bottom seams. If the bag needs to carry more weight, the fabric, stitching, and reinforcement should be selected for that load. A quick filled-weight test before production is one of the cheapest forms of quality control available.
Skipping the fine print in the proof is the quiet failure that creates the biggest headaches. If the logo needs to face a specific direction, if the print must stay off a seam, or if the bag will be packed a certain way for distribution, the proof has to say so. Clear instructions prevent guesses. Vague files create rework.
Expert Tips for Cleaner Branding and Better Reuse With Personalized Cinch Bags
Keep the logo simple enough to read from a few feet away. Cinch bags are usually seen in motion, slung over a shoulder or set on a chair, not examined under showroom lighting. One strong mark typically performs better than a busy layout, especially if the goal is recall rather than a full graphic campaign.
Match finish to use. A more polished surface fits retail presentation. A tougher fabric and a more durable print fit repeated handling. If the contents need to be visible, semi-transparent or mesh constructions help. If privacy matters, opaque materials are the cleaner choice. Those decisions sound basic because they are basic, but they are also the choices that separate a bag that feels right from one that feels like an afterthought.
Ask for a sample or pre-production check when color match, weight-bearing performance, or surface appearance under real lighting matters. A proof PDF is not the same thing as a finished bag under warehouse lights or event hall fixtures. A physical sample removes guesswork before a large run is locked in.
For recurring programs, standardize one or two sizes so reorder cycles stay consistent. That reduces storage confusion and keeps the branding stable from one run to the next. It also helps when multiple teams order at different times because the spec does not have to be rebuilt from scratch. Well-planned personalized cinch bags tend to get reused longer when the size, closure, and print placement feel intentional from the start.
Next Steps: Build the Spec Sheet Before You Request Pricing
Before asking for pricing, build a one-page spec sheet with size, material, quantity, decoration method, and ship-to address. That is the fastest way to get comparable quotes and cut down on back-and-forth during proofing. If the order has an event date, give the in-hand deadline instead of a vague “as soon as possible.” Production teams can work with a real date. They cannot work with uncertainty.
Gather the artwork files and mark the non-negotiables: PMS targets, opaque or semi-transparent preference, logo placement, and any pack-out instructions for the finished cartons. If the bags are going into kits, say how they will be packed. If they are going straight to retail, say that too. The closer the order is to actual use, the fewer corrections it needs later.
Request pricing at two or three quantities so the MOQ breakpoints are visible. That often shows whether the real savings happen at 1,000, 2,500, or 5,000 units, and it can reveal whether a smaller order is smarter than carrying excess inventory. Once those numbers are clear, confirm proof timing, production window, and receiving plan before approval.
Handled that way, the process stays straightforward: choose the build, approve the proof, track the lead time, and receive a finished package that works the way it should. That is the practical way to buy personalized cinch bags without paying for avoidable mistakes.
What size personalized cinch bags should I order for apparel or giveaways?
Start with the widest item you need to fit, then add enough room so the closure closes cleanly without forcing the contents. For apparel kits, leave extra depth so shirts, inserts, or samples do not bunch at the opening. If the bag needs to look retail-ready, choose a size that looks full without stretching the material.
How long do personalized cinch bags usually take to produce?
Simple orders move faster when the material is standard, the artwork is ready, and the decoration is uncomplicated. Proof approval is often the main scheduling step, so delays usually come from file cleanup or design changes. Rush timing depends on quantity, print method, and freight distance, so the same product can have very different lead times.
Which print method works best for personalized cinch bags?
Screen printing is a strong fit for bold logos with limited colors and a clean, high-contrast look. Digital or transfer methods are often better for gradients, fine text, or more complex artwork. The best method depends on quantity, material surface, and how durable the print needs to be.
What affects the price of personalized cinch bags the most?
Material, size, print coverage, and number of colors usually have the biggest effect on unit cost. Lower quantities carry more setup cost per bag, while larger runs usually spread that cost out more efficiently. Shipping, special packaging, and rush service can change the total more than buyers expect.
Can personalized cinch bags handle heavy or reusable items?
They can, but the bag needs the right material thickness, seam strength, and closure design for the load. Wet, sharp, or abrasive contents call for a more rugged construction than a simple giveaway bag. Testing the filled bag weight before production is the safest way to avoid failures after delivery.