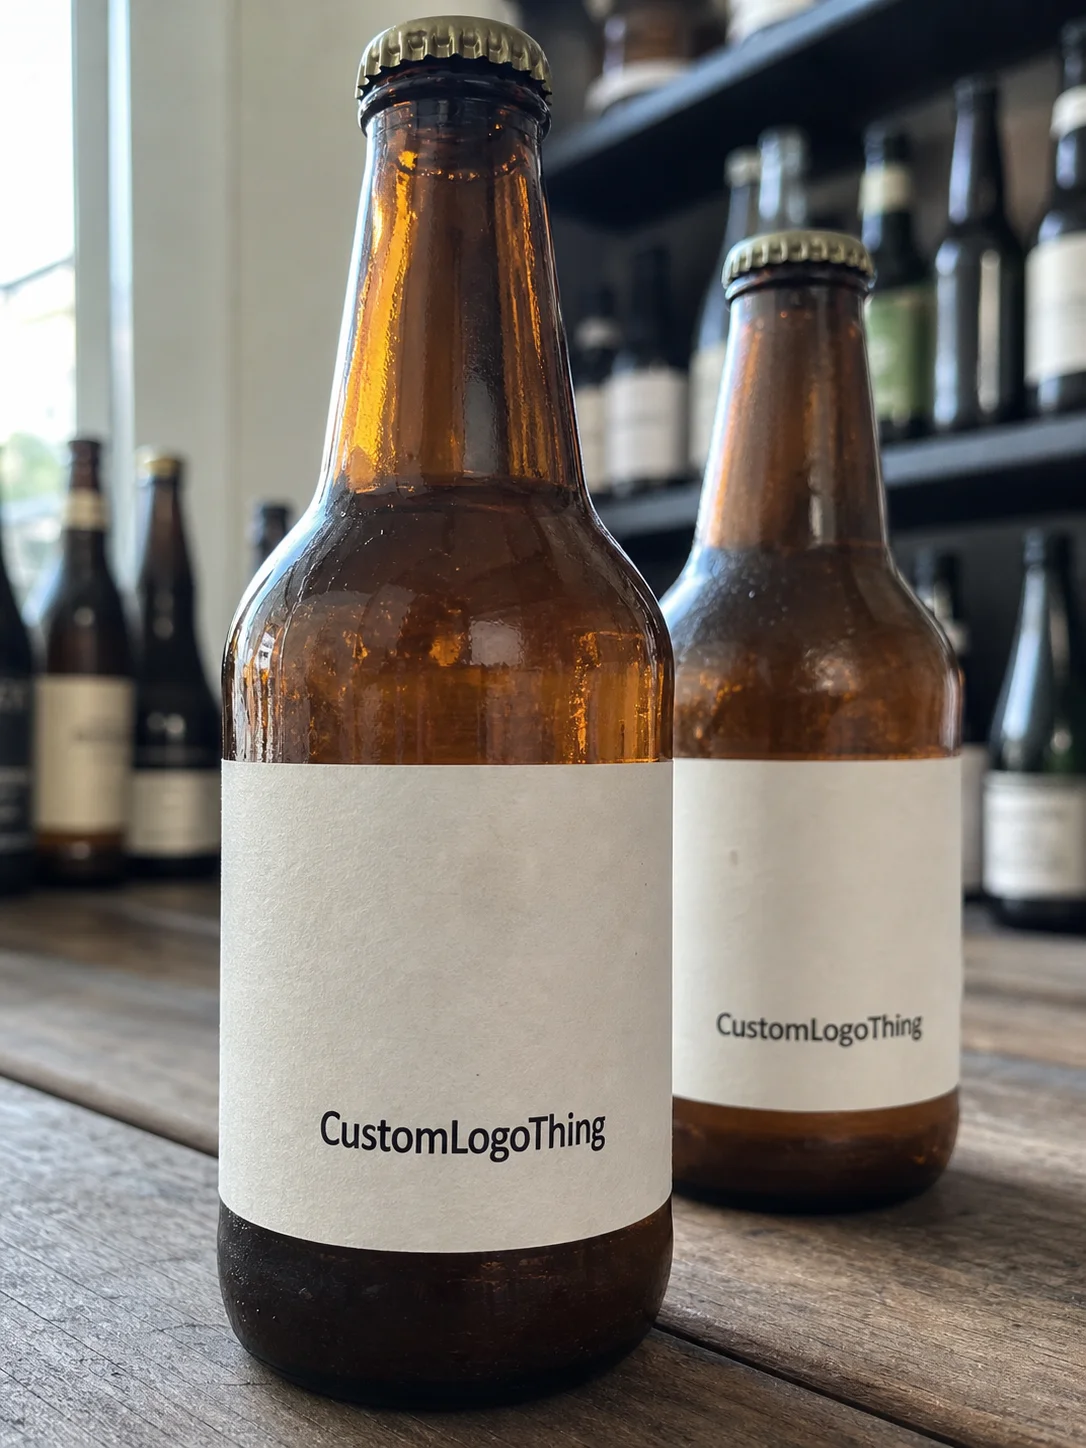
Custom lip balm labels have a small surface area, but they carry more pressure than many packaging buyers expect. They are handled constantly, exposed to hand oils, brushed by caps, and often carried in pockets, purses, and travel bags. A label that looks clean in a mockup can fail quickly if the stock, adhesive, or finish is mismatched to the tube.
The real test is not whether the artwork looks good on screen. It is whether the label stays flat, stays readable, and still looks intentional after a week of normal use. That is a much stricter standard, especially for small personal care products where the packaging is doing a lot of the brand work.
There is also a scale issue that gets overlooked. Lip balm labels are tiny, which means every design choice is magnified. A slight misalignment becomes obvious. A weak adhesive becomes a production problem. A reflective finish can make fine type harder to read than anyone expected.
What Custom Lip Balm Labels Have to Survive
Lip balm packaging lives a harder life than it looks. A tube may sit in a hot car, move through humid bathrooms, or get dragged through the bottom of a bag with keys and receipts. If the balm itself leaves residue, the label also has to resist contamination at the edges. That combination is enough to expose a weak construction fast.
This is why custom lip balm labels should be treated as working packaging, not decoration. The face stock needs enough durability to handle abrasion. The adhesive needs to bond to the container surface. The print has to hold contrast even after repeated handling. A pretty proof does not guarantee that any of those conditions will hold in real use.
I see the same mistake repeatedly: buyers approve a label because the color palette looks right, then discover the label stock is too light for the actual environment. A soft-touch finish can feel premium in hand, but if the product is going into humid storage or warming during shipping, that finish should be tested before a large run is approved.
Practical rule: choose for the environment first, then the appearance. A promotional balm for a short event can tolerate a different spec than a retail product that will be carried every day. That distinction changes everything from stock choice to adhesive strength to how much money should be spent on finishing.
“The label has to survive handling, not just approval on a PDF proof.”
That is the standard worth using. If a label cannot keep its edges clean, resist scuffing, and preserve contrast on a small tube, it is the wrong build regardless of how attractive the mockup looks.
How They Are Printed and Applied
Most custom lip balm labels are made as pressure-sensitive labels. The adhesive is already on the back, covered by a release liner, which makes them practical for small tubes and short-to-medium runs. They are faster to apply than many alternatives and easier to control when the order needs flexibility in quantity or design.
The process is simple on paper. Artwork is checked against a dieline, the job is printed in roll or sheet form, the shape is die-cut, and the finished labels are packaged for application. Each of those steps creates room for error if the measurements are loose. If the tube diameter is wrong, the label can bridge awkwardly. If the panel is too narrow, copy gets crowded. If the roll direction is wrong, applicators slow down and waste increases.
Sheet labels can work well for hand application. Roll labels are usually the better choice for higher volumes because they feed into applicators more efficiently. The tube itself matters as much as the label. A cylindrical tube, a small oval, and a slightly tapered balm stick all behave differently under pressure, and those differences show up immediately once production starts.
There is also a common misunderstanding about decoration methods. Some buyers assume direct printing is the cleaner option. Others assume labels are a compromise. In practice, a self-adhesive label is usually the more flexible and efficient route for lip balm tubes, especially when the order needs short lead times, variable artwork, or compatibility with other low-profile Custom Labels & Tags and Custom Packaging Products.
For shipments that will move through distribution, it helps to think past the print stage. Packaging that looks fine in a studio can still fail in transit if the label lifts, scuffs, or shifts during pack-out. Testing references such as ISTA are useful because they focus attention on the real conditions the package has to survive.
Materials, Adhesives, and Finishes That Matter
The material you choose has more influence on the final result than many first-time buyers realize. Paper labels are usually the least expensive option and can work for low-contact applications, but they are more vulnerable to moisture, edge wear, and surface abrasion. Film labels, often polypropylene or another synthetic stock, handle handling better and keep a cleaner appearance on small tubes.
For everyday use, film is often the safer choice. It resists tearing, tolerates condensation better, and keeps color cleaner when the product travels in a pocket or bag. If the goal is a more refined look for package branding, film also gives more flexibility with matte or soft-touch finishes without making the label fragile.
Adhesive choice matters just as much as the front material. A strong face stock with the wrong adhesive still becomes a bad label. Smooth plastic tubes often need an adhesive suited to slick surfaces, while textured containers may need a different bond profile. That is not something to guess at. It should be matched to the actual tube substrate.
Finish affects both appearance and legibility. Gloss increases color punch, but it can also create glare on small labels under retail lighting. Matte reduces reflection and usually makes fine type easier to read. Soft-touch feels more premium, though it should be specified carefully because some coatings show fingerprints and handling marks faster than buyers expect.
Here is the short version:
- Paper: lower cost, best for short-life or low-contact use.
- Polypropylene or similar film: better for moisture resistance and scuff control.
- Gloss finish: brighter color, more reflection.
- Matte finish: lower glare, stronger text legibility.
- Soft-touch finish: premium feel, but should be tested on the actual tube.
If the lip balm is being sold with other packaging pieces, the label should sit comfortably with the rest of the set. It should not clash with the carton, tray, or outer shipper if those components are part of the same brand system. When a paper component is involved and the sourcing story matters, FSC-certified stock can be relevant, and the reference at FSC is useful for buyers who need that documentation.
Cost, Pricing, and MOQ: What Changes the Quote
Pricing for custom lip balm labels is driven by a small group of variables, and the quote can change quickly when one of them shifts. Material, print method, shape, finish, quantity, and whether the order is rolled or sheeted all affect the final cost. A simple rectangle on paper is not priced the same way as a die-cut film label with a specialty coating.
The biggest cost factors are usually easy to identify:
- Stock: paper generally costs less than film.
- Coverage: heavy ink coverage usually increases cost.
- Shape: standard rectangles are simpler than custom die-cuts.
- Finish: matte, gloss, and specialty coatings change the quote.
- Quantity: higher volume lowers the per-unit cost.
- Format: rolls can cost more up front but reduce labor later.
For small personal care labels, a basic printed run often lands somewhere around $0.04 to $0.15 per unit, depending on size and quantity. Premium film labels with specialty finishes can move higher. The pattern is predictable even when the exact number changes from one supplier to another: simpler specs are cheaper, and standard dimensions usually improve the unit economics.
MOQ has a direct effect because setup costs need to be spread across the run. A 1,000-piece order may look expensive per label. A 5,000-piece order often improves the math enough to justify a stronger stock or a cleaner finish. In practice, I have seen buyers save more by changing quantity than by pushing for a tiny unit-price reduction.
Use a quote comparison table only if the spec is identical across suppliers. Otherwise, the lowest headline price is often meaningless.
| Label Option | Typical Use | Relative Unit Cost | Strengths |
|---|---|---|---|
| Paper pressure-sensitive label | Short runs, low-contact promotional balm | Lower | Budget-friendly, easy to print, simple appearance |
| Polypropylene film label | Retail tubes, bag carry, frequent handling | Moderate | Better scuff resistance, moisture resistance, cleaner tube wrap |
| Film label with matte or soft-touch finish | Premium retail packaging and branded sets | Moderate to higher | Refined feel, stronger brand presence, better shelf appeal |
| Specialty die-cut label with custom finish | High-visibility product packaging | Higher | Distinctive look, stronger package branding, more setup complexity |
When you ask for pricing, confirm whether the quote includes proofing, cutting, rolls versus sheets, and shipping terms. Those details affect the true landed cost. A low unit price that excludes setup or freight can end up more expensive than a cleaner all-in quote.
Production Process and Timeline: From Proof to Ship Date
The production path is predictable, but it slows down easily if information is incomplete. First comes artwork review, then proofing, then approval, then printing, finishing, inspection, packing, and shipping. A delay at any of those stages pushes the rest of the schedule.
The biggest delay usually comes from missing technical details. If the label dimensions are not tied to an actual tube, the proof needs to be revised. If the artwork lacks bleed or the resolution is too low, the file has to be corrected. If the buyer has not decided whether the labels should ship on rolls or sheets, that choice can stall production later than it should.
For straightforward orders, the turnaround is often measured in business days after proof approval, not from the day the inquiry starts. A simple run may move in about 7 to 12 business days once everything is approved. More complex orders, specialty coatings, or larger quantities can push that to 12 to 15 business days or more. If rush freight is involved, shipping becomes part of the schedule too.
That distinction matters. Factory time is not the same as total calendar time. Proof review, transport, and receiving all need to be included if the labels are tied to a product launch or a seasonal refresh. Missing that buffer is one of the more expensive planning mistakes in small packaging.
Quality inspection should not be skipped. A solid label run includes checks for color consistency, trim accuracy, adhesive performance, and wound tension on rolls. If the labels will travel through distribution, a pack-out check against a transport standard is sensible. The reference at ISTA is useful because many label failures only show up after the product is boxed and shipped.
Step-by-Step Ordering Without Delays
The cleanest orders start with accurate measurements. Measure the tube circumference, the label panel height, and the available space near the cap and base. Do not rely on a template unless the tube is truly standard. On a curved surface, a fraction of an inch matters more than most people expect.
Then build the artwork with the physical label in mind. Small labels punish clutter. A logo that reads clearly on a website can become cramped when it is squeezed onto a tiny tube. Keep the hierarchy simple, leave enough whitespace, and make sure the required copy remains readable at actual size.
Use this sequence to reduce rework:
- Confirm the exact tube dimensions.
- Choose the label shape and material.
- Send final artwork in the correct file format.
- Review the proof at actual size.
- Check color, copy, and barcode placement if needed.
- Approve only after the layout looks right on the real tube.
A good buyer checklist also includes quantity, finish, delivery date, and whether the labels need to arrive as rolls or sheets. Those are not minor details. They affect production method, labor, and whether the order will move on schedule.
Sample testing is worth the time. Apply one label to the actual tube, leave it overnight, then check edge lift, rubbing, and appearance under normal lighting. If the finish looks too shiny or the text is hard to read, it is cheaper to change the spec before production than after 10,000 labels are already printed.
Common Mistakes and Expert Fixes
The most common mistake is choosing the wrong size. A label that is too wide can overlap badly or wrinkle at the seam. A label that is too short can leave an awkward gap that makes the package look unfinished. The fix is simple: measure the tube directly and request a dieline based on the actual container.
Busy artwork causes a second wave of problems. Lip balm labels are small, so dense design work can turn into visual noise. If the package has to carry a lot of information, the hierarchy needs to be disciplined. Brand name first, product name second, then the smaller details. That structure helps with both readability and shelf presentation.
Finish selection can backfire as well. Glossy labels can create glare under bright store lighting, which makes the design feel less legible from a short distance. Matte or satin often reads better at arm’s length. Soft-touch looks premium, but it should be tested because fingerprints and handling marks can show up sooner than expected.
Adhesive failure is the problem that causes the most frustration later. A label may look fine on day one and start lifting later because the tube surface was too slick, the container was dusty, or the adhesive grade was not matched to the substrate. That is not a print defect. It is a spec mismatch.
Here is the kind of quality check that saves money:
- Apply a sample to the actual tube, not a flat board.
- Rub the label lightly with dry fingers and then with slightly damp hands.
- Inspect the seam after it sits for a day.
- Check whether the color and text still read cleanly under store lighting.
That last step is the one too many teams skip. A label can pass a file review and still fail in the hand. Real-world testing is what separates acceptable packaging from the versions that keep their shape and clarity through shipping and daily use.
Next Steps Before You Place the Order
If you are preparing to order custom lip balm labels, start with the container and work backward. Measure the tube, confirm the label window, decide on the stock, and request a proof based on the actual dimensions. That sequence prevents most of the mistakes that turn a small order into a slow one.
After that, compare quotes using the same specification. Do not compare one supplier’s paper sheet labels to another supplier’s film roll labels and call it an apples-to-apples check. Compare stock, size, finish, quantity, proofing, and shipping on the same terms, or the numbers will mislead you.
The last step is a real-use test. Put a sample into the hands of someone who will carry it the way a customer would, then check it again after a few days. If the label is clean, legible, and secure after normal handling, the spec is probably right. If not, adjust the adhesive, finish, or size before you commit to volume.
That is the practical path with custom lip balm labels: measure carefully, Choose the Right material for the environment, ask for a proof, and verify the sample on the actual tube before release. The right label is the one that still looks finished after real handling, not just on approval day.
Frequently Asked Questions
What size should custom lip balm labels be for standard tubes?
Measure the exact circumference and label panel height of your tube rather than relying on a generic template. Leave a small seam allowance so the label does not overlap or wrinkle around the curve. If the container is unusual, request a dieline proof sized to the actual tube before you place the order.
Do custom lip balm labels need waterproof material?
Water-resistant or waterproof film labels are usually the safer choice when tubes may be handled with damp hands, stored in bags, or exposed to product residue. Paper labels can work for light-use applications, but they are more vulnerable to scuffing and moisture. The adhesive matters too, because even a strong face stock fails if the bond is wrong for the container surface.
How do I compare pricing for custom lip balm labels?
Compare the same spec across suppliers: material, finish, quantity, label size, and whether proofing or setup is included. Watch the unit cost at different quantities, because a larger run often lowers the per-label price enough to change the business case. Also check shipping, rush charges, and finishing extras so the lowest headline number does not turn into the highest final bill.
What artwork files work best for custom lip balm labels?
Vector files are preferred for logos and text because they stay sharp at small sizes. High-resolution raster images can work for photos or textures, but they need enough detail to print cleanly on a tiny label. Always review the proof at actual size, because copy that looks fine on a monitor can become too small on the finished tube.
How long does it take to produce custom lip balm labels?
Timeline depends on proof approval speed, quantity, print method, and whether specialty finishes are included. Simple orders usually move faster than highly customized runs with unusual shapes or premium coatings. The fastest way to avoid delays is to submit final artwork, accurate measurements, and clear approval instructions on the first round.