A personalized zipper pouch seems simple until you start pricing, filling, sealing, and shipping it. Then the little bag turns into a decision that affects leak resistance, shelf presence, product freshness, and how often customers reuse the package instead of tossing it after one open. That matters for snacks, supplements, cosmetics, hardware, and travel items alike.
Brands usually start shopping for a pouch because they want better containment or a cleaner look. Fair enough. But the packaging often does more than hold product. A resealable pouch can reduce waste, protect against moisture and odor loss, and make even a modest product feel more intentional. That’s not branding fluff. It changes how the item performs in the store and after the customer gets it home.
The part people miss is that packaging format and packaging design are not the same thing. A good graphic on the wrong pouch still fails. A plain-looking pouch with the right film structure, zipper, and fill profile can outperform something prettier. Packaging has a habit of ignoring the mood board.
What a personalized zipper pouch is—and why it beats a plain bag
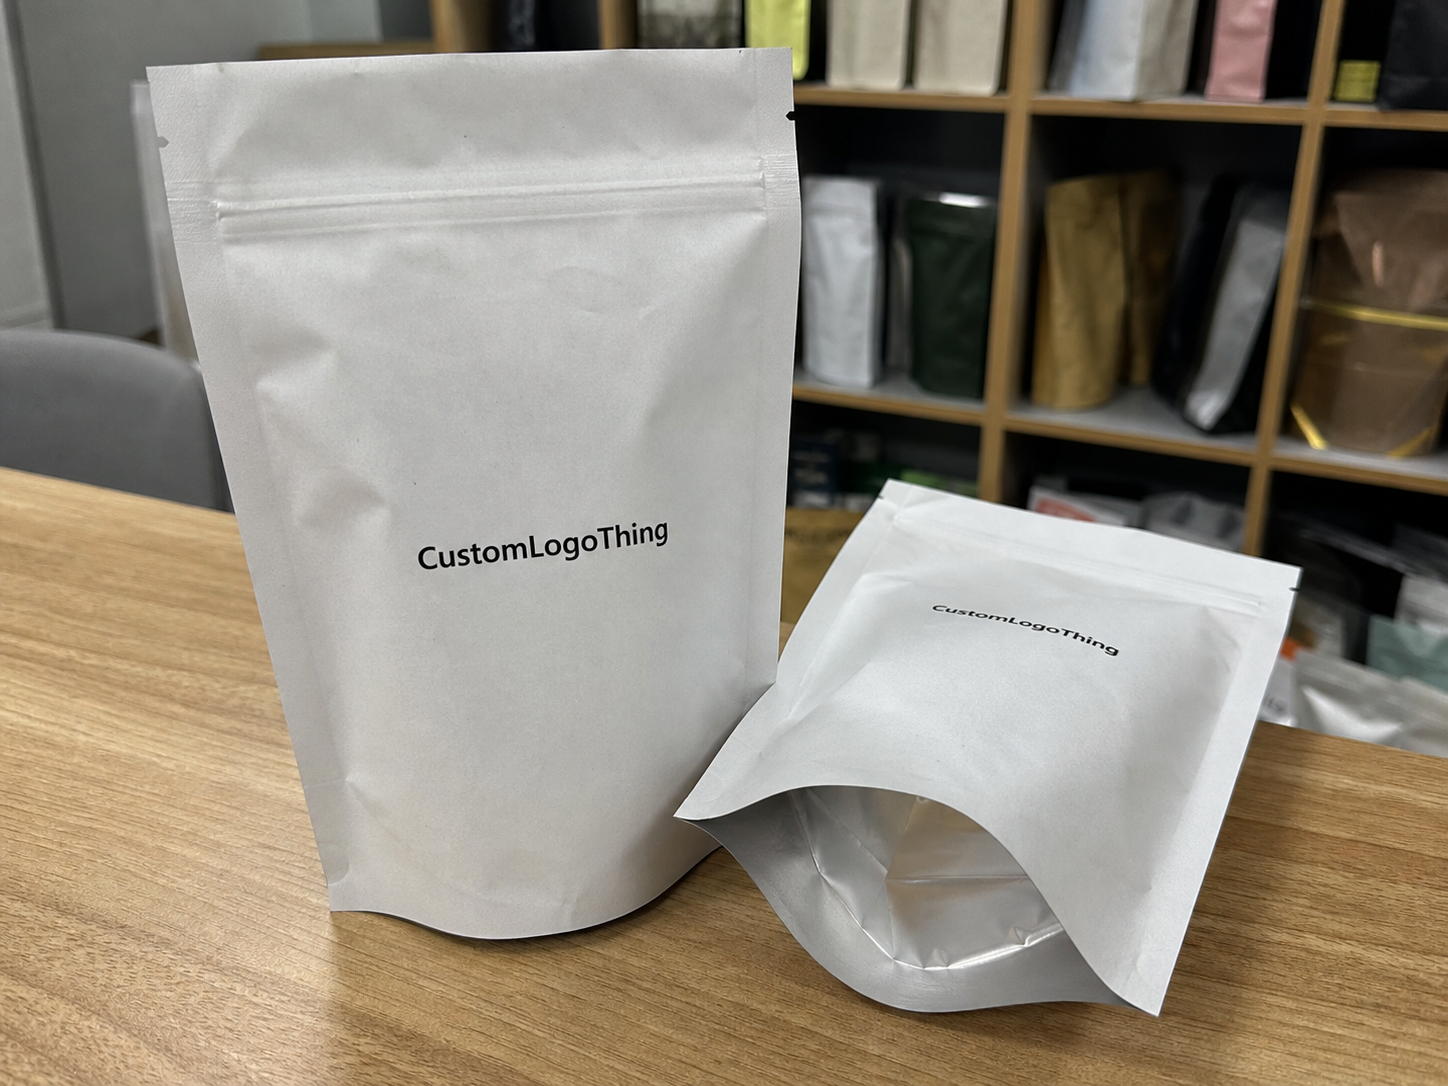
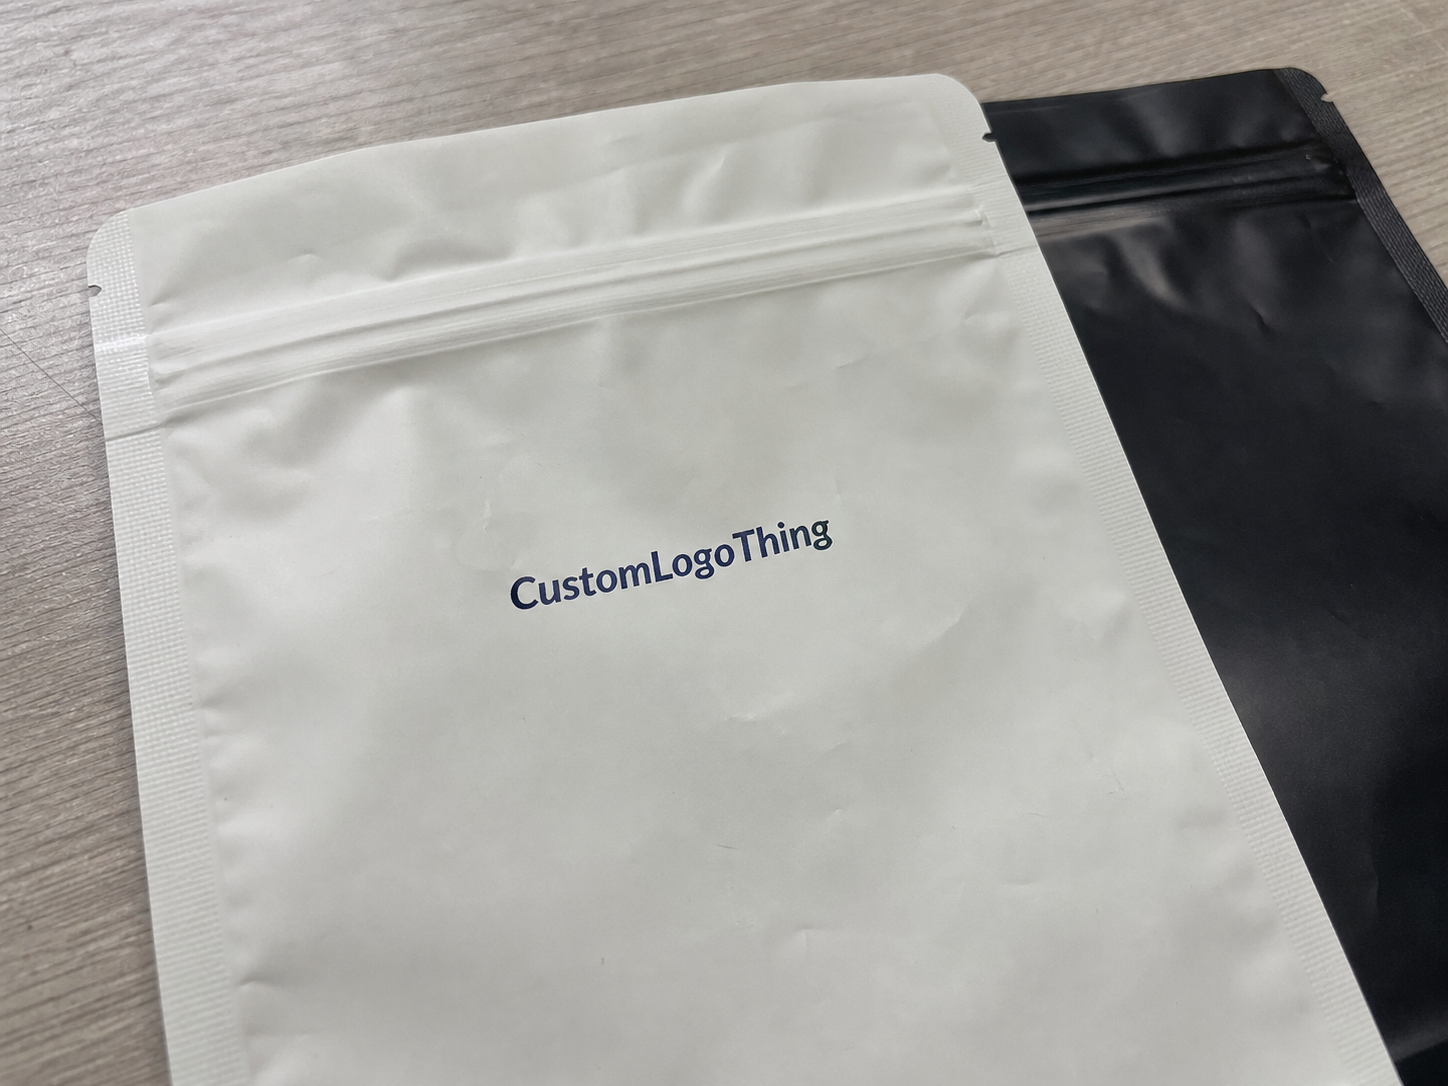
A personalized zipper pouch is a resealable pouch customized with brand artwork, usage instructions, barcodes, warning copy, or practical features such as a hang hole, tear notch, or clear window. The zipper is the functional anchor. The customization turns the pouch into part of the product experience instead of a generic container with a logo sticker doing damage control.
These pouches show up anywhere repeat access or retail presentation matters. Food brands use them for granola, dried fruit, coffee, seasoning blends, candy, and protein snacks. Supplement companies use them for powders, capsules, and sample packs. Beauty brands use them for masks, bath salts, wipes, and trial sizes. They also work for pet treats, small parts, and travel kits. Different categories, same logic: if the user opens it more than once, resealability earns its keep.
There’s also a practical buyer reason to use this format. Better closure design can reduce complaints about stale product, spilled powder, or a package that won’t close after first use. It can also lower return risk when the issue is packaging failure rather than product failure. Customers do not usually separate the two. They just remember what broke.
“The real question is not whether the pouch looks nicer. It’s whether the package prevents a predictable failure.”
That shift in thinking changes the purchase decision. A personalized zipper pouch is not just decoration. It is part of the product’s protection system, merchandising strategy, and unit economics. For some products, a simple bag is enough. For others, resealability and structure are doing the heavy lifting.
How a custom zipper pouch is made and sealed
Most pouches are built from film layers that are printed, laminated if needed, formed into pouch shape, fitted with a zipper, and sealed to keep the contents contained. The exact structure depends on what the product needs to survive. Polyethylene is common for sealability. Polypropylene is often used when clarity and stiffness matter. Barrier laminates enter the picture when oxygen, moisture, aroma, or light exposure becomes a problem.
For sensitive products, suppliers may add metallized film or foil layers. Those improve barrier performance, but they also change the cost, the weight, and sometimes the recyclability story. There is always a trade-off. Better protection usually means more structure, more material, and more process control. Packaging rarely gives freebies.
The basic anatomy of a pouch is worth understanding before asking for quotes:
- Film layers for strength and barrier performance
- Zipper track for repeat opening and closing
- Side seals or bottom seal for containment
- Optional gussets for extra volume and shelf standing
- Clear windows for product visibility
- Hang holes for peg display
- Tear notches for cleaner first opening
Customization can happen in a few ways. A fully printed pouch puts artwork directly on the film, usually through flexographic or gravure printing on larger runs, or digital printing for shorter runs and faster artwork changes. Another route is to start with stock pouches and add labels or overprints. That can be useful for small orders, test launches, or products still in revision. It’s also less polished than a fully custom structure. Buyers can see the difference. So can retail buyers.
The zipper itself matters more than most first-time buyers expect. A weak zipper can feel vague, require too much force, or stop resealing cleanly after repeated use. A good one closes with a clear tactile feel and stays closed without becoming frustrating to open. For products where freshness matters, the zipper is not an accessory. It’s a functional component that deserves the same scrutiny as film thickness or seal width.
Typical production flow looks like this: artwork prep, proofing, plate or file setup, printing, lamination if required, pouch forming, zipper integration, sealing, and final inspection. If the artwork includes small type, barcodes, or regulatory text, the review stage is where many issues are caught. That’s good, because moving a barcode after production is expensive. Moving it after shipment is the kind of joke nobody likes.
For transit and packaging durability, some buyers use test methods from organizations like ISTA or ASTM. They are not there for decoration. They help identify weak seals, film puncture risk, and handling issues before a full run goes out the door. If the design includes paper components or sustainability claims tied to responsible sourcing, FSC may also be relevant. Only if paper is actually part of the structure, obviously. Recycling labels do not magically change the pouch chemistry.
Key factors that affect pouch performance and shelf appeal
The prettiest pouch is not always the best one. Sometimes it’s not even close. Size, structure, print finish, closure type, and shelf behavior all influence whether the final package works. A design that looks great flat can behave very differently once filled.
Size and fill behavior
Start with product weight, fill volume, and headspace. A 4 oz seasoning blend does not pack like a 4 oz puffed snack, and a protein powder behaves differently from loose granola. Dense powders settle. Irregular solids bridge. Light products look underfilled fast. Too much headspace makes the pouch look empty. Too little and the zipper area can become awkward to close or seal.
Prototype checks matter here. A pouch that looks balanced in artwork proof may bulge, slump, or lean once filled. Shelf-facing size should be checked with real product whenever possible, not guessed from a rendering that made everyone feel optimistic for no good reason.
Material and barrier needs
This is where buyers either overspend or underspecify. Dry, fast-moving products may only need a basic structure. Moisture-sensitive, oxygen-sensitive, aromatic, or light-sensitive products need stronger barrier films or laminates. Food and supplements often need protection from oxidation and humidity. Cosmetics may need scent retention and texture stability. Hardware may need puncture resistance more than barrier.
Common structures usually range from basic mono-material-style films to multi-layer laminates with barrier enhancements. Thickness can vary widely depending on the product, but many consumer pouches fall somewhere in the 2.5 mil to 5.0 mil range. Heavier or sharper contents may need more. The right answer depends on the product load, fill line, and shipping conditions, not on whatever looked cool in a sample drawer.
Print method and finish
Matte, gloss, metallic, and clear surfaces change how the pouch reads under light. Matte can feel premium and hide fingerprints. Gloss can sharpen color and help graphics pop under retail lighting. Metallic accents can signal energy or higher-end positioning, but they can also hurt readability when text is too small or the contrast is weak.
For regulated products, readability beats ornament. Always. Nutritional panels, ingredient lists, warnings, and instructions should survive real-world lighting, not just a design presentation with flattering shadows.
Closure style and extra features
Standard resealable zippers work for most consumer products. Child-resistant closures are a different category entirely and usually only make sense where regulations or product risk require them. They increase cost and change the opening experience. Tear notches make first opening easier. Hang holes help with retail display. Clear windows can improve merchandising, but they should not compromise barrier in sensitive categories.
Every added feature creates another thing to inspect. That is the trade-off. More features can improve functionality, but they also raise complexity, cost, and the chance that someone on the line will need to catch a problem before it becomes a customer complaint.
| Option | Typical Use | Approx. Unit Cost at 5,000 Units | Notes |
|---|---|---|---|
| Stock pouch with label | Short runs, test launches | $0.14–$0.28 | Fast to source, limited branding control |
| Digitally printed pouch | Smaller branded runs | $0.22–$0.48 | Useful for artwork changes and moderate complexity |
| Fully custom laminated pouch | Retail, food, supplements | $0.18–$0.40 | Often better value at scale when volumes repeat |
| Specialty barrier pouch | Moisture- or aroma-sensitive goods | $0.28–$0.65 | Higher spec control, more testing, more protection |
Cost, pricing, MOQ, and unit cost: what buyers actually pay for
Pricing for a personalized zipper pouch is mostly driven by structure, size, print complexity, and order volume. Artwork matters, but it is rarely the biggest cost driver. Material type usually matters more. A small pouch with simple print is one thing. A large stand-up barrier pouch with matte finish, zipper upgrade, and metallic accents is another. The difference adds up quickly.
MOQ, or minimum order quantity, is not random. It reflects print setup, plate costs, material purchasing, machine time, and the supplier’s ability to run efficiently. If custom plates or lamination are required, a lower quantity means the fixed setup cost is spread across fewer units. That is why low-volume buyers pay more per pouch. Not because anyone enjoys punishing them. Because physics and accounting both exist.
In practical terms, buyers usually fall into three pricing bands:
- Low-volume or test run: higher unit cost, lower inventory risk
- Mid-volume launch: a balance of cost, flexibility, and branding control
- High-volume production: lower unit cost, tighter spec discipline required
There are hidden costs too. A quote may not include artwork revisions after proofing, rush scheduling, special testing, shipping, or added finishing. If the pouch needs multi-language copy or regulatory text, file prep can take longer than expected. A lower base quote can become the more expensive option once freight, revisions, and delays show up. They usually do show up. Eventually.
For budget planning, it helps to compare total value rather than unit price alone. A better pouch may reduce spoilage, improve opening and resealing, or support stronger shelf presentation. That can justify a few extra cents per unit. On the other hand, paying for premium barrier on a sample-only product with a short shelf life may be unnecessary. Good packaging is matched, not maxed out.
One more practical note: ask whether pricing assumes a certain fill method or pouch size tolerance. If the supplier quotes based on one configuration but your line needs a slightly different seal width or gusset depth, costs can shift. Those shifts are small individually, then annoying in aggregate.
Process and timeline: from artwork approval to delivery
The order process usually starts with a quote request, followed by artwork review, proof approval, manufacturing, inspection, and shipment. In theory, that is tidy. In practice, it moves at the speed of the slowest unresolved detail. A missing dieline, unclear dimensions, or incomplete legal text can stall the whole order before production begins.
The bottleneck is usually prepress, not the machine run. If the files are messy, the calendar gets messy too. That is why clean art files and fast approvals matter more than most buyers expect. A supplier can only print what has actually been approved, and they generally prefer not to improvise with a compliance panel.
Lead time depends on complexity:
- Stock-style customization: often the fastest option when the base pouch already exists
- Digitally printed custom pouch: usually moderate lead time, especially for art changes
- Fully custom laminated structure: longer timeline because of sourcing, setup, and finishing
A practical planning window for a straightforward order is often around 12–15 business days after proof approval. Specialty barrier structures, added testing, complex print requirements, or busy production periods can extend that. Treat that estimate as a working baseline, not a promise carved into aluminum. Delivery timing also depends on shipping method and destination, so production completion is not the same thing as inventory arrival.
That distinction matters more than many launch calendars admit. A pouch can be finished on time and still miss the product launch if freight was not built into the schedule. Packaging timelines should be set backward from the date the product must be in the customer’s hands, not from the date the press run ends. That small difference causes a lot of unnecessary panic.
“The cleanest schedule is built from the sell date backward, not from the order date forward.”
Common mistakes brands make when ordering custom zipper pouches
The first mistake is choosing by appearance alone. A pouch can look polished on screen and still be wrong for the product. Heavy granola needs a different structure than fine powder. Oily snacks need different barrier performance than dry candy. If the packaging ignores the product’s physical behavior, the shelf outcome will eventually tell on it.
The second mistake is forgetting how the filled pouch behaves. A pouch that looks elegant flat may appear underfilled once the product goes in. It can also balloon and lose shelf stability. Lightweight items and irregular shapes are the usual troublemakers. A quick prototype review catches more of this than any polished rendering ever will.
Third, reflectivity can kill readability. Metallic or very dark surfaces can look premium while making small text hard to read. Nutrition panels, instructions, warning statements, and barcodes need strong contrast. If the background is reflective, test it at actual size and under actual lighting. A gorgeous package that fails a scan check is still a failure.
Fourth, barcode and zipper placement can create avoidable problems. A barcode too close to a seal may scan poorly or distort during filling. A zipper placed awkwardly can interfere with labeling or product loading. Small spacing issues on a file become large problems on a production line. That’s the kind of math nobody enjoys but everybody pays for.
Finally, do not skip sample review. It sounds basic because it is basic. It also gets skipped all the time. The zipper may feel too stiff. The film may be thinner than expected. The pouch may sit oddly on shelf. A sample takes time, but reworking an entire order takes much more time and money.
Expert tips for better specs, better quotes, and smoother production
Start with the product, not the pouch. Define weight, fill behavior, moisture sensitivity, scent retention, puncture risk, and shelf goal first. Once those are clear, the packaging spec gets much easier to write. A supplier can quote more accurately when the product requirements are specific instead of hopeful.
Ask for a prototype or sample whenever the contents are expensive, fragile, or regulated. A supplement pouch may need stronger barrier and stricter compliance copy than a snack sample. A cosmetic trial may need a different finish and a different opening feel than a pantry item. Early testing is cheaper than discovering a mistake in full production.
Quote clarity matters as much as price. Ask for line-item detail so you can compare material cost, print setup, shipping, and special finishing separately. Otherwise one quote looks lower only because important charges are buried or excluded. A clean quote is usually a better quote.
For artwork, give the supplier files that are actually ready to print: correct dieline, high-resolution images, safe margins, final copy, and barcode placement that leaves room for scanning. If the panel is text-heavy, keep the typography disciplined. Tiny packaging does not reward clutter. It punishes it.
Plan inventory like an operator, not a wishful thinker. If the pouch supports a launch or recurring fulfillment cycle, build buffer stock. A few days of delay can throw off a promotion, a shipment window, or a retail reset. Buffer inventory costs money, yes. Emergency reorders usually cost more, and they come with considerably less sleep.
If sustainability is part of the brief, ask whether the pouch can be simplified without compromising product safety. Packaging waste reduction is not just about thinner film. It’s about choosing the lightest structure that still protects the product. The EPA recycling guidance is a useful reference, but local recycling access varies widely, and many multi-layer pouches still face real end-of-life limitations.
For buyers evaluating a personalized zipper pouch, the smartest approach is to treat it as a technical packaging decision first and a graphic decision second. Get the structure right. Confirm the zipper. Check the filled look. Review the print at real size. That is how a personalized zipper pouch becomes a useful packaging asset instead of a reprint waiting to happen.
FAQ
What is a personalized zipper pouch used for?
It is used for products that need resealability, portability, and better shelf presentation. Common uses include snacks, supplements, beauty items, samples, small parts, and travel kits. The customization typically adds branding, instructions, or retail-ready features.
How do I choose the right size for a personalized zipper pouch?
Match the pouch to product weight, volume, and shape rather than guessing from a similar package. Leave enough headspace for sealing and easy closure, but avoid too much empty space. A filled sample is the best way to confirm appearance and usability.
What affects personalized zipper pouch pricing the most?
Material structure, print complexity, pouch size, closure style, and order quantity usually have the biggest impact. Special finishes, custom features, and rush production can raise the cost. Higher volume typically lowers unit cost.
How long does it take to produce a custom zipper pouch order?
The timeline depends on artwork readiness, proof approvals, order size, and pouch complexity. Simple customization can move faster than fully custom printed structures. Clean files and fast approvals are the easiest way to reduce delays.
What should I ask before ordering a personalized zipper pouch?
Ask about MOQ, lead time, print method, material options, and whether samples or proofs are available. Confirm whether the quote includes shipping, setup, and special finishing. Also verify closure type, barrier needs, and whether the pouch fits your filling line.