Plain tote bags for printing: what actually matters
Plain tote bags for printing are not just empty carriers waiting for a logo. They are a production surface. The fabric, weave, seam placement, handle stitching, and finish decide whether the final print looks crisp or slightly off, which is usually corporate code for “this looked cheaper than expected.”
Most buyers are choosing between cotton, canvas, nonwoven polypropylene, or recycled blends. Each one behaves differently under ink, heat, and pressure. A light promotional tote and a retail bag meant to sit on a shelf are not interchangeable, even if they look similar in a product listing.
The right starting question is not “what is the lowest price?” It is “what bag can actually carry this design, this quantity, and this deadline without creating avoidable defects?” That sounds obvious. A lot of orders still get built backwards.
For simple giveaways, a lighter bag with a bold one-color print usually makes sense. For merchandising, onboarding, or retail packaging, the bag itself becomes part of the brand signal. The print has to land cleanly, but so does the hand feel. If the blank feels flimsy, people notice before they notice the logo.
That is the practical difference with plain tote bags for printing. You are not buying a blank in isolation. You are buying the finished impression.
If the blank cannot hold the artwork cleanly, the printer spends the job compensating for the bag. That is where the cheap option gets expensive.
When teams compare suppliers, they usually focus on unit cost and overlook the rest of the spec. That is a mistake. Bag style, material weight, print area, and packing method all affect the final result. If you need a wider production baseline for related packaging work, review Manufacturing Capabilities before locking the run.
How the printing process turns a blank bag into a sellable item
The artwork stage should come before any discussion of print method. The file needs to be scaled to the actual print area, checked for thin lines, cleaned of stray effects, and matched to the number of colors the process can handle. A design that looks sharp on a screen can fall apart on woven fabric fast.
Screen printing is still the most common choice for plain tote bags for printing because it handles bold graphics well and remains economical at volume. It is reliable for logos with one to three colors and gives strong ink coverage on most cotton, canvas, and nonwoven surfaces. The limitation is detail. Tiny text and fine gradients are where screen print starts making requests for mercy.
Heat transfer works better when the artwork is more complex or when the order is too small to justify multiple screens. It can reproduce sharper detail, though the feel on the bag may be less natural than direct print. Digital printing is useful for short runs or richer color variation, but the substrate matters more. A clean digital result on one tote material can look muddy on another.
Flexographic printing is less common for decoration itself, but buyers sometimes hear the term in broader packaging conversations. If a supplier mentions it, they are usually talking about a different type of print workflow or a packaging component, not standard tote decoration.
None of these methods fixes a bad blank. A loose weave swallows detail. A warped seam shifts placement. A bag that curls after curing makes a clean print look crooked in final inspection. The bag has to behave like a printable surface, not a random piece of fabric with handles.
The proof stage is where a good order becomes predictable. A mockup confirms positioning. A pre-production sample catches real-world issues like color drift, line thickness, or artwork too close to a seam or gusset. Skip that step and you are guessing. Guessing is a terrible way to buy branded goods.
Once the proof is approved, production is usually straightforward: prepare the screens or transfer setup, print, cure, inspect, and pack. The more stable the blank and the simpler the artwork, the fewer corrections the line needs. That is why plain tote bags for printing should be treated like a controlled production job, not a quick add-on.
| Blank material | Best use case | Print behavior | Typical MOQ | Rough finished unit price |
|---|---|---|---|---|
| Nonwoven polypropylene | Giveaways, promotions, high-volume events | Good for bold spot-color logos, fast setup | 500 to 1,000 pieces | $0.75 to $1.40 |
| Cotton | Retail gifts, onboarding kits, general merch | Clean on simple graphics, good hand feel | 250 to 500 pieces | $1.25 to $2.75 |
| Canvas | Premium retail, repeat-use bags, brand merch | Strong print surface, better structure | 250 to 500 pieces | $1.80 to $3.50 |
| Recycled blends | Sustainability-led campaigns, corporate gifting | Varies by fiber mix and weave consistency | 500 to 1,000 pieces | $1.10 to $3.20 |
Those numbers are directional, not universal. Print coverage, bag size, handle style, packing format, and shipping all move the price. Still, the pattern is stable: material choice does more to shape the budget than most buyers expect.
Cost, pricing, MOQ, and what changes the quote
Pricing for plain tote bags for printing comes from a few simple variables, even if the final quote looks crowded. Material is the first one. Bag size is next. Then there is print area, the number of colors, whether both sides need decoration, and whether the order requires retail-style folding or special packing.
MOQ usually creates the most friction. Lower quantities carry higher unit cost because setup is spread across fewer bags. That is not a trick, just arithmetic. A 250-piece order often looks much more expensive per unit than a 1,000-piece order for the same reason a small print run costs more than a large one. The setup does not shrink because the order is tiny.
The biggest quote shifts usually come from setup charges, color count, and the blank spec. A single-color screen print on a basic cotton tote is a different job from a two-sided, multi-color design on heavier canvas. Add proof revisions, specialty folding, or a compressed schedule, and the quote moves again.
The trap is comparison shopping on unit price alone. Some suppliers bundle setup and standard packing into the line price. Others separate them. The second quote often looks lower until the extra lines are added back in. To compare properly, match the same bag material, same dimensions, same ink count, same print placement, same packing standard, and same delivery timing.
For buyers with sustainability requirements, ask for documentation instead of relying on label language. If a tote uses recycled content or carries a chain-of-custody claim, verify the paperwork before the order is approved. The Forest Stewardship Council has guidance on responsible sourcing and labeling at fsc.org. That is not tote-specific advice. It is basic verification discipline, which saves people from awkward explanations later.
For broader packaging reference, the Sustainable Packaging Coalition at packaging.org is useful when teams need clearer language around materials and packaging performance. Buyers often want certainty where the market offers marketing copy. That gap is where bad decisions start.
Production steps and turnaround: what happens after approval
After artwork approval, the normal sequence is simple: source blanks, set up the print method, run the job, cure the ink, inspect the output, and pack for shipment. The sequence is simple because the process is old. The scheduling is not. Production is vulnerable to stock levels, artwork changes, and the sort of late-stage requests that appear harmless and then add two days.
Blank stock shortages are a common delay. So are revisions that arrive after the proof has been signed off. A change in print placement, a color tweak, or a new shipping address can ripple through the schedule. Plain tote bags for printing move quickly only when the order is already decided.
Rush work is possible in some cases, but it costs more for a reason. It reduces room for error and disrupts the production line. If the event date matters, build in time for proof review, sample approval, production, transit, and one buffer day the buyer does not want to spend. That buffer usually becomes useful.
A realistic production window is often 7 to 14 business days after proof approval. Special-order blanks, heavier print coverage, or more complex finishing can push that longer. Shipping adds its own timeline depending on distance and method. If a supplier promises an unusually fast schedule without asking about stock, artwork, and destination, they are promising a guess with confidence.
The cleanest orders start with a complete spec sheet. When the supplier has the bag material, size, print method, color count, print placement, quantity, and deadline up front, the quote is more stable and the production line has fewer reasons to stop. That is not a luxury. It is basic workflow control.
Choosing the right blank: fabric, weight, size, and handles
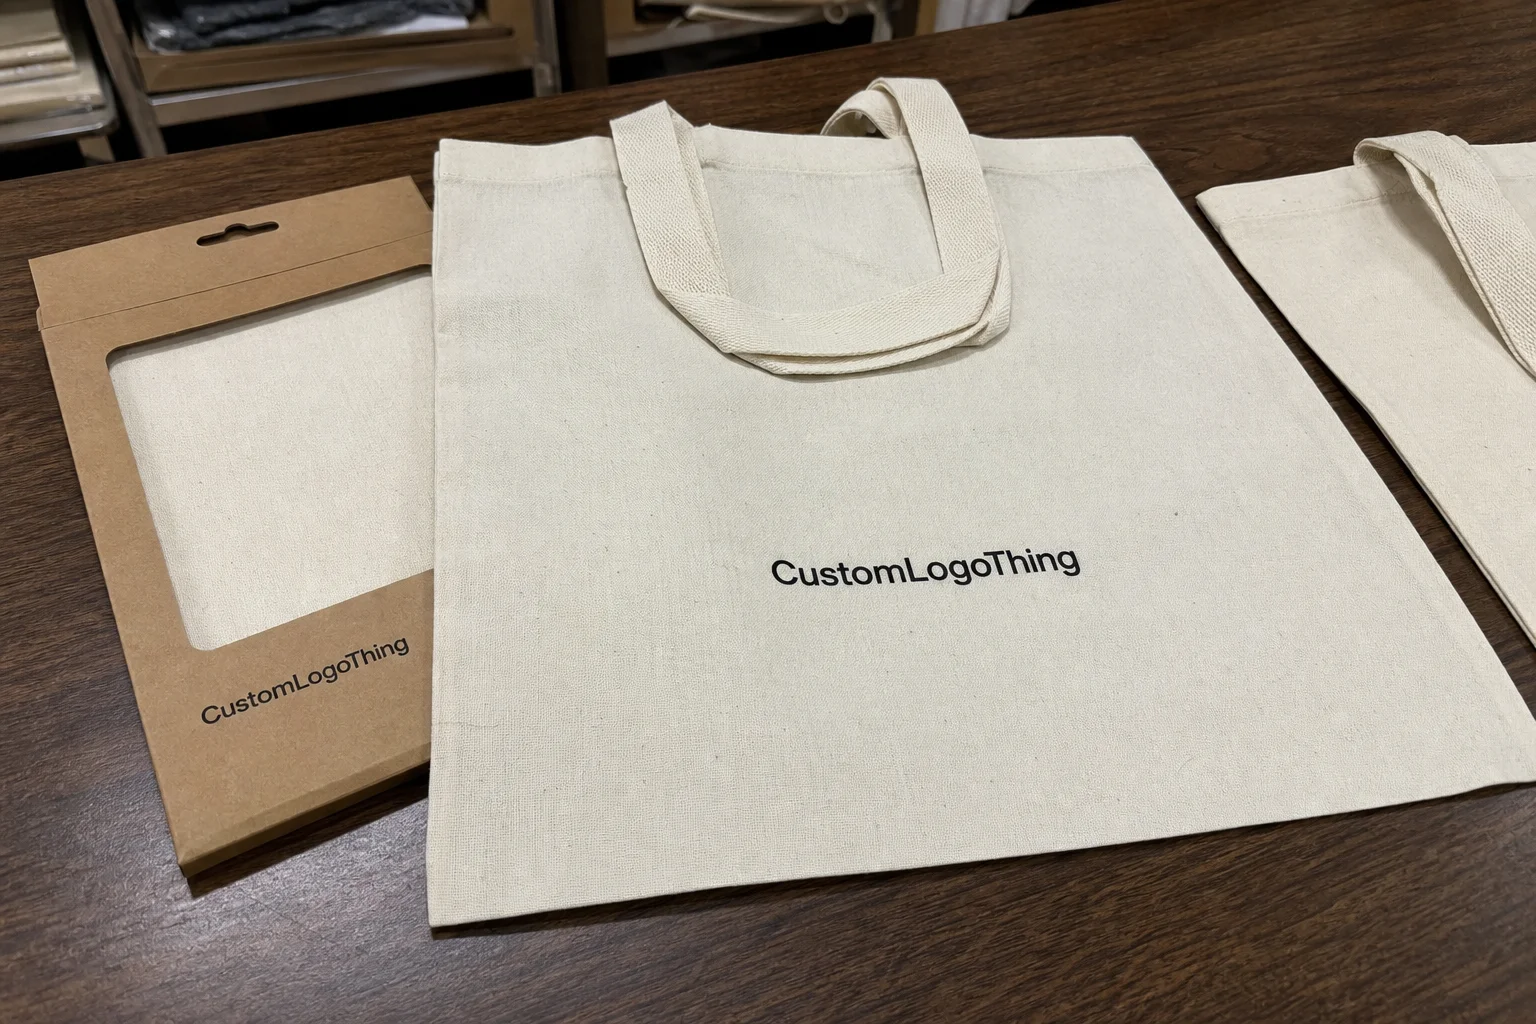
Cotton, canvas, and nonwoven polypropylene each solve a different problem. Cotton is soft, familiar, and usually prints cleanly on simple graphics. Canvas feels more substantial and carries a more premium look. Nonwoven polypropylene is the practical choice when the order is about volume, speed, and a lower ticket price. They are not interchangeable, even if a product sheet makes them all sound friendly.
Fabric weight matters more than people admit. A lighter tote can be fine for event handouts, literature, or samples. If the bag needs to carry real weight, a stronger weave and better seam reinforcement matter. Thin handles and weak stitching can ruin the experience fast. Nobody remembers that the bag was cheap if the handle gives out in the parking lot. They remember the handle.
Size should match actual use. Small totes make sense for boutique packaging, compact merch, and gift items. Medium sizes fit conference kits and standard retail use. Larger bags are better for books, apparel, or bundled products. Oversized bags are useful only when the print area still lands correctly and the bag does not look like it was chosen by guesswork.
Handles and finishing details change how the bag performs. Handle length affects comfort. Gussets affect capacity and the amount of usable print space. Surface texture affects how ink settles. A smoother surface tends to support cleaner edges for digital work and small details. A more textured canvas can look better for simple branding, but small text starts fighting the weave.
- Cotton: softer hand feel, good for general brand use, best with simple logos.
- Canvas: stronger structure, more premium, useful for repeat-use retail packaging.
- Nonwoven polypropylene: lower cost, light, practical for high-volume events.
- Recycled blends: useful when sustainability claims matter, but consistency and documentation need checking.
If you are comparing plain tote bags for printing across those materials, ask for a sample or at least a swatch. A spec sheet will not tell you how the bag folds, how the seams sit, or whether the finish feels better in a meeting than it does in transit. Those details decide whether the product feels deliberate or just cheap.
Common mistakes that hurt print quality and margin
The first mistake is choosing the lowest-cost blank without checking print compatibility. Loose weave, inconsistent sizing, and weak seams can turn a cheap unit price into a batch of rejects. That gets worse when the print area sits near a side seam or across a gusset. The bag may be low-cost, but the fix is not.
The second mistake is artwork that asks too much of the material. Hairline strokes, tiny text, dense gradients, and photo-style images often look better in a PDF than on fabric. If the design depends on very tight registration or delicate detail, either simplify it or choose a print method and bag surface that can support it. There is a reason simple logos survive production so well.
The third mistake is bad placement. A design that runs into a seam, handle, or gusset can look crooked even when the print itself is technically correct. That kind of problem is usually not the printer being careless. It starts in layout. A careful proof usually finds it. A rushed one pretends it will be fine and then becomes a problem on the loading dock.
The fourth mistake is comparing only the quoted unit price. Setup, shipping, proofing, packing, and the cost of a redo all belong in the real number. A low quote that forces a reprint is not a savings. It is a delay with accounting attached.
For orders that move through larger retail kits, some teams ask for shipping or carton tests aligned to ISTA methods. That is not necessary for every tote order, but it matters if the bag is traveling with other goods and presentation on arrival matters. Transit damage is still damage, even when the product itself is soft.
Plain tote bags for printing work best when the buyer respects the tradeoffs. Material, artwork, price, and use case all pull in different directions. Ignore one of them and the margin usually pays for it later.
Next steps for a cleaner first order and smarter reorders
Start with a clear spec sheet before asking for a quote. Include bag material, dimensions, handle style, print method, number of colors, print location, quantity, and delivery date. That one document does more to stabilize pricing than any long email thread ever will.
Ask for a proof on the exact blank you intend to use, not a generic mockup. Mockups are fine for presentation. They are not proof of fit. A real sample or swatch tells you how the material feels, how the print sits, and whether the bag still looks good once it is folded, packed, and handled.
Keep the approved artwork, bag SKU, and print setup on file. Reorders go wrong when someone swaps the blank or changes the print placement without checking fit again. A small drift in bag size can create a small disaster in print alignment. That is how “same as last time” becomes a new issue with the same invoice number.
If the first run matters, treat the tote as a production item and not a swag afterthought. That keeps the order cleaner, the proof cycle shorter, and the final result more predictable. Plain tote bags for printing are easy to buy badly. They are also easy to buy well if the spec is locked before the quote starts bouncing around.
The better order is usually the one that looks a little less exciting on paper and a lot more reliable in hand. That is the one people keep using.
What material works best for printed tote bags?
Medium-weight cotton or canvas usually gives the cleanest print and a more premium feel. Nonwoven polypropylene works well when cost, speed, and high-volume giveaways matter more than a soft hand feel.
How many plain tote bags do I need to get a reasonable unit price?
The best price usually shows up once setup costs are spread across a larger run. Many buyers see better unit pricing once they move out of very small quantities, but the break point depends on material, print colors, and packing requirements.
Can I print detailed artwork on plain tote bags?
Yes, but detail depends on both the bag surface and the print method. Smooth materials and simpler artwork usually reproduce more cleanly than tiny text, gradients, or photo-style designs.
How long does tote bag printing usually take?
A standard order often takes about 7 to 14 business days after artwork approval. Special blanks, busy production schedules, or rush requests can change that timeline, sometimes by a lot.
What drives the price of printed tote bags the most?
Material, bag size, print count, print placement, and quantity are the biggest drivers. Setup, proofing, packaging, and shipping can also move the final number more than buyers expect.