pre printed sticky labels do more than carry a logo. For clothing brands, they help tidy up folded apparel packs, keep fulfillment moving, and cut down on the little errors that appear once packing volume starts rising. A good label system can make a line look organized without adding much time to the pack-out table.
From a packaging buyer’s perspective, labels are one of those small consumables that quietly affect the whole customer experience. A crooked size sticker, a barcode that fails to scan, or adhesive that lifts on a polybag can make a polished product look rushed. The good part is that once the surface, adhesive, and format are matched correctly, the process is straightforward.
What pre printed sticky labels are and why clothing brands use them
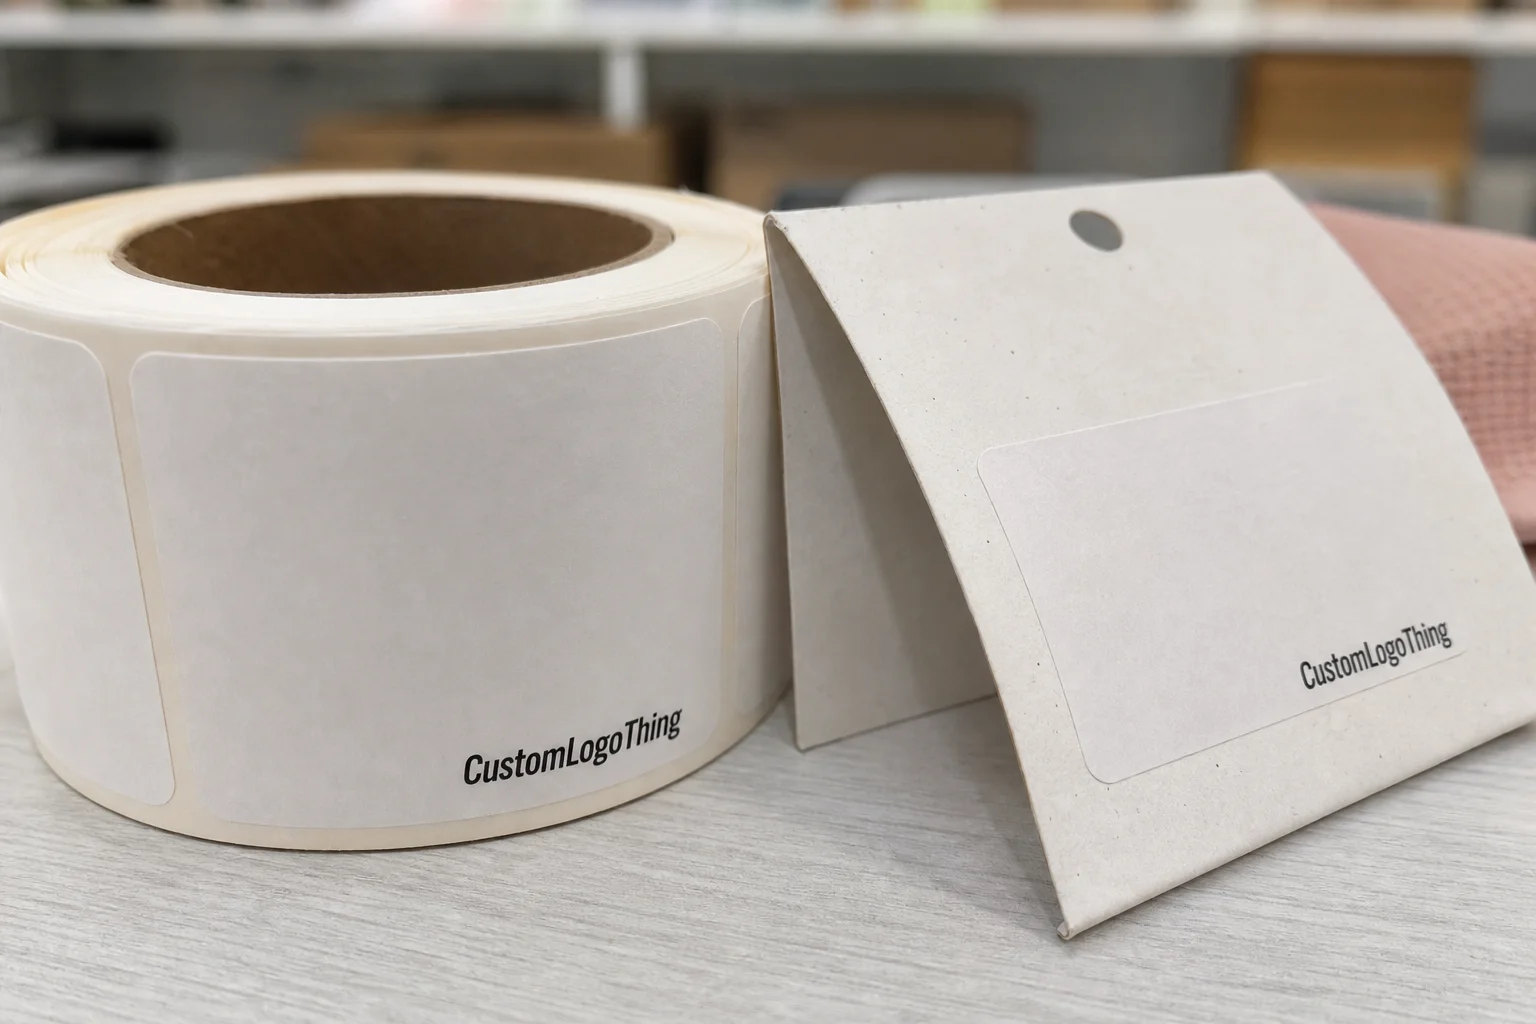
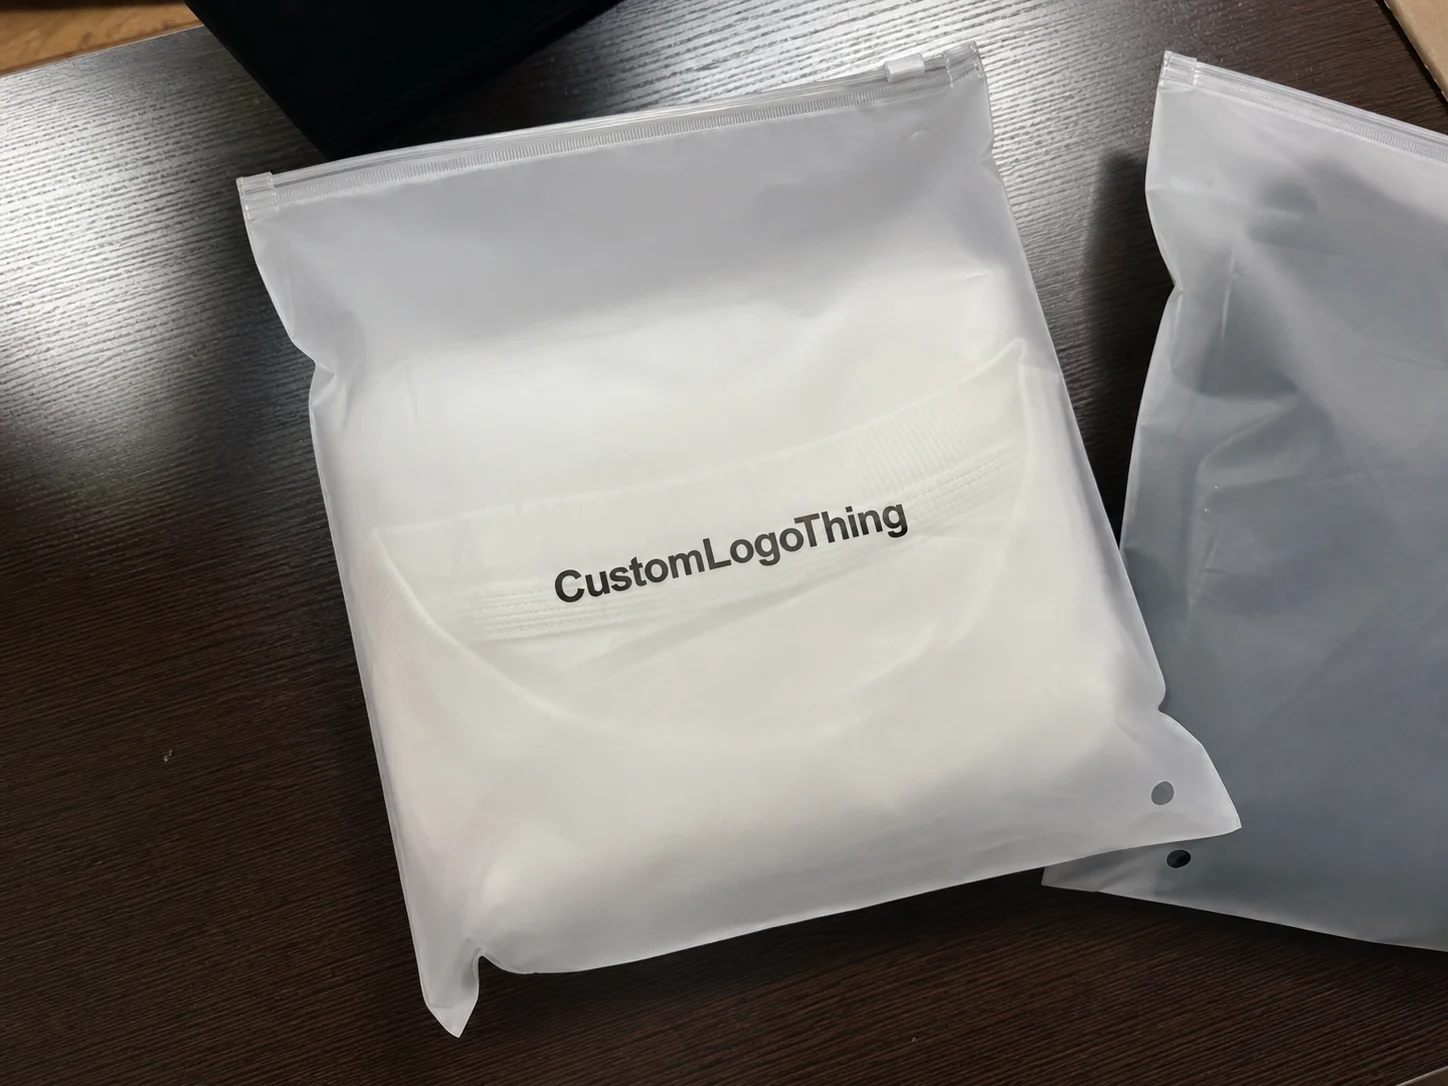
pre printed sticky labels are pressure-sensitive labels that arrive with the artwork already on them, so the team applying them is not printing on the fly or handwriting product details. The label can include a brand mark, size, SKU, barcode, care note, or short promotional copy, then be supplied in rolls or sheets for application.
Clothing brands use them because apparel packaging has to move quickly. Hand-labeling slows everything down, and handwritten marks tend to look inconsistent from one pack to the next. A properly specified label can be peeled, placed, and read at a glance, which matters whether the pack contains a folded tee in a polybag, a tissue-wrapped sweater, or an outbound shipping carton with internal sorting labels.
Most often, these labels appear as:
- Size stickers for folded garments and retail packs
- Care-note labels for short handling instructions or promotional copy
- SKU labels for warehouse picking and internal inventory control
- Barcode labels for scanning at packing stations or retail intake
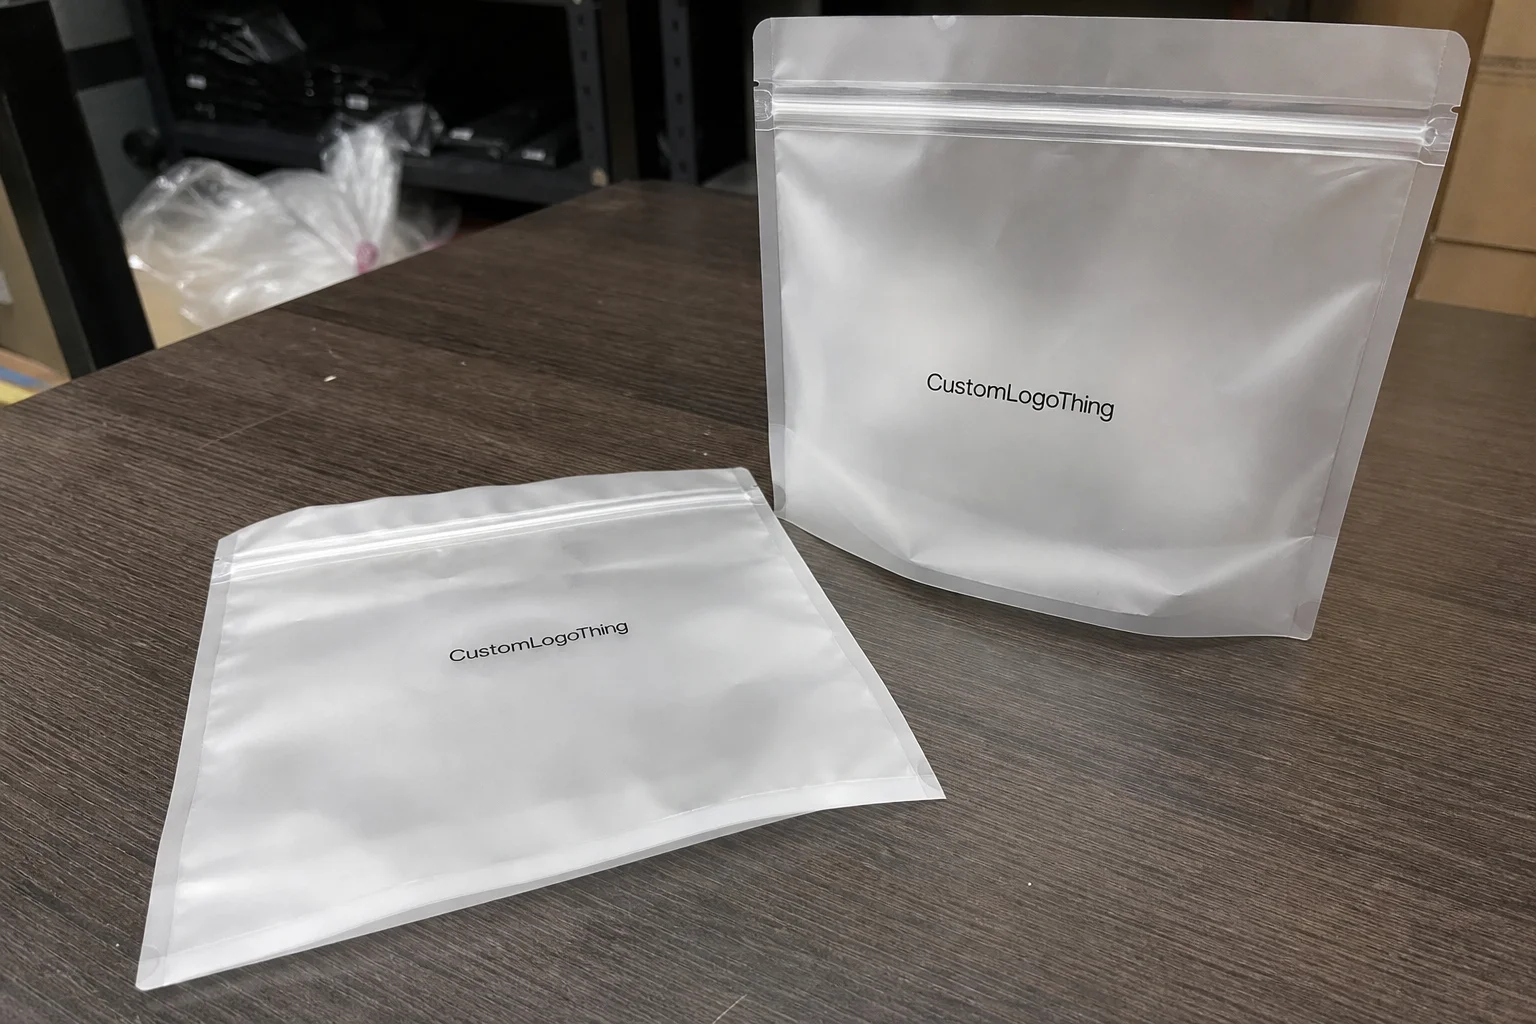
- Branding seals on tissue, polybags, or mailers
They are not the same as blank labels, thermal labels, or sewn-in garment labels. Blank labels still need printing later, usually on a desktop printer or thermal unit. Thermal labels are common in shipping and warehouse workflows, but they usually have a more utilitarian appearance and are not the best choice for a branded presentation. Sewn-in labels are permanent product labels inside the garment and serve a different function entirely.
That distinction matters. pre printed sticky labels generally belong to the outer packaging system, not the garment itself. They support presentation, logistics, and pack-out control, but they do not replace the permanent fiber content or care labeling required inside the product where regulations call for it.
“If the outer pack looks organized, buyers assume the rest of the operation is organized too. Labels are a small detail, but they send a strong signal.”
How the printing and adhesive system works
The production flow is simple on paper, but every step influences the final result. It starts with artwork setup and dieline confirmation, then moves into material selection, print method, adhesive choice, die cutting, finishing, and conversion into rolls or sheets.
Printing method depends on quantity and artwork complexity. Digital printing usually suits short runs, multiple SKUs, or variable data because setup is lighter and revisions are easier. Flexographic printing becomes more attractive at higher quantities, especially when the design repeats and the unit cost has to stay low. Thermal transfer-compatible printing has a place in some apparel warehouse environments, though it is more common for operational labels than for premium branded seals.
Adhesive selection is where many buyers get caught out. A label that performs well on a coated carton may behave poorly on a low-energy polyethylene bag or on recycled kraft with a rough surface. In practical terms:
- Permanent adhesive bonds strongly and is hard to remove cleanly.
- Removable adhesive is better when the label should peel away without tearing the packaging.
- Low-tack adhesive works for delicate surfaces or temporary promo labels.
- Freezer-grade adhesive is designed for colder conditions where standard tack drops off.
The face stock, liner, coating, and adhesive work together as a system. A gloss paper face stock may print cleanly and look sharp, but if the adhesive is wrong for the bag surface, the label fails in real use. A synthetic face stock can improve scuff resistance, while a coated surface can help with print clarity and barcode contrast. That is why label testing matters. Artwork approval alone does not tell you how a label behaves on a real packing line.
For brands using Custom Labels & Tags, the packaging substrate should be reviewed alongside the print spec, because a label that looks great on screen can still create trouble at pack-out if the surface and adhesive do not agree.
Key specs that affect quality, durability, and brand presentation
Size and shape are not just design decisions; they change how the label behaves during handling. A label that is too small can feel crowded once you add a barcode, SKU, and size callout. One that is too large may wrinkle across a folded hoodie or extend beyond the flat area of a polybag, which encourages corner lift.
Material choice affects both feel and durability. Paper labels are common and cost-effective, especially for simple branding or size stickers. Gloss paper gives a brighter, retail-ready shine, while matte paper reduces glare and often looks cleaner under store lighting. Synthetic materials such as polypropylene or PE-based films hold up better against moisture, handling, and minor abrasion, which is useful for shipping packs or longer storage cycles. Textured finishes can add a premium look, but they need a careful check on scuff resistance and print contrast.
Color and finish should support the job the label is doing. Clear labels can look elegant on transparent packaging, but they are unforgiving if the print is too light. Metallic effects can add shelf presence, though they are not always barcode-friendly. Varnish or lamination adds protection and can help resist smear, especially if boxes are stacked or bags are handled repeatedly.
Legibility is where practicality wins. Barcodes need strong contrast and proper quiet space, and QR codes should be sized so scanning works from a normal handheld distance. Fine text should not be pushed below a readable point size just to fit everything onto one small sticker. If your team scans labels in a warehouse or retail backroom, test the output against the actual scanner model and the lighting conditions in the space. That step sounds basic, yet it often prevents rework.
Some clothing lines also need content references on the label, such as size, SKU, handling icons, fiber content references, or multilingual copy for cross-border distribution. The content has to fit the application, not the other way around. A clean label with fewer words often performs better than an overloaded one trying to carry every possible detail.
| Label option | Best for | Typical strengths | Trade-offs |
|---|---|---|---|
| Paper | Short-run apparel branding, size stickers | Economical, easy to print, good color | Lower moisture and abrasion resistance |
| Gloss paper | Retail-facing packs, bold branding | Bright finish, strong shelf appearance | Glare can reduce readability |
| Matte paper | Minimal branding, clean presentation | Low glare, easy to read | Less premium shine |
| Synthetic film | Polybags, shipping packs, handling exposure | Better durability, scuff resistance | Usually costs more than paper |
Process and timeline: from artwork proof to finished rolls
The usual order flow is straightforward: Request a Quote, submit artwork, receive a proof, confirm the specs, approve production, and ship the finished labels. The fastest jobs are the ones where the buyer already knows the surface, the size, the application method, and whether the labels need to arrive in rolls or sheets.
Delays usually start with missing or incomplete files. A low-resolution logo can blur in print. A dieline that does not match the actual trim size can throw off placement. Unclear adhesive instructions can also create back-and-forth, especially if the label must stick to a plastic film, a coated carton, or a recycled kraft mailer. In practice, the more exact the brief, the fewer surprises later.
Format matters too. Roll labels are often the right choice for automated or high-volume hand application because they dispense quickly and keep packs moving. Sheet labels are easier for short runs and manual packing tables, especially when the team needs a simple peel-and-place workflow. Kiss-cut sheets can be a good middle ground for small apparel brands doing controlled, low-to-moderate volume.
Lead time depends on quantity, print method, finish complexity, and whether a custom die has to be made. Simple digital label jobs can move faster, while larger flexographic runs, specialty coatings, or unusual shapes add time. A realistic planning window is often 7–15 business days after proof approval for straightforward work, but custom shapes, heavier finishing, or revisions can stretch that. The safest approach is to leave extra time for proof changes, color matching, and packaging tests on the actual bag or carton.
Cost, pricing, MOQ, and what changes your quote
Pricing is driven by a handful of practical variables: quantity, material, adhesive type, number of print colors, size, finish, and whether the labels are packed in rolls or sheets. If the label requires specialty finishing, a custom die, or variable data, the quote rises. That is normal.
MOQ, or minimum order quantity, is usually tied to setup efficiency. Lower quantities usually cost more per label because the press setup, proofing, and finishing costs are spread across fewer pieces. Higher quantities bring the unit price down, especially on flexographic runs where setup effort is recovered over a larger volume.
Here is a practical way to think about the economics:
- Short-run digital printing is usually better for small apparel lines, multiple SKUs, and frequent design changes.
- Flexographic printing often becomes more attractive as quantities rise and the design stays stable.
- Special coatings, metallic effects, and custom shapes add cost, but they can also improve brand presentation when used carefully.
Some buyers miss hidden costs. Custom dies, extra proof rounds, data personalization, and rush production can all affect the final number. If you need multiple versions, such as one size sticker for each garment size, ask whether the job can be structured as a family of related labels to reduce setup duplication. That approach is often cleaner for inventory too.
For an accurate quote, include the exact size, artwork count, material preference if you have one, application surface, quantity, finish, and whether the labels need to be stacked, perforated, or packed in a specific roll direction. The better the request, the less time gets lost in revisions and re-quoting.
Step-by-step guide to ordering labels that fit your clothing line
Step 1 is defining the use case. Ask what the label must do: retail packaging, fulfillment, promotions, internal inventory control, or a mix of these. A label for a boutique display pack does not need the same spec as a warehouse barcode label, and that difference shapes everything else.
Step 2 is confirming the surface and the application method. Is the label going onto a polybag, tissue, coated carton, kraft mailer, or something else? Does it need to survive cool storage, friction in transit, or repeated handling by retail staff? Adhesive should be chosen around those answers, not guessed.
Step 3 is finalizing content. Keep the brand mark clean, then add size, SKU, barcode, care note, and any legal text that must be included. If the label needs to carry a QR code, leave enough blank space around it so scanners can read it reliably. If multiple languages are required, build that in from the start rather than squeezing translations into a proof at the last minute.
Step 4 is choosing the physical spec: size, shape, material, and finish. A simple rectangular label is usually the fastest and most economical. Rounded corners can help reduce lifting. A matte finish can improve legibility, while a gloss or synthetic face stock may be better if the label will be handled more aggressively.
Step 5 is requesting a proof and testing it on real packaging. Do not stop at screen approval. Peel a sample, place it on the exact bag or carton you will use, and check adhesion after a few hours. Look at barcode readability, edge lift, and whether the label interferes with folding or sealing. Only approve production after that check passes.
- Define the use case.
- Confirm the packaging surface.
- Lock the content and code data.
- Choose material, size, and finish.
- Test the proof on real packaging.
If you want a broader packaging system, it helps to keep label choices aligned with your Custom Labels & Tags strategy so the brand look stays consistent across packs, inserts, and product presentation.
Common mistakes clothing brands make with printed adhesive labels
The first mistake is picking a general-purpose adhesive and assuming it will work everywhere. It may do fine on a smooth carton, then fail on textured kraft, recycled board, or low-energy plastic film. Once a label starts lifting at the corners, the whole pack looks unfinished.
Another common error is choosing decorative finishes that hurt readability. A shiny film can make a barcode harder to scan under store lights. Very dark backgrounds can swallow small text if contrast is not strong enough. Fancy does not help if the pack-out team has to rework labels that will not scan.
Size mistakes are just as common. A label that looks fine in a design file can become awkward once it lands on a folded sweatshirt or a slim polybag. If the label is too wide, it bridges over folds and wrinkles. If it is too small, the branding feels cramped and cheap.
File prep causes trouble too. Missing bleed, weak image resolution, and forgotten safe margins can lead to cut-off text or blurry logos. A 300 dpi file is a good practical baseline for most print work, and vector artwork is still the safest path for logos and line art.
Finally, too many teams skip application testing. That is risky. Labels can curl, smear, or resist adhesion in ways that do not show up on a proof sheet. A ten-minute test on the actual packaging is far cheaper than a pallet of rework.
Practical tips for better performance, cleaner application, and less rework
Test labels on the exact packaging you plan to use, not on a similar sample. Surface energy changes the way adhesive behaves, and that difference is especially noticeable on plastic films versus paper-based packs. A label that sticks well to one polybag can behave differently on another, even if they look nearly identical.
Keep one master version for regular production and only create separate versions when there is a real operational reason. Too many label variations make reorders messy, increase the chance of using the wrong version, and create clutter in storage. Simple systems usually age better.
Ask for a digital proof and, when the job is sensitive, an application sample. That extra step is useful if the brand color has to be consistent, if barcodes need to scan reliably, or if the label will be seen in retail before it reaches the customer. Standards from groups like the ISTA are helpful when you are thinking about transit handling and packaging performance, even if your label is only one part of the whole pack system.
For sustainability-minded brands, material selection can also connect to broader packaging goals. If you are using recycled cartons or FSC-certified paper elsewhere in the line, it makes sense to keep the label spec aligned with those choices where possible. You can review material guidance through the FSC and packaging resources from the Institute of Packaging Professionals.
For faster fulfillment, standardize the size and artwork early so reorders move with less setup time. Then gather three things before requesting a production-ready quote: the packaging measurements, the surface type, and the chosen format, roll or sheet. That combination usually gives the clearest pricing and the least friction later.
pre printed sticky labels work best when they are treated as part of the packaging workflow, not as an afterthought. If the adhesive matches the surface, the content is legible, and the format fits the way your team packs apparel, the result is cleaner presentation, fewer mistakes, and a smoother path from packing table to customer doorstep.
Are pre printed sticky labels suitable for clothing packaging or just shipping?
They work well for clothing packaging, retail prep, inventory IDs, and shipping, as long as the adhesive matches the surface and handling conditions. For garments, they are usually used on outer packaging, folded tissue, hangtags, or polybags rather than as a permanent garment label.
What is the best adhesive for pre printed sticky labels on poly bags?
A pressure-sensitive adhesive designed for plastic films or low-energy surfaces is usually the best starting point. Testing matters because bag thickness, finish, and temperature can change how strongly the label bonds.
How do I estimate MOQ and unit cost for pre printed sticky labels?
MOQ and unit cost depend on quantity, size, material, colors, finishing, and whether custom dies or special processing are needed. Higher quantities usually reduce unit cost, while short runs tend to cost more per label because setup is spread across fewer pieces.
How long does production usually take for custom label orders?
Production time depends on print method, quantity, finishing, and proof approval speed. Simple runs can move quickly, while custom shapes, special finishes, or artwork revisions can extend the timeline.
Can pre printed sticky labels include barcodes or QR codes for apparel inventory?
Yes, they can include barcodes and QR codes, but the artwork must be built with enough contrast, quiet space, and scan-safe sizing. It is smart to test scans on the final label stock before approving the full run.