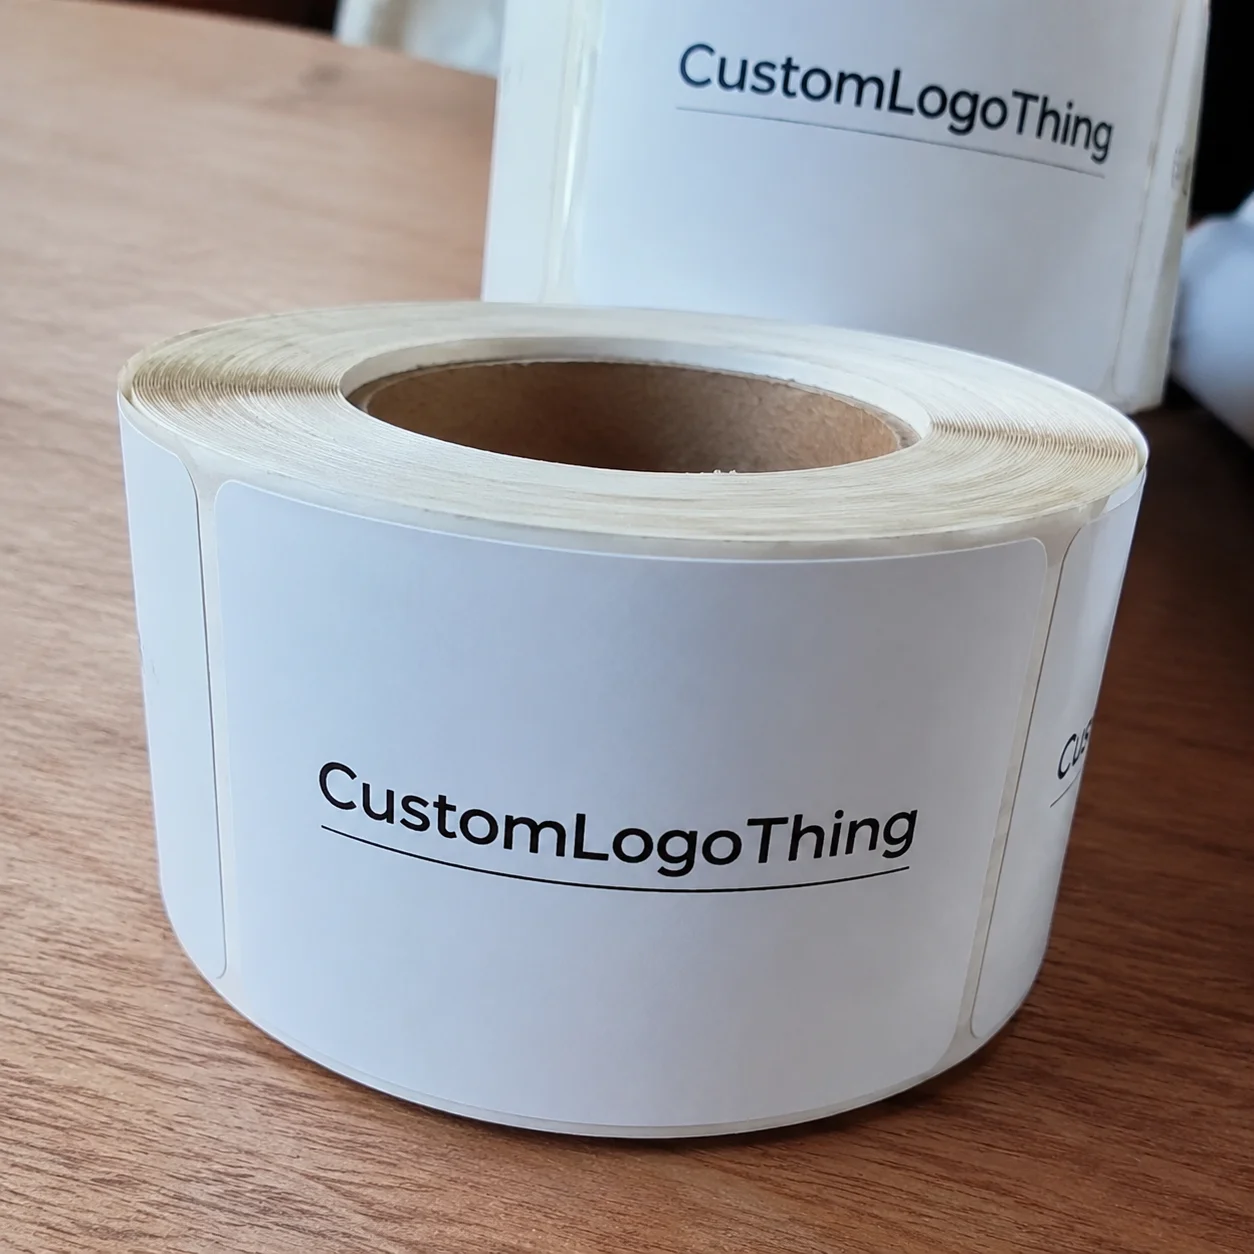
Buyer Fit Snapshot
| Best fit | Print Tracking Codes on Poly Mailers projects where brand print, material claims, artwork control, MOQ, and repeat-order consistency need to be specified before quoting. |
|---|---|
| Quote inputs | Share finished size, material target, print colors, finish, packing count, annual reorder estimate, ship-to region, and any compliance wording. |
| Proofing check | Approve dieline scale, logo placement, barcode or warning zones, color tolerance, closure strength, and carton packing before bulk production. |
| Main risk | Vague material claims, crowded artwork, missing packing details, or unclear freight terms can make a low unit price expensive after revisions. |
Fast answer: Print Tracking Codes on Poly Mailers: Material Claims, Seal Quality, and Freight Cost should be specified like a repeatable production item. The safest quote records material, print method, finish, artwork proof, packing count, and reorder notes in one written spec.
Production checks before approval
Compare the actual filled-product size with the drawing, then confirm tolerance on folds, seals, hang holes, label areas, and retail display edges. Reserve space for logos, QR codes, warning copy, and material claims before decorative graphics fill the panel.
Quote comparison points
Review material grade, print process, finish, sampling route, tooling charges, carton quantity, and freight assumptions side by side. A quote is only useful when the supplier can repeat the same color, closure quality, and packing count on the next order.
The question “how to print tracking codes on poly mailers” is literally the first one I answer when a founder steps into Custom Logo Things in Philadelphia with a suitcase full of scratched-off stickers; the moment I mention embedding a barcode in the art file, sharing that our northern New Jersey flexo room quotes about $0.15 per unit for a 5,000-piece static run and needs 12–15 business days from proof approval to pallet release, they realize the fulfillment team can skip the label gun and ship 200 parcels in one rush instead of wasting 20 minutes per batch while the 3M 300LSE adhesive on the tear seal slides through untouched. Repeating that mantra helps pivot their focus from label guns to the pre-printed precision that lets a single rush move 200 parcels without adhesive drama, and it also explains why I keep the Northern New Jersey plant’s schedule on speed dial. Shipping teams deserve the consistency that comes from pre-printed barcodes, and knowing how to print tracking codes on poly mailers well enough to dodge the cheddar-hued adhesive hiccups is the kind of detail that makes fulfillment feel predictable again.
I still remember that late-night visit to the Lintec plant in Fort Smith, Arkansas, where the press room smelled like mineral spirits and hot plastic; the plant manager bragged about the matte 3.5 mil film they run for our clients, noted how the UV flexo heads stay tuned to 27 pounds of print pressure and complete the 45-minute setup in the third shift before midnight, and dropped the stat that only 5% of brands print a tracking barcode directly on the mailer while the rest hope adhesive labels survive conveyor belt shoves. I honestly think the plant manager could teach a seminar on press-pressure folklore, and when he told me that stat I kept asking “5% only, seriously?” while recording it into my notebook for later client calls. That run reinforced how to print tracking codes on Poly Mailers Before adhesives get blamed for everything, and it reminds me every time a new founder thinks they can rush a label and still keep their ship date.
Embedding the tracking code is more than aesthetic—it is about durability through the packing line, compatibility with USPS scanners that demand a 0.125-inch quiet zone, and even a better brand moment for customers who notice the crisp printed barcode instead of a peeling sticker. I keep telling clients that the printed code feels like a mini handshake from production to the customer, and packers appreciate that the mailer behaves like a well-trained pup instead of a sticky note trying to flee the rack. That extra tactile cue keeps fulfillment teams smiling instead of cursing at adhesives while the packer’s handheld Datalogic Matrix 220 scanner reads the code on the first pass, and it is exactly that handshake that shows how to print tracking codes on poly mailers with the consistency their squads deserve.
Why I Still Get Goosebumps When I Print Tracking Codes on Poly Mailers
When the ink drops, goosebumps rise because there is zero margin for error; that bar or QR code must scan even after the mailer flexes, gets stacked, and rides a sorting belt for six hours across the UPS Chicago hub while the courier’s ISO-standard scanner expects a 0.25-inch quiet zone. I was on the line at Lintec in Arkansas around midnight, watching a matte white poly mailer roll under the UV flexo head while the supervisor joked that the pressure head was more sensitive than his teenage daughter. The code is part of the artboard, not a sticker, so the press operator stages it like a logo—ensuring the bars sit within that quiet zone, don’t crowd the peel seal, and remain outside any courier-branded area that could scuff them. Honestly, I think that operator deserves a medal for tolerating my obsession with quiet zones, because understanding how to print tracking codes on poly mailers right the first time is the only way to calm my nerves while the press hums through another run.
Fulfillment houses have sent back entire pallets of 72 cartons because a thermal label peeled off mid-route; printed tracking codes survive the drop, the conveyor, and the packer’s sweaty palm. One brand we work with at Custom Logo Things felt an extra $0.07 per bag was expensive until I showed them the 20 minutes saved and the fact that the printed code acts as a second brand touchpoint that stays scannable across the USPS 0.25-inch flex test. The mailers now ship with a matte varnish from Sun Chemical that keeps scanners glare-free, and I still ring the plant manager to make sure they don’t slip back into glossy finishes (because I learned the hard way how fast those glare issues resurface). What drives me nuts is when a packer still thinks the printed code is their cue to slap another label; I have to gently remind them we solved adhesives so they can focus on getting the slip right and remember that how to print tracking codes on poly mailers has everything to do with removing that clingy label moment.
The true win arrives when fulfillment teams know the code is part of the poly mailer and stop wasting time slapping labels; they can instead pair the mailer with the correct packing slip and insert. It sounds dramatic, but after enough factory negotiations I can tell you the difference between a clean printed code and a gummed label is often the difference between a Chicago retailer accepting your shipment or rejecting it for unreadable barcodes. I sometimes say the barcode should feel like a VIP wristband—no tearing, no peeling, just a smooth, scannable pass to the event, and when everyone grasps how to print tracking codes on Poly Mailers That truly behave, the wall of rejections shrinks.
How to Print Tracking Codes on Poly Mailers That Actually Work
The process starts with the art file. You give me a vector EPS or AI with the tracking code, exactly as your WMS generates it—two-dimensional barcode, 100% K black, no gradients, no anti-aliasing, and I make sure the quiet zone stays untouched at 0.125 inches on all sides. The factory prints it on the same pass as your logo, so whoever is running that press—flexo, offset, or digital—needs a perfectly clean file. At Custom Logo Things, we frequently rely on flexographic printing for static codes because the repeatability suits runs of 5,000 to 15,000 pieces, and I’m constantly reminding clients that any shortcut on the art file is a shortcut that comes back to haunt the fulfillment team. That art-file discipline remains the centerpiece of how to print tracking codes on Poly Mailers That actually work in a real packing house.
The presses we use include an HP Indigo 20000 that can handle both CMYK and added spot color layers; for variable tracking codes, we switch to digital because flexo can’t adjust each mailer. On that HP Indigo line I saw last July in Wilmington, Delaware, the engineers calibrated the ink viscosity to keep the bars from bleeding when the mailer rolled off the heated suction belt set at 95°C. They add a matte varnish right after to reduce glare, which keeps the USPS dock cameras happy—and frankly, I think that matte coat deserves a thank-you note the way it keeps scanners from sneezing at our work. Variable codes mean more setup, but the repeatability on that press makes my life easier and the courier’s day less dramatic, and it proves how to print tracking codes on poly mailers with variable data without introducing chaos.
Line screens matter more than most brands realize—factories never run a code without at least a 120 line screen to keep the bars sharp. While inspecting a batch from a Seiko press shop near Shenzhen, we upped the line screen to 150 to keep the code crisp against our custom orange spot color background, which made the code read perfectly even under dim warehouse lighting in the nearby Guangzhou sorting center. The barcode lives within the art, so it’s integral to the print finishing, not an afterthought, and I tell my teams that it deserves the same respect as the hero logo. When I remind clients how to print tracking codes on poly mailers with that level of reverence, they start giving the barcode more than a side-eye glance.
Key Factors for Printing Tracking Codes on Poly Mailers
Every time I audit a file, I look for stray anchor points, anti-aliasing, or soft edges—the scanner hates those. I tell the design team that how to print tracking codes on poly mailers begins with a clean file; if the scanner can’t read in a mock-up with a Honeywell Voyager 1202g, it sure won’t on the spool. During a supplier negotiation in Ningbo, the art director had exported the barcode with a drop shadow in the PDF, and it caused the code to fail every test scan; the factory insisted on a clean vector export with the code locked to a 0.007-inch stroke weight. That kind of detail turns a simple barcode into a scanner’s warning siren, and I’m not shy about yelling “No drop shadows” like a frustrated DJ trying to keep the beat while we map barcode placement for the fulfillment floor as part of our barcode placement blueprint.
Substrate is another major player. We moved a client from a 3.5 mil clear film to a 4.0 mil white film with UPM Raflatac adhesive because the thinner film cracked the bars when the mailer folded; the thicker film kept the tracking code intact through the glue gate, while the UPM Raflatac gave us enough chew to pass USPS’s 0.25-inch flex test and the 12-second drop test mandated by UPS. I still chuckle when I remember the supplier’s face when I asked for thicker film—they thought I wanted to armor-plate the mailer, but I just wanted it to behave like it had proper posture. That decision also taught me how to print tracking codes on poly mailers with the substrate strength to endure warehouse handling, which is the hidden step in our fulfillment barcode printing strategy.
Placement matters, too. I always advise brands to put the code near a flat panel, far from the tear strip, edges, courier logos, or anything that will rub; we usually aim within a 3-inch by 3-inch window on the front panel nearest the packer’s right shoulder so scanners can find it in under two seconds. At Custom Logo Things we map the packing house layout before printing, so the code sits where scanners expect it—close to the area packers glance at and away from inlay folds. I once saw a run with the code partially tucked under a flap; as soon as FedEx scanned it, the code distorted because the mailer flexed. I’m still not over that sight—it was like watching a barcode attempt yoga without warm-up, and it reminded me how to print tracking codes on poly mailers in the right location so the code never gets squished.
Talk to your supplier about print finishing. Some insist on a glossy seal, but glossy inks smear under LED curing, so request a matte coat over the barcode and specify Sun Chemical’s Rollcoat matte varnish in your spec sheet. That once saved an entire pallet when USPS rejected a glossy batch for glare during their Savannah, Georgia audit. I still call the plant manager there to remind him, and he laughs like I’m the annoying customer who won’t let him forget that matte saved the day, and every time we revisit how to print tracking codes on poly mailers I make sure that matte varnish is part of the story.
Process, Timeline, and Step-by-Step Workflow
Step 1: Send the tracking code as an EPS/AI file; include rasterization notes if needed. My last project stalled because the supplier interpreted the barcode thickness at 0.009 inches instead of the required 0.007, so it ended up blurry. Clear instructions prevent that, and I now keep a checklist with a bold “THICKNESS” reminder so nobody dares to eyeball the lines. That checklist now reads like the manifesto for how to print tracking codes on Poly Mailers Without letting anyone wing it.
Step 2: Approve a digital proof, then a heat-set impression sample. At Custom Logo Things we dedicate 5–7 business days to tooling and test prints before mass production, which includes verifying varnish adhesion, checking the code with a handheld Zebra DS8178 scanner, and ensuring the spot color matches the rest of the mailer. I treat that window like a sacred ceremony—no one touches the art until every scanner chirps “readable” at least five times. This ceremony makes it obvious how to print tracking codes on poly mailers that won’t fail the first time the fulfillment crew scans them.
Step 3: Production runs a short sample sheet specifically for QR code validation—if even one scanner misreads with the logistic team’s Motorola LI4278, my team pulls the run and recalibrates instead of shipping and blaming the courier. We treat that sample like the seat belt in a car; no mass production until everyone confirms the code is crisp. I’ve dragged myself back to the plant in the dead of night for those validations, and I still tease the operators that I’m the ghost of unreadable barcodes past. That relentless check is what distinguishes how to print tracking codes on poly mailers in a way that honors our shipping partners.
Step 4: Pack and ship. We communicate with the fulfillment house so they understand the code is printed and that they shouldn’t slap additional labels over it; the packers on the floor in Atlanta receive a laminated reminder showing the code placement and the rule “No label on printed barcode.” In my experience, this prevents packers from accidentally covering the code and saves time at the dock. I also send them a reminder note (sometimes with a ridiculous barcode meme because I need to keep morale up when I remind them not to re-label things). These steps keep the lessons about how to print tracking codes on poly mailers from fading when the inevitable new hires come through the line.
Cost and Pricing to Print Tracking Codes on Poly Mailers
Adding a printed tracking code to a 5,000-run at Custom Logo Things usually adds about $0.07 per bag compared to a blank mailer; that includes the flexo plate that costs roughly $120 and can last for four future runs or a total of 20,000 impressions when stored in our humidity-controlled case. When you amortize that plate over 20,000 pieces, it doesn’t move the needle much. I sometimes have to remind new founders that the plate isn’t a one-night stand—it’s a long-term relationship, and the upfront cost pays back in saved time and fewer rejected pallets. Once they see how to print tracking codes on poly mailers lowers labor at the dock, they stop treating the plate like a luxury.
If you require variable tracking codes instead of a static batch barcode, the HP Indigo digital press is your friend—expect $0.18 per mailer for runs above 5,000, jumping to $0.25 for anything under 2,500 because the ink draw is heavier and the press time longer. That price includes CMYK plus a spot color for the barcode to maintain contrast, and the toner is cured at 120°C to bond with the 4.0 mil poly substrate. I’ve had conversations with finance teams where I swear I could hear the spreadsheet cry, but once they see the fulfillment time saved, the numbers settle down. This conversation is the perfect moment to re-affirm how to print tracking codes on poly mailers without inflating the budget too much.
I once negotiated with a Seiko press shop in Osaka to include the matte varnish over the code in the base price by promising them repeat business on our Custom Packaging Products line; previously they treated varnish as an add-on. Ask for a line-item breakdown for every run and challenge the supplier if they try to sneak in finishing costs later. I keep a spreadsheet of every add-on fee I’ve ever seen—lamination for $0.04, embossing for $0.06, Peel & Seal upgrade for $0.03—so I can call them out with the kind of satisfaction a child feels when they solve a puzzle.
| Option | Setup | Price Per Mailer | Notes |
|---|---|---|---|
| Flexographic static code | $120 plate, lasts 4 runs | $0.07 | Best for consistent barcode, needs repeat orders for efficiency. |
| Digital variable code | HP Indigo stroking, no plate | $0.18–$0.25 | Perfect for unique tracking numbers but higher ink cost. |
| Offset layer with spot color | Extra $45 for custom spot ink | $0.09 | Good for high-end mailers needing precise brand colors and tracking. |
Prices include most print finishing, but always double-check for extra charges like lamination, embossing, or specialty adhesives on Custom Poly Mailers. Vendors sometimes try to sneak in a peel-and-seal upgrade for $0.03 per bag without telling you, so I keep the spec sheet tight and share it with the plant manager during every visit. If someone tries to slip a surprise cost past me, I channel my inner detective, and that usually ends the whispering quick.
Common Mistakes When Printing Tracking Codes on Poly Mailers
Skipping a readable test is the most common dumb move brands make. I’ve seen codes that looked perfect until a dock scanner refused them. Run the code through a handheld scanner and the courier’s dock scanner before you approve, ideally on both the sample sheet and the actual mailer; I keep a handheld Zebra DS2278 in my bag just in case I get the itch to scan a stray mock-up at lunch. These checks are the backbone of how to print tracking codes on poly mailers that survive the dock.
Another mistake is crowding the code with graphics. Keep a clear quiet zone—no spot color bursts, no QR-friendly art swirling around the bars. When a brand I consulted for insisted on putting a metallic foil swoosh right next to the barcode, the scanner dropped digits every single time, so we relocated the code to the lower-left panel and kept the foil 0.25 inches away. I still joke about that foil swoosh like it was a misunderstood jazz solo that kept neighbors from sleeping, and it taught me that how to print tracking codes on poly mailers requires ruthless spacing discipline.
Assuming every supplier prints the same way also causes headaches. Some shops push you toward thermal labels despite your insistence that the code be printed. I once had a factory try to convince me that thermal labels were the only way to get variable codes; I reminded them the whole point was avoiding adhesives in the first place. That was the day I learned how persuasive I can sound when I lance a bad suggestion with a smile.
Failing to align the code with fulfillment zones is another trap. I saw a brand put the barcode over the tear strip, which stretched when the mailer opened and rendered the code unreadable. Show the printer photos of your packing flow and ask their team to suggest the best location. I’ve been known to walk through warehouses with tape measures and a stopwatch, just to prove the code isn’t being squished by something dumb. That exercise also helps illustrate how to print tracking codes on poly mailers in a way that respects every rack, scanner, and packer.
Expert Tips I Learned From Factory Visits
Always ask your printer to surface-seal the code with a matte coat. At a plant near Guangzhou, a glossy finish smeared under LED curing, and USPS rejected a pallet; the matte coat keeps scanners from seeing glare. When I mention this, I say it like I’m describing how much sunscreen we all need in summer—flat, serious, and a little dramatic. That matte step is one of the small rituals we include in how to print tracking codes on poly mailers that never leave the spec sheet.
Work with suppliers like Custom Logo Things who can align printed tracking codes with your fulfillment house’s barcode requirements. Request a packing list alignment preview so you know the code will be where packers expect it, and ask for the preview to include the coordinate grid we use in Atlanta so the code sits 3.25 inches from the top seam. I chase those previews like they’re the last train home—you want to be on the right platform before the doors close. These previews are part of how to print tracking codes on poly mailers that keep everyone in sync.
Consider adding a soft-touch layer over the code as a tactile cue to packers. The first time I added soft-touch to a batch—2 mil soft-touch varnish from Sun Chemical—the team stopped pressing down too hard and smudging the bars. That tactile nudge also impressed the retailer at the receiving dock, who joked that we were sending mailers that felt like velvet. I still laugh hearing that because I never expected a barcode to inspire fashion critique. That soft-touch nudge ties back to how to print tracking codes on poly mailers with the level of care a couture brand expects.
Use your visits to inspect the print finishing line. I once sat beside a press operator while they checked every code with a handheld scanner; the operator kept notes on what line screen they were running for the best contrast. That kind of attention literally prevents out-of-tolerance issues, and I tell clients that those visits are worth every mile (even when the airport coffee sucks). It’s the same curiosity that keeps how to print tracking codes on poly mailers evolving with each new press room tour.
How to print tracking codes on poly mailers without slowing fulfillment?
Ask that question when you’re negotiating timelines, and the answer starts with smart prepress work—aligning the barcode placement, verifying the file, and sharing that data with the fulfillment house so they understand the plan. When packers know where the code lives and why it matters, it speeds scanning and keeps the shipping label simplification dream alive. We outline that plan in a worksheet that pairs how to print tracking codes on poly mailers with the scanner models used across every shift, so no one has to guess where to aim the Datalogic or the Motorola.
The next piece is respecting that printed code through the packing process. We train the crew on fulfillment barcode printing that avoids additional adhesive layers, and we highlight how to print tracking codes on poly mailers as part of the onboarding checklist. That little nod shows that the code is an asset, not a liability, so everyone from the packer to the QA lead can keep the shipping line moving.
Finally, we layer in a reminder about shipping label simplification. With a printed barcode, the shipping label stays on the envelope or the carton, while the single code handles the courier scan. That saves time, reduces tape, and makes it obvious how to print tracking codes on poly mailers without creating an overgrown label jungle that slows the dock.
Actionable Next Steps for Printing Tracking Codes on Poly Mailers
Step 1: Schedule a call with your account rep at Custom Logo Things, upload your tracking code file, and ask for a flexo mock-up timeline before the next North Jersey weekly press slot opens. Mention any fulfillment constraints—warehouse shift patterns, scanner models, drop-test requirements—so they can plan the layout properly. I usually send a quick Loom video showing our layout plan—nothing fancy, just real talk from someone who lives in production shoes. That call is the moment to reinforce how to print tracking codes on poly mailers and keep everyone aligned.
Step 2: Run a QR/barcode validation block as soon as the sample hits your desk. If you see blur, send it back with detailed notes before the main run; a quick reshoot can save you two weeks of reprints. I’ve seen folks grumble about the extra step, but I remind them that blur costs more than patience ever will. That validation block is one of the easiest ways to ensure how to print tracking codes on poly mailers stays stress-free.
Step 3: Update your fulfillment SOP to note that tracking codes are baked into the mailer. This ensures your packers know not to re-label anything and keeps your shipping line focused on adhesives only when absolutely necessary. I like to throw a little humor in there—“please don’t cover the barcode unless you enjoy watching scanners cry.” It keeps people reading the SOP, and it reinforces how to print tracking codes on poly mailers as part of everyday routine.
Also, keep an eye on print finishing. List the varnish type, the adhesives, and the placement on your spec sheet. Share it with everyone from the art director to the receiving dock, and you’ll turn a once-frustrating process into a reliable system. I’ve done this so often that I can recite our spec sheet in my sleep, which is either impressive or kinda concerning depending on who asks.
Want to expand beyond tracking codes? Browse Custom Packaging Products for inspiration and explore Custom Poly Mailers to see how your next run could look. I genuinely love showing what’s possible, and I promise I won’t make you redo your art unless it’s truly necessary. If you’re curious how to print tracking codes on poly mailers at scale, schedule a factory visit so we can walk through the press room together.
FAQs
What file options work best when printing tracking codes on poly mailers?
Send a clean vector file (EPS or AI) with the barcode in 100% black and a specified quiet zone around it, plus a high-resolution raster proof if it comes from your WMS, so the press operator knows what to expect. I tell folks that the press operator is like a chef—you wouldn’t send them a mystery meatball and expect a Michelin star, so don’t send a weird barcode either.
Can I print variable tracking codes on poly mailers or only static ones?
Variable tracking codes require a digital press like HP Indigo; budget $0.18–$0.25 per mailer depending on volume, and use a service like Custom Logo Things that can stage each file so the rest of your art stays consistent. I remind clients that variable codes feel fancy, but they also need the same discipline as static codes—no sloppiness allowed.
Should I still apply a thermal label after printing tracking codes on poly mailers?
No, printing the code directly avoids additional adhesive layers that peel off in transit. Use the printed code for the courier scan and leave the shipping label for the USPS scan if needed. Honestly, I think adding another label would be like putting a hat on a hat—it just confuses everyone.
How long does the process take to print tracking codes on poly mailers once artwork is approved?
Expect a 5–7 day window for tooling and proofing, plus another 7–10 days for production depending on volume; tell the supplier your fulfillment ship date so they can prioritize the run and avoid delays. I always ask for a buffer because the world loves to toss curveballs when we least expect them.
What’s the best placement for printed tracking codes on poly mailers?
Place the code on a flat, uninterrupted panel away from seams and seals. Share photos of your packing flow with the printer so they can suggest the ideal location. I’m that person who will hang out at the packing table with a tape measure if it means the code stays readable.
Mastering how to print tracking codes on poly mailers means pairing precise vector files with the right press, a smart substrate like 4.0 mil white poly with UPM Raflatac, and a supplier that understands fulfillment. Follow these steps and your fulfillment house will stop wasting time with label guns, scanners will read every mailer, and your brand will finally have a shipping moment that feels intentional; believe me, I’ve watched the entire room exhale the first time a printed code scans cleanly.
Need more proof? Visit ISTA.org for drop-test standards and Packaging.org for material specs, then give me a call so we can turn that knowledge into a flawless poly mailer run. Seriously, I love talking through the nitty-gritty—plus it gives me another excuse to share the latest press-room story (the last one involved a barcode that refused to behave until we played jazz on the shop floor and the operator dialed the line screen up to 150).
Takeaway: verify your vector barcode, pair it with the right substrate, confirm placement with packing ops, and build that matte finish into the spec so you know exactly how to print tracking codes on poly mailers and keep every shift scanning without a hiccup.