Most people notice the product first. Your customer notices the box first. That awkward little truth sits at the center of printed corrugated boxes: they do more than hold merchandise, because they shape the first physical impression a brand makes, and a plain brown carton can quietly say “we did the minimum.”
That matters more than many buyers expect. A well-planned printed box makes a shipment feel intentional, reduces packing confusion, helps teams identify SKUs faster, and gives the product a more finished presence before it’s even opened. A random carton with a random label can still ship the product, but it often makes a business look smaller, less organized, or less premium than it really is.
There is also a practical side that gets overlooked. Print can support operations, not just marketing. Clear size marks, handling instructions, product-family graphics, and simple branding all help a warehouse work a little cleaner. It will not fix poor fulfillment discipline, yet it can remove avoidable friction.
And because packaging terms get mixed together constantly, a quick distinction helps: corrugated boxes are not plastic bags, and they are not interchangeable with paper mailers or poly packaging. Corrugated is built for structure, stacking strength, and shipping abuse. That makes it the right tool for a broad range of products, but not every product.
“If the box is customer-facing, plain and cheap-looking is not a neutral choice. It sends a message whether you meant it to or not.”
Printed corrugated boxes: why the “plain box” look costs sales
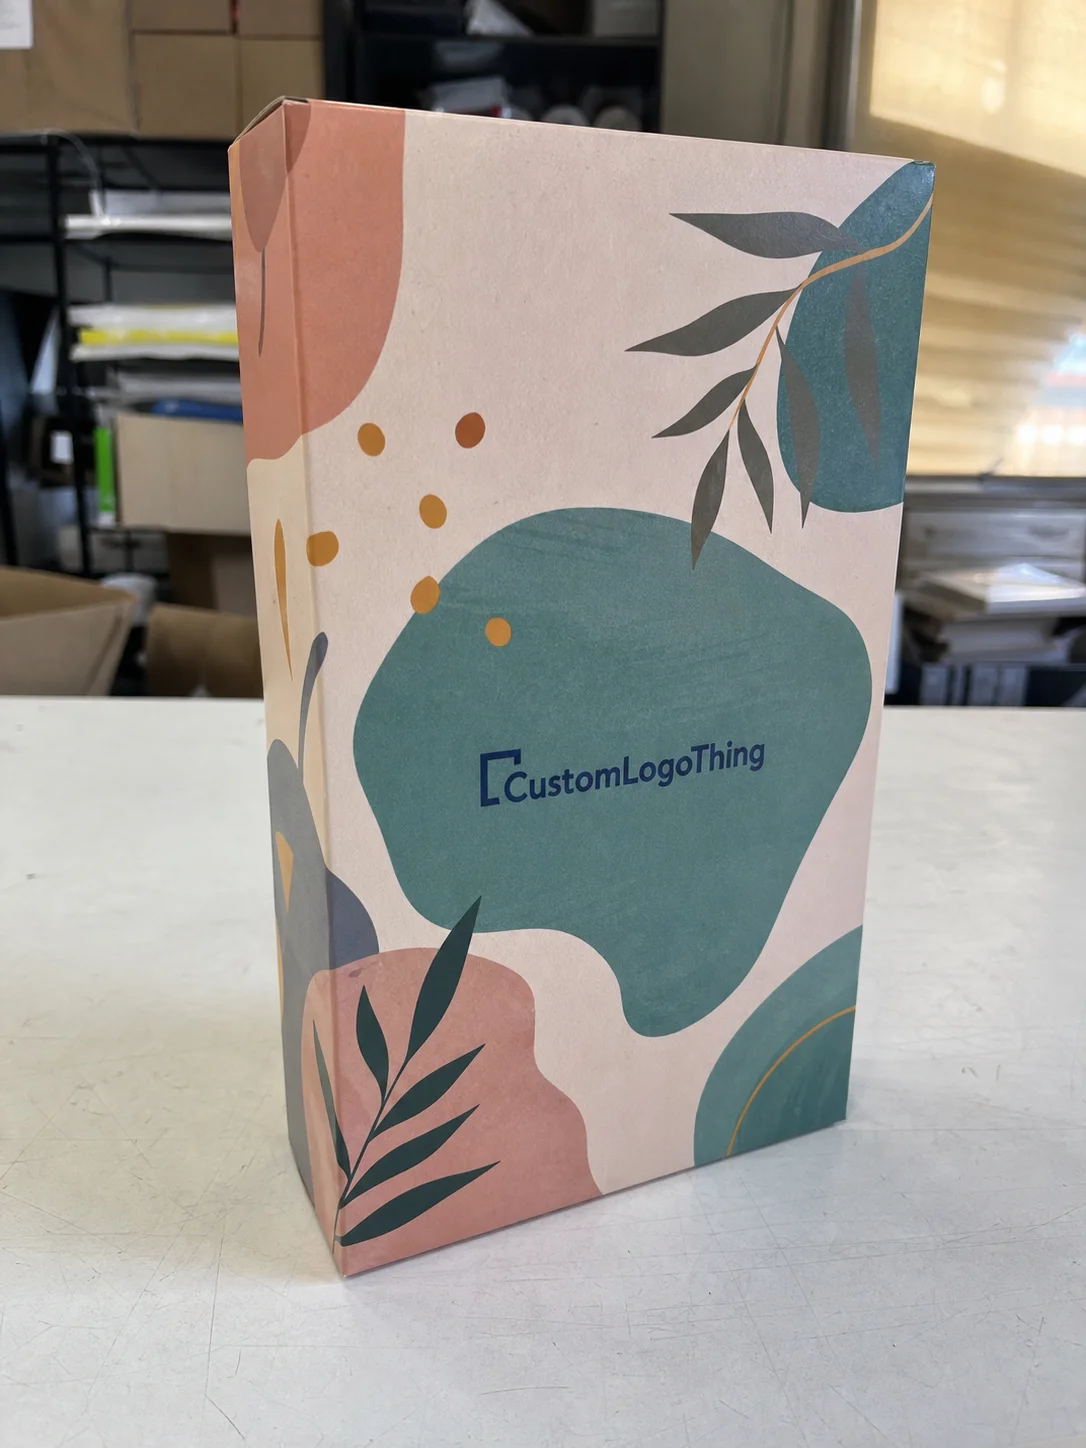
Printed corrugated boxes are corrugated board cartons with graphics, logos, copy, shipping marks, or handling instructions printed on the outer surface. In plain English, it is a shipping box that carries both protection and communication. That second job matters, especially for brands selling direct to consumers or shipping through retail channels where the package is seen before the product is touched.
They show up everywhere: eCommerce shipping, subscription kits, retail-ready mailers, promotional packaging, and warehouse branding. Even a simple one-color logo can make a carton feel intentional instead of disposable. That does not sound dramatic, but visual consistency is one of the easiest ways to make a brand feel established.
Buyers sometimes think print is only decoration. It isn’t. Print can support receiving, reduce pack-out errors, and make a multi-SKU program easier to manage. If your team handles a lot of similar boxes, a printed code, size cue, or product-family mark can save time every day. A box will never replace process control, but it can make better process more visible.
How printed corrugated boxes are made and printed
Corrugated board is made from linerboard and fluting. The linerboard is the flat outer and inner facing; the flute is the wavy middle layer that adds stiffness, cushioning, and stacking strength. Most buyers work with single-wall board for standard shipping and lighter items, while double-wall is used when heavier contents, stacking loads, or longer transit conditions call for extra compression resistance.
The surface quality of the board affects print quality more than many first-time buyers realize. A smoother liner generally prints cleaner, especially for logos, type, and tighter graphics. A kraft surface gives a natural, recycled look, but fine detail can soften because the fiber texture shows through. White-top board usually gives brighter color and stronger contrast. If the brand depends on color fidelity, the board surface cannot be an afterthought.
Three print methods come up most often:
- Flexographic printing: suited to medium and high volumes, especially for simple graphics and cost-conscious programs.
- Digital printing: a strong choice for lower quantities, variable versions, and fast setup.
- Litho-lamination: used for premium retail presentation, fine detail, and full-color artwork that needs a sharper look.
Flexo usually becomes the better value once quantities rise enough to spread setup costs across more boxes. Digital avoids plate costs and is useful for short runs, but the unit price stays higher. Litho-lamination delivers the cleanest visual result, though it adds steps and cost. The right method depends on volume, artwork complexity, and how customer-facing the box really is.
Print can go on the outside, inside, or both. Outside print handles branding and shipping visibility. Inside print adds unboxing value, instructions, or a short message. Both-sides printing costs more, so it should be reserved for cases where the added touch earns its keep.
For packaging that must survive shipping, print should be chosen alongside structure and performance targets, not separately from them. Compression, drop behavior, and transit stress matter. Standards from groups such as the ISTA and ASTM are useful references when a carton needs to be tested against actual distribution conditions rather than only a mockup table.
Cost, pricing, MOQ, and unit cost drivers
The biggest pricing drivers are unglamorous but predictable: box size, board strength, print method, number of colors, ink coverage, coating or finish, and quantity. Bigger boxes consume more board. Stronger board costs more. More colors require more setup and more checking. Heavy coverage also changes press behavior and can slow production if the artwork is demanding. The price usually reflects all of that, even if the quote only shows a single number.
MOQ behavior depends heavily on the print process. Digital can often support lower quantities because there are no plates. Flexo and litho jobs usually need higher quantities before unit pricing starts to make sense. If a supplier offers a very small traditional print run, the per-unit price tends to show the setup burden. That is normal. Plates, make-ready time, and approvals do not disappear just because the order is small.
The reason unit cost drops as quantity rises is simple: setup costs get spread across more cartons. Plate making, press setup, color matching, and proofing all add cost before the first usable box is produced. Once the line is running, the marginal cost per unit falls. That is why a 5,000-piece order can price very differently from a 500-piece order even with the same structure and artwork.
| Option | Typical use | Common price behavior | Best for |
|---|---|---|---|
| Digital print | Short runs, test launches, seasonal versions | Lower setup, higher unit cost | 500-2,000 units |
| Flexographic print | Standard shipping cartons, repeat SKUs | Higher setup, lower unit cost at volume | 2,500+ units |
| Litho-lamination | Retail-ready packaging, premium presentation | Highest setup and finish cost | Mid to high volume with strong brand value |
For rough budgeting, a simple single-color flexo mailer can sometimes land around $0.35-$0.85 per unit at moderate volume, depending on size, board grade, and exact construction. A premium full-color litho-laminated box can run much higher, especially at smaller quantities. That range is only a starting point, not a promise. Box pricing is never just “the box.” It is size, structure, board, print method, and order volume all working together.
Watch the hidden cost traps. Oversized dimensions waste board and increase freight. Over-specifying board can push costs up without adding meaningful protection. Extra colors or plates add setup expense. Rush orders trigger premium pricing. Artwork changes after proofing are another fast way to burn budget. The cheapest quote is not always the least expensive outcome if the box arrives late, crushes in transit, or needs to be reprinted.
When comparing suppliers, make sure each quote is based on the same internal dimensions, board grade, wall construction, print colors, finish, and quantity tier. Otherwise the comparison is meaningless. A white-top mailer and a kraft shipping carton may both be called “printed boxes,” but they are not the same product and should not be priced as if they were.
Production steps, process, and turnaround basics
The ordering path is usually predictable. First comes sizing and structure selection. Then artwork prep. Then dieline review. Then proofing. After approval, production moves into printing, cutting, folding, gluing if needed, and shipping. It sounds orderly because it is orderly on paper. In practice, delays usually show up when dimensions are vague, art files are underprepared, or someone discovers a launch deadline after the quote has already been approved.
After the quote, a reliable supplier should confirm the dieline, review art placement, and check color expectations or material constraints before anything goes to press. Skipping proofing is not a time-saver; it is an invitation for expensive surprises. The final box will match the approved file, even if the approved file had a misaligned logo or unreadable copy.
Timeline depends on the print method, quantity, tooling requirements, board availability, and whether the design is standard or custom. Short-run digital jobs are often quicker because setup is lighter. Larger custom print jobs need more lead time because the prep work matters more. Litho-lamination typically takes the longest because there are more production steps and more chances for delay.
- Digital short runs: often faster once artwork is ready and proof is approved.
- Flexo production: usually takes longer because plate production and press setup are required.
- Litho-lam jobs: usually need the most schedule padding because print, lamination, and finishing all add complexity.
Build in time for freight, reproofs, and last-minute fixes. If a launch depends on packaging arriving on a single exact date, the schedule should already include margin for error. Packaging is part of the launch path, not an afterthought that can be compressed indefinitely.
For companies building a broader packaging program across several SKUs, it often helps to review structure and branding together. Custom Shipping Boxes can be evaluated alongside the printed format, because a strong graphic system still needs the right carton size and construction behind it.
How to choose the right box specs for your product
Start with the product, not the artwork. Weight, fragility, dimensions, and packout behavior should drive the spec. The box needs to protect the item without leaving so much empty space that the shipment feels sloppy or requires excessive filler.
A common buyer mistake is treating print quality and carton strength as if they are the same decision. They are separate. A beautiful box that collapses under stacking load is a branding problem and a supply problem. A very strong box with poor print can still work for industrial use or internal shipping, but for customer-facing packaging the structure and the finish both need to hold up.
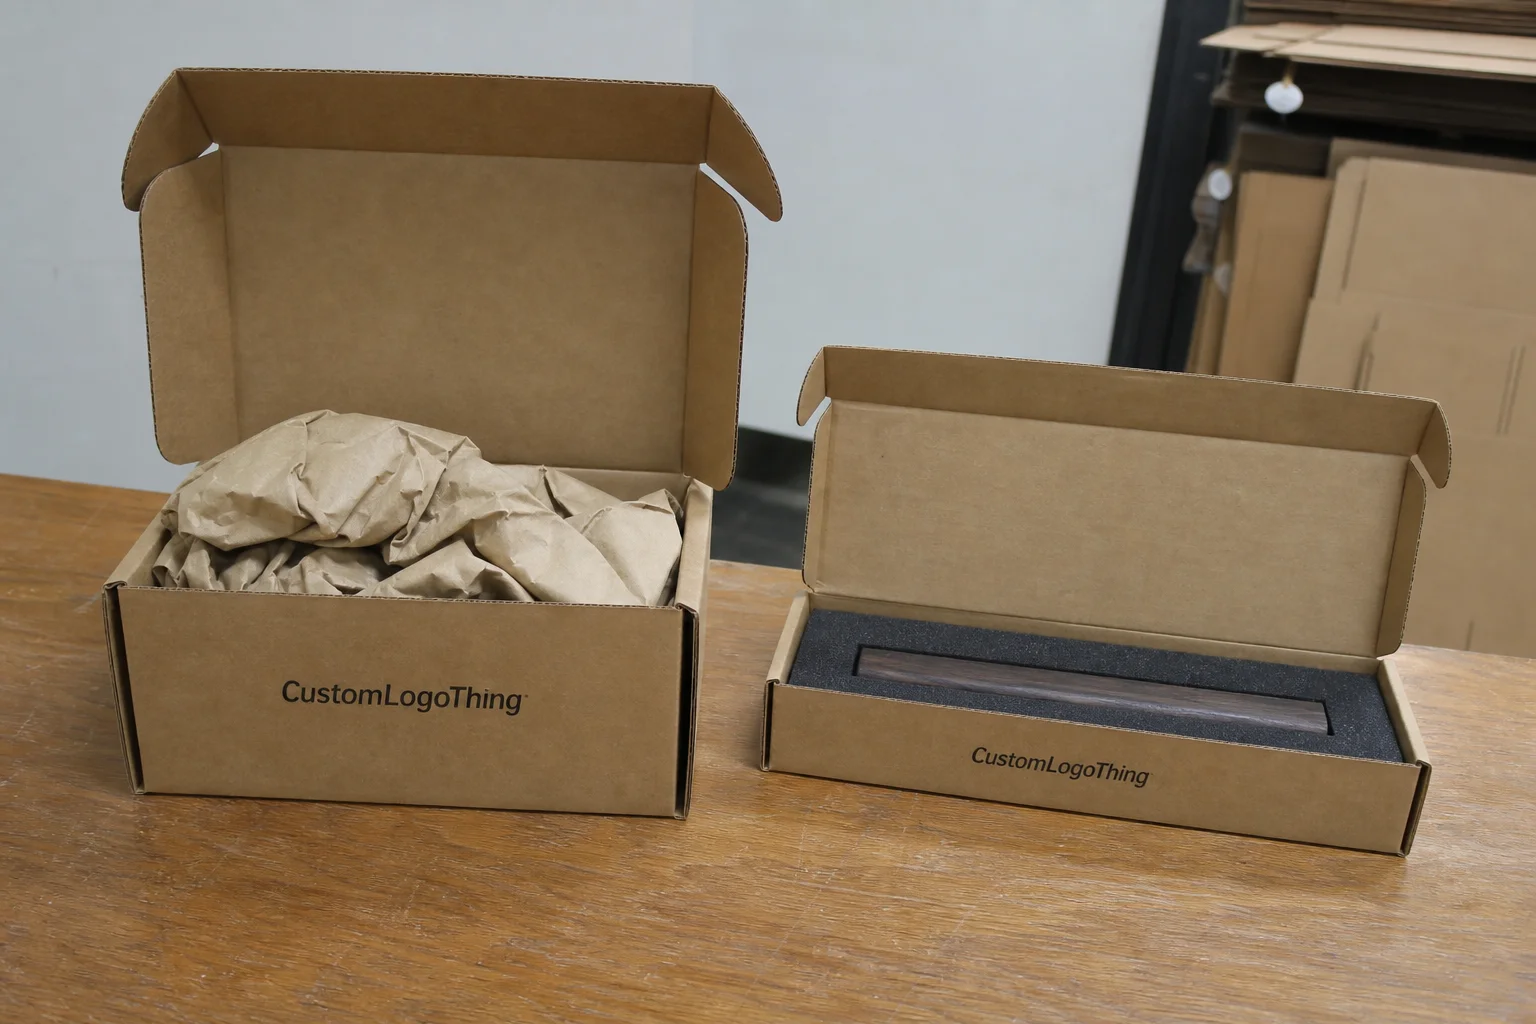
Internal fit matters just as much. If the product shifts, use inserts, dividers, or void fill. If the item needs presentation support, custom inserts keep it centered and reduce movement. Materials can include paperboard, molded pulp, corrugated inserts, or foam, depending on the product and the sustainability brief. If the customer opens the box and sees the product sliding around, the packaging failed before the product had a chance.
Common structure choices
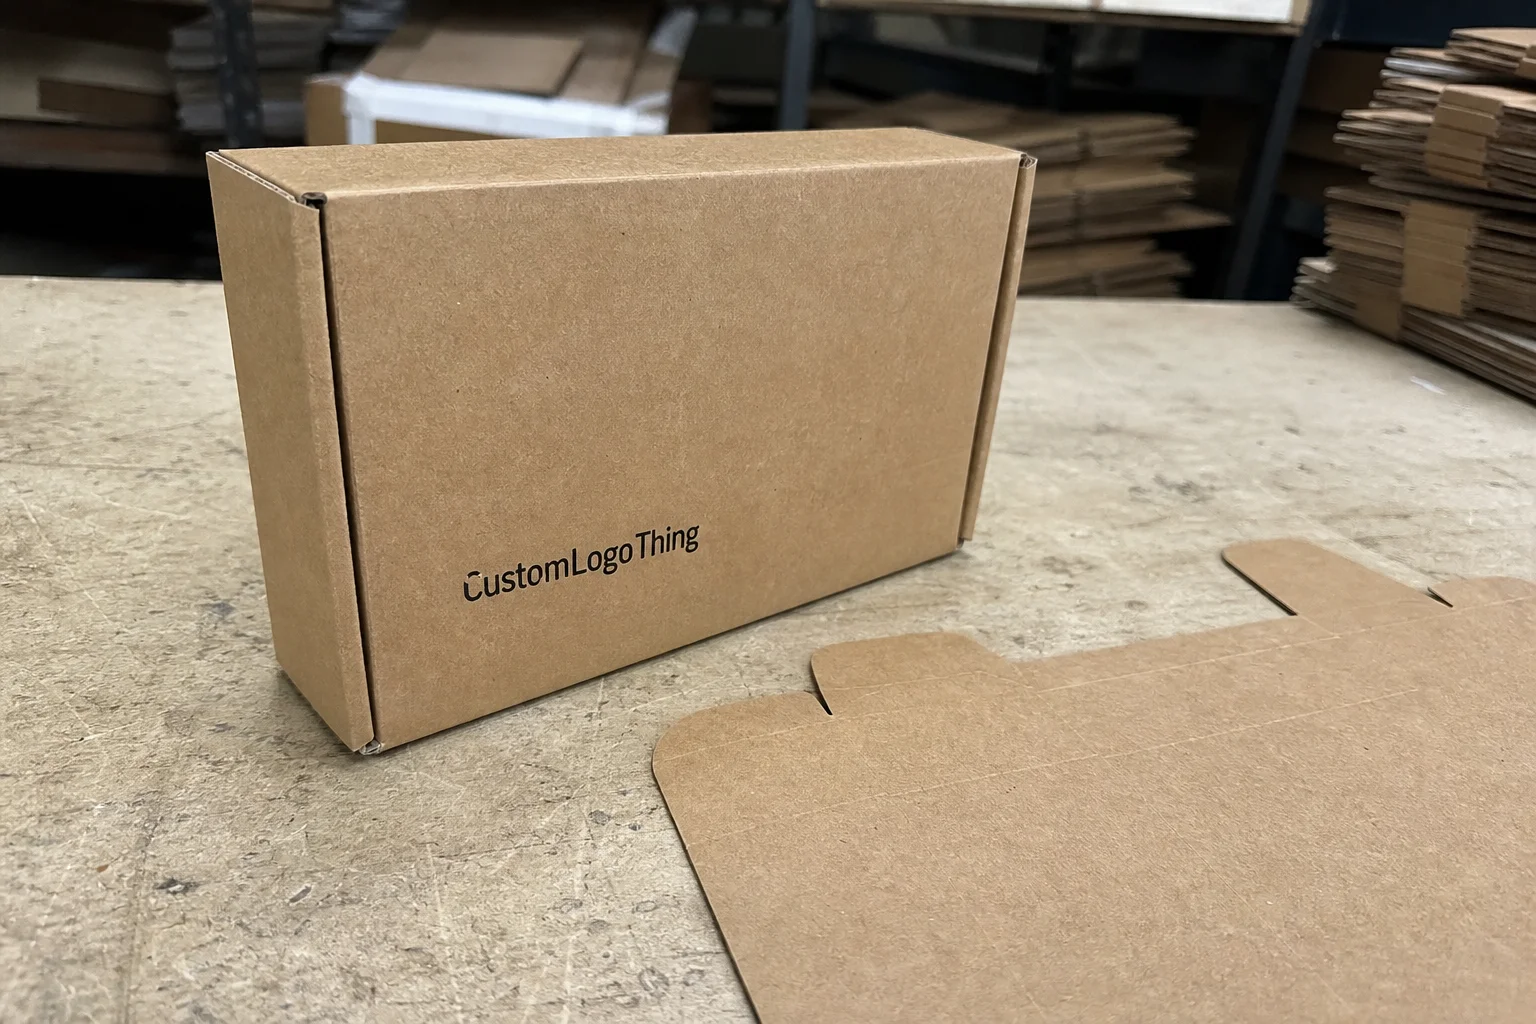
- Mailer boxes: good for eCommerce, presentation, and self-locking assembly.
- Regular slotted cartons: common for shipping and warehouse use.
- Tuck-top styles: useful for retail presentation and lighter products.
Test the box with the real product load, not just a dimension chart. Charts are neat. Gravity is not. If the item has an odd weight distribution, fragile finish, or sharp edges, a test pack will expose the problem faster than a spec sheet ever will. For brands that need more packaging options beyond one carton style, Custom Packaging Products can help compare structures without rebuilding the entire program from scratch.
If sustainability is part of the brief, ask whether the board is FSC-certified and whether any coating, ink load, or lamination affects the recycling path. The FSC is a useful reference for certified sourcing. Recyclable and recycled are not the same thing, and buyers usually appreciate honesty more than a vague sustainability claim.
Common mistakes that make printed boxes look cheap
Low-resolution artwork is the classic mistake. Text that looks fine on a screen can blur once it lands on corrugated texture. Tiny legal copy gets worse. Fine rules disappear. Thin logo strokes can break apart. If the art file was not built for print, the box will not make it look better.
Dark full-bleed designs can also cause trouble if the board surface and ink behavior are not accounted for. On rough or highly absorbent substrates, heavy coverage may look uneven or scuffed. Kraft board especially needs thoughtful artwork planning because the base color affects everything on top of it. A black box on a textured kraft liner is not automatically premium. Sometimes it just looks like an expensive attempt at depth.
Wrong sizing makes boxes look cheap even when the print is good. Too much filler reads as wasteful. Too much empty space suggests the packout was not designed. A carton that fits properly usually feels more polished, and often costs less to ship because it avoids unnecessary volume.
Approval mistakes are another common failure point. Teams skip proof review, ignore line placement, or sign off too quickly, then act surprised when the finished box matches the approved file exactly. The press did its job. The file did not. Production cannot rescue poor artwork decisions after approval.
The cheapest board grade is not always the smartest buy. For heavy products, stacked storage, or long distribution routes, weak board can crush, scuff, or deform. A transit failure costs more than a modest board upgrade. That is one of the few places in packaging where a little extra spend is usually easier to justify than a cheap recovery.
Expert tips for better branding, lower waste, and smoother fulfillment
Keep branding focused. One strong logo moment usually does more than cluttered graphics across every panel. Clear shipping information, a simple brand panel, and maybe one interior message can make the box feel complete without driving up ink coverage and setup complexity. More print is not automatically more premium.
Use print where it will actually be seen. That usually means the top panel, one side panel, or the most visible face during shipping and unboxing. You do not need every square inch covered to make the packaging feel branded. A smarter layout often leaves low-visibility areas simple while putting budget where attention naturally lands.
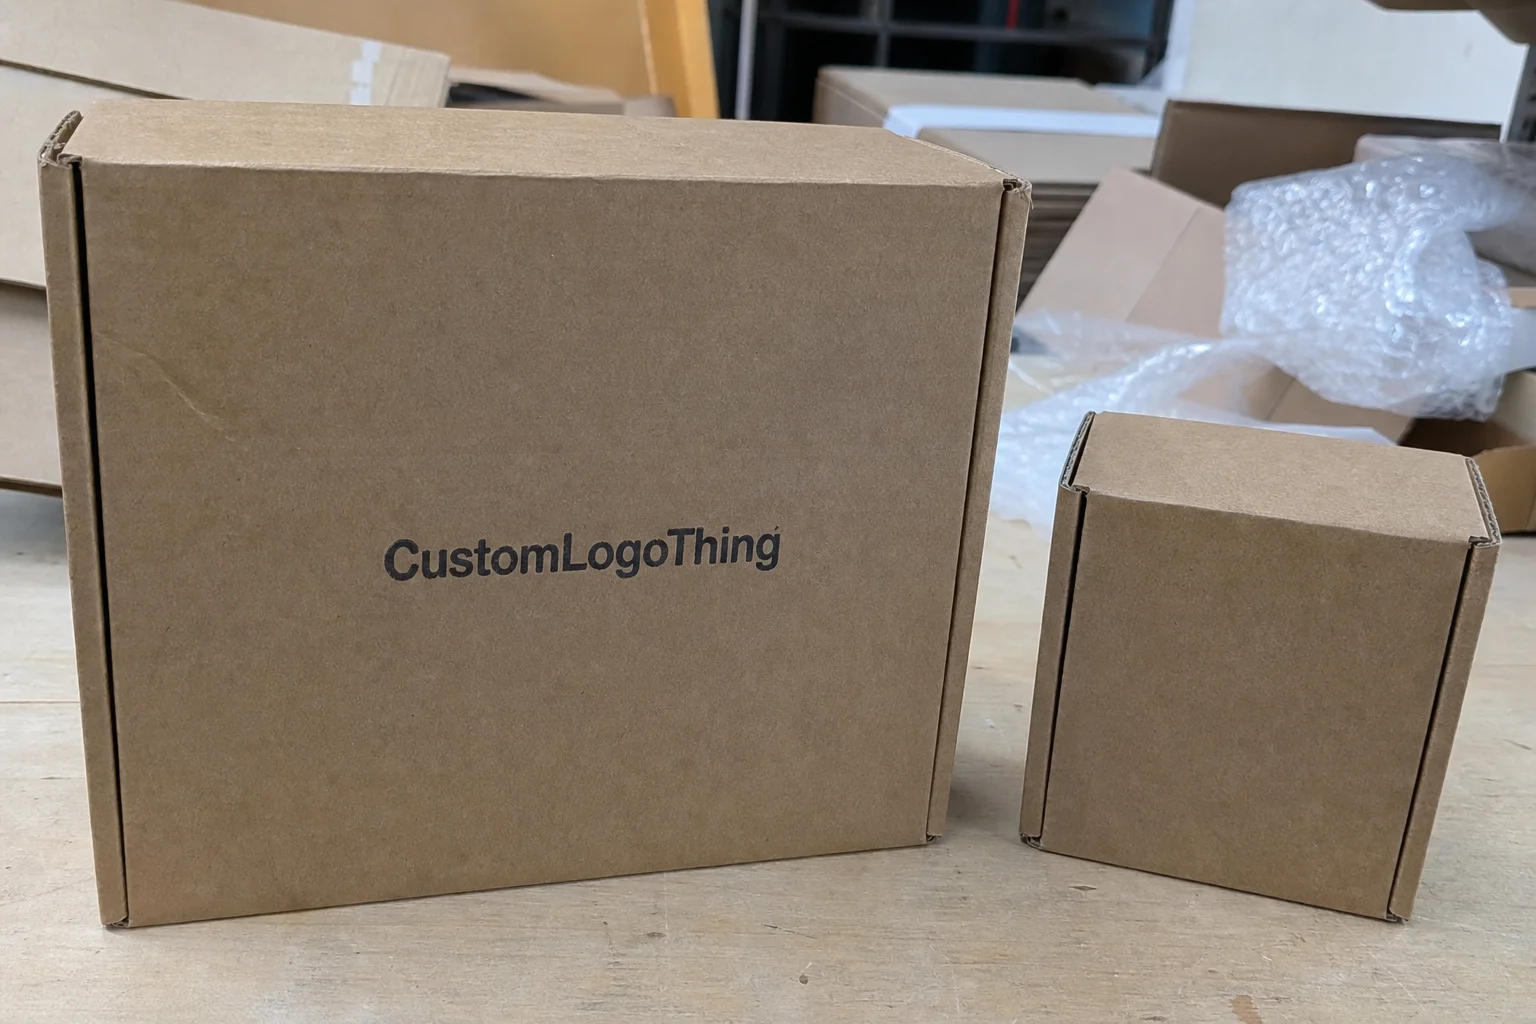
Standardize box sizes where possible. Fewer carton sizes mean simpler purchasing, less inventory confusion, and fewer packout mistakes. Warehouse teams usually prefer consistency because it reduces hunting, re-sorting, and accidental overpacking. Those errors are easy to ignore on paper and expensive in day-to-day operations.
If color accuracy matters, request printed proofs or samples before full production. That is especially useful for premium brand colors, rich dark tones, or artwork with subtle gradients. A proof stage costs far less than a reprint, and it gives everyone a realistic view of how the board and ink are actually behaving.
Think beyond the carton itself. Tape color, label placement, inserts, and the way the product sits inside the box all affect the unboxing experience. The package should feel deliberate, not overdesigned. Deliberate is the better goal because it supports both presentation and fulfillment.
“A good box system is boring in the warehouse and impressive to the customer. That’s the sweet spot.”
Next steps: what to collect before requesting a quote
If you want accurate pricing on printed corrugated boxes, start with the basic facts. Product dimensions. Product weight. Fragility level. Whether the box ships one item or multiple items. If any of that is uncertain, measure and test first. Guessing rarely saves time, and it usually creates extra rounds of quoting.
Then collect the artwork files and decide how the brand should appear on the carton. Some brands need centered branding on the top panel. Others want side-panel shipping marks, a single-color logo, or inside print for a stronger unboxing moment. If brand colors matter, share references early. Pantone targets, prior packaging samples, or acceptable color ranges help prevent disappointment once proofs arrive.
Quantity matters too. Decide whether the priority is the lowest unit cost or the fastest turnaround. Those are not the same thing, and packaging budgets get strained when they are treated as if they were. Ask for pricing by quantity tier so you can see where the cost starts to improve. In many programs, the best value appears once setup costs are spread across a larger run.
Before approving production, confirm these details in writing:
- Exact dimensions and box style
- Board grade and wall construction
- Print method and number of colors
- Lead time and freight assumptions
- Proof approval status before production starts
If the goal is a box that actually performs, compare samples, lock the spec, and approve the proof before production starts. That is how you avoid ugly surprises, missed launches, and cartons that look cheaper than they should. Good printed corrugated boxes are built through the right decisions upstream, not rescued at the end.
Are printed corrugated boxes better than plain shipping boxes for branding?
Yes, if the box is customer-facing or regularly seen in transit. Printed boxes make the brand feel more intentional and recognizable. Plain boxes can still work for purely internal shipping, but they do less marketing work and usually leave a weaker first impression.
What affects the cost of printed corrugated boxes the most?
Box size, board strength, print method, number of colors, and quantity have the biggest impact. Rush timing and special finishing can also raise the price. Higher quantities usually lower unit cost because setup fees are spread across more boxes.
How long does it take to produce printed corrugated boxes?
It depends on the print method, quantity, and whether artwork is ready. Digital runs are usually faster than flexo or litho-laminated jobs. Proofing, revisions, board availability, and freight time can all extend the schedule, so buffer time is wise.
What artwork format works best for printed corrugated boxes?
Vector files are best for logos, text, and clean shapes. High-resolution raster images are needed for photos or gradients. A dieline-proofed layout helps avoid print placement mistakes and keeps the finished box aligned with the approved design.
Can printed corrugated boxes be made in low quantities?
Yes, especially with digital printing. Lower quantities usually cost more per box, but they reduce inventory risk. They are useful for testing packaging before scaling up or launching a new product without committing to a large run too early.