Why sample-kit hang tags fail in transit, and how to spot the weak link
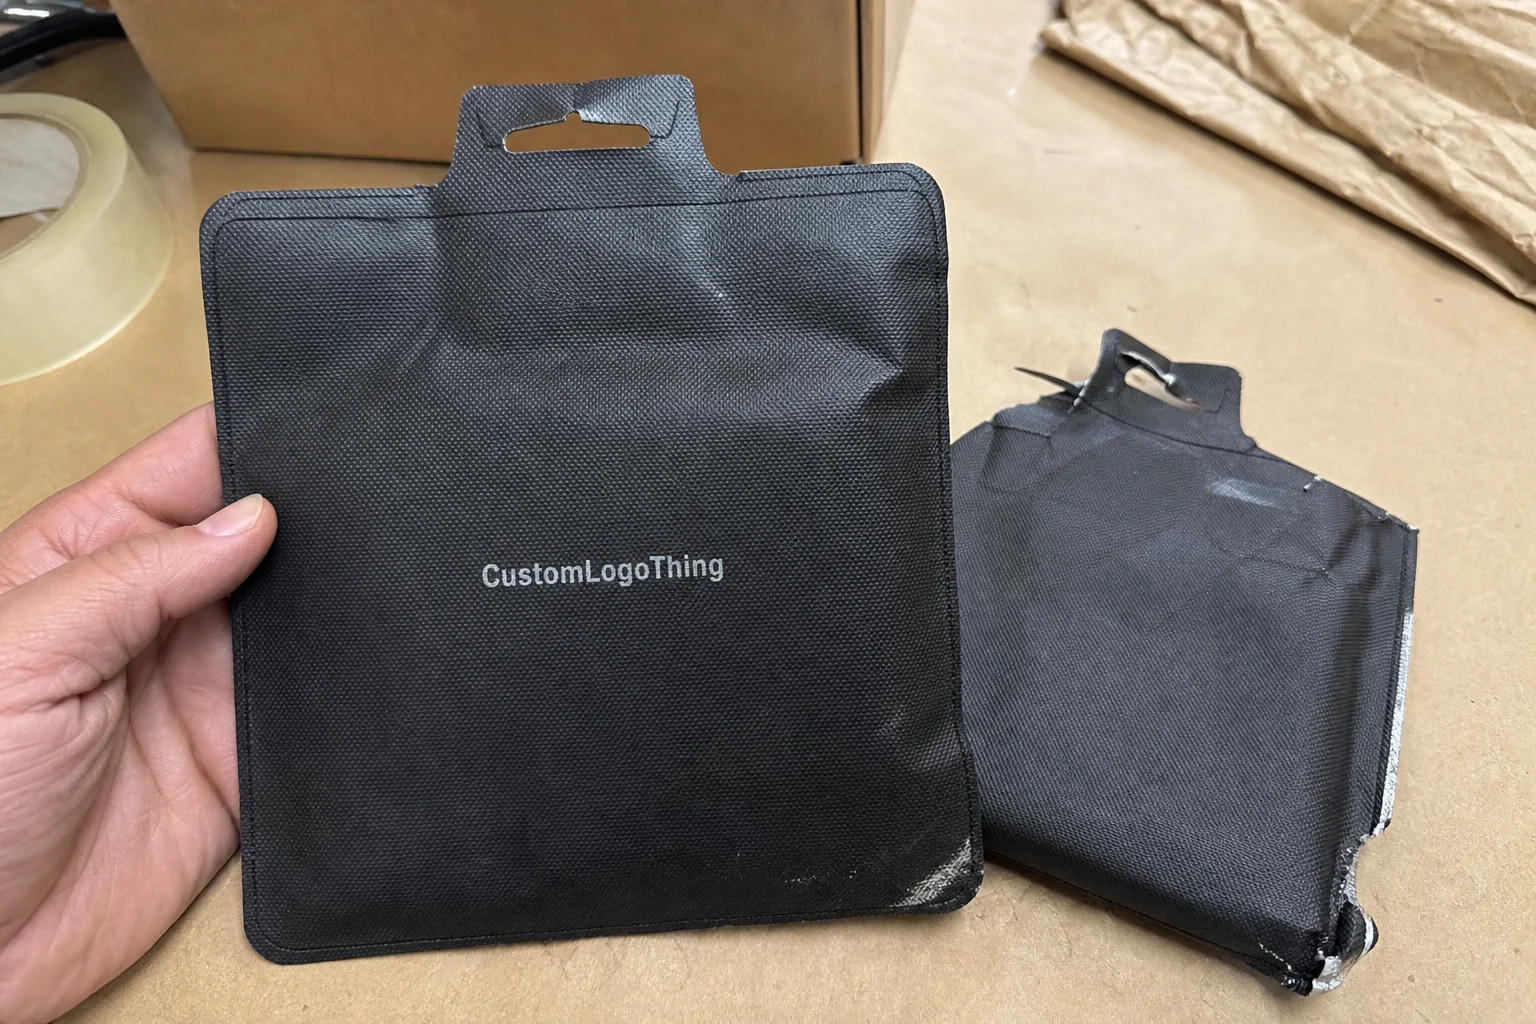
Printed Hang Tags can look perfect on a proof sheet and still arrive bent, scuffed, or half-legible after a single carrier handoff. That gap between prepress approval and real shipping performance is where most sample-kit problems hide.
Sample kits are hard on tags because they combine several stressors at once. The tag rubs against corrugated walls, gets compressed by void fill, absorbs moisture in storage, and can snag when the recipient opens the box quickly. It is not just decoration. It is an identification device, a brand signal, and often the first item a sales rep or buyer sees when the kit is opened.
For sample kits, the job is simple in theory and unforgiving in practice: the tag has to stay attached, stay readable, and still look intentional after transit. If a barcode smears, a corner curls, or the hole tears out, the problem shows up in fulfillment, inventory control, and presentation all at once.
That is why a durability checklist matters. The real risk points are stock choice, finish, edge strength, hole placement, scuff resistance, attachment method, and pack-out testing. If those hold up, the tag usually survives the trip.
How printed hang tags protect branding during shipping
Printed Hang Tags do three jobs at once. They carry branding, identify the product or sample, and help the recipient use or route the kit correctly. That can mean a product name and logo, or it can mean batch numbers, QR codes, care instructions, or internal tracking details for a sales team or distributor.
The attachment method often determines whether the tag behaves like a premium detail or a loose part bouncing around inside the carton. A hole-and-string tag moves freely, which looks refined but also invites abrasion. Elastic loops reduce tearing but can stretch or snag. Adhesive pouches protect the print face, though they add thickness and can trap condensation if the package sees humidity. A pre-punched hole is simple, but if it sits too close to the edge, tear-out becomes predictable.
Thickness changes the result too. A 14pt or 16pt stock may be fine for a hand-delivered presentation, but a sample kit moving through parcel networks often benefits from heavier board or a synthetic substrate. Once cartons are stacked under other cartons, even moderate compression can leave a thin tag permanently curled. That curl may look minor, yet it can distort a barcode or make the brand mark look tired before the kit is opened.
Finish choice is a tradeoff, not a universal upgrade. Matte coatings photograph well and reduce glare, but they can show scuffing sooner than film lamination. Gloss resists grime, though it can show fingerprints and scratches under warehouse lighting. Soft-touch feels premium, but it is not automatically more durable. Film lamination usually delivers better abrasion resistance, though it raises stiffness and cost.
For buyers comparing Printed Hang Tags for sample kits, the route matters more than the render. A tag for a local handoff is one thing. A tag inside a multi-stop transit chain is another. The strongest spec balances legibility, brand presentation, and survivability in transit.
Key durability factors to check before you approve the proof
Material is the first decision, but it is not the only one. Paperboard can perform well if the stock is dense enough and the finish is right. Coated paper stocks usually offer better ink holdout than uncoated sheets. Synthetic stocks, such as polypropylene or polyester-based options, resist moisture and tearing better, though they tend to cost more and may require different print processes.
Ink adhesion matters, especially for heavy coverage or dark branding. Many teams assume the print is done once it leaves the press. In reality, scuff resistance and UV resistance depend on the full system: ink, coating, and substrate. If a QR code or barcode is part of the tag, test it under handling conditions, not only on a flat proof. A code that scans cleanly on a desk can fail once it picks up abrasion from cartons or inserts.
Environmental stress is the hidden variable. A warehouse that swings from cool mornings to warm afternoons can stress coatings. Humidity may loosen fibers in paper-based tags. Compression from stacked cartons can flatten embossed elements or crush edges. Even a small amount of movement inside a box can turn a sharp corner into a worn corner after a few days in transit.
Design decisions affect durability too. Keep the hole far enough from the edge to avoid tear-out. Rounded corners usually wear better than sharp square corners. Avoid tiny type for instructions or product names if the tag may flex, because flex can reduce readability more than buyers expect. If the tag includes variable data printing, leave enough quiet space around each code so scanners have room to work.
For teams that want a standards-based frame of reference, it helps to think in terms of distribution hazards rather than appearance. Organizations like ISTA and the ASTM methods are widely used to simulate vibration, drop, and compression. The tag is small, but the shipping environment is not.
Durability checks that catch problems early
- Scuff test: rub the printed face against corrugated board for 20 to 30 seconds.
- Hole test: tug gently at the attachment point and inspect for tearing.
- Code scan test: scan barcodes and QR codes after the tag has been handled.
- Flex test: bend the tag along the axis it will see in the box.
- Humidity check: leave a sample in a warm, damp room and recheck curl and print quality.
Step-by-step checklist for packaging printed hang tags for sample kits
Buyers usually want the checklist first, so here it is. If you are specifying Printed Hang Tags for Sample kits, start with the shipping reality rather than the creative concept. A good-looking tag that fails in the box is a bad tag.
- Define the use case. Is the kit promotional, subscription-style, or built for sales sampling? How often will it be handled before delivery? What is the average parcel weight, and does dimensional weight push the kit into a higher carrier band?
- Map the route. Local courier, regional parcel, or national transit? The longer the route and the more touchpoints, the more you should prioritize protection over decorative effects.
- Choose the stock for the worst case. Not the prettiest case. If moisture, compression, or abrasion are likely, move up to heavier board or a synthetic option.
- Specify the finish. Aqueous coating is often a practical middle ground. Film lamination gives stronger scuff resistance. Spot UV can look sharp, but it should not be the only defense against wear.
- Approve the attachment method. Match the hardware to the kit. String, elastic loop, rivet, or adhesive pocket all behave differently under tension.
- Check the proof with function in mind. Confirm hole strength, edge distance, fold resistance, and code scan performance, not just color accuracy.
- Test in the actual pack-out. Put the tag into the same carton, with the same filler and inserts, then shake, drop, or compress the unit if possible.
That last step is the one many teams skip. They approve a flat sample on a desk, then wonder why the tag looks different once the sample kit is packed with bottles, sachets, cards, and protective inserts. Shipping is a system, and the tag has to behave inside it.
If you are building a broader kit program, it helps to compare the tag to the rest of the Custom Packaging Products stack. Sometimes the hang tag can be upgraded a little less if the carton or mailer is already doing the heavy lifting. Other times the opposite is true: the tag becomes the only visible brand cue, especially when the outer box is plain.
The same logic applies if your kit uses Custom Shipping Boxes or Custom Poly Mailers. The outer package and the tag should be specified together. Otherwise, you can end up with a premium tag inside a mediocre transit shell, which is a poor trade.
| Tag option | Typical durability | Typical unit cost at 5,000 units | Best use case |
|---|---|---|---|
| 14pt coated paper, aqueous finish | Moderate | $0.12-$0.20 | Short transit, lower abrasion, budget-conscious kits |
| 16pt C1S with lamination | Good | $0.18-$0.30 | Most sample kits with routine parcel shipping |
| Synthetic stock | High | $0.28-$0.55 | Moisture exposure, repeated handling, premium shipping presentation |
| Paperboard with spot UV and reinforced hole | Moderate to good | $0.20-$0.38 | Brand-forward kits needing visual pop without full film lamination |
The cost spread is real, but so is the risk of under-specifying. If a low-cost tag causes one failed scan per thousand kits, the savings can disappear quickly in rework, customer support, or replacement shipping.
Cost, pricing, and MOQ tradeoffs that change the final tag spec
Pricing usually comes down to six variables: size, stock, print coverage, finishing, die-cut complexity, and attachment method. A small rectangular tag with one-color print is a different project from a custom die-cut tag with metallic ink, variable data, and a laminated finish. The more steps involved, the more setup and waste matter.
MOQ changes the economics quickly. At low volumes, a stronger stock or special finish can feel expensive because setup cost gets spread across fewer units. At larger runs, the same upgrade can be easier to justify because unit pricing drops as production stabilizes. That is why buyers should ask for at least two quotes: a durability-first version and a standard version. Once the tradeoffs are visible, the decision gets easier.
For sample kits, compare total package cost, not decoration cost in isolation. A tag that adds four cents may be the cheapest insurance in the box. On the other hand, if the tag only needs to identify a sample briefly before it is discarded, premium lamination may be unnecessary.
Variable data printing deserves its own line in the quote. So do serialization, barcode validation, and kit insertion. Those details affect both cost and lead time. If your program has multiple SKUs, it is better to see the numbers separated than buried in a single lump sum. That keeps the procurement conversation honest.
For buyers managing package protection across a full kit line, the tag is one line item among many. It should be priced like a functional component, not as a last-minute decorative add-on. That mindset produces better specs and fewer surprises.
Process and lead time: from artwork approval to shipped kits
A clean process usually looks like this: brief, spec selection, dieline setup, proofing, print, finishing, inspection, and kitting or fulfillment. The timeline sounds simple, but delays usually come from a few predictable places. Artwork revisions are common. Barcode validation takes longer than expected. Custom die creation adds time. Some finishes also need curing or extra inspection before the tags can move into pack-out.
For standard printed hang tags, a realistic lead time is often 12-15 business days from proof approval when stock is available and the quantity is moderate. Specialty materials, custom shapes, or heavy finishing can stretch that. If the hang tags are inserted into sample kits at the same facility, the schedule needs more buffer because the print run and the assembly line have to align.
Rush timelines are possible, but they usually narrow your options. You may need to accept stock substitutions, fewer finishing choices, or a simpler attachment method. That is not always a bad trade. It just needs to be explicit.
One more practical point: build in time for a pre-production sample and transit testing. A day spent catching a weak hole position or a scuff-prone coating can save a week of replacements later. That is especially true for ecommerce shipping programs where packages move in bulk and mistakes multiply quickly.
For teams doing order fulfillment at scale, keep a repeatable spec sheet on file. It should list stock, finish, size, attachment, barcode format, pack-out instructions, and acceptable wear limits. The next time you reorder, you are not rebuilding the project from memory.
Transparency note: if a supplier cannot separate material, print, finishing, and fulfillment costs, the quote is harder to compare. Ask for a breakdown. It is the fastest way to see where durability is actually coming from.
Common mistakes that shorten hang tag life in transit
The most common mistake is choosing a thin stock because it looks elegant in hand. In shipping, elegance is not the same as endurance. A tag that curls after one shipment cycle can make an otherwise polished kit look cheap.
Another frequent problem is poor layout around the hole, fold, or edge. If the brand logo or key instructions sit too close to the die line, they become vulnerable to cracking, tearing, or optical distortion. The same goes for barcodes. If the quiet zone is crowded, scan reliability drops fast.
Finish choice causes trouble too. A coating that looks beautiful under studio lighting may scratch quickly against corrugated board. Buyers often notice this only after the first live shipment. By then, the purchase order is already in motion.
Then there is the pack-out assumption: “It looked fine on the table.” That line causes more avoidable rework than almost any other phrase in packaging. A tag should never be approved flat if it is going into a compacted shipper with inserts, product, and filler.
For teams managing transit packaging programs, the rule is simple: test the tag in the package, not outside it. That one habit catches most failures before they scale.
Actionable next steps for a safer sample-kit tag rollout
Start with a one-page durability brief. Include the shipping method, expected handling, message hierarchy, barcode needs, attachment style, and the wear level you will accept. That sheet becomes the decision filter for every later choice.
Then ask for two or three material samples. Compare stiffness, scuff resistance, and readability under office light and warehouse light. If a sample has a QR code, scan it after handling. If it has a hole, tug it. If it is meant to survive moisture, expose it to humidity and look for curl.
Next, request a quote for two versions: a standard build and a durability-first build. The gap between them tells you what you are buying. Sometimes the premium version is only a small increase. Sometimes it is not. Either way, the comparison keeps the decision grounded.
Finally, run a small pilot with live shipping. That test reveals how the tag behaves after courier handling, carton compression, and the ordinary roughness of transit. If the pilot works, lock the spec and keep it for future orders. If it fails, adjust the stock or finish before scaling up.
For buyers sourcing Custom Labels & Tags, the main takeaway is straightforward: durability is not one feature. It is a chain of small decisions. If every link is sound, the tag survives. If one link is weak, the whole piece shows it.
“The cheapest tag is rarely the cheapest program once you count reprints, replacements, and the damage a damaged sample kit does to first impressions.”
That is why the durability checklist matters. It forces a comparison between appearance and function, and between function and transit reality. If you keep that order straight, the final tag does its job without drama.
For teams planning a broader packaging refresh, pairing hang tags with the right cartons, mailers, and branded inserts gives the sample kit a more controlled experience from warehouse to recipient. The tag should survive the trip, stay legible, and still look intentional when the box is opened. That is the standard worth aiming for.
What makes printed hang tags for sample kits more durable during shipping?
Durability usually comes from thicker stock, a scuff-resistant finish, smart hole placement, and an attachment method that does not stress the tag edge. The best results come from testing the tag in the same packed condition it will ship in, not just reviewing a flat proof.
Which material is best for shipping-resistant sample kit hang tags?
Paperboard works for many kits, but coated or synthetic stocks hold up better against abrasion, moisture, and repeated handling. The best choice depends on transit conditions, budget, and whether the tag must stay pristine or only remain readable.
How do I estimate cost for printed hang tags on sample kits?
Estimate cost by combining stock, size, print complexity, finishing, die-cutting, and quantity. Higher durability finishes and lower quantities usually raise unit price, while larger runs reduce the per-tag cost.
What is a realistic lead time for custom sample kit hang tags?
Lead time depends on proof approvals, stock availability, finish complexity, and whether the tags are inserted into kits during the same production run. Simple tags move faster; specialty materials, serialized data, or custom shapes usually add time.
Should I test the hang tag separately or inside the full sample kit?
Test the tag inside the full kit because shipping stress changes once it is packed with product, inserts, and fillers. That is the only way to see whether the tag stays legible, attached, and professionally presented after transit.