Printed Hang Tags for boutique retailers shipping durability checklist work starts before design approval and ends after the first carton lands intact. A tag can look polished on a rendering, then arrive scuffed, curled, or crushed after a basic mailer route. That gap is where a lot of packaging budgets quietly disappear.
The failure is easy to miss because display conditions are forgiving. A tag hanging on a rail, a shelf hook, or a studio sample pack is mostly static. Shipping is not. Compression, vibration, humidity, abrasion, and repeated contact with tissue, poly bags, inserts, and garment folds all punish the tag before the customer sees it. For ecommerce, that means the hang tag is part of the arrival experience, not a separate decorative layer.
The right approach is not to overbuild. It is to match construction to transit. A boutique tag that survives the shelf but not the shipment is a bad spec, even if the typography is excellent. The practical question is simple: what combination of stock, finish, hole design, and pack-out gets you the look you want without paying for durability you do not need?
Why tags survive the shelf but fail the shipment
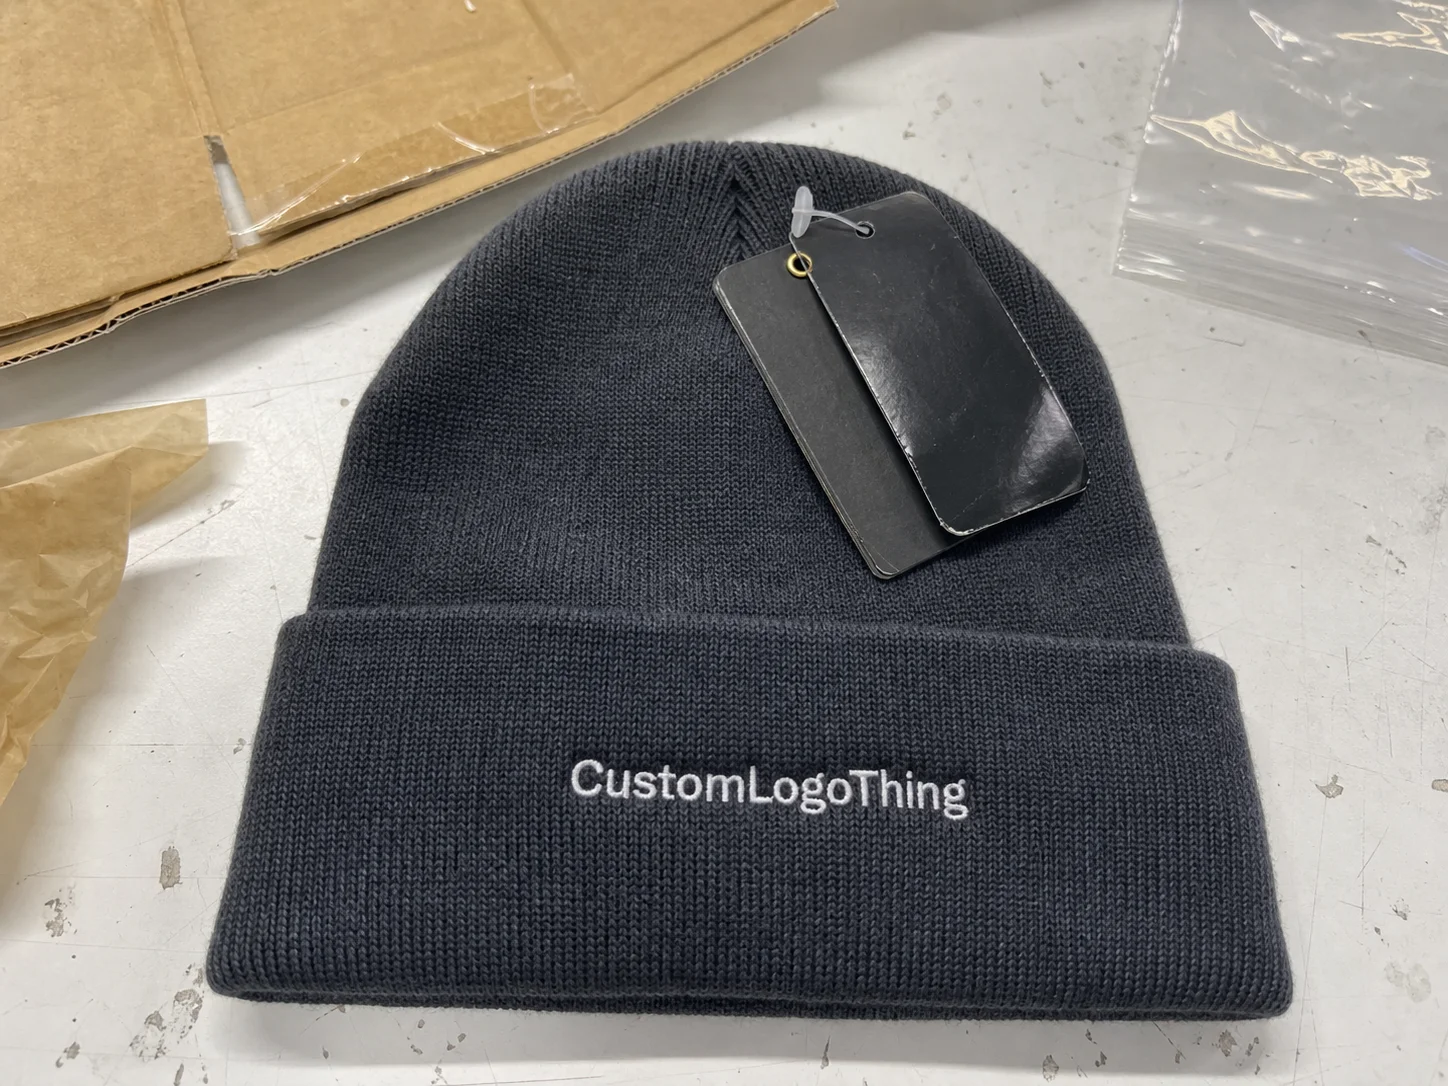
On a shelf, the main risks are handling and light wear. In transit, the tag gets squeezed against shipping materials, moved inside cartons, and rubbed by anything packed nearby. That is why a proof that looked perfect in prepress can come out of fulfillment with corner crush, edge whitening, or a scratched finish.
Humidity adds another layer of damage. Paper stock can curl if it absorbs moisture during freight or sits in a hot receiving area. Thin stock bends easily, but heavier stock is not automatically safer. If the board is too stiff or brittle, the edges chip, the surface scuffs, and the hang hole can tear once tension from stringing or repeated handling starts working on the fibers.
The real cost is not only physical damage. A tag that looks tired on arrival weakens the product around it. A boutique garment, candle, or accessory feels less deliberate if the tag is dented, rubbed, or crooked. Customers notice more than brands sometimes expect: the hole shape, the string, the surface finish, the way the tag sits after packing. That is why a serious Printed Hang Tags for boutique retailers shipping durability checklist starts with transport behavior, not design mood boards.
A tag that survives the press check but fails in the mailer is not premium. It is expensive scrap with good typography.
Use the checklist to make the tag survive the actual route it will travel. If you need matching materials, browse Custom Packaging Products, pair the tags with Custom Labels & Tags, or keep the shipment visually aligned with Custom Poly Mailers.
Printed Hang Tags Shipping Durability Checklist
Use the checklist as a pass-or-fail gate before you approve the final spec. If the sample cannot survive a short drop, shows scuffing after contact with another item, or curls after sitting in a humid carton, the setup needs revision. A pretty sample is not enough.
Start with five checks. Does the tag stay flat after handling? Do corners remain clean after carton movement? Does print resist rub from tissue, polyester, kraft mailers, or box inserts? Does the hang hole stay intact under string tension? Does the finish still read as intentional after the tag is packed with the product?
The failure modes are predictable. Curling usually points to weak stock or finish imbalance. Ink transfer shows up when printed faces sit against another surface before the ink is fully cured or sealed. Laminated tags can still scratch if the film is thin or the carton interior is rough. Punched holes tear when the die is dull, the hole is too close to the edge, or the string cuts through the paper fibers like a saw.
This checklist is not identical for every product. Apparel tags spend more time folded against soft goods. Jewelry tags get handled more, so edge quality matters. Candle and boxed accessory tags tend to see more carton pressure. A spec that works for one category can be wrong for another, which is why the durability checklist should be tied to the item and the shipping method, not to a generic “premium tag” label.
Before you ask for pricing, decide what the tag must survive. A reprint because the finish scratched is expensive. So is a delayed launch because the sample failed after the proof looked fine. The point of the checklist is to move that failure upstream, where it is cheaper to fix.
Stock, coating, and finish choices that actually hold up
For most boutiques, the useful stock range starts at 14pt and runs through 18pt cover stock. That is the band where you can get a premium feel without drifting into material that cracks, chips, or becomes expensive to replenish. A heavier board can feel substantial, but if it shows edge damage after shipping, the result is worse than using a slightly lighter stock with better surface protection.
Aqueous coating is usually the middle ground. It adds modest scuff resistance, keeps the print surface cleaner, and does not bulk up the tag much. Matte or gloss varnish can work if the tag needs a polished retail look without full lamination. Lamination offers stronger abrasion protection, but it changes the hand feel and adds cost. On a delicate brand system, that can matter as much as the visual finish.
Special finishes need more caution than sales sheets suggest. Foil, emboss, deboss, and spot UV can look sharp on a table, but they can crack, scratch, or lift if the tag gets flexed, stacked, or crushed during transit. If the product will ride in a mailer or a dense carton, do not assume a decorative finish is also the durable one. Pretty and practical are not the same specification.
Small structural choices often do more for durability than expensive decoration. Rounded corners reduce edge crush. A larger hang hole, usually around 1/8 inch or a touch larger depending on stock, lowers tear risk. Reinforced holes help on heavier boards or on tags that use thicker string. The string itself matters more than many buyers expect. Thin twine can cut into fibers, while cotton string, elastic loops, or smooth fasteners usually behave better in shipping.
Coating choice also affects how the tag looks after handling. Matte finishes hide fingerprints and small rub marks better than high gloss. Gloss can feel brighter on shelf, but it shows abrasion faster under warehouse lighting. If the product line ships in clear poly or tissue, test the finish against that exact contact point, because some surfaces leave a mark that only appears after packing.
| Option | Typical unit cost at 5,000 pcs | Transit durability | Best use |
|---|---|---|---|
| 14pt cover, no coating | $0.08-$0.13 | Low to moderate | Light packing, short domestic lanes, low-abrasion products |
| 16pt cover with aqueous coating | $0.11-$0.18 | Moderate | Most boutique apparel and accessory orders |
| 18pt cover with matte or gloss lamination | $0.18-$0.30 | High | Higher-touch brands, longer shipping lanes, stronger package protection needs |
| Special finish with foil or spot UV | $0.28-$0.55 | Variable | Display-focused tags with careful pack-out and lower abrasion risk |
The table is directional rather than final pricing. Size, print coverage, finish coverage, and quantity all move the number. Even so, the pattern is stable: a modest upgrade in stock or coating often costs less than replacing damaged tags, paying for reprints, and absorbing schedule slippage. If you care about both brand feel and landed cost, that tradeoff is usually where the money is.
If sustainability matters to your brand and your supplier can document it, FSC chain-of-custody paper is worth asking for. For transit validation, ISTA test methods are more useful than informal handling checks. They are not academic overhead if the product volume is high enough to make repeatability matter.
Production steps and timeline from file to dock
The production sequence should be unglamorous. Dieline setup comes first. Then artwork review. Then proof approval. After that comes the print run, coating or laminating, die cutting, hole punching, stringing if needed, and final packing. If a quote skips one of those steps, it is not a complete quote.
Simple digital work moves faster than offset. Custom shapes, specialty finishes, and added assembly steps extend the schedule because each one adds setup and inspection time. A plain rectangular tag with a standard hole is quick. A foil-stamped tag with rounded corners and pre-stringing is not quick, no matter how tidy the order form looks.
Typical turnaround after proof approval is often 5-8 business days for straightforward digital work, 10-15 business days for offset runs with standard finishes, and 12-18 business days when lamination, foil, custom die shapes, or manual stringing are added. Freight time sits on top of that. If the order is splitting to several fulfillment centers, add more time for carton sorting and routing.
The bottlenecks are usually the same. Missing bleed. Low-resolution logos. Hole placement too close to the edge. Pantone mismatches. Last-minute layout changes that force a new proof. None of these are minor annoyances. They are the things that push a launch back a week.
Pack-out affects the schedule as much as print complexity. Bulk packed tags are faster to produce and cheaper to ship. Pre-stringed tags take more labor and more carton space. Retail-ready bundles often increase dimensional weight because the carton has to hold shape, not just volume. That can move freight costs more than the print price does.
One practical detail gets missed often: tags packed flat can arrive in better shape than preassembled tags if the fulfillment process is rough. If the plan is to string or attach them at the brand’s warehouse, a simpler pack-out can protect both the tag and the schedule. If the line ships pre-tagged, ask how the string or fastener is secured during cartoning so the tags do not rub against each other in transit.
Cost, pricing, MOQ, and quote variables to compare
The Printed Hang Tags for boutique retailers shipping durability checklist should sit inside the RFQ, not in a note after the quote arrives. If two suppliers are pricing different stock, different finishes, different pack-out, and different freight assumptions, the unit price comparison is not meaningful. The lower number is often just the one that left out the costly parts.
What actually drives unit cost is straightforward: size, stock, print coverage, quantity, one-sided or two-sided print, coating or lamination, and whether the tag needs extra handling after print. Add foil or spot UV and the price can jump fast because setup and waste increase. That is normal. Pretending otherwise only leads to bad decisions.
MOQ is where smaller boutiques feel the pressure. A lower minimum order quantity helps cash flow and reduces leftover inventory, but the per-piece cost usually rises because setup is spread across fewer tags. A larger run lowers unit cost, but only if the design is stable enough that you will not want to change it in six weeks. Otherwise, you just bought a stack of old branding.
Ask every supplier to list the same quote items:
- Setup fees and any dieline or prepress charges.
- Die charges for custom shapes or rounded corners.
- Finishing for coating, lamination, foil, emboss, or spot UV.
- Stringing or assembly if tags are not shipped flat.
- Packaging and freight based on the same ship-to zone.
- Reprint policy if the proof was approved incorrectly.
The cheapest quote is not cheap if it leads to reprints, delayed launches, or damaged inventory. A small durability upgrade is usually cheaper than the cost of replacing a bad run. That is the part many buyers miss when they compare tags as if they were identical except for the logo.
For buyers managing several SKUs, the cost math also connects to fulfillment. A tag spec that stacks cleanly with shipping materials and fits the package without extra void fill can save more than the print upgrade costs. Packaging does not live in a vacuum. It lives in the carton, next to the product, under real handling.
Common mistakes that wreck durability and margins
The first mistake is choosing a beautiful stock that crushes, curls, or scuffs the moment it gets packed. The proof looked great on a desk. The carton did not care.
The second mistake is skipping hole reinforcement or using weak string, twine, or fasteners that fail during fulfillment instead of at checkout. That is a bad place for failure. The customer already has the product in hand, which means the damage now reads as a brand problem.
The third mistake is approving artwork without checking bleed, safe margins, barcode contrast, or how dark inks behave on the selected stock. Dark print on uncoated paper can look rich, but it can also go muddy if ink density is not managed correctly. That is an easy miss when the buyer is focused only on layout.
The fourth mistake is specifying luxury finishes for a tag that will be crushed in transit anyway. Foil on a tag that rubs against a textured box insert is a future complaint. Premium details only work if the transit packaging can protect them.
The fifth mistake is comparing supplier quotes without counting freight, spoilage, and reprints. A low unit cost that triggers rework is not low. It is a slow leak. Total landed cost is what matters, especially once dimensional weight and packaging overhead enter the conversation.
The sixth mistake is assuming a sample approved on day one will behave the same way after a full pallet moves through distribution. Small runs and full runs do not always fail the same way. A sample can hide static issues, carton pressure, or rub patterns that become obvious only when the volume rises.
If you are also buying the rest of the kit, keep the same visual and practical standard across the box, mailer, and tag. It is easier to coordinate a consistent system than to fix one weak link later. Many boutiques pair hang tags with matching branded inserts and Custom Shipping Boxes rather than treating each item like a separate purchase with no shared spec.
Next steps before you place the order
Build a one-page spec sheet with size, stock, finish, hole size, string type, quantity, and pack-out so every supplier quotes the same job. If the spec is vague, the pricing will be vague too. That is not a pricing problem. It is a spec problem.
Request samples or a short test run, then ship them with the actual product mix you plan to use. Real transit exposes problems that a tabletop test will miss. A tag that survives a desk squeeze and a hand rub may still fail once it rides with folded apparel in a crowded carton.
Inspect the returned samples for curl, corner crush, ink rub, hole tearing, and finish damage, then revise the spec before the full run. If you see one weak point, assume it will get worse at scale. That is how print runs behave. They do not become more forgiving because the quantity got larger.
Ask for lead time by quantity band and finish combination, not one vague promise. A quote without schedule detail is just a number with optimism attached. If the order supports a seasonal drop, build buffer time around proof approval and freight, not just press time.
For buyers who want a cleaner procurement process, keep the tag spec beside the mailer, insert, and box spec before production starts. That keeps the packaging system visible as one unit instead of three disconnected purchases that only meet in the warehouse.
Once the proof is final, the sample is tested, and the pack-out is locked, the process becomes much less reactive. That is the point. Good hang tags are not accidental. They come from a realistic spec, a sensible finish choice, and a supplier brief that treats transit as part of the product.
What stock works best for printed hang tags for boutique retailers shipping in mailers?
Start with 14pt to 18pt cover stock and choose based on how much compression the package will take. If the tag rides with folded apparel or hard goods, lean stiffer and add a protective coating. Test the sample in the actual mailer before you commit to the full run.
Which coating gives the best shipping durability for printed hang tags?
Aqueous coating is usually the middle ground for scuff resistance and clean print quality. Matte or gloss varnish can work when the tag needs a finished retail look without full lamination. Use lamination only when abrasion is a real problem, because it adds cost and can change the feel of the tag.
Do boutique retailers need reinforced holes on shipping hang tags?
Yes if the tag is stringed, bundled, or likely to rub against other items during fulfillment. Reinforcement matters more on heavier stocks and on tags with narrow hole placement. A small structural fix is cheaper than replacing a stack of torn tags.
How do I compare quotes for printed hang tags without getting fooled by low unit cost?
Compare the same stock, finish, size, quantity, and pack-out on every quote. Ask whether setup, die charges, stringing, packaging, and freight are included. The cheapest quote is not cheap if it adds reprints, delays, or damaged inventory.
What turnaround should I expect for printed hang tags with durability upgrades?
Simple digital runs are usually faster than offset runs with specialty finishes. Extra steps like lamination, foil, custom die cuts, or stringing extend the schedule. Approval delays usually hurt more than print time itself, so lock the proof early.