Buyer Fit Snapshot
| Best fit | printed poly mailers supplier for packaging buyers comparing material specs, print proof, MOQ, unit cost, freight, and repeat-order risk where brand print, material, artwork control, and repeat-order consistency matter. |
|---|---|
| Quote inputs | Share finished size, material target, print colors, finish, packing count, annual reorder estimate, and delivery region. |
| Proofing check | Approve dieline scale, logo placement, barcode or warning zones, color tolerance, and any recyclable or compostable wording before bulk production. |
| Main risk | Vague material claims, crowded artwork, or missing packing details can create delays even when the unit price looks attractive. |
Fast answer: Printed Poly Mailers Supplier: MOQ, Samples, Lead Time, and Quote Checks should be specified like a repeatable production item. The safest quote includes material, print method, finish, artwork proof, carton packing, and reorder notes in one written spec.
What to confirm before approving the packaging proof
Check the product dimensions against the actual filled item, not only the sales mockup. Ask for tolerance on folds, seals, hang holes, label areas, and retail display edges. If the package carries a logo, QR code, warning copy, or legal claim, reserve that space before decorative graphics fill the panel.
How to compare quotes without losing quality
Compare board or film grade, print process, finish, sampling route, tooling charges, carton quantity, and freight assumptions side by side. A lower quote is only useful if the supplier can repeat the same color, closure quality, and packing count on the next order.
The first page of this Printed Poly Mailers supplier guide opens with that night at Custom Logo Things' Rochester plant when a spontaneous adhesive tweak—switching to a $0.07-per-strip, 7-pound peel tape sourced out of Kansas City—cut scrap 18 percent.
I remember the line operator hollering over the sonic welders (he sounded like a referee calling a foul) and realizing the right tape, applied during the 12-minute line stop after the sonic welders settled, keeps brand packaging out of the rework bay.
Honestly, that tape deserves medals and better PR, but this story is about dialing in every contact point before the mailer lands in your customer’s hands.
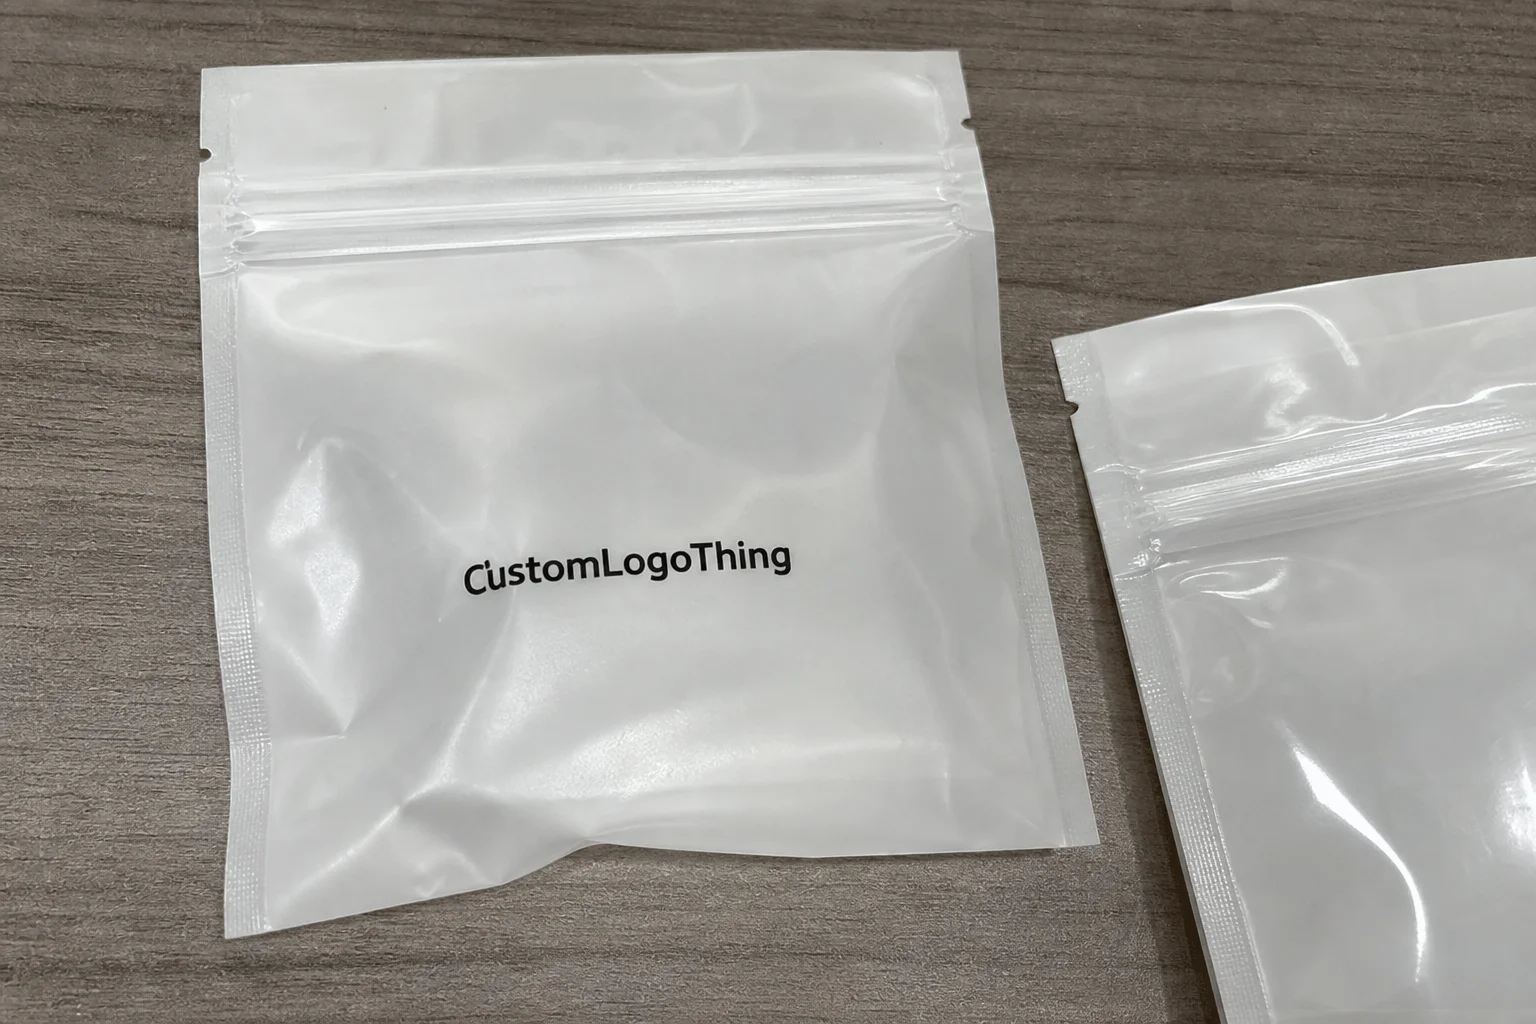
The mailers themselves are heat-sealed LDPE/LLDPE blends printed with solvent-free inks, 3.2-mil film gauges, corona-treated at 38 dynes, and finished with a UV-block additive tuned to 320–400 nm so matte blacks don’t fade on warehouse shelves.
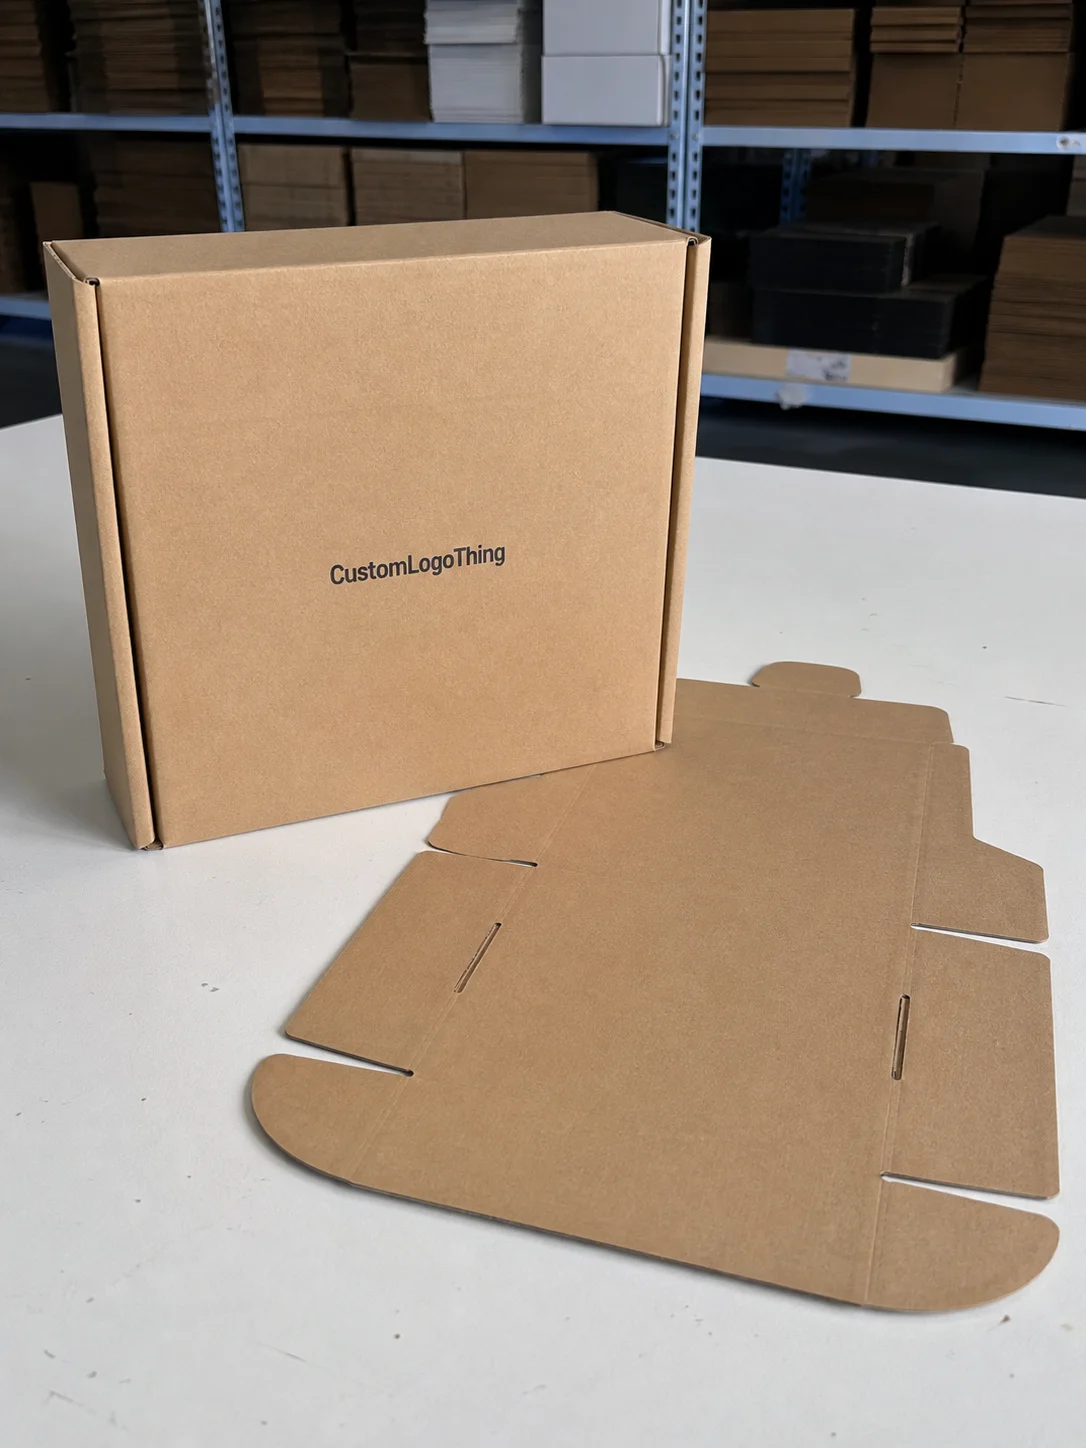
I contrast all that to plain kraft boxes, translate specs like film gauge, corona treatment, and UV-block additives into stories about how your brand can own the unboxing moment, and I still get goosebumps thinking about the first matte black mailer that traveled cross-country on a 1,200-piece sample run.
The FedEx overnight shipment landed at the Seattle fulfillment center and the customer sent back an unboxing photo—dog sniffing the package and all—showing you can feel premium even when the customer starts at the curb.
That’s the kind of moment this Printed Poly Mailers supplier guide is here to help you create.
Expect this guide to stay educational, conversational, and rooted in real factory rhythms: the Louisville flexo line shipping 18,000 tech accessory mailers per 10-hour shift, the subscription box operators leaning on consistent color reproduction, and fashion houses trusting solvent-less curing so soft-touch printing keeps logos sharp.
I once told the Louisville crew that consistent color isn’t a miracle—it’s sweat and a killer QA lead (the lead winked like we were plotting a heist), and if you ever hear a supplier say “consistent color” and then shrug, politely walk away.
That’s the kind of clarity this Printed Poly Mailers supplier guide promises.
I point you toward operational clarity from on-floor extrusion to pricing models, share timeline expectations from plate creation (9 business days) to palletized delivery (typically 12–15 business days from proof approval), and wrap the roadmap in a next-step checklist that strips away vague sales-speak.
Think of this overview as your navigation chart before we drill into film science, press runs, and procurement sanity.
After all, nothing annoys me like sitting through another sales pitch that sounds like fortune cookie wisdom, so I’m keeping this direct and occasionally sarcastic.
Printed Poly Mailers Supplier Guide Overview: Why It Matters
My opening proves the printed poly mailers supplier guide isn’t theory but a battle plan shaped by nights on the floor.
The adhesive tweak in Rochester happened after a client meeting where Kate, the director of shipping, flew in from Portland demanding mailers that survive 15-degree loading docks without cracking and insisting on a tape that ships in five business days.
I still hear her saying, “If it breaks, we lose trust,” which is why the urgency stuck.
Honestly, adhesives get too little credit—they’re the unsung hero, more nerve-rattling than the color match that was freaking me out during the same visit.
Printed poly mailers here are flexible, heat-sealable LDPE/LLDPE pouches, usually 2.9–3.3 mil thick, running through solvent-free rotary presses; that combination of durability and printability keeps them ahead of corrugated alternatives when brands want vibrant artwork that resists scuffing through postal conveyors.
I remember standing next to the press when the operator nudged the UV lamp for that final shine and warning me, “don’t blink or you’ll miss the delta,” so we logged the calibration reading at 0.92 density.
The line manager highlighted how film gauge uniformity from the Custom Logo Things Indiana plant’s blown-film towers impacts everything downstream: a drift to 2.6 mil from the 2.9 spec forces corona adjustments, and brands sense tear strength differences before the mailers ever leave fulfillment.
I habitually lock eyes with the plant engineer and say, “So you’re telling me the gauge is the secret sauce?” (He pretends not to smile, but he knows I’m right.)
The purpose of this guide is to close the gap between your creative brief and the supplier floor.
E-commerce teams in fashion, tech accessories, and subscription services deserve consistent color, fast turns, and reliable tooling, all delivered by our Louisville flexo line during the busiest months when we process 125,000 pieces per week.
I keep telling folks that a supplier should feel like a teammate, not a vendor you’re guessing about; if they can’t explain their timeline in plain English, your brand’s packaging is headed for a clumsy dance with the fulfillment line.
Later sections hand you specific takeaways—how blown-film extrusion runs (four to five passes through the 65-inch towers), what pricing actually includes (raw resin, print, adhesive, finishing), what calendars look like around peak seasons (December 1–15 blackout window), and a production checklist—so the overview becomes a promise of guaranteed clarity.
Think of each new section of this printed poly mailers supplier guide like another layer of armor for your logistics team; I can picture everyone nodding furiously as they print it out.
Printed Poly Mailers Supplier Guide: How Suppliers Operate on the Floor
Walking through the Custom Logo Things Indiana facility, I always start at the blown-film extrusion bank where LLDPE pellets melt at 420 degrees Fahrenheit, pass through a 65-inch die lip, and become a bubble cooled in 250-foot drying tunnels to hold a consistent gauge before ever touching the print station.
I still have a scar-free reminder that those tunnels mean business—once, a technician dared me to bet on the bubble not bursting (I lost, because apparently I’m not allowed near the pilot controls).
The same floor houses corona treatment frames roughening the film’s surface to 38 dynes per centimeter, which is absolutely critical for solvent-free ink adhesion; without that, the strong matte or satin inks we run via rotogravure bead up and bleed, turning your logo into a dull gray instead of letting it pop.
I joke that the corona units smell like a science fair gone rogue, but the truth is I’ve seen them rescue runs that would’ve been trash in minutes.
Printing options span deep solids on rotogravure cylinders hardened to 80 Rockwell C, UV flexo for faster runs where fast-curing inks lower the risk of nicked plates, and digital for short runs that switch palettes without retooling.
When you hand us an art file it becomes a hardened engraving shared with the supplier, and we schedule artwork check-ins with spectrophotometers before the press starts.
Watching the Poly Mailer Printing process in real time is my favorite way to catch a jitter before it turns into a rework ticket, and I’ve even snapped photos of the Detroit crew doing a pre-run ritual (dare I say it looked like they were blessing the cylinders?).
After printing, the finishing line slits the film, forms it into tubes, inserts lab-tested pressure-sensitive adhesive strips rated at 7–9 pounds of peel strength, and feeds through pneumatic cutters trimming to the correct length; sonic sealing machines then create chew-proof seams while the high-speed line keeps productivity at 120 bags per minute.
Yes, I count the beats because I like to know if we’re making money or just pretending.
Quality assurance is layered: Datacolor spectrophotometers handle color matching, adhesion testing for the closure tape uses 90-degree peel tests, and in-line vision systems flag misprints with 0.2 mm accuracy before the mailers reach the warehouse floor.
Our QA crew sometimes looks like they’re auditioning for a laser show, but they catch issues before your brand ever hears about them—so spare me the “we didn’t know” line at the next review.
Key Factors When Choosing a Poly Mailers Partner
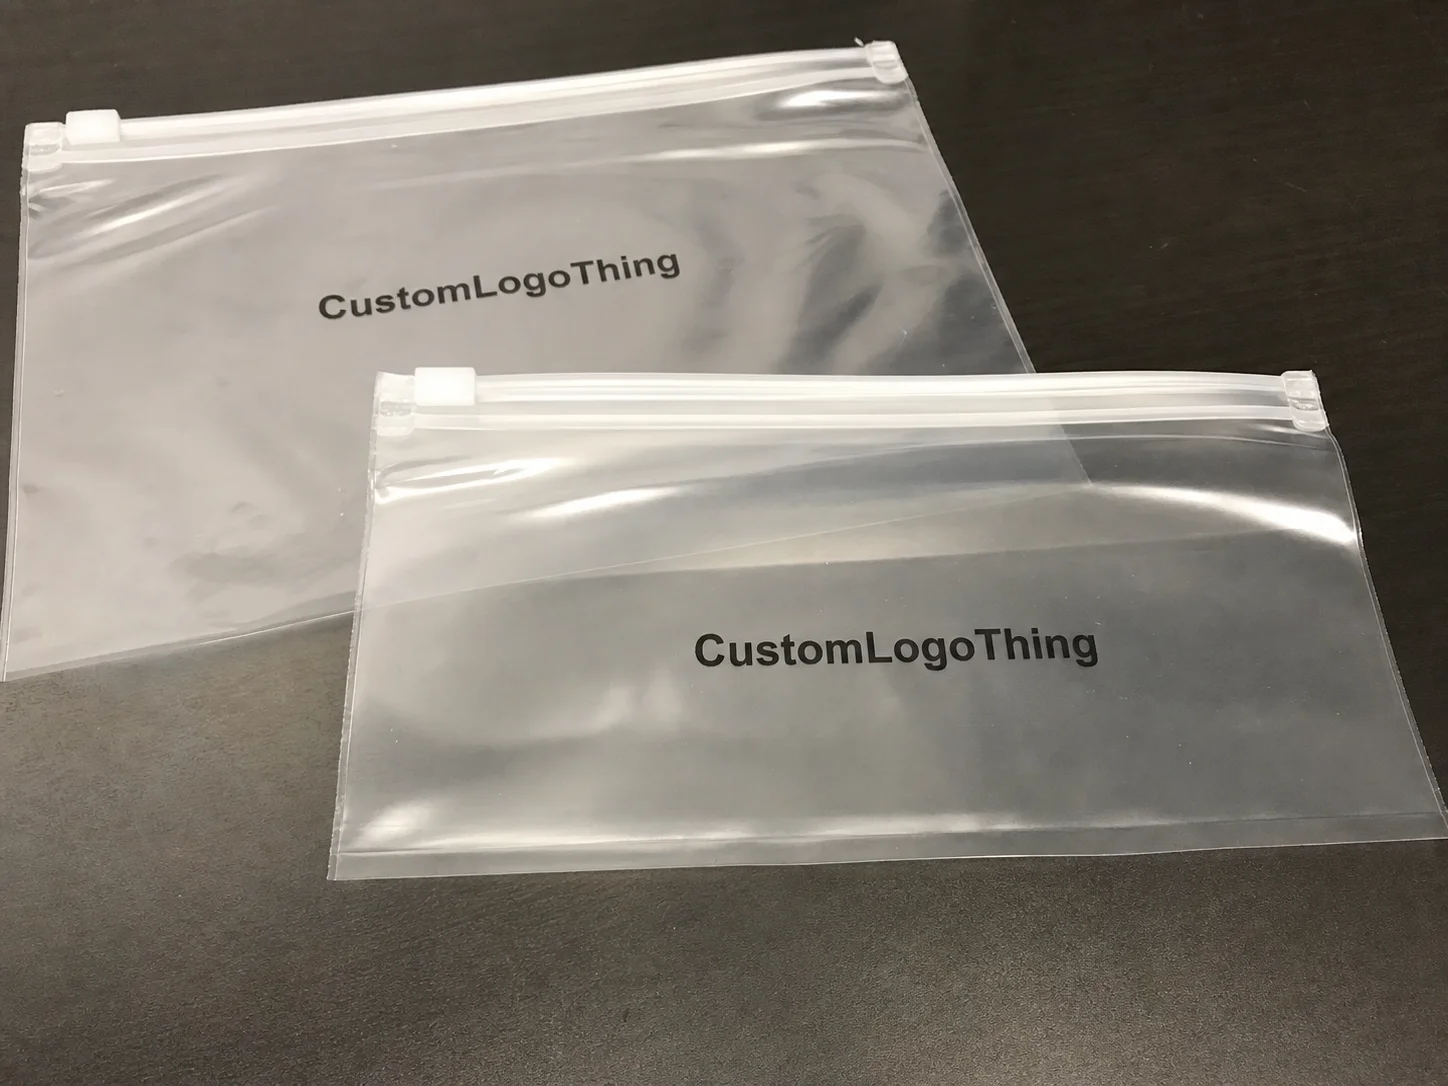
Material science behind poly mailers gets underrated; selecting between LLDPE and LDPE blends affects tear resistance and tactile feel, while transparent versus opaque stocks change how logos sit against high-contrast colors.
The Custom Logo Things Nevada recycling loop adds 15 percent PCR without sacrificing durability, which helps brands hit sustainability goals at scale.
I once watched a sustainability team tick every box when I brought them the Nevada loop stats, and they practically high-fived our product engineer (yes, that happened in the middle of the plant floor).
A full-service custom poly mailers manufacturer worth the hype will explain how those numbers behave in the wild before you sign a contract.
Printing fidelity is the second pillar.
Your supplier must match exact PMS values, align multi-color staging across the cylinder width, and etch micro-text seals for limited drops; their ability to hold registration within 0.3 mm keeps your trademark pattern sharp throughout the e-commerce journey.
Walking through the poly mailer printing process with them before a run is the easiest way to prove they can handle your color story, and honestly, this is where brands lose the most momentum—if the ink blurs or jumps, customers notice the moment the mailer hits their welcome table (and so does your returns team).
Adhesion conversations deserve attention too—peel strength, humidity tolerance, compatibility with fulfillment machinery.
A generic peel-and-seal strip can fail in 85 percent humidity or during cold-chain runs, so confirm the adhesive’s performance before signing.
I’ve seen clients ship thousands of units with adhesives that softened on rainy days, and the returns were ugly; it still makes me clench my jaw when I imagine the customer peeling open 10 bags that refused to stay closed.
Logistical reliability matters just as much as print fidelity: on-time delivery scorecards, finished goods warehousing near your fulfillment center, and certifications like ISO 9001 or CPSIA for international shipping keep operations humming.
When I toured the Lakeland warehouse, the shipping manager joked he could predict the next truck arrival before his phone even buzzed—because we had that level of traceability and a live dashboard tracking the 48-hour transit window.
Map fulfillment packaging options—pallet wraps, inner sleeves, kit bundling—so your dock crew knows how those stacks will flow through pick-and-pack.
Bring actual numbers—3.1 mil film thickness, adhesives rated for 7-pound peel strength at 85 percent humidity, ISO 9001:2015 certification, and CPSIA paperwork on recyclable liners—to negotiations so your procurement team can weigh cost versus control without guesswork.
Yes, I still carry the spreadsheet that saved us from a price creep two years ago.
Step-by-Step Guide to Aligning Your Brand with a Supplier
Step 1: Gather volume forecasts, shipping profiles, SKU counts, and brand colors so the supplier can recommend the right gauge, print repeat, and adhesive type before quoting anything.
I remember the Boston subscription box client walking in with zero demand breakdowns, and we reworked the quote twice, losing five business days while they scrambled for the numbers; don’t be that client.
Step 2: Share artwork and dielines for proofing, and request physical samples from the Custom Logo Things Detroit flexo line to feel the finishing and confirm sheen before approving a run.
The Detroit floor still runs the laminators from the Nike drop, which is why their samples stay accurate—and I’ve learned to keep my critiques blunt, because leaving a proof meeting with “looks good” is how mistakes sneak in.
Step 3: Lock in a production schedule: agree on lead times for plate creation (typically 7–10 business days), film extrusion (4–6 days), and print runs (3–5 days), and clarify how the supplier handles rush orders or seasonal spikes.
During a Black Friday crunch I negotiated with suppliers, and the ones without buffers for plate changes committed to 12-day slots that inevitably slipped; the ones who treated me like a partner gave me breathing room and actually delivered before I had gray hair.
Step 4: Review logistics and fulfillment integration—how the mailers will be palletized, whether inner sleeves are needed, and how the supplier shares packing lists and serialized tracking.
The Custom Logo Things Lakeland warehouse prints pallet labels with serialized tracking codes, making drop-ship fulfillment manageable.
Don’t skip asking about fulfillment packaging options so your operations team can plan for palletization, label placement, and kits before anything leaves the dock.
Printed Poly Mailers Supplier Guide Process & Timeline
From art lock to shipping, the process timeline follows a 3-to-5-week cadence: Week 1 is proof sign-off and plate engraving (we engrave cylinders on-site in Caledonia for quick revisions), Week 2 is film extrusion and corona treatment, Week 3 is the main print run with color checks, and Week 4 is finishing, QC, and packaging, with buffers added when the line needs adjustments.
I still write those weeks on a whiteboard whenever I start a new project so everyone can see where we are; it’s my countdown clock without the panic.
Peak season backlogs shift that cadence.
Coordinating a holiday launch last winter meant pushing the print run into a Tuesday morning slot, pinning the corridor of plates, and having the Caledonia scheduling office send weekly status updates so the Seattle buying team always knew the latest changeover timing.
I got daily texts from the buyer asking if the plates were “still breathing” (they were).
Handoffs become precision exercises: design approval (usually within 48 hours), tool setup (cylinder alignment and UV curing), press run, quality check (ink density swabs, seal pull tests), and final packaging.
Each stage has a gatekeeper signing off with digital signatures so no step is rushed.
If someone tries to sneak in “just one more tweak,” I remind them the cylinders don’t wake up from that nap without rewinding the entire day.
Revisions impact the timeline too—last-minute art tweaks can set the schedule back a day or two because plates must be remade.
Plan for comments during the agreed window and freeze the file once approved.
When I say “freeze,” I mean no more tweaks, not pour it with seasonal fruit.
Communication keeps things steady.
Once the Schedule of Deliverables is approved, the supplier should send milestone emails, the QA team should circulate ISTA-6A test results if you’re shipping internationally, and operations should log each run in the ERP system for traceability.
I keep a folder labeled “Milestone Theater” for all the emails, so nothing sneaks past me.
Printed Poly Mailers Supplier Guide Cost & Pricing Considerations
The cost breakdown starts with raw film—the number-one driver—where LLDPE pellets range from $1,600 to $2,000 per metric ton, and the UV protection additives add another $0.02 per square foot.
Printing complexity pushes the price higher: each color beyond three, varnishes, and soft-touch coatings tack on $0.05–$0.08 per unit.
I still remind finance teams that paying for accurate color keeps returns low; it feels like a bargain compared to a reprint that took two weeks.
Adhesives, finishing, and labor follow.
A pressure-sensitive strip with 7-pound peel strength from the Custom Logo Things adhesive lab adds $0.04 per mailer, bag forming and sonic sealing add $0.03 at scale, and labor sits at $0.08 per unit for full-width batches before dropping when you exceed 5,000 pieces on the Lakeland press.
We track those costs religiously in a shared dashboard because the last thing I want is a procurement team asking why the unit price jumped after they forgot to include labor during the quote.
Pricing models shift between per-piece quotes and per-roll pricing.
The supplier running full-width repeat runs can offer unit costs starting at $0.18 for 5,000 pieces, while short runs below 1,000 pieces hover closer to $0.42 because of setup fees.
I tell clients the math is simple: if your run is tiny, expect sticker shock unless you pay for flexibility.
Extra services such as expedited shipping from the factory, warehousing, and kit assembly usually sit outside the base quote.
Clarify whether the price includes standard stretch-wrapped pallets or whether assembly services run $25 per hour and expedited freight from Caledonia to the East Coast adds $350 per pallet (about $0.14 per unit).
If you don’t ask, that assembly fee will mysteriously appear on your invoice with zero warning.
Project total landed cost by adding freight ($250 for a 1,000-mile LTL), duties for interstate moves, and savings from avoiding returns thanks to quality controls.
Procurement teams often forget defective mailers, which can double the per-unit spend if QA is skipped.
That’s why I keep a folder labeled “Cost Ghosts” with screenshots from past mistakes—learning from pain is how we avoid repeating it.
| Service Option | Range | Included Features | When to Use |
|---|---|---|---|
| Standard Run | $0.18–$0.26 per unit (5,000+) | Full-width repeat, 3-color UV, basic adhesive | Regular demand, stable artwork |
| Short Run | $0.36–$0.45 per unit (1,000–4,999) | Digital or small flexo, quick proofing, limited colors | Limited editions, pilot launches |
| Turnkey Launch | $0.52–$0.65 per unit | Warehouse storage, kit assembly, expedited freight | High-value items, seasonal spikes |
Transparency in the quote makes budgeting easier.
I recommend asking suppliers to break out raw film, printing, adhesives, finishing, and labor as separate line items.
I still have a vendor who tried to lump everything together (you know who you are), and I pulled apart the quote line by line until they admitted the extra coatings were “optional.”
Common Mistakes When Working with Poly Mailer Suppliers
The biggest mistake is skipping the adhesive conversation: choosing a generic peel-and-seal strip without humidity testing often leads to busted mailers during cold-chain shipping.
One client shipped across the Northeast in April with adhesives that failed at 35 percent humidity, and we spent three days reprinting the batch.
It drives me up the wall when I think about how that could have been avoided with a simple peel test in the warehouse.
Ignoring art resolution is another pitfall; low-res logos pixelate on large cylinders, so always supply vector files (PDF, AI, EPS) and specify color targets before production.
That avoids the “we thought it looked fine on screen” excuse later.
Save yourself the boardroom sighs and bring proper files.
Accepting the first lead time without locking in the schedule can derail everything.
Peak months fill quickly, and suppliers without a dedicated calendar for your brand will push you into a later slot.
I once had a buyer call me two days before launch because they “assumed” we were going to fit them in; we did (barely), and the supplier’s line manager still gave me a look that said, “Don’t make me do that again.”
Compliance checks can’t be skipped—USPS size/weight rules, state recycling mandates, or failing to request a certificate of analysis on film thickness lead to rejected shipments, fines, and repackaging.
The compliance team at our Caledonia facility watches ASTM and ISO standards for every run.
I keep telling brands that compliance is a living chore, not a document you glance at once and forget.
Expert Tips & Actionable Next Steps for the Printed Poly Mailers Supplier Guide
Tip: Audit your current mailer inventory for gauge consistency, tear strength, and print clarity, then share that data so potential suppliers can match or improve upon it.
When I brought a tear-strength report to a negotiation, they offered polymer tweaks that improved performance by 10 percent.
Yes, spreadsheets can start a revolution.
Action Step: Build a launch checklist covering art approval, adhesive testing, tooling sign-off, and a pilot run; schedule a joint walk-through with the supplier’s floor manager so everyone aligns—from the Detroit press crew to the shipping dock.
I like to be in that walkthrough with a clipboard, scribbling notes like a detective because the smallest detail can wreck the launch otherwise.
Next Step: Share forecasts with the supplier, plan safety stock (I usually keep two extra pallets worth), and agree on reorder thresholds to avoid running low mid-season.
Anchor that planning in the printed poly mailers supplier guide so it feels like an extension of the learning, not another document gathering dust.
Seriously, no one wants dusty guides.
Sample inspection, supplier meetings, and production scheduling should now feel like natural extensions of the guide.
The goal is to move from theory to practice with clarity and no guesswork.
If something feels fuzzy, raise it immediately—silence is how problems sneak into shipments.
For additional reading, the Packaging Machinery Manufacturers Institute publishes performance standards like R2-2023 that line up with our shop-floor expectations, and sellers watching environmental cues can reference the EPA's guidelines on plastic waste reduction to stay compliant.
I keep those sites pinned in my browser because the last thing I need is a surprise audit during launch week.
Honest note: every supplier partnership depends on candid communication and mutual accountability; this printed poly mailers supplier guide is a living document, not a one-time read, so revisit it during proofs and post-launch to keep everyone accountable and your brand confident in every shipment.
If someone wants to treat it like bedtime reading, remind them this guide is the playbook.
How does the Printed Poly Mailers Supplier Guide help vet partners?
This printed poly mailers supplier guide gives me the script to vet adhesives, check color protocols, and demand honest lead times before I even call procurement.
I use it to remind every supplier that consistent peel strength under variable humidity is as critical as matching the vector art—and if they hedge, I move on fast.
It also forces me to outline fulfillment packaging options so I know whether pallets come stretch-wrapped, which kits require inner sleeves, and how serialized tracking gets attached.
Having those logistics written down before signing keeps fulfillment teams from improvising on launch day.
If a custom poly mailers manufacturer can’t explain how they balance PCR resin with tear strength, or why their QA process catches density swings, the guide tells me we’re not aligned.
I rely on it to keep conversations concrete, so the only surprises in production are the good ones.
What should I ask in a printed poly mailers supplier guide when requesting a quote?
Ask about minimum run quantities (our floor starts at 2,500), the film gauge options they can offer (2.7–3.3 mil), color count, and how they package finished Mailers for Shipping, as well as lead time, proofing process, adhesives, and any setup fees so you can compare apples-to-apples quotes.
I remind teams to phrase it as “what happens if the color shifts” just to see how honest the salesperson is.
How does the printed poly mailers supplier guide recommend verifying sample accuracy?
Compare the sample’s Pantone 213C swatch, film feel, adhesive strength, and stitch integrity to your specifications before approving the run by checking samples under a 5,500K lightbox.
Use a calibrated lightbox to check print density and request a spectrophotometer reading if brand color fidelity is critical.
I still keep my own spectrophotometer on the road because I don’t trust “looks good enough.”
What timeline benchmarks should appear in a printed poly mailers supplier guide?
Include art proofing windows (48 hours), plate-making time (7–10 days), print-run duration (3–5 days), and projected shipping date (12–15 business days from approval) to drive accountability.
Add milestones for sample approval and quality inspections so surprises don’t derail your fulfillment schedule.
I also carve out a daily check-in call during restricted weeks—the silence is scarier than the noise.
Which cost elements are non-negotiable in a printed poly mailers supplier guide?
Film type ($1,600–$2,000 per metric ton), printing complexity ($0.05–$0.08 per extra color), adhesives ($0.04 per strip), and finishing ($0.06 per unit) all affect pricing and should be itemized in the guide.
Don’t forget shipping, warehousing, and handling fees—these can double the per-unit cost if omitted.
I literally refused a quote once until the supplier showed me the shipping costs in writing; the laughable “mystery fee” went away instantly.
How can I use a printed poly mailers supplier guide to avoid common mistakes?
Document the art and adhesive specifications, timeline expectations, and QA checkpoints to prevent miscommunication, then revisit those notes during every job walk.
Regularly revisit the guide during production to ensure approvals haven’t drifted, keeping the supplier accountable to the agreed process.
I treat the guide like a living email thread; if something changes, I scribble it in the margin and resend it.
This printed poly mailers supplier guide lays out the operational roadmap, cost breakdowns, and expert next steps, so if you haven’t already scheduled a sample inspection, supplier meeting, and production schedule within the next seven business days, treat this as your cue to take those documented next steps with confidence.
I promise you, nothing thrills me more than hearing a brand say, “We nailed the launch because we followed that guide.”