Product Labels Material and Printing Guide: What Actually Matters
Two labels can look identical on a screen, then behave like strangers once they touch a real product. One stays clean on a jar. The other peels in a cooler, smears during fulfillment, wrinkles around a curved bottle, or scuffs before it reaches the shelf. Design does not rescue the wrong material. Annoying, but true.
This product labels Material and Printing guide is for buyers who need labels that look right, stick properly, scan cleanly, and survive the actual conditions around the product.
A product label is not just artwork with adhesive on the back. It is a small engineered system made from face stock, adhesive, liner, ink, coating, and application method. Change one part and the whole job can change. A matte paper label with permanent adhesive may be perfect for a dry candle box. Put that same label on a refrigerated beverage that sweats for 20 minutes on a retail shelf, and the choice starts to look less charming.
Food jars, cosmetics, supplements, candles, beverages, mailer boxes, and ecommerce packaging all need different specs. Moisture matters. Oil matters. Friction matters. Temperature matters. So does the surface: glass, plastic, paperboard, metal, compostable film, and corrugated cardboard each behave differently under pressure, cold, heat, and handling.
The buyer decision looks simple from a distance: choose label specs based on use, not just appearance. That means checking the container, storage environment, sales channel, label size, print method, finish, and budget before approving a quote. A clean mockup is nice. A clean mockup that becomes a lifting corner on 5,000 filled bottles is a tiny disaster with a purchase order attached.
Practical rule: approve the label for the real container, real temperature, real handling, and real application method. The imaginary perfect mockup has never shipped a product.
Use this guide as a working checklist before you order custom labels, especially if you are launching a new product, changing containers, adding waterproof claims, or moving from hand application to machine application.
How to Choose Label Materials, Adhesives, and Print Methods
Good label specs usually follow this order: substrate first, adhesive second, print method third, finish last. That order is not glamorous. It prevents expensive guessing. Labels fail most often because the visible design was approved before anyone checked the surface, storage temperature, moisture exposure, or application method.
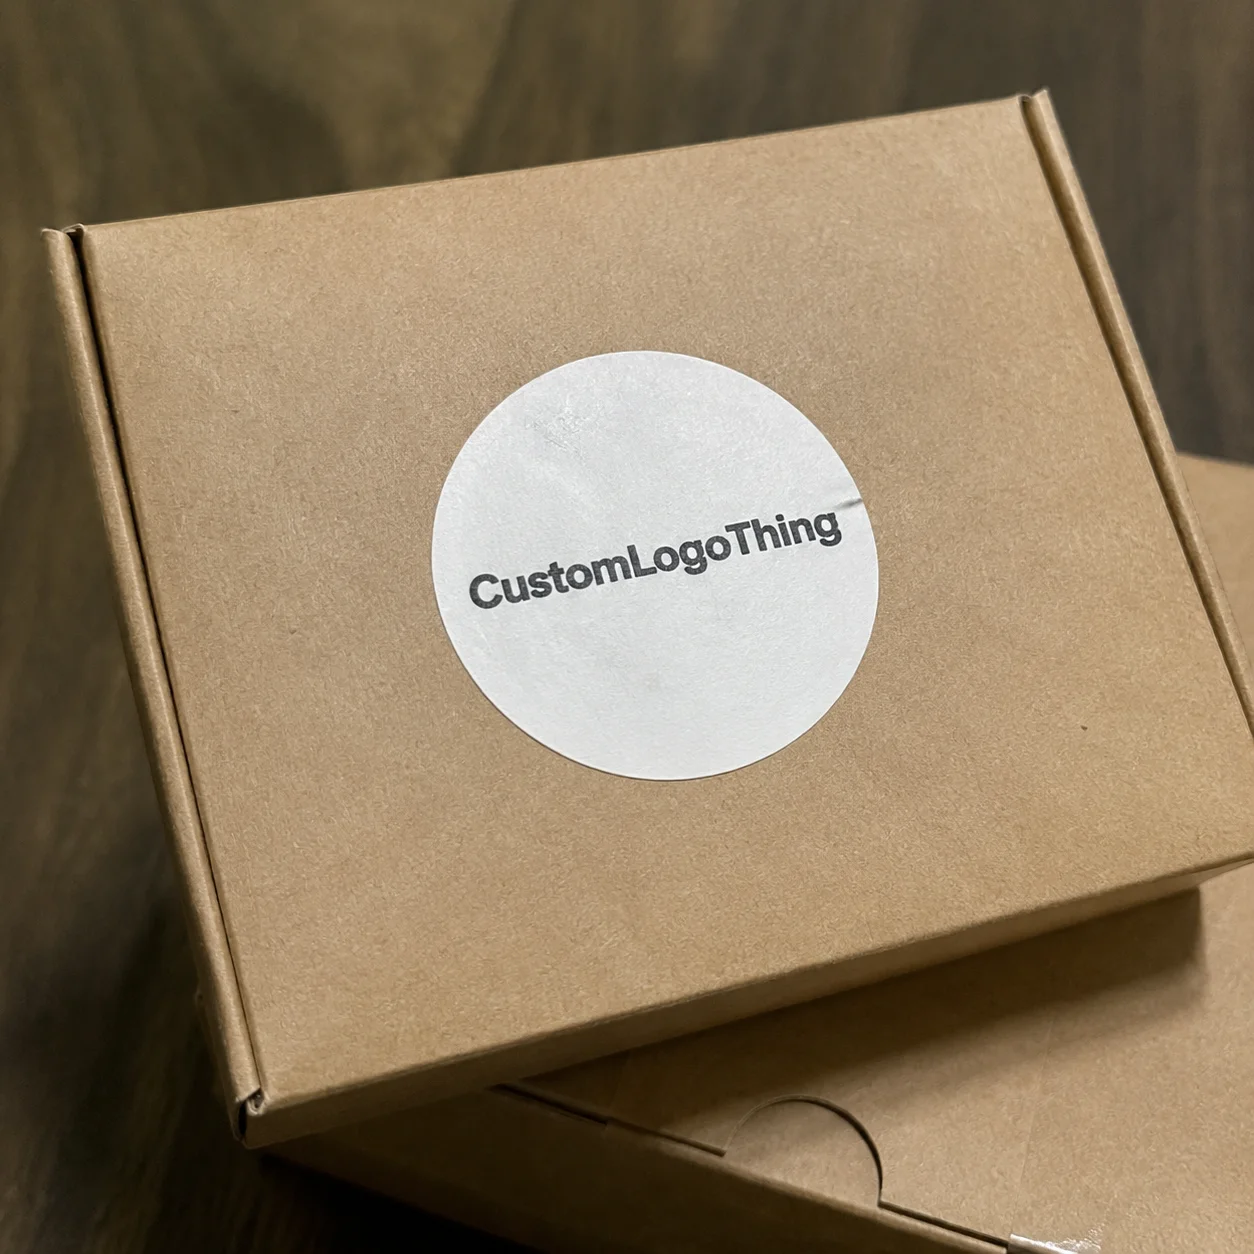
The face stock is the visible label material. Paper labels are usually the lowest-cost option, and they can look excellent on dry goods, kraft paper boxes, candle packaging, spice jars, and boutique retail items. Common substrates include semi-gloss paper, matte paper, textured paper, recycled paper, and FSC certified paper. Paper gives texture and warmth. It is not the hero around water, oil, condensation, or abrasion.
Film labels cost more, but they handle rougher conditions. White BOPP and clear BOPP are common for bath products, beverages, supplements, food jars, and oils. PET is stiffer and often used where dimensional stability and clarity matter. Vinyl can work well for outdoor exposure and flexible applications, though the right choice depends on product use, compliance goals, and disposal expectations. Buyers comparing waterproof label materials usually end up in the film category first.
Adhesive is just as important as the printable surface. Permanent adhesive is the default for most pressure-sensitive labels. Removable adhesive is used for temporary promos, test labels, and labels that should come off without tearing the surface. Freezer-grade adhesive is built for cold storage, often down to the -20°F to -40°F range depending on the supplier spec. High-tack adhesive helps on textured, rough, curved, powder-coated, recycled, or low-energy plastic surfaces.
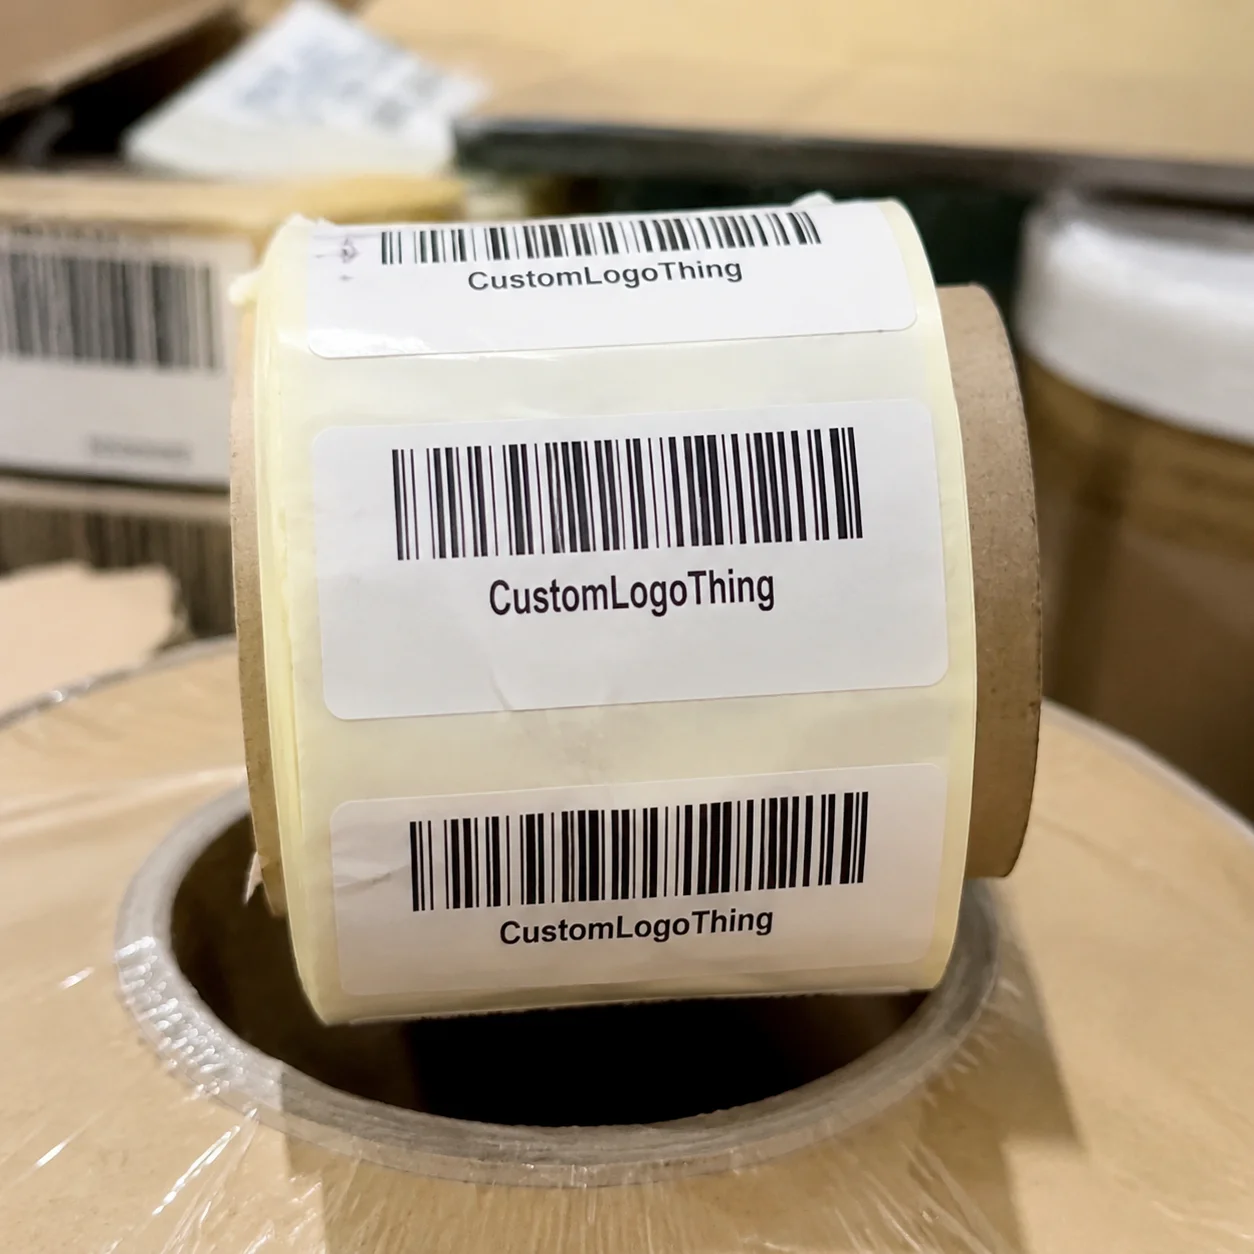
Roll format sounds boring because it is boring. Still expensive when ignored. Roll label printing needs the right core size, outer diameter, gap, liner strength, and unwind direction. A label facing the wrong direction on the roll can stop a labeling machine cold. For hand application, roll direction may barely matter. For applicators, it can matter a lot.
Print method affects cost, timing, color, and flexibility. Digital printing is usually the practical choice for 250 to 5,000 labels, multiple SKUs, seasonal art, variable data, and quick changes. Flexographic printing can be more efficient for larger repeat orders because the setup and plate costs are spread over more units. Offset printing is less common for roll labels but still appears in some sheet label and packaging programs where color control and high-volume economics make sense.
| Option | Best Use | Typical Tradeoff | Buyer Watchout |
|---|---|---|---|
| Matte or semi-gloss paper | Dry retail products, boxes, candles, jars stored at room temperature | Lowest cost and good texture, weaker around water and oils | Add varnish or laminate if labels rub during shipping |
| White BOPP | Bath products, beverages, food jars, supplements | Better moisture resistance, higher unit cost than paper | Confirm adhesive compatibility for the exact container surface |
| Clear BOPP or PET | Clear bottles, premium jars, no-label-look designs | Clean appearance, less forgiving with bubbles and dust | White ink may be needed behind artwork for opacity |
| Textured or recycled paper | Premium dry goods, natural brands, kraft packaging | Strong tactile feel, less durable in wet environments | Fine type and tiny barcodes can lose crispness |
| Foil, embossing, or spot UV | Premium cosmetics, candles, specialty foods, gift packaging | Higher perceived value, more setup cost and time | Ask for samples because finish quality varies |
Finishing adds protection and feel. Gloss laminate boosts shine and scuff resistance. Matte laminate feels more refined but can show fingerprints on dark ink. UV coating and varnish protect the ink at a lower cost than many laminates, though not always with the same durability. Soft-touch finish feels expensive, because it usually is. Foil, embossing, and spot UV can make a label feel premium, but restraint matters. A label does not need five tricks to sell a jar of salsa.
The final test is compatibility. The label has to stick to the actual container, not the perfect cylinder in the design file. For custom orders, Custom Logo Things buyers can compare material and print choices through Custom Labels & Tags and share container details before locking specs.
Key Specs to Match to Your Product, Container, and Sales Channel
Start with the container surface. Glass is usually easier because it is smooth and stable. HDPE, LDPE, PET plastic, metal tins, paperboard tubes, compostable packaging, and textured recycled materials need more attention. Squeezable tubes are especially rude. They flex, they curve, and they expose weak material choices fast.
Shape matters too. Flat panels are forgiving. Tapered jars, small bottles, wraparound labels, and curved shoulders need tighter tolerances. A label that is 1/16 inch too tall can wrinkle. A wrap label that is too long can overlap the barcode or cover legal copy. On small supplement bottles, 0.25 inches of extra copy can wreck the design hierarchy.
Product exposure should drive the material choice. Refrigerated drinks need condensation resistance. Bath products need water and soap resistance. Candle labels may need heat tolerance near warm glass, though the exact temperature depends on wax type, container, and use conditions. Oils and sauces need grease resistance. Frozen foods need freezer adhesive and ink protection. Mailer packaging needs labels that survive abrasion against corrugated cardboard, tape, void fill, and other products inside a carton.
Regulatory content can change the label spec before design preferences even enter the room. Nutrition panels, ingredient lists, UPC barcodes, batch codes, warning icons, recycling marks, supplement facts, and small legal copy all require print clarity. Thin reverse type below 6 pt can fill in on some materials. Barcodes need quiet zones and contrast. Black bars on a busy metallic background may look sharp in a render and fail at checkout. Delightful little trap.
Sales channel changes the priority list. Retail shelves need strong contrast, readable product names, clean UPC scans, and consistent color across reorders. Ecommerce packaging needs more abrasion resistance because the label may be handled during packing, shipping, unboxing, returns, and storage. A label for a boutique shelf can prioritize texture. A label for a subscription shipment may need more coating and a tougher adhesive.
Sustainability claims deserve adult supervision. FSC certified paper, post-consumer waste content, washable adhesives, recycled materials, and recyclable films can all be useful. They are not automatically better for every product. A beautiful recycled paper label that fails on a wet bottle creates waste twice: the label fails, then the product presentation fails. Green theater is not a spec. If sustainability is part of the brief, check the disposal stream, container material, adhesive, and local recycling reality. The Forest Stewardship Council is a useful reference point for responsibly sourced paper claims.
That is why paper versus film cannot be treated as a style question alone. The material has to match the package, the filling process, the storage conditions, the sales channel, and the customer’s hands.
Label Cost, Pricing, MOQ, and Unit Cost Drivers
Label pricing is built from a stack of variables: size, material, adhesive, print method, ink coverage, number of SKUs, finishing, die shape, quantity, setup, proofing, packing, and shipping. A 2 x 3 inch paper label on a roll is not priced like a 4 x 6 inch clear film label with white ink, matte laminate, and foil. Same category. Very different invoice.
For simple paper roll labels, small orders might land around $0.08 to $0.25 per label at quantities near 1,000 to 5,000 pieces, depending on size and print coverage. Waterproof film labels often run closer to $0.12 to $0.45 per label in that same general range. Specialty adhesives, metallic foil, embossing, custom shapes, or short quantities can push unit cost higher. Treat these as working ranges, not a universal price list carved into stone.
MOQ logic frustrates buyers, but it is not a conspiracy. It is math with invoices. Setup time, artwork checks, press setup, proofing, material waste, finishing, and packing have to be spread across the run. Order 250 labels, and each label carries more of that fixed cost. Order 5,000, and the setup cost is diluted.
Digital printing often wins for 250 to 5,000 labels, multiple flavors, seasonal releases, test launches, and designs that change often. Flexo can become more efficient for larger repeat orders, especially 10,000 labels and above, because the plate and setup costs make more sense at scale. The line is not fixed. Heavy ink coverage, specialty colors, finishing, and material choice can change the math.
Ask for tiered pricing at 500, 1,000, 2,500, 5,000, and 10,000 labels. The price break may be obvious, or it may be barely worth the extra inventory. Labels sitting on a shelf after you changed ingredients, claims, or a barcode are not savings. They are expensive confetti.
| Quantity | Likely Best Fit | Typical Unit Cost Pattern | Smart Buyer Move |
|---|---|---|---|
| 250 to 500 | Digital printing, test run, launch batch | Highest unit cost because setup is spread thin | Use for validation, not long-term cost planning |
| 1,000 to 2,500 | Digital printing for small brands and mixed SKUs | Better unit cost, still flexible | Group similar SKUs when possible |
| 5,000 to 10,000 | Digital or flexo depending on art and reorder plan | Noticeable price breaks often appear | Compare both methods if the order repeats |
| 10,000+ | Flexo for stable, repeat production | Lower unit cost after setup is justified | Confirm color targets and reorder consistency |
Hidden costs are where budgets get ambushed. Rush fees, redesigns after proof approval, wrong unwind direction, applicator downtime, failed adhesion, separate shipments, and color corrections can erase the savings from picking the cheapest quote. A practical quote review should make those risks visible before the order goes into production.
Process, Timeline, and Production Steps for Custom Labels
A normal custom label order follows a predictable path: spec review, quote, artwork check, proof, material confirmation, print setup, production, finishing, quality control, packing, and shipping. Simple reorders can move quickly. First-time orders with new materials, new containers, or unclear art take longer because someone has to solve the details before the press runs.
Standard custom label orders often take about 5 to 12 business days after final proof approval. Specialty finishes, custom dies, unusual materials, physical samples, large production runs, or machine application specs can add several days. Shipping is separate. So if the launch date is Friday and you approve the proof on Tuesday, no, that is not a production plan. That is a wish with a tracking number problem.
Orders slow down for predictable reasons: missing dielines, RGB artwork, low-resolution images, unoutlined fonts, unclear Pantone targets, barcode issues, late compliance copy, and changing label dimensions after quoting. Low-resolution logos are a classic. A 600-pixel web logo may look fine on screen and then print soft, jagged, or muddy at final size.
Digital proofs confirm layout, copy, size, bleed, safe zones, barcode placement, and color intent. Physical proofs or production samples are better when texture, finish, adhesion, color match, or waterproof performance is mission-critical. A digital proof cannot tell you whether a matte laminate feels right in hand or whether a clear film label will show bubbles on your bottle.
Approval responsibility matters. Once the buyer approves the proof, spelling, barcode data, ingredient text, warning copy, legal claims, and product facts are usually on the buyer. Printers check print production issues. They are not your regulatory department, which surprises people somehow.
Quality control should include more than a glance at color. Useful checks include die-cut alignment, label count, roll direction, liner damage, barcode scanability, edge lift, coating coverage, registration, color consistency across rolls, and adhesive performance on the intended surface. For clear labels, check dust, bubbles, and trapped fibers. For foil or embossing, inspect registration under normal lighting and at an angle, because a small shift can make premium finishing look sloppy.
For shipping and distribution testing, buyers can reference protocols from the International Safe Transit Association. ISTA testing is more common for full packages than individual labels, but the point stands: packaging should be tested against actual distribution stress, not just admired under office lighting.
Build in extra time for first orders, retail launches, waterproof labels, foil, embossing, machine application, and anything going into cold storage. For broader production questions, Custom Logo Things outlines available print and packaging support through its Manufacturing Capabilities page.
Common Material and Printing Mistakes That Ruin Labels
The first mistake is choosing paper for products that face condensation, oils, bathrooms, freezers, coolers, or damp shipping conditions. Paper can be beautiful. Paper can feel premium. Paper is not magic. If the label needs water resistance, start with film or protect the paper with the right coating and realistic expectations.
The second mistake is ignoring adhesive compatibility. Low-energy plastics, textured recycled paperboard, squeezable tubes, powder-coated tins, and rough compostable surfaces can make standard adhesive struggle. High-tack adhesive may help, but testing is still the adult answer. Apply samples, let them sit for 24 to 72 hours, then check lifting, edge curl, and residue.
Another common problem is ordering labels before the container is final. Fill temperature, bottle taper, cap placement, seam location, label panel size, and application method can all affect the label spec. Tiny measurement changes can become very visible problems, especially on wraparound labels and small curved bottles.
Artwork built for screens causes predictable headaches. RGB colors shift in print. Low-resolution images soften. Missing bleed creates white edges. Tiny type disappears. Thin reverse type fills in. Unconverted fonts reflow. A good print file usually includes vector logos, outlined fonts, 0.125 inch bleed where needed, CMYK or specified spot colors, and images at 300 DPI at final size.
Barcodes deserve their own small lecture. Leave the quiet zone. Use enough contrast. Print at a scannable size. Test the code before printing thousands. A pretty barcode that does not scan is just decoration with delusions of usefulness.
Skipping lamination or coating is another way buyers save pennies and create problems. If the product will be handled often, shipped in bulk, exposed to oils, rubbed against other packaging, or stored in a wet environment, protective finish matters. Gloss laminate, matte laminate, UV coating, and varnish each offer a different balance of cost, feel, and resistance.
The final mistake is buying solely on lowest unit cost. Check samples, material specs, finish quality, die accuracy, lead time, communication, and support. Cheap labels get expensive fast when they fail on filled product. Compare the whole job, not just the lowest number in a quote table.
What to Prepare Before You Request a Custom Label Quote
Start with a basic spec sheet. Include product type, container material, surface texture, label size, label shape, quantity, number of SKUs, application method, storage temperature, shipping conditions, and any needed resistance to water, oil, freezer exposure, heat, sunlight, or abrasion. This does not need to be fancy. It needs to be accurate.
- Container: glass jar, PET bottle, HDPE tube, metal tin, kraft paper box, corrugated cardboard mailer, pouch, or paperboard carton.
- Label size: final width and height, plus shape and corner radius if known.
- Quantity: request tiers such as 500, 1,000, 2,500, 5,000, and 10,000 labels.
- Use conditions: dry shelf, refrigerated case, freezer, bathroom, oil contact, outdoor exposure, or ecommerce shipping.
- Application: hand-applied or machine-applied, with core size and unwind direction if a machine is involved.
- Finish: gloss, matte, soft-touch, varnish, UV coating, foil, embossing, or no added finish.
Collect the right artwork files before quoting. Editable vector files are preferred for logos, dielines, icons, and small text. High-resolution images should be at least 300 DPI at final print size. If you have compliance copy, UPC data, nutrition panels, or batch code locations, include them early. Late copy changes are one of the least glamorous ways to delay production.
Ask for material recommendations instead of guessing. Share the actual use case: refrigerated beverage, candle jar, cosmetic tube, supplement bottle, mailer seal, food pouch, retail box label, or promotional sticker. A competent supplier should ask follow-up questions about surface, exposure, finish, quantity, and application. Silence is useful information.
Request tiered quotes and compare more than the headline price. Material, adhesive, finish, setup, proofing, shipping, timeline, and support all affect the real cost. If a quote is dramatically cheaper, find out why. Sometimes it is efficient production. Sometimes it is thinner material, weaker adhesive, no coating, slower service, or a spec mismatch wearing a discount hat.
Order samples or a short test run for new products, new containers, waterproof claims, freezer use, premium finishes, machine application, or any label that has to survive heavy handling. Apply labels to filled containers if possible. Store them in the real environment. Rub them. Chill them. Warm them. Ship a few. Label testing is much cheaper than relabeling finished goods.
Use this product labels Material and Printing guide as a checklist before approving specs, because the best label is not the prettiest mockup. It is the one that looks right, communicates clearly, scans properly, fits the budget, and stays put.
FAQs
What is the best material for waterproof product labels?
White BOPP, clear BOPP, PET, and vinyl are common waterproof label materials because they resist moisture better than standard paper. For bath products, beverages, refrigerated foods, and oils, pair film material with the right adhesive and a protective laminate or coating. Waterproof does not automatically mean oil-proof, freezer-safe, or dishwasher-safe, so test against the actual use condition.
How do I choose between paper and film labels for product packaging?
Choose paper when you want a natural texture, lower cost, or premium craft look for dry products. Choose film when the label needs resistance to water, oil, friction, refrigeration, squeezing, or heavy handling. If the product is going into retail or ecommerce shipping, durability usually matters more than saving a fraction per label.
What printing method is best for custom product labels?
Digital printing is usually best for short runs, multiple SKUs, fast launches, seasonal labels, and variable designs. Flexographic printing can be more cost-effective for larger repeat orders, spot colors, and high-volume production. The best method depends on quantity, artwork complexity, color requirements, finish, and reorder plans.
How much do custom product labels cost per unit?
Unit cost depends on size, material, adhesive, quantity, print method, finish, die shape, and setup requirements. Simple paper roll labels at 1,000 to 5,000 pieces may fall around $0.08 to $0.25 each, while waterproof film labels often run closer to $0.12 to $0.45 each. Specialty finishes, custom shapes, short runs, and rush timelines can raise the price.
What should I prepare before requesting a product label quote?
Prepare label size, quantity, container type, surface material, product exposure conditions, artwork files, finish preference, and application method. Share whether labels will be hand-applied or machine-applied, because roll direction and core size may matter. Send photos or samples of the container when possible, especially for curved, tapered, textured, or squeezable packaging.