Custom Logo Stickers Material and Printing Guide: What Actually Matters
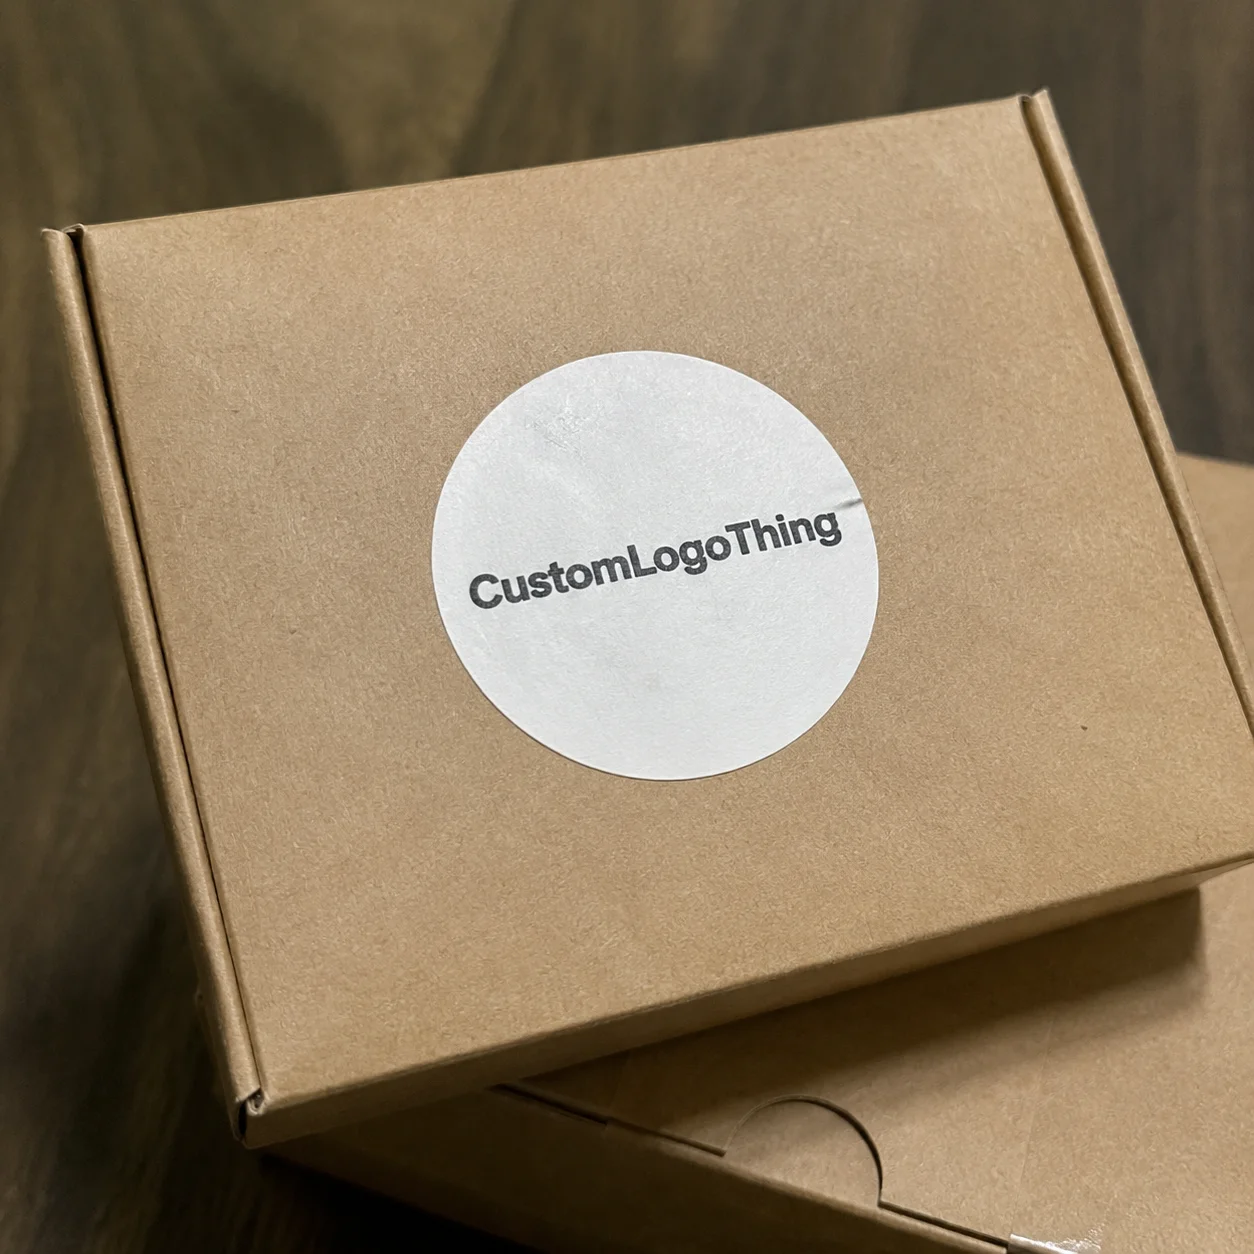
The cheapest sticker can become the most expensive part of the package. It peels on a coated mailer. It smears on a chilled bottle. It curls at the edge of a candle box and makes a premium product look like it was labeled during lunch. This Custom Logo Stickers material and printing guide is built around the decisions that prevent those failures: stock, adhesive, print method, finish, format, and order specs.
Custom logo stickers are branded adhesive labels used on packaging, shipping cartons, retail displays, product inserts, tissue wrap, event giveaways, product seals, and promotional kits. A 1-inch closure seal on kraft paper and a waterproof 3-inch bottle label both sit in the same broad category. They do not have the same job.
That distinction matters. A sticker is not only decoration. It has to survive the surface beneath it, the hands applying it, the warehouse, the freight lane, the store shelf, and sometimes moisture, cold, sunlight, oil, or abrasion. A dry bakery box gives a label an easy afternoon. A refrigerated glass bottle covered in condensation runs a practical exam.
The useful questions are plain: paper or film, removable or permanent adhesive, matte or gloss, digital or flexographic printing, rolls or sheets. Use case should drive the spec. Not the prettiest finish name. Not the lowest unit price on a quote with missing details.
Buyer reality check: waterproof vinyl on a dry candle box may be overbuilt. Paper on a refrigerated beverage bottle is asking for trouble. Materials do not care about the mood board.
If you are ordering stickers for Custom Labels & Tags, product packaging, mailers, or retail cartons, start with the application. Where will the sticker go? Who applies it? What touches it? How long must it last? Those answers matter more than whether the finish sounds premium.
What a Sticker Material and Printing Guide Should Cover
A practical sticker guide should answer five production questions before it talks about decoration: What surface will receive the sticker? What environment will it face? Which adhesive label materials are realistic? Which printing method fits the quantity and color needs? What finish protects the artwork without creating glare, scuffs, or waste?
The order is not cosmetic. A beautiful label that fails on the bottle is not a branding win. It is a reprint with better lighting. Face stock, adhesive, ink, coating, liner, and format work as a system, especially on packaging that moves through fulfillment, refrigeration, retail shelves, or repeated customer handling.
How Sticker Materials Behave on Real Packaging Surfaces
A sticker is a small construction system. It usually includes face stock, adhesive, liner, ink, and an optional coating or laminate. Face stock is the visible material. Adhesive is the glue layer. The liner is the backing removed before application. Ink builds the logo or artwork. Coating protects the print, changes the sheen, or alters the feel.
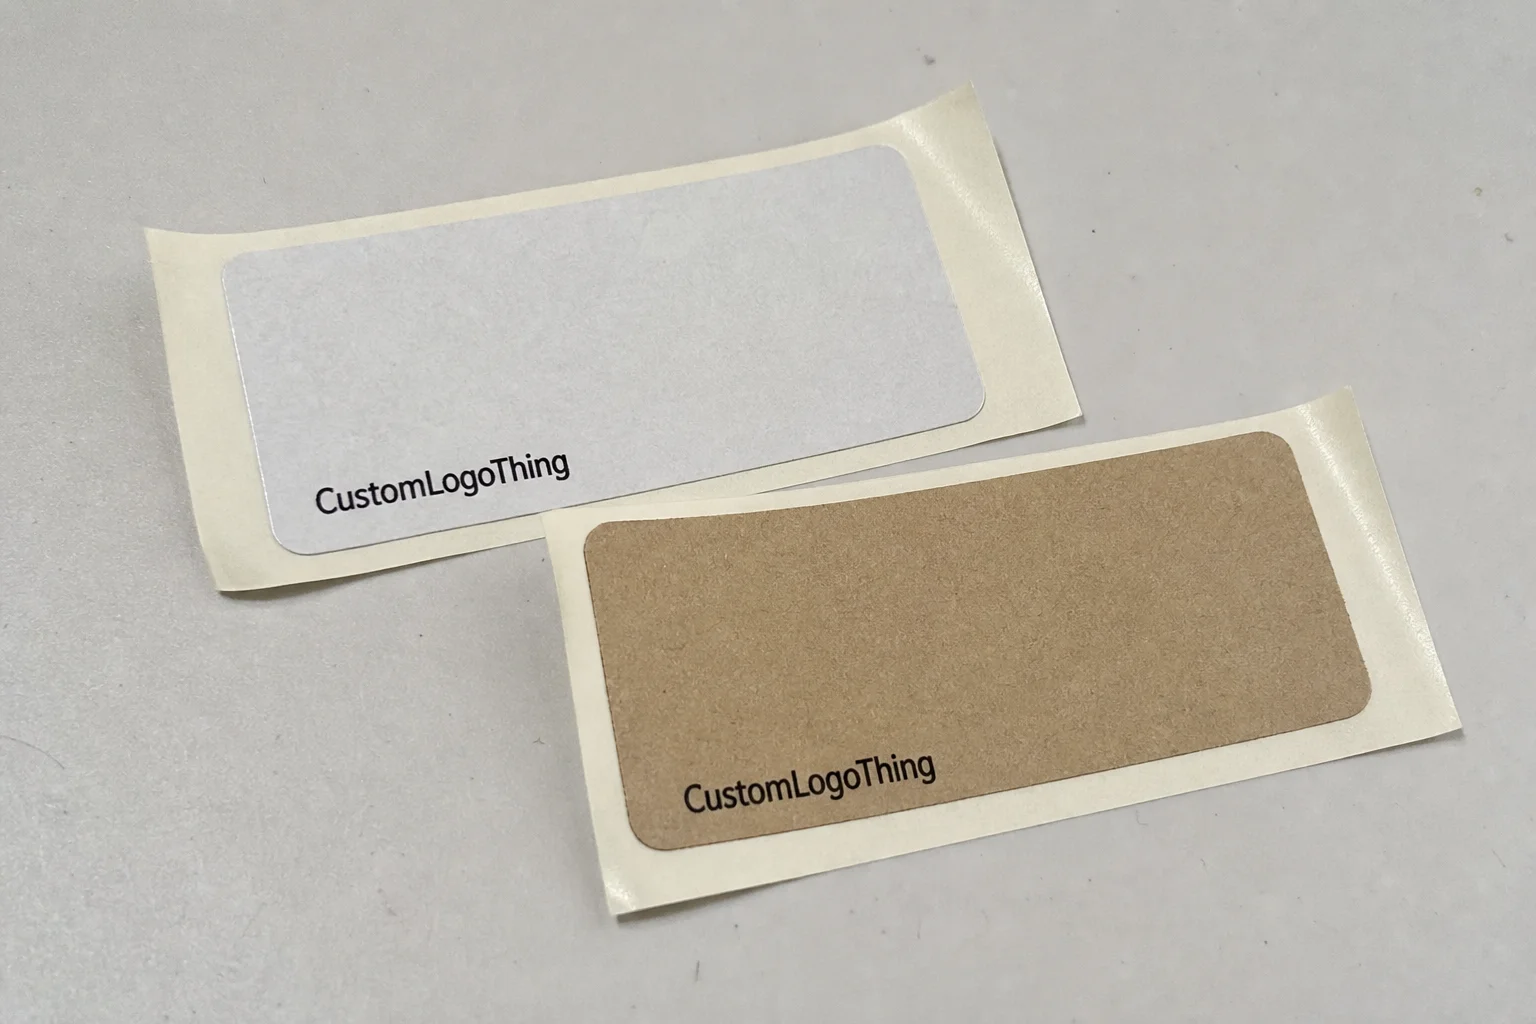
Paper is the budget-friendly choice for dry indoor use: boxes, bags, inserts, tissue seals, short-term package branding, and simple promotional stickers. Common options include matte paper, gloss paper, uncoated paper, and kraft paper. Paper has limits. It stains, tears, absorbs oil, and curls when moisture enters the picture.
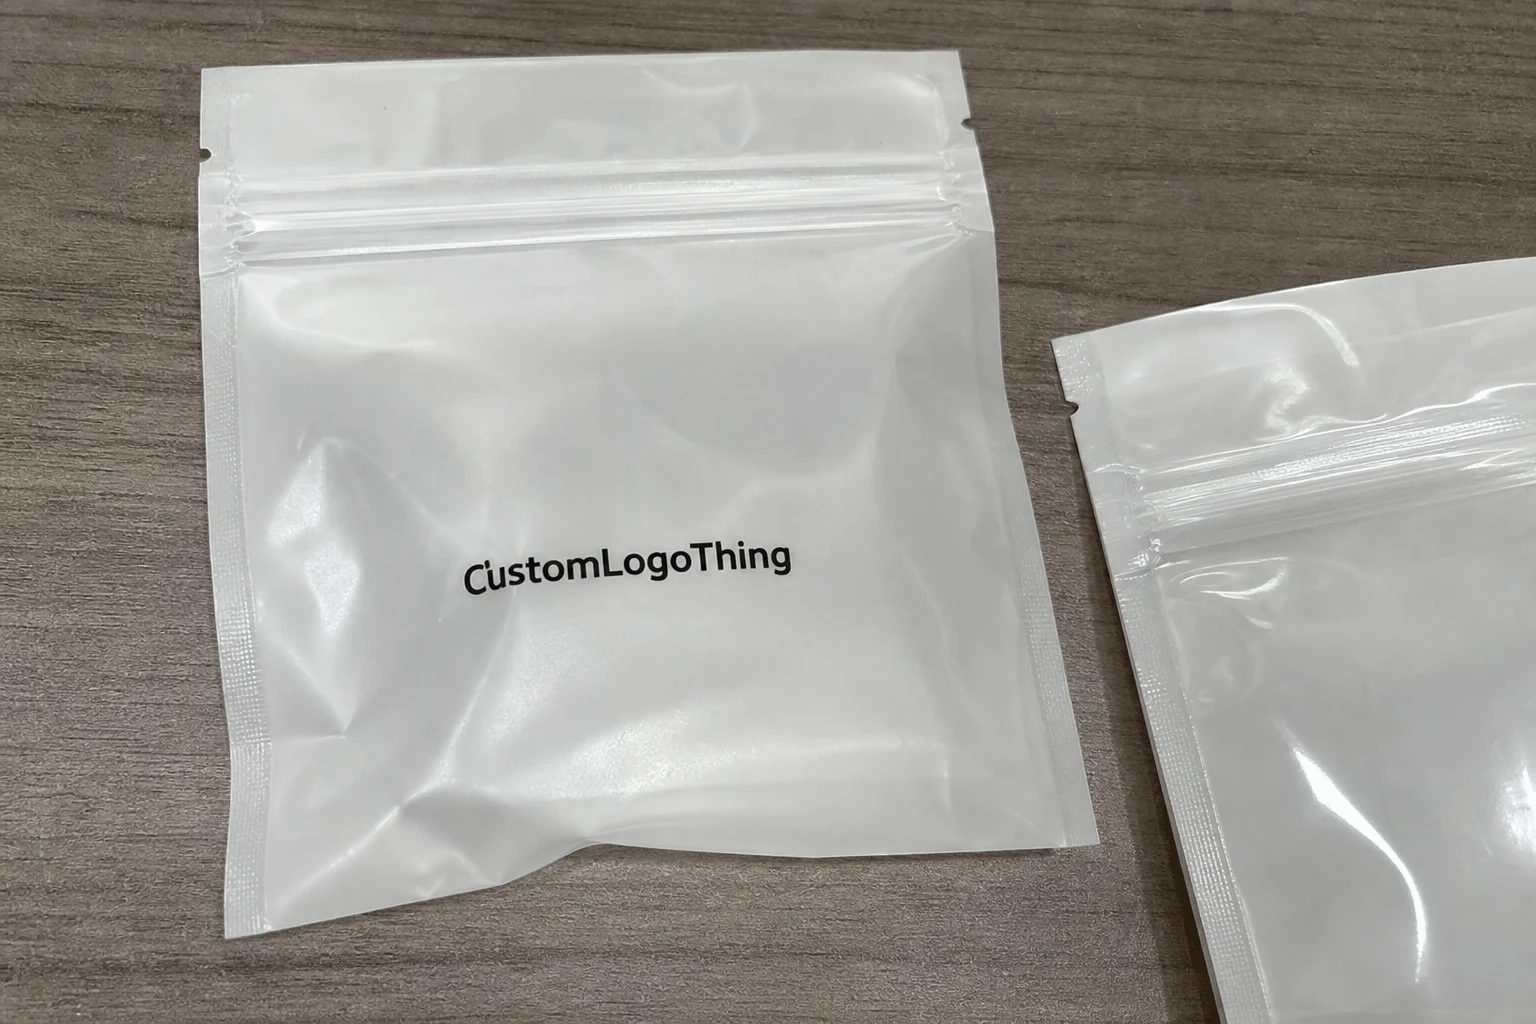
BOPP, short for biaxially oriented polypropylene, is a common film label material for food, beauty, supplements, jars, and bottles. White BOPP gives a clean retail look. Clear BOPP can create a no-label effect on glass or plastic. Metallic BOPP adds shine without moving straight to foil stamping. For many consumer goods, BOPP is the sensible middle lane: more durable than paper, usually less heavy-duty than vinyl.
Vinyl is tougher. It is commonly used for outdoor stickers, equipment labels, bumper-style decals, window stickers, and products that face weather or abrasion. It usually costs more than paper and BOPP, but it gives better durability. For long sun exposure, ask about UV-resistant inks or laminate, because sunlight is rude and persistent.
Surfaces change everything. Corrugated cardboard absorbs and flexes. Glass is smooth but collects condensation. Plastic bottles vary by resin and surface energy. Poly mailers can be slick. Tins may have coatings. Flexible pouches move during handling. Textured paperboard gives adhesives less contact area. Recycled board can be dusty. Same adhesive, different result.
Adhesive choice should match the job. Permanent adhesive works for long-term hold on most standard packaging. Removable adhesive suits promotions, pricing labels, temporary event branding, or items that should not leave residue. Freezer-grade adhesive helps with cold storage and frozen products. High-tack adhesive is useful for rough, curved, low-energy, or hard-to-stick surfaces.
Curved surfaces need flexible materials and properly sized labels. A stiff oversized sticker on a small jar will lift at the edges. Physics, annoyingly, still applies. For small bottles and jars, test a label that covers only part of the circumference instead of wrapping too far around the curve.
Moisture, oil, refrigeration, UV exposure, shipping abrasion, and hand contact all affect the spec. Food packaging, cosmetic labels, tamper seals, warning labels, and barcode labels deserve extra care because poor material choice can affect legibility, scanning, and compliance-adjacent performance. For transport testing context, the International Safe Transit Association publishes packaging test standards at ista.org.
Printing Methods, Color Accuracy, and Finish Options
Printing method affects price, color, turnaround, and repeatability. The main options are digital printing, flexographic printing, screen printing, and offset printing. Not every supplier offers all four, and not every job needs all four. That is normal production logic, not a warning sign by itself.
Digital printing makes sense for short runs, low MOQs, multiple designs, seasonal campaigns, prototypes, and quick reorder testing. If you need 250 stickers in five versions, digital is usually the cleanest path. Typical digital sticker orders can start around 100 to 500 pieces, depending on size, material, finish, and supplier setup.
Flexographic printing is better for larger quantities, repeat orders, roll labels, consistent brand colors, and stronger unit pricing at scale. Flexo often makes more sense around 1,000 to 5,000+ pieces, especially if the sticker will be reordered. Plates and setup cost more upfront, but the unit cost can drop quickly on volume.
Screen printing works for bold specialty effects, thick ink deposits, unusually opaque colors, and durable decals. Offset printing can be useful for premium paper-based sticker runs with fine detail and controlled color, although it is less common for simple short-run logo stickers than digital.
Color setup deserves attention before the file reaches prepress. CMYK is standard for most printing. Pantone matching gives tighter brand control, usually at extra cost. White ink underlays are needed for clear, metallic, or colored stocks when the logo must stay opaque. Rich black may help large black areas look deeper. Plain black often works better for small text and scannable codes.
Your laptop is not a press proof. Shocking, I know. Screens glow, paper absorbs, films reflect, and coatings shift saturation. If brand color accuracy matters, ask for a physical proof or a drawdown on the chosen material. A digital proof confirms layout. It does not prove final color under store lighting.
Finishes change both look and function. Gloss adds pop and color saturation, but it can show fingerprints and glare. Matte gives a softer premium look and works well with minimalist packaging, though some matte finishes scuff more easily. Soft-touch feels expensive but can mark under heavy handling. UV coating can highlight a logo or pattern. Laminate adds protection against moisture, abrasion, and repeated touch.
Die cutting and kiss cutting are worth understanding before approving the shape. A die-cut sticker follows the outside shape of the artwork. A kiss-cut sticker is cut through the sticker layer but left on a backing sheet for easier peeling. For events, inserts, and handouts, kiss cut is often easier. For branded product seals or machine application, rolls usually win.
Cost, Pricing, MOQ, and Unit Cost Tradeoffs
Sticker pricing is driven by size, material, adhesive, print method, number of colors, finish, shape, roll versus sheet format, quantity, proofing needs, and freight. A 2-inch matte paper circle and a 4-inch laminated clear BOPP label with white ink are not in the same pricing universe. Close cousins, maybe. Not twins.
Small digital runs are useful for testing because the entry cost is lower. A simple 2-inch paper sticker might land around $0.12 to $0.35 per piece at 500 units, depending on finish and vendor setup. A waterproof BOPP sticker in the same range might run closer to $0.20 to $0.55 per piece. At 5,000 pieces, unit costs can drop sharply, sometimes into the $0.04 to $0.18 range for standard specs.
Those numbers are broad because quotes are not identical. Material availability, print coverage, shape, color matching, roll direction, packing format, and finishing all move the price. Anyone promising one universal sticker price without specs is selling vibes. Vibes do not survive purchasing.
| Sticker Option | Typical Use | Common MOQ Range | Approximate Unit Cost Range | Main Tradeoff |
|---|---|---|---|---|
| Matte or gloss paper | Dry boxes, bags, inserts, kraft paper seals | 100-500 pieces | $0.08-$0.35 at small runs | Lower cost, weaker moisture resistance |
| White BOPP | Food, beauty, bottles, jars, retail packaging | 250-1,000 pieces | $0.15-$0.55 at small runs | Better durability, higher cost than paper |
| Clear BOPP | Glass jars, clear bottles, window-style labels | 250-1,000 pieces | $0.18-$0.65 at small runs | May need white ink underlay |
| Vinyl | Outdoor use, equipment, heavy handling | 100-500 pieces | $0.25-$0.90 at small runs | Durable, often overbuilt for dry packaging |
| Specialty finish or foil | Premium launches, gift packaging, shelf impact | 500-2,500 pieces | Varies widely by setup | Higher upfront cost and longer lead time |
MOQ is practical, not personal. Custom digital stickers often start around 100 to 500 pieces. Specialty stocks, custom adhesives, foil, embossed details, or flexographic roll labels may require 1,000 to 5,000+ pieces. Setup costs can include plates, dies, color matching, material sourcing, and finishing trials.
Tiny stickers are not always dramatically cheaper. Handling, setup, waste, proofing, packing, and finishing still exist. The machines do not care that your sticker is adorable.
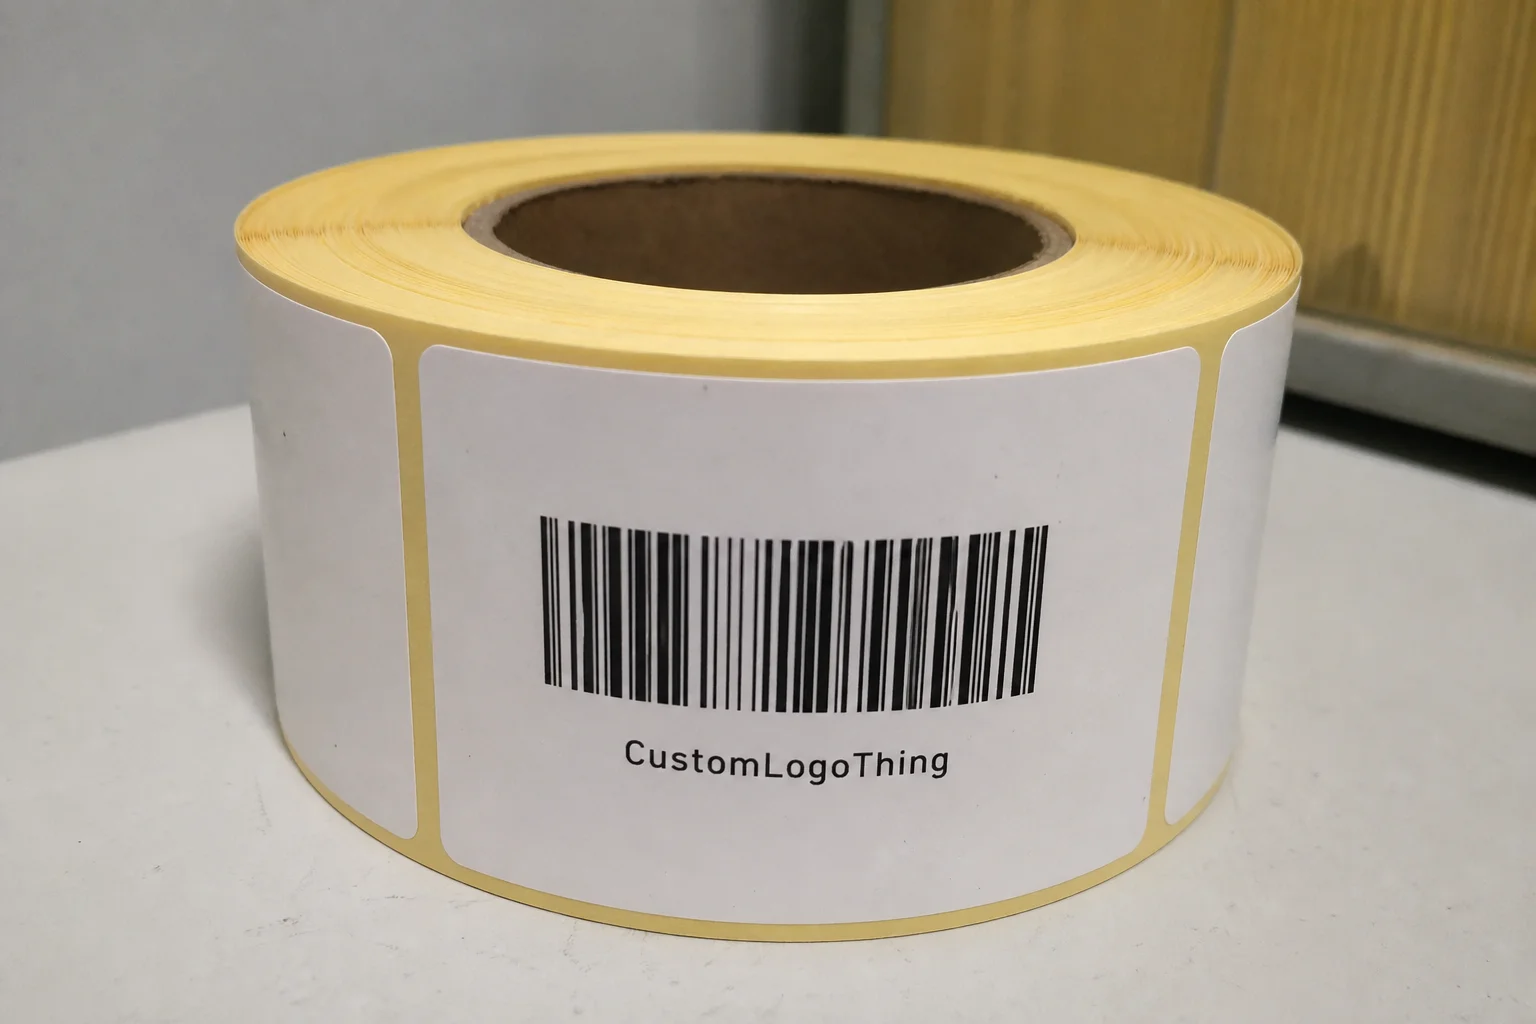
Rolls are efficient for machine application, label dispensers, fulfillment lines, and larger orders. Sheets are easier for hand application, small teams, event tables, and low-volume packing stations. Individually cut stickers cost more to handle but work well for giveaways, influencer kits, and inserts inside Custom Packaging Products.
For a useful quote, provide size, quantity, material preference, application surface, artwork, finish, indoor or outdoor use, and whether the sticker needs to be waterproof, freezer-safe, removable, barcode-friendly, or scuff-resistant. Compare total landed cost, not just unit price. Freight, spoilage, slow application, and reprint risk can erase savings quickly.
Production Steps, Timeline, and Turnaround Expectations
The basic production path is simple: define the use case, choose material, submit artwork, review proof, approve a digital proof or sample, print, finish, cut, inspect, pack, and ship. Simple does not mean instant. Every missing detail adds friction.
For straightforward digital stickers, production may take 3 to 7 business days after proof approval. Larger roll label orders, custom dies, specialty materials, foil, embossing, exact Pantone matching, or physical sampling can push timelines to 10 to 20 business days or more. Overseas production, consolidated freight, and holiday capacity can extend that further.
The clock usually starts after final artwork and proof approval, not after the first vague email saying the design is almost ready. That sentence saves arguments. A supplier cannot print from a logo pulled out of a presentation slide and a note that says “make it premium.” Well, they can try. You may not enjoy the result.
Common timeline blockers include missing dielines, low-resolution logos, unclear size specs, undecided material, color matching requests, late approvals, backordered stock, unclear roll direction, and shipping constraints. If your sticker goes on automated labeling equipment, roll direction and core size matter. Common roll cores include 1-inch and 3-inch, but the applicator spec should decide.
Proof types matter too. A digital proof confirms layout, size, cut line, bleed, and basic placement. A physical sample confirms material feel, color behavior, adhesive performance, finish, and how the sticker handles the actual packaging surface. If you are launching a refrigerated item, textured box, flexible pouch, premium retail product, or anything exposed to water or sunlight, request samples before committing to thousands of units.
Repeat orders usually get easier. Once the size, stock, adhesive, finish, file, and packing format are locked, reorders become faster and more predictable. A clean reorder may save several days because the supplier is not rebuilding the spec from scratch.
Build buffer time for launch dates, trade shows, influencer kits, seasonal campaigns, and retail resets. Two extra weeks is not glamorous, but neither is hand-labeling replacement stickers at midnight because the first batch curled on the mailer.
Material and Artwork Mistakes That Waste Budget
The biggest mistake is choosing based only on appearance instead of application environment. Pretty is nice. Stuck is better.
Paper stickers on wet, oily, refrigerated, or high-touch surfaces can curl, tear, stain, and create ugly customer photos. If a product lives near water, oil, ice, lotion, or frequent handling, move toward BOPP, vinyl, laminate, or a coating designed for that exposure. This depends on the exact surface, but paper is rarely the hero in a wet-use story.
Poor sizing creates expensive headaches. Labels that wrap too far around curved containers can wrinkle or lift. Labels that are too small may make the logo look cheap or force text below readable size. For body copy, many buyers try to go under 5 pt type, then act surprised when it prints like dust. Keep critical text larger, especially on textured stocks.
Artwork mistakes are painfully common: low-resolution logos, missing bleed, thin borders, tiny text, reversed-out fine type, RGB colors, unoutlined fonts, and no dieline. Vector files such as AI, EPS, or print-ready PDF are usually best. For raster artwork, 300 dpi at final print size is a basic expectation. Not at thumbnail size. Final size.
Cut lines can cause trouble even when the artwork looks polished. Complex die cuts look impressive, but they may slow production, increase waste, and create fragile points that peel during handling. Sharp corners lift more easily than rounded corners, especially on high-touch product packaging. A 1/8-inch radius can make a practical difference.
Barcode and QR code problems deserve their own warning. Glossy finishes can create glare. Low contrast hurts scanning. Curved bottles can distort codes. Tiny codes fail because phones are not microscopes. For QR codes, test at final size on the actual finish and shape before printing 10,000 labels. ASTM packaging and labeling standards can be useful reference points for testing and performance language; start with ASTM International if your team needs formal methods.
Overbuying and underbuying both waste money. Too many stickers can become obsolete after ingredient, legal, barcode, pricing, or brand changes. Too few can trigger rush pricing, split shipments, and production stress. For fast-changing SKUs, keep runs smaller. For stable hero products, higher quantities usually make sense.
Skipping adhesive testing is risky on coated mailers, textured boxes, frosted glass, flexible pouches, recycled board, and low-energy plastics. If you are pairing stickers with custom printed boxes, ask for board samples or finished cartons before approving the final adhesive. Treat this custom logo stickers Material and Printing guide as a production checklist, not just a design reference.
What to Prepare Before Requesting a Sticker Quote
Before asking for a quote, gather the basics: product surface, sticker size, shape, quantity, indoor or outdoor use, moisture exposure, temperature conditions, hand or machine application, target delivery date, and packaging format. This short list prevents half the usual back-and-forth. Maybe more.
Production-ready artwork should include vector logo files, brand colors, fonts or outlined text, bleed area, dieline, and white ink instructions for clear, metallic, or colored materials. If Pantone matching matters, provide the Pantone number and say whether exact matching is required or only preferred. Exact matching usually costs more and may add time.
If the choice is unclear, quote two realistic material options. Compare matte paper versus white BOPP. Compare clear BOPP versus white vinyl. Compare gloss laminate versus matte laminate. Real choices give you a cost-performance tradeoff instead of one mystery number floating in space.
Test stickers on the actual packaging surface before a large run, especially for bottles, jars, pouches, mailers, textured cartons, cold-chain products, and anything with a coating. Apply the sticker, wait 24 to 72 hours, rub it, chill it if needed, expose it to moisture if that is part of the use case, then check edge lift, scuffing, staining, and readability.
Choose the format based on workflow. Rolls are best for label dispensers, machine application, and volume packing. Sheets are easy for small teams and manual application. Individually cut stickers work for giveaways, inserts, events, and brand moments where the sticker itself becomes the product touchpoint.
Ask direct questions before approving the order: What is the MOQ? What is the lead time after proof approval? Is the adhesive suitable for my surface? Will this finish resist moisture or scuffing? Can I get a sample? What file format do you need? What roll direction should I specify for my applicator? A good supplier will answer plainly. A vague answer is still an answer, just not the one you wanted.
If your sticker is part of a broader packaging system, align it with cartons, mailers, inserts, tissue, and labels through Manufacturing Capabilities planning instead of treating it as an afterthought. Branded packaging works best when the sticker spec supports the product, not when it fights the box, bag, or bottle.
Use the guide as a final spec check before sending a quote request. Clearer specs mean fewer revisions, fewer surprises, and stickers that actually do their job.
FAQ
What is the best material for custom logo stickers on packaging?
Paper works for dry indoor boxes, bags, and short-term packaging. BOPP is better for food, beauty, bottles, and moisture-prone products. Vinyl is the stronger choice for outdoor use, heavy handling, or long-term durability. The best material depends on the surface, exposure, adhesive needs, and desired finish.
How do I choose between paper, vinyl, and BOPP logo stickers?
Choose paper when cost matters and the sticker stays dry. Choose BOPP when you need water resistance, oil resistance, or a clean retail look. Choose vinyl when the sticker needs to handle weather, abrasion, or rougher use. Ask for samples if the sticker will go on curved, textured, refrigerated, or flexible packaging.
What printing method is best for custom logo stickers?
Digital printing is usually best for short runs, multiple designs, and fast testing. Flexographic printing is better for larger repeat orders and lower unit cost at scale. Screen printing can work for bold specialty effects or unusually opaque colors. Pantone matching and physical proofs are worth considering when brand color accuracy is critical.
How much do custom logo stickers cost to print?
Cost depends on size, material, quantity, adhesive, finish, shape, and print method. Digital orders can have lower entry cost but higher unit cost. Large roll orders usually reduce unit cost but may require higher MOQs. Specialty finishes, custom dies, white ink, foil, and laminate add cost but may improve shelf impact or durability.
What files do I need for a custom logo sticker printing quote?
Send vector artwork when possible, such as AI, EPS, or print-ready PDF. Include exact size, shape, quantity, material preference, finish, and application surface. Provide Pantone colors if color matching matters. Add notes for clear materials, white ink, waterproof needs, freezer use, removable adhesive, barcode use, or roll direction.