Two stickers can look identical on a screen. Six months later, one is still holding to a water bottle after dish soap, backpack friction, and heat through a car window. The other curls at the edge after three days on a retail jar. That gap is not luck. A practical die cut stickers Material and Printing guide matters because the face stock, adhesive, ink system, coating, and cut path all have to match what happens after the sticker leaves the press.
Die Cut Stickers Material and Printing Guide Basics
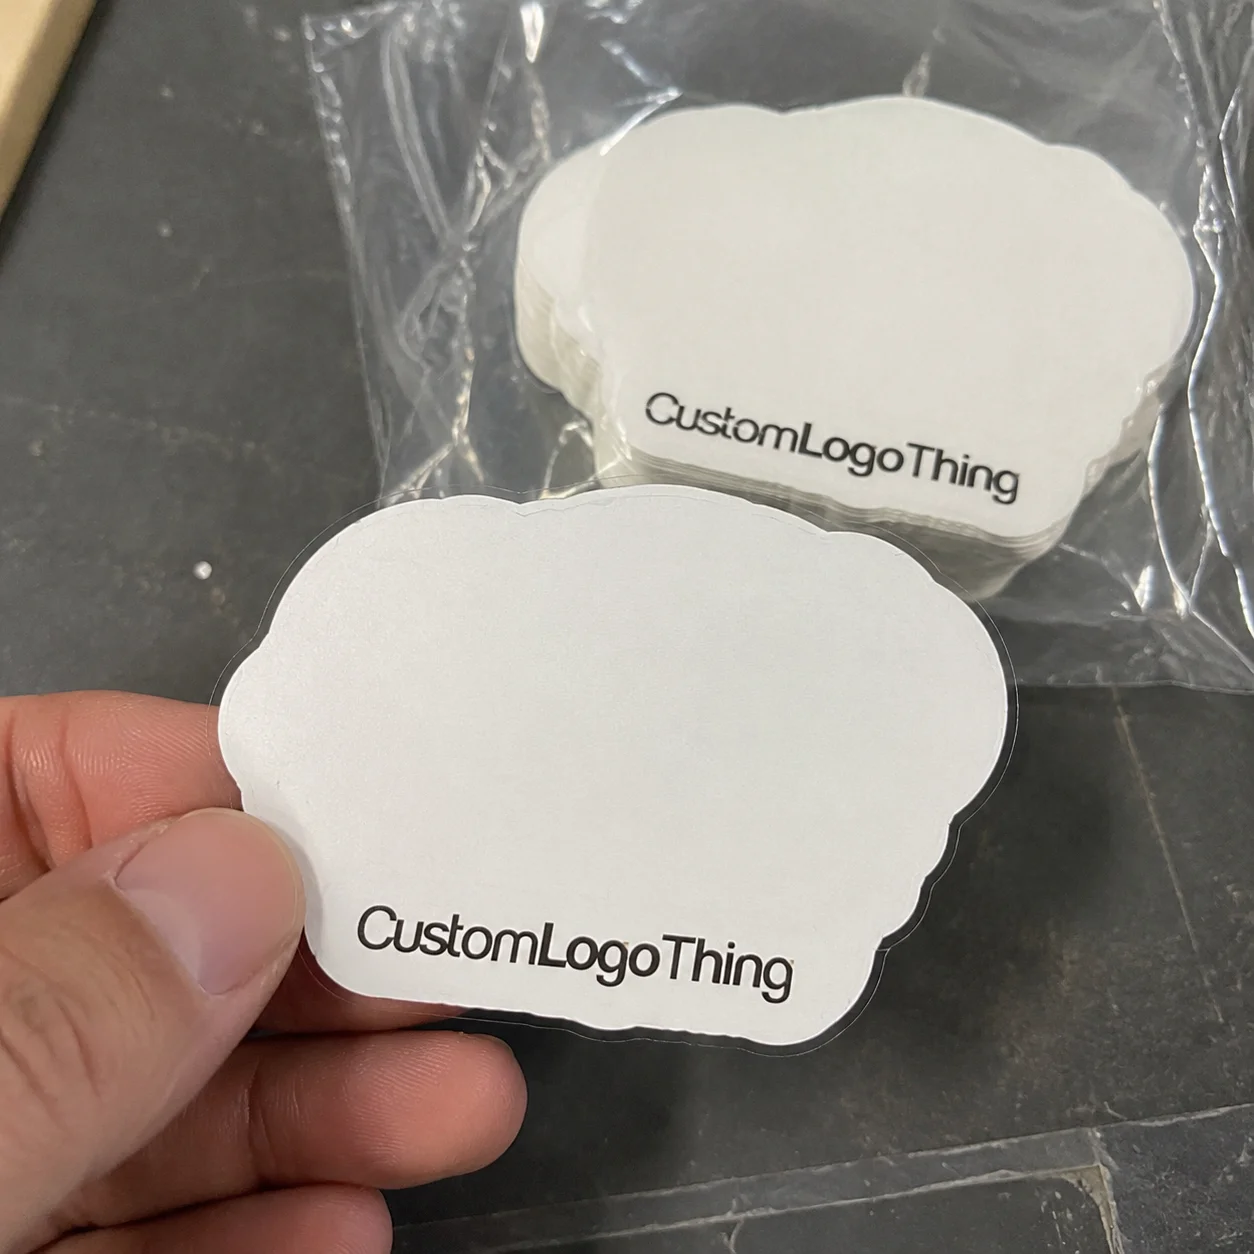
A die cut sticker is cut through both the printed face material and the backing liner, following the outside shape of the artwork. If the design is a flame, badge, leaf, mascot, product outline, or custom wordmark, the finished sticker follows that contour all the way around. A kiss cut sticker works differently: the blade cuts through the sticker face only, while the backing sheet stays larger and easier to peel.
The die line is not a production detail to clean up later. It controls the final silhouette, the peel experience, the strength of small details, and how cleanly the sticker releases from the liner. A design with thin points, tiny bridges, and hard inside corners may look sharp at 6 inches wide. Shrink it to 2 inches and those same details can tear, lift, snag lint, or become difficult to weed.
For packaging buyers, the first questions are blunt: indoor or outdoor use, application surface, expected handling, material, adhesive, print method, finish, size, quantity, and packing format. A kraft paper mailer seal has a different job than a sticker on a powder-coated tumbler, freezer carton, reusable bottle, or corrugated shipping box. Start with use conditions, then choose the material stack.
Practical rule: do not buy the most expensive sticker construction by default. Buy the right combination of material, glue, ink, and finish for the work the sticker must do.
Not every sticker needs to become an outdoor decal. Some should be simple, economical, and short lived. Others need to resist moisture, abrasion, cold, sunlight, oils, or constant handling. The cost mistake runs both ways: overbuilding a one-week indoor label wastes money, while underbuilding a sticker for wet or rough use can ruin the piece before the customer has finished using the product.
How Die Cut Sticker Materials Work in Real Use
Every pressure-sensitive sticker is a small layered construction. The core layers are the printable face stock, pressure-sensitive adhesive, silicone release liner, printed ink layer, and optional protective laminate or varnish. Change one layer and the whole behavior changes. A thicker face stock may feel premium in the hand, but it may fight a tight bottle radius. A more aggressive adhesive may grip low-energy plastic better, yet leave residue if clean removal matters.
White vinyl is the common workhorse for durable custom die cut stickers. Typical sticker vinyl runs around 3 to 4 mil before adhesive and liner, and it handles moisture, bending, and outdoor exposure better than paper. For laptops, helmets, reusable bottles, coolers, mailers, gear cases, and general branded merchandise, white vinyl with a gloss or matte laminate is usually the safest everyday construction. In plain terms, custom vinyl stickers survive the kinds of handling that expose weak paper stocks quickly.
Paper stickers cost less and make sense for short-term indoor work: packaging seals, event handouts, bakery labels, product inserts, dry goods, or promotional giveaways. Paper can be plain white, coated, uncoated, kraft, or made with recycled content. If the brand is making claims around FSC certified packaging or post-consumer waste content, ask for documentation tied to the face stock or liner. Sustainability language should be specific enough to verify. The Forest Stewardship Council is a useful reference for understanding FSC certified fiber sourcing.
Clear vinyl or clear BOPP creates the no-label look many brands want on jars, bottles, candles, and cosmetics. It also punishes vague artwork instructions. Transparent areas reveal the surface underneath. CMYK inks are not fully opaque by themselves, so red may look strong on a white jar and weak on a dark bottle. White ink is often printed behind color, either as a full flood or a shaped underprint, so the art does not disappear into the container.
Polypropylene and BOPP films are common for label-style stickers on jars, pouches, tubes, and bottles. They can be white, clear, or metallic, and they often run thinner than vinyl, which helps them lay flatter on containers. Holographic and metallic films add shelf impact. They also change color perception because the reflective base shines through unless white ink blocks it.
| Material | Best Use | Typical Strength | Common Watchout |
|---|---|---|---|
| White vinyl | Outdoor decals, bottles, laptops, merchandise | Moisture resistance and flexibility | Needs laminate for better scuff and UV resistance |
| Paper or kraft paper | Indoor seals, inserts, short-term promotions | Lower cost and easy writing surface | Poor fit for water, oils, and abrasion |
| Clear vinyl or BOPP | Glass jars, clear bottles, no-label look | Clean visual effect | Often needs white ink behind color |
| Holographic or metallic film | Retail promos, limited runs, brand drops | High visual impact | Higher cost and more color proofing needed |
| Removable wall stock | Painted walls, temporary signage, displays | Lower residue removal | Not for all paints or textured surfaces |
Adhesive is the quiet decision behind many sticker failures. Permanent adhesive is the default for many jobs, but removable, repositionable, freezer-grade, high-tack, and low-tack adhesives all exist for specific reasons. Glass is usually forgiving. Untreated corrugated cardboard can absorb and distort. Low-energy plastics such as polyethylene and polypropylene often need stronger adhesive. Powder-coated metal and textured mailers reduce contact area, so the adhesive may touch only the high points of the surface.
Thickness matters, but not always in the way buyers expect. A rigid 6 mil construction may feel substantial as a handout. A thinner film may wrap better around a curved jar or squeeze bottle. In actual use, the best sticker is often the one that gets full adhesive contact, not the one that feels thickest between your fingers. Sticker printing materials behave less like stationery and more like engineered components.
Printing Methods, Color, and Finish Options
Digital printing is the usual choice for custom die cut stickers because it handles full-color artwork, gradients, multiple designs, and lower minimums without a plate or screen for each color. For small to mid-size runs, digital sticker printing keeps setup cost under control and usually makes proofing faster. A typical short digital run might produce in 3 to 7 business days after proof approval, though specialty materials, strict color work, or extra finishing can stretch that window.
Screen printing still has a job. It is strong for bold spot colors, heavy ink laydown, high opacity, and rugged outdoor decals. Setup is the trade. Each color usually needs its own screen, so a 1-color or 2-color design can be efficient, while a full-color illustration can become expensive quickly.
Flexographic printing fits larger production runs, especially roll-format stickers feeding packaging operations. Flexo uses plates and fast web handling, which helps with repeatability and unit cost once quantity climbs. If you are ordering thousands of stickers for jars, cartons, pouches, or automated application, review roll direction, core size, unwind orientation, and label gap before production. Custom Logo Things buyers can also review broader Manufacturing Capabilities when the sticker order connects to packaging, kitting, or branded product programs.
Color expectations deserve a careful conversation before approval. CMYK works well for full-color images, but bright neons, metallics, deep navy, intense orange, and certain brand reds can fall outside the standard process range. Pantone or spot color matching may be available, though it usually adds proofing time and cost. RGB artwork from a screen should be converted and checked before printing. Monitors emit light. Ink absorbs and reflects it. That difference is not minor.
Finish changes durability, color, and the way the piece feels in the hand. Gloss laminate makes color pop and sheds moisture well. Matte laminate reduces glare and gives a cleaner retail look. Soft-touch laminate feels velvety, but it can show fingerprints and rub marks more than a hard gloss. UV varnish is thinner and can be cost-effective for lighter use. Spot gloss can lift a logo over a matte field. Holographic effects and metallic film can be powerful, but they should be tested if brand color accuracy is strict.
Laminate and varnish are not interchangeable. A laminate is a separate protective film, commonly around 1 to 2 mil, bonded over the print for better scuff, moisture, and handling resistance. A varnish is a liquid coating applied over the ink. It is usually thinner and less protective, but often adequate for indoor promotional stickers, packaging seals, and short-life labels. Both can appear as "coating" on a quote, yet perform very differently.
Artwork requirements are simple, which is exactly why they get skipped. Send vector files when possible, usually AI, EPS, or print-ready PDF. Fonts should be outlined or embedded. Raster art should be high resolution at final size, often 300 dpi for photographic work. Bleed should extend beyond the cut line, commonly 0.0625 to 0.125 inch, and text should stay inside a safe zone of roughly 0.0625 to 0.125 inch from the cut path. If white ink is needed, provide it as a separate, clearly labeled layer.
Production Steps and Timeline from Artwork to Delivery
The production path usually starts with a quote request, then material recommendation, artwork review, dieline setup, digital proof, approval, printing, coating or laminating, cutting, weeding or sheet separation if needed, quality checks, packing, and shipping. It sounds linear. It often is. Still, any step can expose something that changes price, timing, or construction. Sticker production is not one decision. It is a chain.
Prepress is where many problems get caught. The team checks resolution, color mode, bleed, cut path, small type, thin lines, white ink instructions, and whether the design can be cut cleanly at the requested size. A 1.5-inch sticker with 5-point type and a sawtooth border may need adjustment, even if the artwork looks crisp on a laptop screen.
A digital proof confirms size, shape, copy, cut line, and general color expectation. It is not a perfect predictor of ink on a specific film. For exact brand color, transparent stock, metallic film, or high-volume packaging work, a physical proof, press proof, or ink drawdown may be the better decision. Many jobs do not need that level of proofing. Retail launches and repeat product labels often do.
Timeline depends on quantity, material availability, adhesive choice, white ink, number of SKUs, laminate, exact color matching, and packing requirements. A straightforward digitally printed vinyl sticker order can often move in about 5 to 10 business days after proof approval. Larger runs, flexographic work, specialty film, custom adhesive, or exact-match color development can require 12 to 20 business days or more, especially if a physical proof is requested.
Work backward from the real deadline: trade show, retail ship date, kitting appointment, product launch, or packaging line start. The day artwork is submitted is not the same as the day production begins. Proofing and approval sit in between. This is one of the most avoidable schedule mistakes in sticker buying, and it shows up constantly.
Cost, MOQ, and Quote Factors for Die Cut Stickers
Sticker pricing is driven by size, material, adhesive, number of designs, print method, finish, quantity, shape complexity, proofing needs, and packing format. A 2-inch white vinyl sticker on sheets has a different cost structure than a 4-inch holographic sticker with white ink, matte laminate, individual backing slits, and retail-ready bagging. Good quote comparison starts by making those cost drivers visible.
Unit cost usually drops as quantity rises because setup, prepress, material handling, press time, and finishing steps are spread across more stickers. For a simple 2.5-inch digitally printed vinyl sticker, a small run might land around $0.45 to $1.25 per piece depending on finish and quantity. A 5,000-piece run might fall closer to $0.12 to $0.35 per piece. Treat those as planning ranges, not a universal price list. Artwork coverage, material choice, and packing requirements can move the number fast.
Minimum order quantity depends on the process. Digital printing may support lower minimums, sometimes 100 to 250 pieces for basic materials. Screen printing, flexographic printing, specialty films, custom adhesives, or roll production often need higher quantities to make economic sense. For packaging programs connected to Custom Labels & Tags, higher volume may also help maintain repeatable color and roll specifications across multiple SKUs.
Shape affects cost more than many buyers expect. Rounded corners and smooth outlines cut cleanly and weed efficiently. Intricate shapes with sharp interior corners, tiny islands, thin extensions, or narrow necks can slow cutting and increase scrap. Any detail thinner than about 1/16 inch deserves a second look before production.
- Quote size: final width and height, measured at the widest points.
- Quantity: total pieces per design, not just total order count.
- Use environment: indoor, outdoor, refrigerated, wet, oily, or high-handling.
- Surface type: glass, cardboard, plastic, metal, painted wall, pouch, jar, or bottle.
- Desired lifespan: one week, three months, one year, or longer.
- Finish preference: gloss, matte, soft-touch, varnish, laminate, metallic, or holographic.
- Packing format: singles, sheets, rolls, backing slits, counted bundles, or retail packs.
- Deadline and destination: proof approval date, ship date, delivery address, and receiving window.
Add-ons can justify their cost when the use case calls for them. Outdoor laminate, white ink underprint, metallic film, holographic stock, soft-touch finish, individual backing slits, roll winding direction, and retail-ready packing all add cost. They also solve real problems. The question is not whether the feature sounds premium. The question is whether the sticker needs that function to survive its job.
Common Material, Artwork, and Cutting Mistakes
The first mistake is choosing paper for water, oils, refrigeration, abrasion, or outdoor weather without accepting the short lifespan. Paper can be perfect for a dry indoor handout or temporary packaging seal. Put that same paper sticker on a chilled glass bottle with condensation and the edge may wrinkle, stain, or release. Paper is not a budget version of vinyl. It is a different tool.
Small text causes trouble next. A line of legal copy or a social handle may look clean at 400 percent zoom, then become hard to read on a 1.75-inch sticker. Fine outlines can also break visually after cutting, especially if the die line follows the printed edge too tightly.
Missing bleed creates slivers. If the background stops exactly at the cut line, normal cutting tolerance can reveal a white edge. Add bleed beyond the cut path and keep text, logos, QR codes, and key details inside the safe zone. For most small stickers, 0.0625 inch is a reasonable minimum safe margin, and 0.125 inch gives more breathing room.
Overly complex die lines create production and use problems. Sharp points lift first. Narrow necks tear. Tiny islands are hard to peel. Deep notches collect dust and adhesive residue. A slightly simplified outline often looks just as custom, costs less to cut, and lasts longer in a pocket, on a mailer, or on a handled product.
Ignoring the application surface is a quiet way to waste money. Low-energy plastics, textured corrugated cardboard, powder coating, curved containers, cold surfaces, and dusty recycled materials can all change adhesive performance. If the sticker goes onto biodegradable packaging or a molded plastic container, test the actual surface instead of assuming a general-purpose adhesive will behave the same.
Color surprises usually come from RGB files, uncalibrated screens, transparent stock, missing white ink, or specialty finishes. A metallic base can make blue look deeper and red look darker. Clear film over amber glass can warm every color. Matte laminate can reduce perceived contrast. None of that is automatically a flaw. It should be visible before the full order runs.
Rushed ordering leaves no room for proof revisions, material changes, freight delays, or a small adhesion test. A tight schedule can work for a simple repeat order. A new construction deserves space. A useful die cut stickers Material and Printing guide helps surface those questions before the deadline starts making decisions for you.
What Should You Check Before Sending Artwork to Print?
Before requesting a quote, decide where the sticker will be applied, how long it should last, what it will touch, whether it must resist water or abrasion, and whether it needs to peel off cleanly. These answers guide the material and adhesive more than the artwork style does. Turn them into specifications: face stock, adhesive, print method, finish, cut tolerance, packing format, and lead time.
Collect real-world details. Surface material, temperature range, indoor or outdoor exposure, cleaning chemicals, handling frequency, and use category all matter. A decorative laptop sticker has different demands than an informational warning label, tamper-evident seal, promotional insert, or branded retail jar sticker. For transit and distribution concerns, the International Safe Transit Association is a useful authority on packaged-product testing concepts, especially when stickers are part of a broader shipping or kitting program.
Ask for material guidance if the sticker will be used on bottles, jars, coolers, vehicles, reusable packaging, textured mailers, or curved plastic. Do not guess on adhesive for cold, wet, oily, or rough surfaces. A 10-piece test on the real surface can save the cost of rerunning thousands of stickers.
Simplify the cut path where possible. Add proper bleed. Keep small text inside safe zones. Send layered vector artwork with the dieline clearly labeled, and include a separate white ink layer for clear, metallic, or holographic stock if opacity matters. A clean file can reduce proof revisions and help production start faster after approval.
For high-stakes orders, test a sample before committing to the full run. Retail packaging, outdoor decals, cold storage labels, vehicle use, and long-term branded merchandise all deserve a practical adhesion and handling check. Bend it. Chill it. Wash it. Rub the edge. Leave it on the intended surface for a few days if the timeline allows.
Use this die cut stickers Material and Printing guide as a final check before approving proof, quantity, finish, timeline, and quote details. The right sticker is not just the one that looks good on screen. It prints cleanly, peels properly, sticks to the intended surface, and holds up for the amount of time your brand needs.
FAQ
What is the best material for die cut stickers used outdoors?
White vinyl with a gloss or matte laminate is usually the strongest everyday choice because it resists moisture, sunlight, scuffing, and frequent handling better than paper. For long-term outdoor use, ask about UV-resistant inks, laminate thickness, adhesive strength, and expected exposure to heat, cold, rain, and abrasion.
How does a die cut stickers material and printing guide differ for clear stickers?
Clear stickers need extra planning because transparent areas reveal the surface underneath, and printed colors may look weaker unless white ink is printed behind them. Artwork should specify which areas stay clear, which areas receive white ink, and whether the sticker will be applied to a light, dark, colored, or transparent surface.
Are die cut stickers more expensive than standard shaped stickers?
They can be, especially when the shape is intricate, the quantity is low, or the job uses specialty material, laminate, white ink, or individual packing. Simple custom outlines are usually manageable, but very tight corners, thin extensions, and many tiny details may increase production time and waste.
What artwork files are best for custom die cut sticker printing?
Vector files such as AI, EPS, or print-ready PDF are best because the cut line can be created cleanly and the artwork can scale without losing edge quality. Raster artwork should be high resolution at final size, with bleed added beyond the cut line and important text or logos kept inside the safe area.
How long does die cut sticker production usually take?
Timing depends on artwork readiness, proof approval, material availability, quantity, print method, finishing, and shipping distance. Simple digital orders can often move faster, while specialty films, exact color matching, large quantities, or complex finishing require more lead time. Separate a basic digital vinyl job from specialty film, roll-label, and exact-color work before setting the schedule.