Buyer Fit Snapshot
| Best fit | Unboxing Experience Supplier for Stronger Branding projects where brand print, material claims, artwork control, MOQ, and repeat-order consistency need to be specified before quoting. |
|---|---|
| Quote inputs | Share finished size, material target, print colors, finish, packing count, annual reorder estimate, ship-to region, and any compliance wording. |
| Proofing check | Approve dieline scale, logo placement, barcode or warning zones, color tolerance, closure strength, and carton packing before bulk production. |
| Main risk | Vague material claims, crowded artwork, missing packing details, or unclear freight terms can make a low unit price expensive after revisions. |
Fast answer: Unboxing Experience Supplier for Stronger Branding: Board, Finish, Dieline, and Unit Cost should be specified like a repeatable production item. The safest quote records material, print method, finish, artwork proof, packing count, and reorder notes in one written spec.
Production checks before approval
Compare the actual filled-product size with the drawing, then confirm tolerance on folds, seals, hang holes, label areas, and retail display edges. Reserve space for logos, QR codes, warning copy, and material claims before decorative graphics fill the panel.
Quote comparison points
Review material grade, print process, finish, sampling route, tooling charges, carton quantity, and freight assumptions side by side. A quote is only useful when the supplier can repeat the same color, closure quality, and packing count on the next order.
If a customer opens your box and feels “cheap” before they even touch the product, you’ve already lost part of the sale—so that’s why an Unboxing Experience Supplier guide matters so much. I’ve seen premium candles, $120 skincare sets, and beautifully engineered tech accessories lose perceived value because the carton looked like it had been pushed through a generic line with no thought for the reveal. A strong unboxing experience supplier guide helps you avoid that mistake by tying structure, print, inserts, finishes, and presentation flow into one branded moment.
At Custom Logo Things, we spend a lot of time helping brands sort out the difference between a box that merely ships product and packaging that actually supports brand identity. But that gap is where many companies quietly bleed margin, because customer perception starts forming in the first 10 seconds of opening. A good unboxing experience supplier guide is not only about finding a vendor; it is about finding a packaging partner who understands how the reveal feels in the hand, how it sounds when it opens, and how it looks when the lid comes off. And if the supplier misses those details, the whole package can feel kinda flat no matter how polished the artwork looks on screen.
What an Unboxing Experience Supplier Actually Does
An unboxing experience supplier guide starts with one simple truth: this supplier is not just a box maker. The best suppliers, in my experience, act more like packaging coordinators, handling the structure, substrate selection, graphics, finishing, and internal presentation so the final package feels intentional from the first glance to the last compartment. I’ve walked production floors in Dongguan where a rigid setup box looked flawless on a render, but the inner tray rocked by 2 mm because nobody had checked insert tolerances before production began. It felt like watching a perfect pitch fizzle when the packaging didn’t actually stay put.
That kind of issue shows up often when brands rely on standard packaging vendors that only quote stock sizes, while custom packaging manufacturers and branded unboxing specialists build around the product journey. A supplier focused on the unboxing experience will ask about opening sequence, shipping method, product weight, and even how the package will photograph on a customer’s phone. That matters for DTC brands, subscription boxes, cosmetics, apparel, tech accessories, and premium gift packaging, since each one creates a different emotional expectation. And it matters for newer brands trying to look established on day one, because the packaging is often the first physical proof of how seriously the company takes itself.
A complete unboxing experience supplier guide also covers dielines, print methods, and finishing details. A 350gsm C1S artboard folding carton with matte aqueous coating feels very different from a 2 mm rigid board wrapped in specialty paper with foil stamping and embossing. The supplier’s job is to match those details to the product and the channel, whether the box travels through parcel carriers, sits on a retail shelf, or is handed directly to a VIP customer in a boutique. And honestly, that is where a lot of packaging decisions go sideways: a beautiful structure can be totally wrong for the shipping path it’s gonna live through.
“The first time I saw a luxury haircare brand switch from plain corrugate to a drawer-style rigid box with a printed belly band, their customer reviews changed almost overnight. People started talking about the packaging before they even mentioned the shampoo.”
That is the power of a well-built unboxing experience supplier guide: it ties packaging engineering to visual branding and repeatable brand consistency. If the supplier understands the whole system, not just the outer shell, the package becomes part of the product story instead of a shipping afterthought. That distinction is where real packaging expertise shows up, and it is also where buyers can separate a true manufacturing partner from someone simply reselling whatever factory quote they received that morning.
How the Unboxing Experience Supply Process Works
The supply process usually starts with discovery. A useful unboxing experience supplier guide should spell that out clearly. A good team will ask for product dimensions, target retail price, shipping environment, quantity, and the emotional tone of the brand. From there the conversation moves into structural concepting, then prototyping, then production, then quality control, and finally freight or fulfillment. That sequence sounds simple, but each step hides technical decisions that can affect cost, timing, and customer experience. No wonder people get overwhelmed.
Factories typically work with rigid box board, folding carton stock, corrugate, molded pulp, EVA foam, and paperboard inserts depending on the product. I once visited a Shenzhen facility making Magnetic Closure Boxes for a fragrance line, and the whole job changed when the client insisted on molded pulp instead of EVA foam for the insert. The decision reduced plastic use, but it also meant the die-cut cavity had to be adjusted by 1.5 mm to prevent bottle rattle during vibration testing. That kind of correction is not glamorous, but it is exactly the sort of thing that keeps a luxury launch from turning into a support-ticket mess later. Worth the headache? Definitely.
That kind of adjustment is exactly why an unboxing experience supplier guide should include common production methods. Offset printing on a Heidelberg Speedmaster or Manroland machine is ideal for higher volumes and richer color control, while digital proofing on the HP Indigo is handy for short runs and fast sampling. Foil stamping, embossing, debossing, spot UV, lamination, and die-cutting each add a layer of complexity, and each one needs to be planned against material behavior. A soft-touch laminate on a 2 mm rigid board, for instance, hides fingerprints beautifully, but it can also show scuffing if warehousing is rough. There’s no magic fix for that; you pick your tradeoffs and protect the weakest point in the chain. Simple? Not really, but it keeps surprises to a minimum.
Timelines depend on complexity, toolmaking, sample approvals, and factory capacity. A simple folded carton might move from approved artwork to shipment in 12 to 15 business days after proof approval, while a Custom Rigid Box with inserts and specialty finishing may need 25 to 35 business days, sometimes more if there are multiple revisions. A smart unboxing experience supplier guide teaches brands to lock artwork specs early, confirm tolerances, and approve assembly instructions before mass production starts, because late changes are where budgets go to die. And for hybrid projects shipping from Guangzhou to the EU market, expect 18-22 business days for tooling, proofing, and production before consolidation and container loading.
For standards and testing references, I always tell clients to ask about ISTA drop testing requirements and material sourcing options tied to FSC certification. I send them to ISTA for industry basics and FSC for fiber certification. Those references help keep an unboxing experience supplier guide grounded in real-world performance, not just pretty mockups. If a supplier can’t speak plainly about those tests, that’s a warning sign worth paying attention to.
Key Factors That Shape the Customer Unboxing Moment
Branding consistency is the first thing I look for, because the customer should feel the same personality from the website to the package to the insert card. A strong unboxing experience supplier guide will call out color accuracy, logo placement, reveal sequence, tactile feel, and sound. Yes, sound matters—the crisp click of a magnetic closure or the soft drag of a drawer box changes how premium the package feels in the hand. Feels like the brand is talking back, right?
Material choice should follow the product use case. Rigid Setup Boxes work beautifully for luxury goods because they hold shape and communicate value. Corrugated mailers make more sense when shipping durability matters, especially for subscription brands moving through parcel networks every week. And Kraft paperboard can be a smart, budget-friendly stand-in if you want to lean into a more grounded, earthy reveal.
Decision checklist before ordering
- Measure the real product and confirm how it will be packed, displayed, stored, and shipped.
- Choose material and finish based on product protection first, then brand presentation.
- Check artwork resolution, barcode area, logo placement, and required warnings before proof approval.
- Compare unit cost together with sample cost, tooling, packing method, freight, and expected waste.
- Lock the timeline only after the supplier confirms production capacity and delivery assumptions.
What experienced buyers check before approving Unboxing Experience Supplier for Stronger Branding
A useful unboxing experience supplier for stronger branding spec starts with the product, not with a decoration menu. Measure the item as it will actually be packed, including any insert, sleeve, protective wrap, or retail card. Then decide whether board grade or flute or caliper carries the biggest risk for this order. That order of thinking keeps the design attractive without ignoring the physical job the packaging has to do.
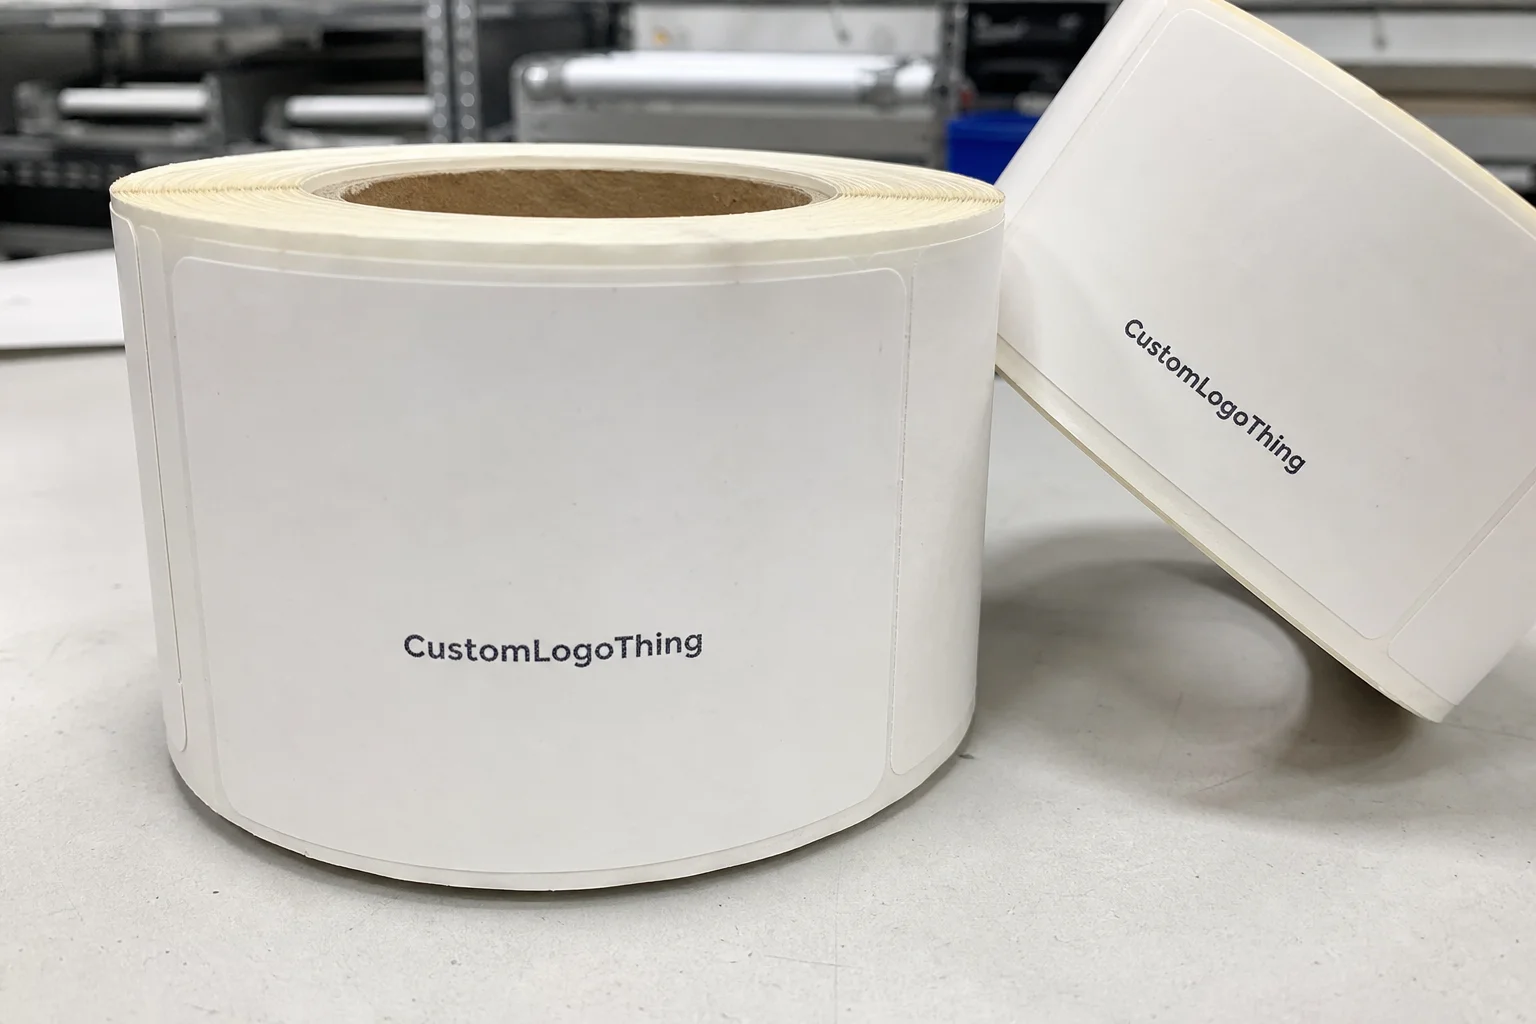
For wholesale or repeat orders, the biggest difference between an easy project and a frustrating one is usually documentation. Keep the die line, material callout, print method, finish, tolerance, and packing instruction in one approved file. If the packaging needs a barcode, warning, QR code, ingredient line, or marketplace label, protect that area before the artwork becomes crowded.
Sampling is not just a formality. A sample should answer practical questions: does the product fit without forcing, does the logo sit where a customer notices it, does the color still look right under store or warehouse lighting, and does the package survive normal handling? If any answer is uncertain, revise before bulk production rather than trying to fix thousands of finished pieces.
Cost, lead time, and production details that change the quote
Quotes for unboxing experience supplier for stronger branding can change quickly when the supplier learns about crush resistance, die line accuracy, special packing, or a narrow delivery window. Ask the supplier to separate tooling, sample, unit, packing, and freight assumptions. That makes it much easier to compare two offers without mistaking a missing line item for a real saving.
Lead time should also be treated as a sequence, not one number. Artwork cleanup, proofing, sample making, approval, material booking, printing, finishing, packing, and export handoff all take time. A realistic schedule leaves room for one controlled revision and still protects the delivery date. Rushed approvals often cost more than the extra week they were meant to save.
The final production file should be boringly clear. It should name the material, print method, finish, quantity, carton packing, inspection point, and acceptable tolerance. That level of detail may feel slow, but it is what helps a custom package come back looking like the approved sample instead of a close cousin.
Unboxing Experience Supplier for Stronger Branding: comparison table
| Decision area | Best practical choice | What to verify | Common failure mode |
|---|---|---|---|
| board grade | Match it to the product weight, sales channel, and how the item is packed. | Confirm measurements, tolerance, and a physical or production-grade sample. | The package looks acceptable in a render but feels wrong in hand. |
| flute or caliper | Choose the option that survives handling without hiding the logo or required copy. | Check proof color, print position, finish, and rub resistance before bulk approval. | Print shifts, scuffs, or loses contrast after storage and freight. |
| crush resistance | Plan the spec around repeat orders, not only the first small run. | Ask for MOQ, tooling, carton packing, lead time, and re-order controls. | Costs jump when the brand scales or adds more SKUs. |
Final buyer notes before approval
Before making the final decision, write down the specification, approval owner, delivery expectation, and the one or two risks that would cause the most trouble if missed. For unboxing experience supplier for stronger branding, this usually means checking board grade, flute or caliper, crush resistance, and the support process after the order is placed.
This last review does not need to be complicated. It simply makes the decision easier to repeat, easier to explain, and easier to verify when the finished product or jewelry arrives.
Extra approval checks for this topic
One useful way to pressure-test the decision is to ask what would happen if the order had to be repeated in six months. The answer should still be clear: the same board grade, the same flute or caliper, the same acceptance standard, and the same communication path. If a second order would depend on memory or guesswork, the first order is not documented well enough yet.
Another useful check is to separate preference from requirement. Preference is the look, wording, or finish the brand likes. Requirement is the measurement, tolerance, certificate, material, or delivery condition that cannot fail. Good buying decisions keep both visible, so the final choice is not pushed around by the last email, the cheapest quote, or the prettiest sample photo.
Finally, ask who owns each approval. A project with one accountable owner for sample review, one owner for final content or artwork, and one owner for delivery sign-off usually moves faster than a project where every decision is shared loosely across a team. Clear ownership reduces delays and makes the finished result easier to judge.
How to judge the finished result
The finished result should be judged against the approved standard, not against a vague idea of what looked good at the start. Compare the delivered item with the approved sample, written specification, photos, and any measurement or certification notes. If the result meets those points, the project is easier to reorder and easier to improve later.
If something is off, record it in practical terms: where the issue appears, how often it appears, whether it affects use, and what change would prevent it next time. That turns a complaint into a useful production note and helps the next order become more consistent.