Wine Club Tamper Evident Labels Material Guide for Buyers
For a wine club, the seal is not decoration. It is the first tactile proof that the bottle stayed untouched from packing line to member doorstep, and the wine club Tamper Evident Labels material guide matters because chilled glass, condensation, and rough parcel handling expose weak choices fast. A label that looks perfect on a mockup can lift at the shoulder, wrinkle at the neck, or lose its bond after one cold shipment, so the material decision deserves the same care as the wine itself.
If you are buying these labels for a recurring shipment program, the job is never just "print and stick." You are balancing face stock, adhesive, die-cut geometry, bottle finish, and the kind of handling the case will see in corrugated cardboard transit, sometimes alongside kraft paper inserts, recycled materials goals, or an FSC-certified carton program. That is why the wine club Tamper Evident Labels material guide is useful: it helps you choose a construction that protects trust, keeps print readable, and does not turn every reorder into a fresh experiment.
Wine Club Tamper Evident Labels Material Guide: Start With the Bottle
The smartest way to use a wine club Tamper Evident Labels material guide is to begin with the bottle, not the artwork. A long-necked bottle with a smooth finish behaves differently from a shorter bottle with a tight shoulder or a slightly textured surface, and those small differences decide whether the label bridges cleanly or starts to peel after chilling. If the bottle spends time in a cold room, the adhesive also has to tolerate surface moisture, because the first failure often shows up as edge lift after the carton has been opened and closed a few times.
In plain language, a tamper-evident label is a construction that makes opening obvious. That can mean a label that bridges from cap to neck and tears on removal, or one that leaves a visible void message or broken pattern if someone tries to lift it. The structure usually includes three parts: the face stock you see, the adhesive that holds it in place, and the die cut that controls how it breaks. A clean result depends on matching all three to the bottle and the shipping condition, which is why the wine club tamper evident labels material guide should always start with the container rather than the press sheet.
Wine clubs need this discipline more than one-off retail labels because the pattern repeats. You are not making one presentation bottle for a tasting table; you are sending hundreds or thousands of packages on a tight fulfillment calendar, and every one of them has to look trustworthy at a glance. The seal has to survive member handling, refrigerate-and-reseal behavior, and the friction that happens when bottles are packed closely together. From a packaging buyer's point of view, the wine club tamper evident labels material guide is really a risk-control tool for recurring shipments.
Here is the practical framework I use when comparing options:
- Paper works well for dry storage, lower abrasion, and a softer premium look, especially on shorter runs.
- Film such as BOPP or PET usually performs better with moisture, condensation, and rubbing against other bottles or inserts.
- Adhesive strength must match the bottle finish; a slick glass neck needs different behavior than a matte or textured coating.
- Geometry matters just as much as material, because a good bridge area and a controlled tear line make the tamper event visible.
If you are also trying to align the bottle program with broader sustainability goals, the label choice can sit inside a wider packaging story that includes recycled materials, biodegradable packaging claims where appropriate, and outer packaging such as corrugated cardboard or kraft paper. Those goals do not rescue a weak seal. The wine club tamper evident labels material guide still has to be judged on performance first, because a beautiful label that lifts in transit is a packaging failure, not a brand win.
How Wine Club Tamper Evident Labels Work on Bottles
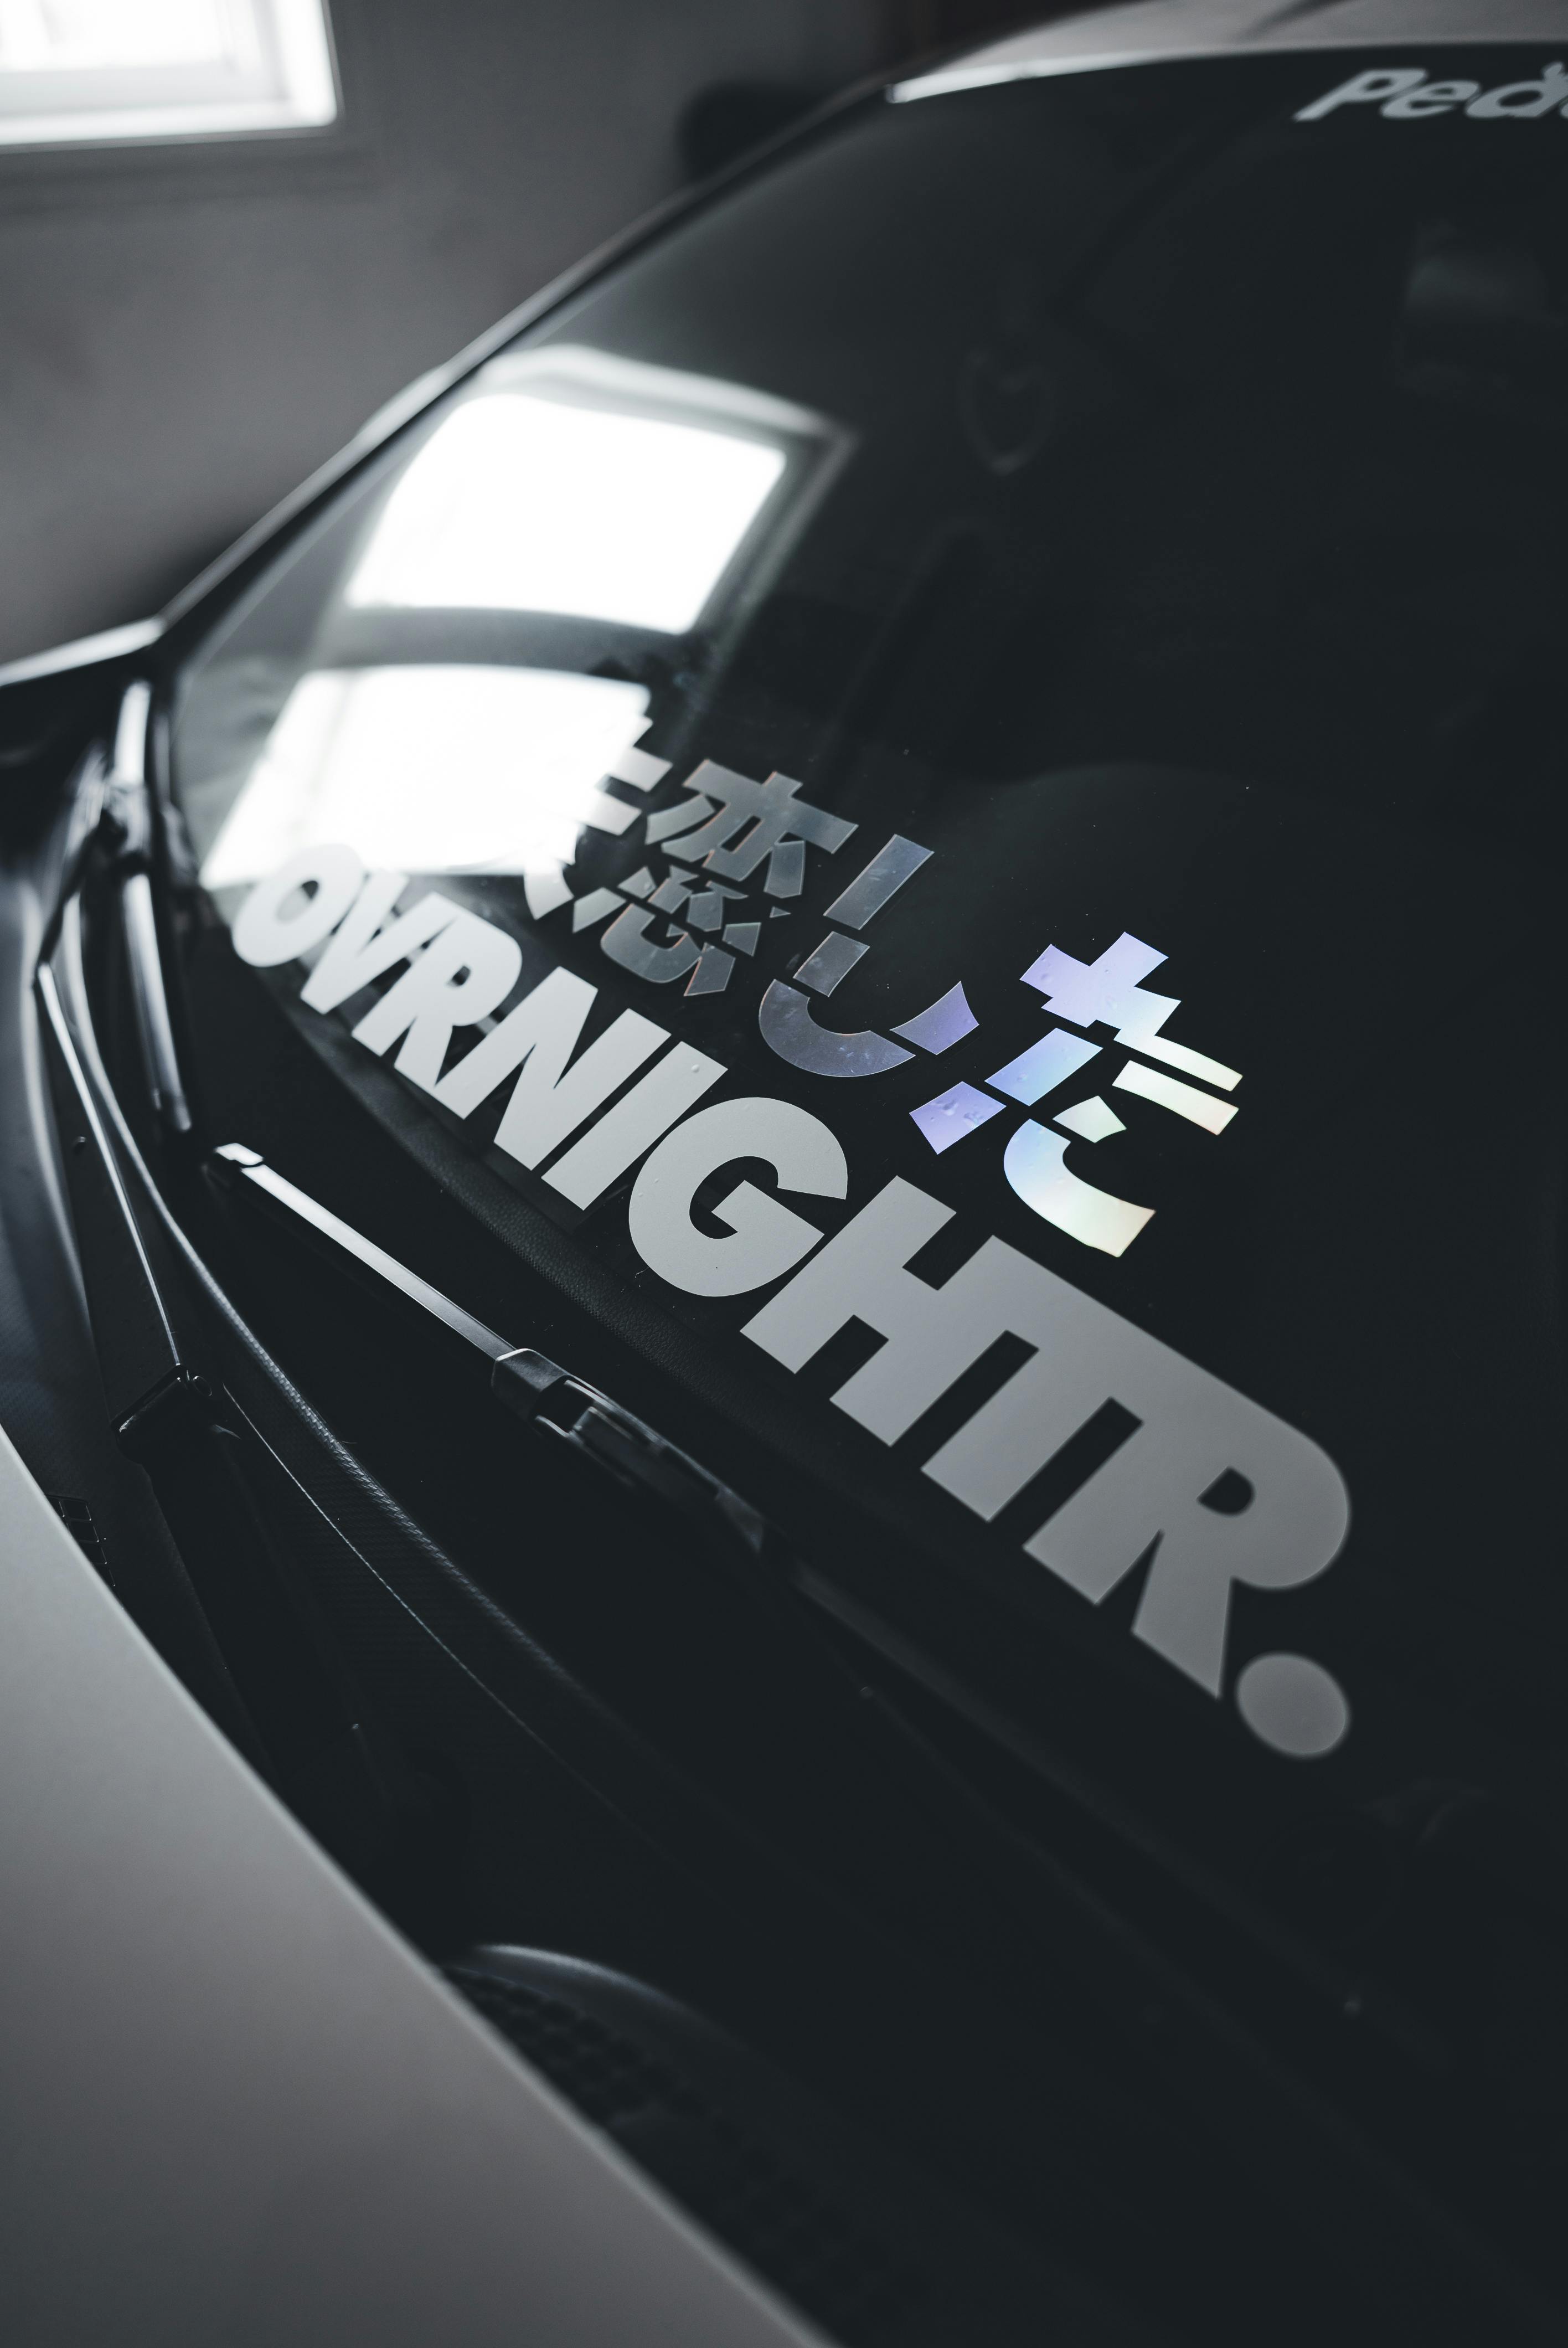
The mechanics are simple, but the details are not. A good wine club tamper evident labels material guide explains that the label is usually designed to cross a boundary, most often from the closure to the neck or shoulder, so any attempt to remove it destroys the continuity. Some constructions tear in the center, some peel and reveal a hidden warning layer, and some leave a void pattern that cannot be ignored. The point is not to make the seal impossible to defeat; the point is to make tampering obvious enough that a member or shipper sees it immediately.
Application matters because a badly aligned label can reduce security and hurt shelf appeal at the same time. If the bridge lands crooked, the tear may happen unevenly, and the finished bottle looks rushed even if the ink coverage is beautiful. On a line running at speed, consistent placement depends on the applicator, the bottle diameter, and the actual neck finish, so the wine club tamper evident labels material guide should include the application method right next to the stock choice. The best teams test for both function and appearance, because a secure label that looks sloppy can still create customer doubt.
Three failure modes come up again and again in real production:
- Condensation lift when bottles are chilled before application or sit in a cool pack-out area for too long.
- Edge curl when the face stock or die cut is too rigid for the bottle curve.
- Adhesive ooze when the glue is too soft for heat, pressure, or long storage in a warehouse.
The difference between a decorative closure seal and a true tamper-evident label is the purpose behind the design. Decorative seals add polish. A real security label is engineered to fail visibly if removed. That is why the wine club tamper evident labels material guide must ask, "What should happen when somebody peels this off?" If the answer is "nothing obvious," then the construction is not doing its job.
Print still matters after the bottle gets cold. Batch codes, variable data, club names, and small legal text all need to stay legible after chilling, handling, and light abrasion. If you use thermal transfer or variable digital numbering, the print system should be chosen with the same care as the face stock. Packaging buyers sometimes separate "security" from "readability," but the wine club tamper evident labels material guide treats them as one problem, because a tamper seal that hides the lot code or smears after refrigeration creates another headache downstream.
"If the seal looks great but lifts after one cold shipment, we do not have a label issue; we have a trust issue."
Wine Club Tamper Evident Labels Material Guide: Cost, MOQ, and Pricing Drivers
Pricing makes more sense once you break the label into parts. In a wine club tamper evident labels material guide, the cost drivers are usually face stock, adhesive, finish, colors, die complexity, and any variable data or numbering. Paper is often the lower-cost starting point, film sits in the middle or slightly above depending on finish, and security constructions with void patterns, specialty slits, or aggressive adhesives usually cost more because the setup is more specific and the material itself is less generic.
For many buyers, the biggest surprise is that a lower unit price on paper can become a higher total cost if the material fails testing and forces a reprint. That is why the wine club tamper evident labels material guide should evaluate not just the label price, but the cost of sampling, proof changes, rework, and customer complaints. A quote that saves two cents per label but causes a one-week delay is not really cheaper in a subscription program with fixed ship dates.
Typical pricing ranges for a custom run might look like this, though exact numbers depend on size and coverage:
| Construction | Typical unit cost at 5,000 pieces | Best fit | Main tradeoff |
|---|---|---|---|
| Coated paper with permanent adhesive | $0.08-$0.16 | Dry storage, short handling window, premium printed look | Lower moisture resistance |
| BOPP film with permanent or freezer-grade adhesive | $0.11-$0.22 | Chilled bottles, abrasion risk, longer transit | Slightly higher material cost |
| Security film with void or destructible feature | $0.18-$0.35 | Higher trust requirement, stronger tamper indication | More setup and testing time |
MOQ shapes the buying decision almost as much as the unit price. A supplier may offer a low price at 10,000 labels and a significantly higher one at 1,000 because the same plate, die, and setup work gets spread across fewer pieces. For a wine club, that matters because releases may be seasonal, member tiers may change, and reorder cadence is usually tied to shipment waves rather than endless shelf demand. The wine club tamper evident labels material guide should help you decide whether to order for one release, two release cycles, or an annual forecast.
There are hidden costs worth asking about before you approve anything:
- Die charges for custom shapes, bridges, or micro-slits.
- Sampling fees if the supplier prepares test rolls or pre-production mockups.
- Rush charges when a club launch date gets pulled forward.
- Proof revisions if artwork or variable data changes after the first round.
- Rework risk if the construction does not pass real bottle testing and needs a second run.
To compare quotes fairly, insist on matching the same size, core, roll direction, adhesive type, and packing spec. One supplier may quote labels wound 1-up on a 3-inch core, while another quotes 2-up on a different core, and the numbers will look similar until the applicator jams on the line. The wine club tamper evident labels material guide is supposed to prevent that kind of false comparison.
If the brand is also working toward FSC-certified paper or a broader recycled materials story, say that up front, because it narrows the field and prevents wasted quoting. Just remember that recycled content, post-consumer waste, and biodegradable packaging claims all need to align with the actual substrate and adhesive system. A label spec that is technically pretty but incompatible with cold-chain use will not help the rest of the pack.
Production Process and Timeline: From Spec to Ship
A practical wine club tamper evident labels material guide should describe the production path from the first bottle sample to the finished roll, because timing problems usually begin long before the press starts. The most reliable workflow is straightforward: collect bottle and cap samples, define the artwork and dimensions, choose a candidate construction, test adhesion on real bottles, approve the proof, then move into production. That sounds basic, but in practice the delays come from missing neck measurements, uncertain dielines, or a bottle that arrives late from the customer.
There is a difference between proof approval time and actual manufacturing lead time, and that distinction matters when club shipments have fixed dates. A digital proof may arrive quickly, but the real schedule still includes plate setup, material ordering, press run, die cutting, slitting, and packing. For a simple construction, production often lands in the 10-15 business day range after final approval; more specialized security builds can move into the 15-25 business day range, especially if testing or material sourcing needs an extra step. The wine club tamper evident labels material guide keeps those timelines visible so the launch plan is realistic.
The shortest path to a clean run is to prepare a simple checklist before the job is released:
- Bottle finish and neck diameter, plus a sample if possible.
- Closure type, whether it is natural cork, synthetic cork, screw cap, or a closure with extra foil.
- Application method, manual, semi-automatic, or inline.
- Storage conditions, including whether bottles are chilled before packing.
- Artwork files, variable data rules, and any legal text that must stay visible.
For testing language and shipping stress, ISTA test methods are a useful reference point, especially if the full bottle pack travels in corrugated cardboard cases and then through parcel networks; see the standards and resources at ISTA. If the packaging program includes fiber-based materials, certification language from FSC can help keep sourcing claims clean and consistent. Those references do not choose the label for you, but they do strengthen the wine club tamper evident labels material guide by connecting label performance to the larger shipping system.
One more practical point: do not wait until the first full club run to discover whether the label survives a cold room or a lightly wet bottle. A small pilot order can save a lot of money, because the pilot reveals whether the face stock needs more flexibility, whether the adhesive bites fast enough, and whether the die cut opens cleanly without lifting the bottle finish. That is the kind of detail the wine club tamper evident labels material guide should turn into routine practice, not emergency troubleshooting.
Common Mistakes in Wine Club Tamper Evident Labels
Too many programs start with aesthetics and end with frustration. A strong wine club tamper evident labels material guide warns against choosing the label because it looks premium on a flat proof while ignoring the actual bottle surface. Textured glass, wet bottles, curved shoulders, and narrow neck finishes can turn a beautiful design into a lifting edge or a crooked seal once production starts.
The second mistake is assuming that a generic permanent adhesive will behave the same on every bottle. It will not. Some glass is slick, some carries a thin coating, and some bottles are cold enough that the adhesive never quite wets out before the packer moves to the next step. If the label has to survive overnight refrigeration or ice-bucket service, the adhesive must be chosen for that condition. The wine club tamper evident labels material guide keeps that question in the foreground rather than hiding it under "standard stock."
Alignment errors are just as costly. On a curved bottle, a bridge that sits slightly off-center can create an uneven tear line, and the security effect becomes less obvious. That hurts both function and presentation. The bottle may still ship, but it no longer feels deliberate. The best wine club tamper evident labels material guide treats application tolerance as part of the material spec, because a narrow window on placement can make a small run surprisingly difficult.
Skipping real bottle testing is another common misstep. Flat samples and digital renderings are not enough if the closure, bottle height, or fill line changes later. Even a modest change in cap diameter can affect how much of the bridge lands on the closure versus the glass. Before you commit, test the label on the exact bottle style used in the club pack, then repeat the test after refrigeration and after a short abrasion cycle inside the shipping carton. That is where the wine club tamper evident labels material guide pays for itself.
A vague spec is usually the most expensive spec, because every missing dimension becomes a guess in quoting, testing, and production.
Clear documentation is the last piece. If the request says only "tamper evident label for wine club," the quote will be broad and the production assumptions will be broad too. Include bottle dimensions, closure type, target quantity, finish preference, and whether you need batch coding or other variable data. The wine club tamper evident labels material guide should remove ambiguity, not create it.
Expert Tips for Better Material Testing and Rollout
Real testing beats theory every time. A wine club tamper evident labels material guide should recommend testing on actual bottles pulled from the club line, not just on flat sheets or digital renderings. If the bottle is cold, test it cold. If it lives in a fridge, test in a fridge. If the package rides in corrugated cardboard with other inserts, test that full pack-out, because the way bottles rub against each other can expose an edge problem that would never show in a sample binder.
Side-by-side comparisons are worth the time. I usually suggest comparing two or three constructions: a coated paper option, a film option, and one security-focused build with a stronger break feature. That gives the buyer a clean read on what matters most for the program, whether that is print softness, moisture resistance, or a more visible tamper indicator. The wine club tamper evident labels material guide works best as a decision tool, not a one-size-fits-all rulebook.
There are a few checks that deserve special attention:
- Fridge test the bottle for a full cycle, then inspect for lift and curl.
- Condensation test by applying to a damp or chilled surface that mimics real pack-out conditions.
- Abrasion test inside the shipper so the label sees the same rubbing it will see in transit.
- Removal test to confirm the seal breaks clearly and does not peel off in one intact piece.
- Readability test for batch codes, logo detail, and small copy after handling.
For new SKUs, small pilot quantities are the safest path. A pilot of 250 to 1,000 labels may seem modest, but it gives you enough material to see how the construction behaves across a few pack-outs and storage conditions without tying up budget in a large first order. Once the label has passed those checks, a reorder becomes much easier, and the wine club tamper evident labels material guide turns into a repeatable spec rather than an experimental one.
Finally, keep one page of documentation that captures the bottle finish, storage conditions, adhesive choice, roll orientation, and expected application speed. That one sheet can save a lot of back-and-forth six months later, especially if you change fulfillment partners or move the work to a different line. Honest note: this depends on the label converter and the equipment, but a tight spec almost always shortens the road from quote to production. That is exactly the role a wine club tamper evident labels material guide should play.
What to Do Next Before You Request Quotes
If you are ready to source, start by gathering the basics: bottle samples, cap details, target dimensions, artwork files, estimated monthly quantity, and any seasonal shipment dates. A strong wine club tamper evident labels material guide is only useful if you feed it the right inputs. Once those details are in hand, ask vendors to recommend a construction, not just price a drawing, because the material fit matters as much as the number on the quote.
Build your vendor checklist around performance and production reality. Ask about the face stock, adhesive type, MOQ, lead time after proof approval, finishing options, and what kind of testing support they offer. If you need security labels plus other branded components, it can also help to keep related items under one program through Custom Labels & Tags so the print finish and purchasing rhythm stay aligned. The wine club tamper evident labels material guide should make it easy to compare offers without losing sight of how the labels actually behave on the bottle.
Compare quotes by fit, not just by unit price. A slightly higher quote may include the right adhesive for chilled storage, a cleaner die cut for the bottle shape, or a better roll configuration for your applicator. Those details reduce waste and keep the label looking intentional through the whole journey from pack-out to member opening. In other words, the wine club tamper evident labels material guide is really a buying standard: it keeps the program secure, consistent, and easy to reorder without starting from zero every time.
As a final practical check, ask for one sample recommendation and one backup recommendation. That gives you a fallback if the first option is too stiff, too glossy, or too aggressive for the bottle you actually use. It is a small step, but it often prevents a long delay later, and that is why the wine club tamper evident labels material guide is so valuable for buyers who need dependable results at scale.
What material is best for wine club tamper evident labels?
Paper can work for dry storage and shorter handling windows, but film usually performs better when moisture and abrasion are concerns. The best answer in a wine club tamper evident labels material guide depends on bottle finish, storage temperature, and how much rubbing the label will see in transit. If the neck is narrow or curved, the die cut and bridge placement should be tested before production.
How do wine club tamper evident labels stay secure on chilled bottles?
The adhesive has to hold through condensation, not just room-temperature application. A true security design should bridge the closure and neck so any removal visibly breaks the seal or leaves a clear void. Real bottle testing in fridge or ice-bucket conditions is the best way to confirm the label matches the wine club tamper evident labels material guide you built.
What is a normal MOQ for wine club tamper evident labels?
MOQ depends on material, print method, die setup, and whether the labels are standard or fully custom. Smaller runs are possible, but the unit cost usually rises because setup and handling get spread across fewer labels. For recurring wine shipments, it often helps to plan MOQs around one or more release cycles so the wine club tamper evident labels material guide supports efficient reorders.
How long does production usually take for tamper evident wine club labels?
Timeline usually includes proofing, sample approval, press setup, production, and packing, so the schedule is more than just print time. The biggest delays tend to come from missing bottle samples, artwork changes, or waiting on approval. If the launch date is fixed, build extra time for testing and iteration before you lock the final wine club tamper evident labels material guide.
What details should I send for an accurate quote on wine club tamper evident labels?
Send bottle samples or exact neck dimensions, plus closure type, label size, and artwork files. Include your estimated quantity, expected reorder frequency, storage conditions, and whether the labels need variable data or batch coding. If you want a meaningful quote, ask the supplier to recommend the best material construction as well as the price, because that is how the wine club tamper evident labels material guide turns into a practical purchasing decision.
Choose the construction that matches the bottle, the storage condition, and the shipper's reality, not the prettiest proof on the screen. That is the real payoff of a wine club tamper evident labels material guide: it helps you buy a label that protects the bottle, protects the brand, and keeps the next reorder straightforward instead of uncertain.


