Boutique Jewelry Plastic Bags Packing Insert Guide
A $90 pair of earrings can lose perceived value in three seconds. The bag wrinkles. The insert shifts. The logo rubs against the metal. Suddenly the buyer is not seeing a boutique gift; they are seeing spare parts.
That is why a boutique jewelry plastic bags packing insert guide is not really about choosing a clear sleeve. It is a working system for matching the bag, insert, closure, branding, barcode, metal protection, and handling method so small luxury products still feel intentional after shipping, stocking, and customer handling.
Boutique Jewelry Plastic Bags Packing Insert Guide: What It Solves
Plastic jewelry bags look simple from a distance. Clear film. A flap. Maybe a logo. Done.
In production, that little package has several jobs before a customer ever opens it. It controls dust, fingerprints, moisture exposure, SKU organization, tamper evidence, barcode scanning, and unboxing consistency. For wholesale jewelry programs, it also has to survive carton packing, retail handling, peg display, and stockroom re-sorting. That is a lot of work for a component that may cost less than a quarter.
I often compare boutique jewelry packaging to food packaging because the trust signal does similar work. A chocolate truffle and a pair of earrings are both small. The wrapper or sleeve carries the first proof of care. Controlled packaging makes the product feel safer; improvised packaging makes the buyer search for flaws.
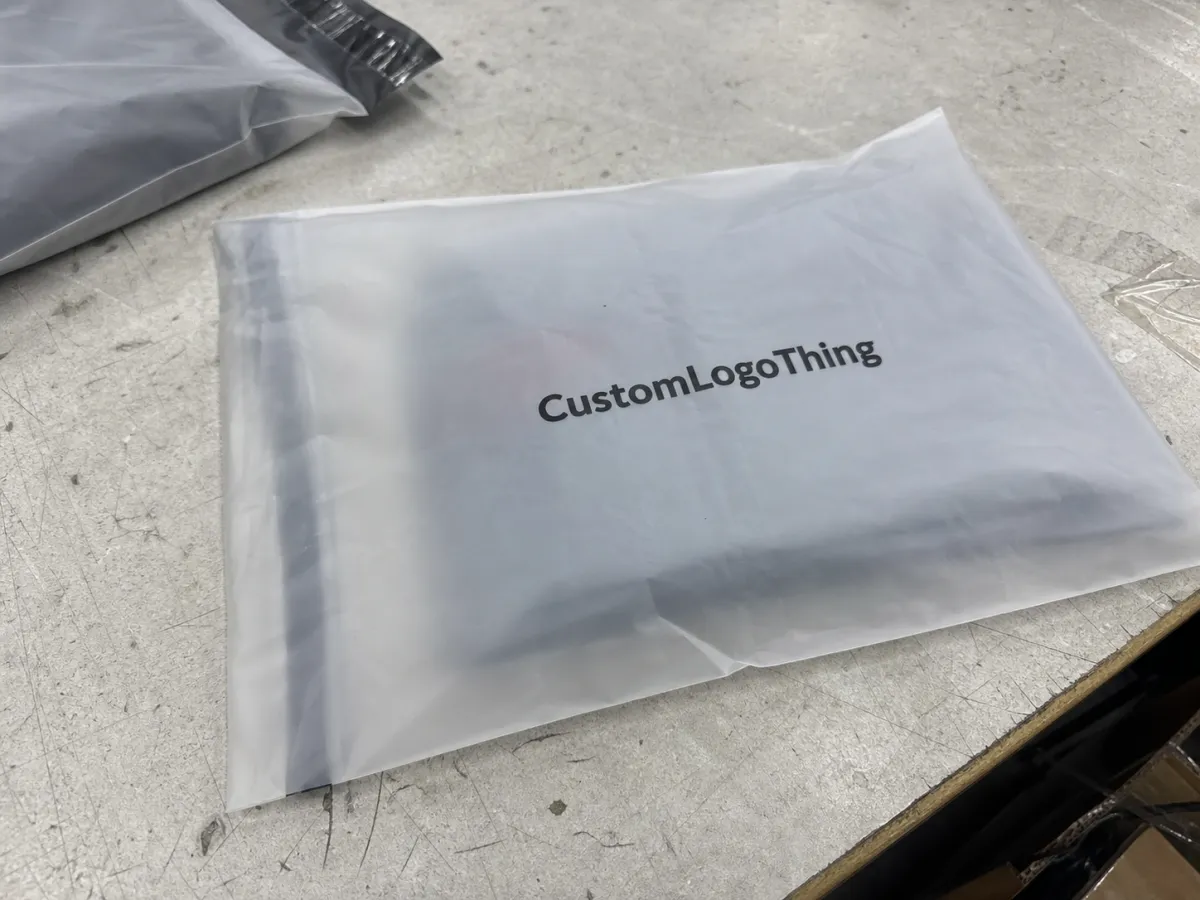
The core parts are straightforward: a clear, frosted, or soft plastic bag; a backing card or packing insert; an adhesive flap, zipper, or heat seal; a print area; warning copy where required; a barcode or SKU label; and sometimes a hang hole. Change one part and the whole presentation changes.
This guide is most useful for handmade jewelry sellers, boutique chains, pop-up retailers, subscription boxes, marketplace brands, and wholesale programs that need repeatable packaging rather than one-off gift wrapping. It is especially relevant for brands in the awkward middle: too polished for generic stock bags, not ready to put every piece in a rigid box.
Packaging buyer reality: the customer rarely knows whether your bag is OPP, LDPE, or CPE. They do know whether the jewelry arrived straight, clean, scannable, and giftable.
How Plastic Bags and Inserts Work Together for Jewelry
The bag and insert do different jobs. The bag protects the jewelry from dust, handling, and light abrasion. The insert prevents tangling, supports the product shape, and creates the retail face. A necklace without an insert becomes a chain in a pouch. A necklace on a well-cut card becomes a product.
Common bag styles each have a personality. Self-seal OPP bags give crisp clarity and a glassy look, useful for studs, charms, and flat cards. LDPE bags feel softer and more flexible, so they forgive raised clasps, thicker bracelets, and slightly uneven packing. Frosted CPE bags mute shine and can make lower-cost pieces feel calmer and more gift-oriented. Zipper bags are less elegant on a peg wall, but practical for returns, sample sets, and reusable storage.
The insert is where many brands either lift or flatten the perceived price point. A thin blank card can make earrings feel like repair components. A 350gsm C1S artboard card with soft-touch lamination, clean earring holes, and a small care note can make the same earrings feel ready for a birthday gift. At moderate quantities, that difference may add roughly $0.06 to $0.18 per insert, depending on paper stock, print coverage, die cutting, and finishing.
Insert formats vary by product. Earring cards use holes, slots, or folded tabs. Necklace cards need top slits, side cuts, or tabs that control chain drop. Bracelet wraps may need curved support or tension points. Anti-tarnish paper strips matter for sterling silver and some plated finishes. Brand story cards, care instruction cards, and barcode-backed cards can combine marketing with operations, but only if the layout stays readable.
Fit is the unglamorous detail that decides whether the package looks expensive. The insert should slide in without buckling, but it should not float so freely that the product rotates during shipping. For a 60mm-wide card, a finished bag width around 65mm to 70mm often works, depending on film stiffness and product thickness. Too tight slows packing. Too loose looks cheap.
Protection has limits. Plastic bags reduce scratches and dust; they do not replace padded mailers, rigid jewelry boxes, corrugated inserts, or anti-tarnish packaging for sensitive metals. If a chain kinks in transit, the bag did not fail alone. The insert, outer mailer, and packing method probably failed as a group.
Key Specs: Size, Material, Thickness, Closure, and Print Area
Start with the insert, not the jewelry lying loose on a desk. Measure the mounted product at its widest, tallest, and thickest points. Then add clearance for packing speed, seal space, and product bulk. Many jewelry bags are wrong because someone measured only the pendant, hoop, or bracelet diameter.
For studs on a compact card, a bag around 2.5 by 3.5 inches may be enough. Hoop earrings may need extra width so the metal does not press into the side seams. Layered necklaces usually need taller inserts and more headroom above the card so chains do not bunch under the adhesive flap. Rings are deceptive: they look small in photos but create depth in a flat bag.
Material changes both feel and function. OPP gives high clarity and a crisp crinkle, though it has less stretch. LDPE is softer, more forgiving, and often easier for staff packing mixed SKUs. CPE has a frosted, premium-muted finish that hides minor scuffs better than glossy film. Recyclable PE options may support sustainability claims, but those claims should match supplier documentation and actual recycling access. The U.S. EPA recycling guidance is a useful baseline for avoiding vague environmental language.
Thickness should be chosen in plain terms: thinner films lower cost and reduce bulk, while thicker films feel sturdier and resist punctures from hooks, clasps, and earring posts. Many boutique jewelry bags sit in the 1.5 mil to 3 mil range. For sharp earring backs or metal findings, moving from 1.5 mil to 2.5 mil can be the difference between “fine in a drawer” and “still clean after wholesale handling.”
Closure style shapes appearance and labor. Adhesive flaps look clean for retail and product photography, but exposed adhesive can catch fine chains if staff rush. Zipper closures support reuse and customer returns, though the zip track adds bulk. Heat seals create tamper evidence and a tight finish, but they slow fulfillment unless the team has equipment and a consistent production flow.
Print area deserves more scrutiny than it usually gets. Small logos need line-weight checks because fine strokes can fill in on film. Light inks can disappear on clear plastic when placed over silver or gold jewelry. Busy printed patterns may look polished on a PDF and chaotic once reflective metal sits behind them. Artwork is not decoration added at the end; it is a production variable.
| Option | Best Use | Typical Cost Direction | Watch-Out |
|---|---|---|---|
| Clear OPP self-seal bag | Studs, flat cards, retail display | Lower to moderate | Less forgiving if the insert is thick |
| LDPE flap bag | Mixed jewelry SKUs and e-commerce packing | Moderate | Softer look can feel less crisp |
| Frosted CPE bag | Giftable boutique presentation | Moderate to higher | Product visibility is reduced |
| Zipper bag | Samples, returns, reusable storage | Moderate | Zip track adds thickness |
| Printed insert with stock bag | Testing new lines or small batches | Lower upfront cost | Bag branding is limited |
| Custom printed bag plus insert | Consistent wholesale or retail identity | Higher setup, better at volume | Artwork changes cost more |
Cost, Pricing, MOQ, and Unit Cost Tradeoffs
Cost is a system, not a single bag price. The final unit cost depends on film type, size, thickness, print colors, insert stock, finishing, order volume, freight, and packing labor. A blank bag at $0.04 can become a $0.22 packaging set after the printed insert, label, anti-tarnish strip, and labor are included.
Minimum order quantities exist for practical reasons. Press setup, screen or plate preparation, material batching, die cutting, and calibration all take time before the first saleable unit appears. That is why 200 custom printed bags can look painfully expensive, while 5,000 pieces may become reasonable on a unit basis.
For many boutiques, blank stock bags plus printed inserts are the smartest first route. They allow quick SKU changes, barcode updates, seasonal messaging, and lower test quantities. Fully custom printed bags create stronger shelf identity once sales volume is predictable. Test the presentation first, then invest in film printing after the packaging structure proves itself.
Realistic planning ranges vary. At 5,000 pieces, a simple clear stock bag may land around $0.03 to $0.09 per unit depending on size and thickness. A printed insert might add $0.06 to $0.20. A custom printed plastic bag can range from about $0.12 to $0.35 or more per unit after setup is spread across the run, especially if the size, film, ink coverage, or finish is unusual. These are planning numbers, not guarantees. Supplier location, freight, rush timing, and finishing can move the price quickly.
Brands overspend in predictable places: premium film on low-margin pieces, full-color printing hidden behind the insert, oversized bags that increase shipping volume, and too many bag sizes that complicate purchasing. They under-spend where customers notice faster: weak adhesive, flimsy inserts, poor clarity, ink scuffing, and packaging that makes a boutique product look like replacement hardware.
Ask for quotes in tiers: 500, 1,000, 2,500, and 5,000 units. The price drop between tiers often reveals the economic sweet spot. If 2,500 pieces cost only slightly more than 1,000, the decision becomes an inventory-risk question rather than a pure price question.
Process and Lead Time: From Artwork to Packed Jewelry Bags
The production path is simple on paper: confirm jewelry dimensions, choose the insert style, select bag material, prepare artwork, approve a digital proof, produce a sample or pre-production mockup if needed, manufacture, inspect, pack, and ship.
The trap is timing. Lead time usually begins after final artwork approval, not after the first inquiry. If the logo file is low resolution, the barcode changes twice, or the dieline is missing, the clock has not really started. That distinction causes more boutique launch stress than most people admit.
A typical custom insert order may take 7 to 12 business days after proof approval for straightforward print and die-cut work. Custom printed bags can run 12 to 25 business days or longer depending on quantity, material, print method, and sampling. Add transit time. Add internal review time. Then add a buffer if product photography, influencer mailers, market dates, or holiday restocks depend on the packaging.
Several details slow the schedule: missing dielines, unclear flap direction, specialty inks, custom sizes, imported materials, late warning copy, barcode placement changes, and vague carton-labeling requirements. If a co-packer needs bags bundled in 100s and inserts boxed separately by SKU, say that before production. It affects packing and inspection.
Sample testing is worth the small delay. Pack real earrings, necklaces, bracelets, and rings. Shake the bags for 30 seconds. Leave them under store lighting for a day. Check whether the insert curls, the adhesive catches the chain, the barcode scans through the film, and the product still faces forward after handling.
Inspection should cover print registration, seal strength, bag clarity, odor, insert fit, hole alignment, barcode scanability, and carton count accuracy. For transit testing principles, the International Safe Transit Association offers useful context, even if small jewelry brands are not running full lab tests for every launch.
Step-by-Step Setup for a Boutique Jewelry Packing Insert
A practical boutique jewelry plastic bags packing insert guide has to turn into a checklist. Otherwise, everyone argues from opinion: the designer wants more white space, the warehouse wants faster packing, the buyer wants lower unit cost, and the owner wants the product to look more expensive.
- Group jewelry by format. Separate studs, hoops, necklaces, bracelets, rings, sets, and charms. Each format needs different insert support.
- Measure mounted dimensions. Measure the jewelry after it is fixed to the insert at the widest, tallest, and thickest points.
- Choose the insert purpose. Decide whether it is a display card, care card, anti-tarnish support, barcode carrier, gift message, or combined retail card.
- Pick the bag style by sales channel. Showroom display, e-commerce fulfillment, wholesale cartons, and subscription kits face different handling conditions.
- Make a low-cost prototype. Use paper, tape, and a stock bag. Photograph it as if it were already on a product page.
- Lock the spec sheet. Record material, thickness, finished size, flap size, print colors, insert stock, hole positions, warnings, barcode location, and packing quantity per carton.
- Request a proof and test it. Use real products before approving the full run.
That prototype step sounds crude. It works. A paper mockup quickly reveals whether a bracelet hides the logo, whether a necklace chain crosses the barcode, or whether the card needs rounded corners to slide smoothly into the bag.
For insert stock, 300gsm to 400gsm card is common for boutique jewelry display cards. Heavier stock feels better, but it increases thickness and can fight the bag seal. Matte lamination reduces glare. Soft-touch feels premium, though it can show oil from fingers. Uncoated paper has warmth, but it may scuff and absorb oils faster.
If sustainability claims matter, ask for documentation rather than adjectives. FSC-certified paperboard is a common request for inserts, and the Forest Stewardship Council explains certification principles in more detail. For plastic film, ask whether the material is mono-material PE, whether recycled content is available, and what limitations apply to printing, clarity, and seal strength.
Common Mistakes That Make Jewelry Bags Look Cheap
The biggest mistake is choosing a bag that is too large. Oversized packaging makes jewelry slide around, inserts rotate, and delicate products look like loose inventory. The eye reads empty space as neglect unless the design is clearly intentional.
Overprinting is another quiet problem. Heavy graphics on clear plastic can obscure the jewelry, create glare, and make small pieces harder to inspect. A logo, a pattern strip, or a small brand mark often performs better than a full-coverage design on tiny bags.
Metal behavior gets ignored. Silver can tarnish. Plated finishes can rub. Fine chains can kink or catch. Earring posts can puncture thin film. Good packaging accounts for the product’s physical behavior, not just its dimensions.
Closure problems are common during busy packing. Adhesive strips touch chains. Flaps seal at an angle. Zip tracks add bulk that pushes products forward in a mailer. Heat seals make returns harder because customers cannot reclose the package. None of these issues look dramatic in a proof, but they show up fast in fulfillment.
Compliance and retail details also deserve attention. Certain plastic bag sizes may require suffocation warnings. Country-of-origin labeling may apply depending on the product and sales channel. Barcodes need enough quiet space and contrast to scan. Hang holes must be placed high enough for peg display without tearing and low enough that the product sits balanced.
One subtle brand mistake: using one universal bag for every SKU. It simplifies purchasing, yes. But small studs can look lost, and premium sets can feel under-dressed. A two-size or three-size system often gives a better balance between purchasing control and retail presentation.
Build a Spec Sheet Before You Request Samples
Start with three best-selling SKUs. Photograph them in current packaging, measure the mounted dimensions, and write down the exact failure points: insert bends, chain tangles, logo hides, adhesive fails, barcode will not scan, or the bag feels too flimsy. Specific problems produce better samples.
Create a two-column spec sheet. Column one is non-negotiable: finished size, closure, barcode position, warning copy, insert stock, and product fit. Column two is negotiable: frosted film, special ink, rounded corners, custom hang holes, anti-tarnish strip, or premium lamination. That split helps suppliers quote alternatives without guessing what matters most.
Test two packaging routes if budget allows. Route one: stock plastic bags with custom inserts for speed and flexibility. Route two: custom printed bags for stronger brand control after volume becomes predictable. Many boutiques should not skip the first route; it is the packaging version of a pilot run.
Request physical samples in the closest size and material before approving artwork. Touch, clarity, stiffness, odor, and adhesive feel are hard to judge on screen. A PDF cannot tell you whether a chain will snag under the flap or whether frosted film makes rose gold look dull.
Share fulfillment details with your packaging supplier. Monthly volume, packing speed, shipping method, retail display needs, and whether staff or co-packers pack the products all affect the best recommendation. A beautiful bag that slows packing from 300 units per hour to 120 units per hour has a real labor cost.
The point of this boutique jewelry plastic bags packing insert guide is not to make packaging complicated. It is to make decisions visible before money is committed. Used well, the guide becomes a working checklist: measure the mounted product, Choose the Right film, control movement, protect the metal, check the barcode, test the closure, and scale what actually works.
FAQ
What size plastic bag should boutique jewelry use with a packing insert?
Measure the jewelry after it is mounted on the insert, then add clearance for the seal, product thickness, and easy packing. Avoid oversized bags because movement can make earrings rotate, necklaces tangle, and inserts look undersized. If in doubt, test two nearby sizes with real products before ordering custom quantities.
Is a printed insert or a printed plastic bag better for jewelry packaging?
Printed inserts are usually better for small runs, frequent SKU changes, care instructions, and barcode updates. Printed Plastic Bags work better when the brand needs stronger visual consistency across many products. Many boutiques use both: a subtle logo on the bag and detailed product information on the insert.
How much do custom boutique jewelry plastic bags usually cost?
Unit cost depends on size, film type, thickness, print colors, insert material, finishing, and order quantity. As planning ranges, stock bags may cost a few cents each, printed inserts may add $0.06 to $0.20, and custom printed bags may reach $0.12 to $0.35 or more after setup is spread across the run. Request tiered quotes so you can compare MOQ, print setup, and volume discounts.
How long is the lead time for jewelry plastic bags with packing inserts?
Lead time usually starts after artwork approval, not after the first quote request. Straightforward printed inserts may take 7 to 12 business days after proof approval, while custom printed bags may take 12 to 25 business days or longer. Custom sizes, specialty materials, physical sampling, and transit time can extend the schedule.
What should a boutique jewelry packing insert include besides the logo?
Include care instructions, metal or material notes, barcode or SKU details, website or social handle, and optional gift messaging. For retail, consider hang holes, price label space, and enough blank area for barcode scanning. For delicate metals, consider anti-tarnish strips or insert materials that reduce movement and contact damage.

