Printed Plastic Bags for Garment Inserts: What They Actually Do
Your customer never sees your warehouse, your folding table, or your QC checklist. They see the bag first. If it looks cheap, congratulations, you just made your $68 hoodie feel like a gas station poncho.
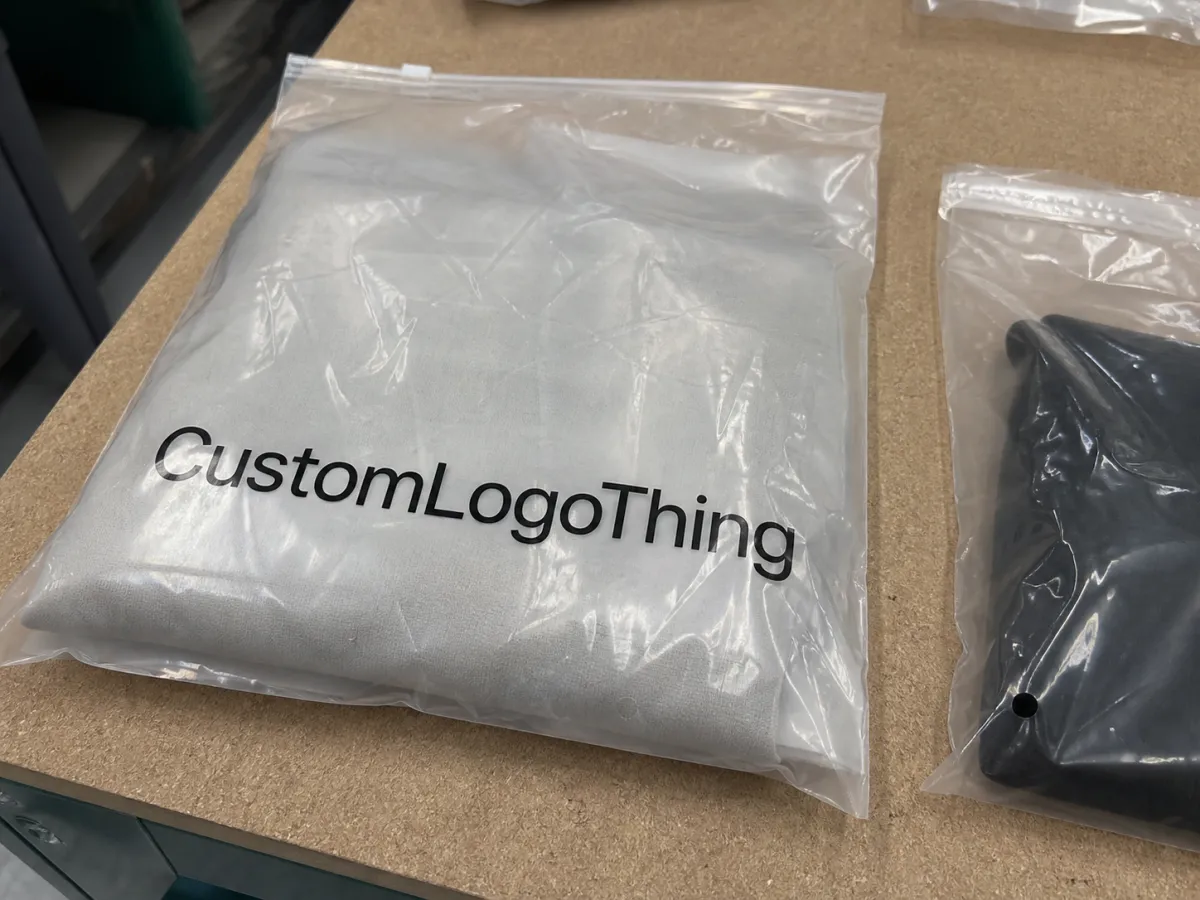
Printed plastic bags for garment inserts are the clear, frosted, or branded poly bags used to protect folded apparel, hold inserts, display your logo, and keep products retail-ready during storage, shipping, or fulfillment. Not glamorous. Very useful. A good bag keeps the garment clean, keeps the insert card in the right place, and gives the package enough structure to look intentional instead of randomly shoved into plastic.
Garment inserts can mean several things: hang tags, size cards, care cards, discount cards, return slips, tissue sheets, cardboard stiffeners, promotional cards, or small compliance notices placed inside or alongside the folded item. In apparel packaging, these little pieces do real work. They explain care instructions, push repeat purchases, help returns move faster, and make the product feel more finished.
A basic garment poly bag protects the item. A printed insert bag does that plus one or more brand or operational jobs. It may carry a logo, suffocation warning, recycling mark, size icon, SKU field, barcode window, or short product message. Same plastic family. Different level of usefulness.
Common buyers include apparel brands, streetwear labels, boutiques, merch companies, subscription boxes, uniform programs, baby clothing brands, and ecommerce fulfillment teams. Some need a clean logo bag for folded tees. Others need resealable bags that survive returns. A baby clothing brand may care more about warning copy and clarity. A streetwear drop may care more about frosted film, print placement, and whether the bag makes the product feel limited rather than lazy.
The goal is not to overbuy fancy plastic. The goal is to Choose the Right material, size, closure, and print so the bag protects the garment, supports the insert, and does not eat the margin. That last part matters. Packaging is supposed to help the sale, not quietly mug your profit per unit.
How Garment Insert Bags Work From Folding Table to Customer
The flow is simple. The garment is folded, the insert is placed inside or on top, the item slides into the bag, and the closure is sealed. Then the package is boxed, shelved, sent to a fulfillment center, shipped to a retailer, or mailed directly to the customer. If that sequence sounds boring, good. Apparel packing should be boring. Drama belongs in brand photography, not in the packing line.
The bag protects fabric from dust, scuffs, moisture exposure, and rubbing between garments. It also contains loose inserts so a care card or discount card does not fall into the bottom of a master carton. In warehouse handling, printed bags help staff identify SKU, size, color, or set contents faster. A clear size mark on the bag can save seconds per pick. Across 2,000 orders, those seconds are not cute. They are labor cost.
Print placement should follow how people handle the package. Logos usually sit on the front face. Warning copy often goes on the back, lower panel, or flap area. Barcode zones need a flat corner that does not crease during folding. Size icons should land where a picker can spot them without opening the bag or flipping it three times like a confused pancake.
Bag style matters too. Self-seal flap bags are the usual choice for ecommerce apparel because they are fast and affordable. Resealable adhesive works well for returns. Zipper bags feel more premium and are useful for reusable garment storage, but they cost more and pack more slowly. Vented bags reduce trapped air in master cartons. Wicketed bags can speed higher-volume packing lines. Bottom-gusset bags help bulky items like hoodies, fleece sets, robes, or jackets sit better inside the package.
Now, the insert problem. If the card floats around, the bag size or folding method is probably wrong. A nice card swimming inside an oversized bag looks like an afterthought. Because it is.
Material behavior changes the feel. LDPE is soft and flexible. PP is clearer and crisper. Frosted PE gives a quieter retail look and hides minor scuffs better than glossy clear film. Compostable films may be an option, but they need tighter spec conversations around shelf life, sealing, print adhesion, and storage conditions. The EPA recycling guidance is a useful starting point for understanding consumer recycling limits, though local acceptance varies a lot.
Printed plastic bags for garment inserts have to survive handling, not just look good in a mockup. Fulfillment bins, compression, humidity, repeated touches, and rushed packing expose weak seals and bad sizing quickly.
Key Specs That Matter: Size, Film, Closure, and Print
Start with size. Most bad apparel bag orders start there. The bag should fit the folded garment plus insert with enough room to slide in cleanly, but not so much extra space that the product shifts, wrinkles, and traps air. A 10 inch by 13 inch tee bag might work beautifully for a slim folded tee and look ridiculous on a cropped baby bodysuit.
Measure the final folded garment width, height, and thickness. Then add loading room and flap allowance. Test with the thickest size in the range, not the sample tee that behaves perfectly under studio lighting. Hoodies, fleece, denim, and multi-piece sets behave differently from jersey tees. Shocking, I know.
As a practical starting point, lightweight tees often use bags in the 1.5 to 2.0 mil range. Mid-weight apparel may land around 2.0 to 2.5 mil. Hoodies, denim, and reusable packs often make more sense at 2.5 to 4.0 mil, depending on bag size and handling. Too thin tears at corners or near the flap. Too thick wastes resin, increases freight weight, and can feel strangely stiff for a soft garment.
Material choice should match presentation and handling. LDPE works for soft flexible apparel bags. HDPE can be thinner and economical, though it feels more utilitarian. PP gives high clarity for retail presentation, but it is crisper and less forgiving. Frosted film gives a softer branded look and can make simple one-color printing feel more premium.
Closures also deserve real attention. Peel-and-seal is fast for outbound ecommerce. Resealable adhesive supports returns and quality checks. Zippers help with reuse but cost more. Heat seal works for tamper resistance or certain automated lines. Open-end bags make sense when a fulfillment process already includes heat sealing or manual taping.
Print options range from clean one-color logos to two-color branding, size systems, product messages, and heavier ink coverage. One-color printing is usually the best value for early apparel brands. Heavy flood printing can look strong, but only if the artwork, ink, and film support it. Otherwise, you get smudging, patchy coverage, or a bag that looks like it lost a fight with a roller.
| Spec Choice | Best Use | Typical Tradeoff |
|---|---|---|
| LDPE, 1.5-2.0 mil | Tees, light tops, baby garments | Affordable and soft, but not ideal for bulky items |
| LDPE or PE blend, 2.0-2.5 mil | Sweatshirts, sets, mid-weight apparel | Better strength with slightly higher unit cost |
| PP clear film | Retail display and high-clarity presentation | Crisper look, less soft in hand |
| Frosted PE | Boutique apparel and premium ecommerce packs | Polished feel, usually more expensive than basic clear film |
| Zipper closure | Reusable packs, premium garments, returns-friendly orders | Higher cost and slower packing than adhesive flap bags |
Smart copy can include suffocation warnings, recycling marks, size labels, SKU fields, care-message panels, and scan-friendly barcode zones. For testing and transit expectations, standards from ISTA can help teams think beyond the pretty sample and consider compression, vibration, and distribution handling.
Buyer rule: specs should follow the packing process, not the other way around. Packaging that slows a packer by ten seconds per unit gets expensive fast.
Cost, Pricing, and MOQ Reality for Custom Apparel Poly Bags
Pricing depends on bag size, film thickness, material type, print colors, ink coverage, closure style, quantity, and whether plates, tooling, or special setup are needed. Anyone promising one universal price without those details is either guessing or selling you the simplest bag possible. Sometimes both.
Larger bags use more film. Thicker gauges increase resin cost. Extra colors add setup and print cost. Specialty closures cost more than a basic adhesive flap. A small clear one-color tee bag ordered in bulk may be very economical, while a frosted zipper bag with multiple print colors and a wide gusset can cost several times more per unit.
For rough planning, many custom apparel poly bags land somewhere around $0.06-$0.22 per unit at larger quantities for basic to mid-range specs. Smaller runs, premium films, zippers, gussets, heavy ink coverage, or complex printing can push higher, sometimes into the $0.25-$0.60+ range. Freight, cartons, duties, and rush handling can change the landed cost quickly. This depends on the supplier, order quantity, and exact construction, so treat ranges as planning numbers, not gospel carved into resin pellets.
MOQ reality is blunt. Printed plastic bags for garment inserts usually make the most sense in bulk because setup cost spreads across more units. Tiny runs are possible in some cases, but the unit cost can get rude. Plastic does not care about your launch budget.
The cheapest quote may be dangerous. Low film gauge, weak adhesive, fuzzy printing, poor carton packing, and loose tolerances create waste during packing and returns. If 6% of bags tear or fail to seal, your cheap bag is now a tiny operations tax. That tax shows up in repacking labor, replacement shipments, ugly customer photos, and staff irritation.
Prepare quote inputs before asking for pricing: flat bag width and height, flap size if needed, material preference, thickness, closure type, print colors, artwork file, quantity range, shipping destination, and whether inserts or barcodes need visible placement. If you need a barcode to scan through a clear zone, say that early. Do not bury it in an email after proof approval.
Cost-saving tradeoffs are not complicated. Use one-color printing. Choose standard film thickness. Limit bag sizes across similar garments. Use stock closures. Batch production across product lines. Keep the design flexible if the product line changes often. A universal brand bag with a label space can beat twelve SKU-specific printed bags sitting in a storage room like expensive confetti.
Price the bag as a total landed and operational cost, not only a unit price. Bad bags slow packing, damage presentation, and create returns. That is not savings. That is accounting cosplay.
Process and Timeline: From Artwork to Finished Bags
The production path is predictable if everyone behaves like adults. Define specs. Request a Quote. Confirm material and size. Submit artwork. Review the dieline or proof. Approve a sample if needed. Then the supplier prints, converts the film into bags, checks quality, packs cartons, and ships.
Standard repeat orders move faster because the supplier already knows the size, artwork, film, and print setup. New custom sizes, new plates, special materials, physical samples, or complex print layouts add time. For many custom printed poly bag orders, a normal production window might be around 12-25 business days after proof approval, plus shipping. Rush orders can happen, but rush fees and mistakes enjoy traveling together.
Artwork prep should be clean. Vector logos are preferred. Fonts should be outlined. Colors should be called out clearly, often by Pantone reference if color matching matters. Barcode files need enough contrast and quiet space around them. Warning text must be readable at the printed size, not merely visible if someone squints under a desk lamp.
Proof review is the buyer’s last calm moment before production. Check logo size, orientation, print side, flap direction, warning language, barcode zones, and whether the artwork lands where the folded garment will not hide it. If the bag is frosted, ask how ink opacity will look on that film. White ink, dark ink, and translucent materials can behave differently than a screen preview suggests.
Request a physical or material sample when the bag needs to fit premium garments, thick hoodies, insert cards, retail shelf presentation, fuzzy fabrics, or embellished pieces. Screens lie. Film texture does not. A sample can reveal stiffness, haze, static, adhesive feel, closure strength, and whether the insert card stays in place.
Approval discipline matters. Every late change after proof approval risks delay or extra cost. Changing bag width after plates are made is not a cute little tweak. It may affect print placement, conversion, closure position, and the entire production schedule.
Before shipment, confirm carton count, packing method, shipping marks, delivery address, and receiving rules if bags are going to a fulfillment center or retailer. Some facilities want carton labels, PO numbers, pallet specs, or appointment windows. Build buffer time before launches, influencer drops, retail ship dates, or seasonal inventory pushes. Bags are small. Delays are not.
Common Mistakes That Make Insert Bags Look Cheap
Most bad insert bags are not ruined by one dramatic failure. They are ruined by five boring decisions stacked together. Wrong size. Wrong film. Weak closure. Bad print placement. No workflow test. There you go. A whole packaging problem in under ten words.
- Ordering from garment size charts. A medium tee measurement is not a folded-pack measurement. Different universe. Measure the folded garment with the actual insert in place.
- Making the bag too large. Oversized bags wrinkle, trap air, let cards slide around, and make the product look like it was packed during a fire drill.
- Choosing film that is too thin. Hoodies, denim, jackets, and multi-piece sets need more strength than a lightweight tee bag. A 1.5 mil bag may be fine for a tee and sad for a fleece set.
- Printing too close to functional areas. Seams, folds, adhesive strips, vent holes, and barcode zones need breathing room. Good artwork placement respects the finished bag, not just the flat PDF.
- Blocking scan or read zones. Dark ink and busy patterns can interfere with barcode scanning, size checks, and color inspection. Warehouse teams should not need detective skills to ship a black large hoodie.
- Forgetting warnings or retailer rules. Many marketplaces, retailers, and fulfillment centers have poly bag requirements above certain opening sizes. Confirm suffocation warning language before printing.
- Ordering too many hyper-specific versions. If styles change every month, SKU-specific bags become dead inventory. Start flexible unless your volume justifies the complexity.
- Ignoring packer workflow. If the liner is annoying, the flap faces the wrong direction, or the opening is too tight, staff will hate the bag before customers ever see it.
Also watch tolerances. Plastic bag production can have normal dimensional variation. If your folded garment only fits when the bag is exactly perfect, your spec is too tight. Add a sensible allowance or choose a different fold. A package should not require a magician with tiny hands.
Sustainability claims deserve care too. If you print recyclable marks, confirm the material and local recovery path. If you use paper inserts, FSC-certified stock may be relevant; the FSC site explains certification basics. Do not decorate a plastic bag with vague eco language because it sounds nice. Buyers are more skeptical now, and frankly, they should be.
Next Steps Before You Order Custom Garment Bags
Start with a bench test. Fold three actual garments from your line, include the real insert card, then measure the finished pack. Use the bulkiest item as your stress test, not the prettiest sample. If one universal bag must cover sizes small through XXL, test the XXL first. It will tell you the truth.
Create a simple spec sheet with bag width, bag height, flap size, film type, thickness target, closure, print colors, artwork placement, quantity, and delivery location. Add notes for barcode placement, warning copy, recycling marks, insert location, and whether the garment needs to face a certain direction inside the bag.
Decide what the bag must do first. Protect inventory? Speed fulfillment? Improve retail presentation? Support returns? Carry branding? If you try to optimize for everything equally, the bag becomes expensive and weird. A resealable frosted zipper bag may be perfect for premium knitwear and silly for a $14 promo tee.
Prepare artwork properly. Send a vector logo, clear color references, outlined fonts, barcode files if needed, and exact warning copy. Do not send a blurry PNG from a website header and call it production art. Printers can fix some things. They cannot turn a bad file into a clean brand system without extra time and cost.
Ask suppliers practical questions before ordering printed plastic bags for garment inserts: Can this film handle the garment weight? Will the adhesive reseal after opening? Is the barcode scannable through or beside the print? What is the MOQ at each price break? What is the realistic lead time after proof approval? What tolerance should I expect on the finished size?
Order samples or a short validation batch when the garment is premium, oversized, fuzzy, embellished, or packed with multiple inserts. A $75-$250 sample step can prevent a much larger mistake if you are about to buy 10,000 bags. Annoying? Maybe. Cheaper than discovering the insert slides behind the garment after full production? Absolutely.
Before buying printed plastic bags for garment inserts, confirm the folded size, insert placement, closure style, print zones, and production timeline so the final bag protects the product instead of making it look like an afterthought.
FAQ
What are printed garment insert bags used for?
They protect folded apparel, hold insert cards or paperwork, display branding, and help warehouse teams identify SKUs, sizes, and colors without opening every package. They are commonly used for tees, hoodies, baby clothing, uniforms, merch, boutique apparel, and ecommerce fulfillment. The best version balances protection, presentation, and packing speed. A pretty bag that slows fulfillment is not a win.
What size printed plastic bags for garment inserts should I order?
Measure the garment after it is folded with the real insert inside or on top, then add enough room for easy loading and closure. Test the largest or thickest garment in the size range before approving one universal bag size. Avoid excessive extra space because it causes shifting, wrinkling, trapped air, and a cheaper presentation.
How much do custom printed poly bags for apparel usually cost?
Cost depends on size, film thickness, material, closure, print colors, ink coverage, quantity, and shipping destination. Higher quantities usually lower the unit cost because setup is spread across more bags. To reduce cost, use standard sizes, one-color printing, practical film thickness, and fewer bag versions across similar garments.
What is the typical lead time for printed apparel insert bags?
Lead time depends on whether the order is a repeat, whether new plates or tooling are needed, and whether you request physical samples. Artwork approval, proof revisions, specialty film, and complex printing can add time. Build in buffer before product launches, retail ship windows, or seasonal inventory pushes. Packaging delays are still delays.
Do printed plastic garment bags need suffocation warnings?
Many poly bags above certain opening sizes require suffocation warnings, especially for ecommerce, retail, and marketplace fulfillment. Requirements can vary by retailer, platform, and region, so confirm before printing. Place warning copy where it stays readable and does not interfere with branding, barcodes, or size identification.

