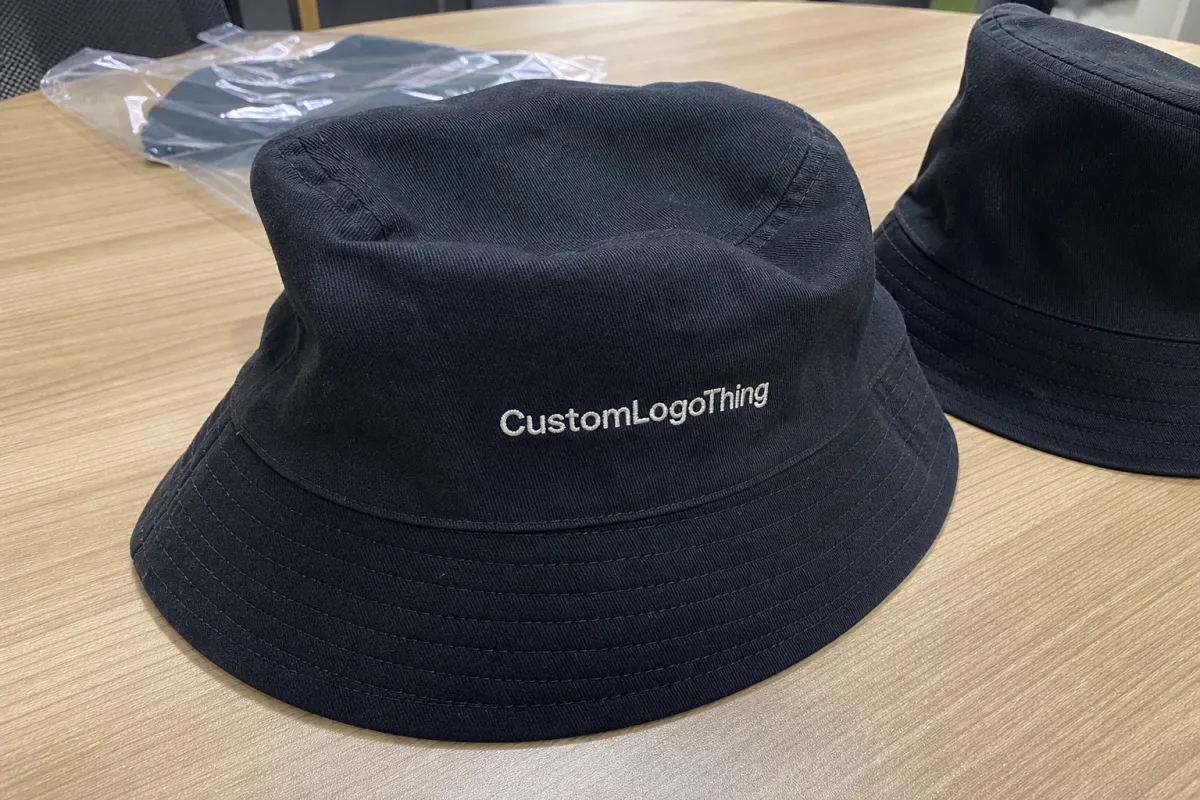
Most buyers judge a custom bucket hat in the first few seconds: fabric color, logo placement, maybe the label. Fair enough. But the Bucket Hat Brim Stitch checklist often tells the more honest story. If the brim rows wobble, pucker, or collapse after one fold, the hat starts looking cheaper than the artwork suggests.
That is the detail many merch teams miss. A sharp embroidered patch can look strong on a sample table, then feel like a discount giveaway once it sits on a weak, rippled brim. The reverse is also true. Clean concentric stitching can make ordinary 10 oz cotton twill look retail-ready, especially in product photos where the brim frames the whole silhouette.
Brim stitching is not the most glamorous part of custom headwear, but it is one of the easiest details to inspect before money is tied up in bulk production. A buyer does not need to understand every machine setting. The goal is simpler: spot the signs of controlled construction before 500, 2,000, or 10,000 hats arrive in cartons.
Bucket Hat Brim Stitch Checklist: What Buyers Should Inspect First
A bucket hat brim stitch checklist is not a sewing manual. It is a practical inspection tool for buyers reviewing samples, production photos, pre-shipment reports, and first cartons. You do not need to operate a lockstitch machine. You do need to recognize bad production early enough to correct it.
Start with the visible details: stitch spacing, row count, thread tension, brim edge alignment, puckering, skipped stitches, and the way the logo or label interacts with the brim. Those details sound small until the finished hat is photographed, folded, packed, shipped, worn, and compared with better-made headwear.
Place the approved sample beside a lower-cost promotional hat and look at the brim before the logo. On the stronger hat, the stitch rows usually sit in clean rings, the edge feels smooth, and the brim slopes evenly around the crown. On the weaker one, rows drift closer together, the thread bites into the fabric, or one side kicks upward as if the brim was pressed in a hurry.
Buyer rule: if the brim looks careless from 60 cm away, customers will notice it before they read the care label.
Use the checklist at three points: sample approval, pre-shipment photo review, and first-carton inspection. That rhythm catches most visible defects before they turn into returns, awkward client emails, or a reorder that never happens.
How Brim Stitching Works on Custom Bucket Hats
A bucket hat brim is a small construction system. It usually includes outer fabric, inner fabric or backing, an edge seam, topstitch rows, the lower crown connection, the sweatband seam, and sometimes a reinforcement layer. The visible rows are only part of the build, but they are the part buyers can inspect quickly.
Most brim stitching runs in circular or oval rows around the hat. Those rows add structure, almost like light ribs. Without them, the brim behaves like a loose fabric flap. With them, it holds a slope, resists curling, and recovers better after packing.
Four rows can work on a soft festival hat. Six rows often feel balanced for standard brand merch. Eight or more rows can create a firmer retail look, provided the rows are straight and evenly spaced. Extra rows do not automatically mean better quality; they only help when the operator can keep the stitching controlled across the full circumference.
Stitch density matters too. Very long stitches can look sparse and weak, while overly dense stitching can stiffen the brim, distort the fabric, or slow production. A common visible range is roughly 8 to 12 stitches per inch, though some suppliers quote in stitches per 3 cm or use internal machine settings instead. Ask them to translate the setting into something measurable on the sample.
Thread tension leaves clues. Tight thread creates puckering, ripples, and a slightly pinched surface. Loose thread creates loops, snags, uneven shine, or tiny shadows along the row. Run a finger across the brim. If the thread feels like a raised cord in one section and nearly flat in another, tension or handling may be inconsistent.
Fabric changes the result. Cotton twill is forgiving and common. Washed canvas can look premium but may pucker if the thread tension is too aggressive. Denim shows needle paths clearly. Corduroy needs careful alignment because the wale direction can exaggerate crooked rows. Nylon and recycled polyester can slip under the needle, so stitch control and heat sensitivity matter more during sewing and pressing.
For recycled materials or sustainability claims, ask for documentation rather than broad wording. Standards such as FSC may be relevant for paper packaging, tags, and certain fiber claims, while textile certificates vary by fabric supplier and material source. A recycled-content claim on the hangtag should match the paperwork behind the fabric, not simply the marketing copy.
The intended use should guide the brim structure. A foldable festival hat may need a softer brim with moderate stitching. A premium retail drop may need tighter row spacing, a structured handfeel, and stricter tolerance. A corporate merch order often sits between the two: durable enough for repeated wear, economical enough for volume.
Specs That Separate Retail-Grade Hats from Giveaway Hats
The fastest way to improve a quote is to replace adjectives with specs. “Premium brim” is not enough. Request brim width, row count, stitch length or density, seam allowance, thread type, thread color, fabric weight, logo method, and acceptable tolerance. A useful bucket hat brim stitch checklist turns those specs into inspection points.
Brim width affects design and function. A 5.0 to 5.5 cm brim can feel more streetwear-focused. A 6.0 to 7.0 cm brim gives more shade and a relaxed outdoor look. Wider brims expose problems faster because long rows give the operator more room to drift. Narrow brims are not immune; one crooked row near the edge can still dominate the front view.
Row count receives too much attention by itself. Six clean rows often beat eight wobbly rows. Consistent spacing is the real quality signal. If row gaps move from 4 mm to 8 mm around the same hat, the buyer sees unevenness even without knowing the technical reason.
| Brim Build | Typical Use | Common Specs | Buyer Watchout |
|---|---|---|---|
| Economy soft brim | Events, giveaways, short campaigns | 4 rows, tone-on-tone polyester thread, 5.0-6.0 cm brim | May lose shape after tight packing or repeated folding |
| Standard custom brim | Brand merch, staff uniforms, campus shops | 6 rows, 8-12 stitches per inch, cotton twill or canvas | Spacing tolerance should be defined before approval |
| Premium structured brim | Retail drops, influencer kits, resort programs | 6-8 rows, firmer backing, contrast or matched thread | Requires higher inspection time and stricter packing |
Thread color strategy deserves a separate decision. Tone-on-tone thread hides small variation and often looks refined. Contrast stitching makes every missed stitch, crooked row, and tension problem visible. White thread on navy cotton can look excellent, but only if the supplier can hold tighter tolerance through the full run.
Thread material also matters. Polyester thread is common because it resists abrasion and generally holds up better through washing. Cotton thread can create a softer heritage look, though it may not suit every durability requirement. UV-resistant thread is worth discussing for resort, golf, outdoor, and tourism programs. It is not always necessary, but it can help when hats will see extended sun exposure.
Compare every production unit against the approved sample, not against a vague memory of the sample. Has brim stiffness changed? Are the rows closer to the edge? Did the thread shade shift under daylight? If a supplier cannot define row count, stitch density, or tolerance, the order may be managed visually rather than by controlled specifications.
Production Steps and Timeline for Approving Brim Stitch Quality
Custom hat production usually follows a predictable sequence: artwork confirmation, material sourcing, pattern cutting, sample sewing, brim stitch inspection, logo application, pre-production approval, bulk sewing, quality control, packing, and shipment. The order sounds tidy on paper. The timing is where defects sneak in.
Brim stitching is usually locked during sampling and pre-production. It is not something to casually adjust after bulk production begins, because changing row count or thread tension can affect machine setup, operator rhythm, brim stiffness, and visual consistency across the run.
Ask for close-up sample photos before the physical sample ships. You want the brim edge, topstitch rows, underside seam, front panel transition, and any area where the brim sits near embroidery, patches, woven labels, or screen print. A beauty shot from two meters away is not evidence of construction quality.
Typical sample timing may run 5 to 10 business days after artwork and fabric approval for straightforward designs. Bulk production can often take 12 to 25 business days after proof approval, depending on quantity, logo method, fabric availability, and seasonal capacity. International freight, customs clearance, and holiday congestion can add more time. Treat these as planning ranges, not promises, because supplier capacity and shipping route matter.
Delayed feedback can push the schedule more than the sewing itself. If a team takes five days to decide between tone-on-tone and contrast thread, that delay may move the order behind another production slot. Timeline pressure increases defect risk because rushed teams may accept wider stitch variation, skip intermediate checks, or pack hats before the brim has been shaped properly.
A practical checkpoint is simple: approve one physical sample, one measured spec sheet, and one photo standard before bulk production starts. The bucket hat brim stitch checklist should sit beside those three items, not live as scattered comments across email threads.
Cost, MOQ, and Quote Details Behind Brim Stitch Choices
Brim stitching affects cost through machine time, thread consumption, operator skill, quality control labor, and defect rates. Thread itself is rarely the main expense. The hidden cost is precision.
A basic four-row tone-on-tone brim is usually faster to produce than a wide structured brim with dense contrast rows and tight tolerance requirements. For a 500-piece order, the difference might be modest. For a 5,000-piece run, slower sewing and higher rejection rates can show up clearly in the unit price.
MOQ also changes the conversation. Many suppliers accept standard brim stitching at lower quantities, such as 100 to 300 pieces, especially if the fabric and thread are stocked. Unusual row counts, custom-dyed thread, special reinforcement, or highly specific brim widths may require 500, 1,000, or more pieces. The reason is practical: setup time, sourcing minimums, and production planning.
For budget planning, simple Custom Bucket Hats may land around $3.50-$6.50 per unit at moderate quantities, while premium builds with structured brims, embroidery, specialty fabric, and upgraded packing can move into the $7.00-$12.00 range or higher. Air freight can add sharply to landed cost. Sample fees commonly range from $30-$100 depending on logo method and complexity, though some suppliers credit the fee back after bulk approval.
Request quote details in writing:
- Hat style, fabric type, and fabric weight, such as 260 gsm cotton twill or washed canvas
- Brim width, row count, stitch density, seam allowance, and thread color
- Logo method, including embroidery size, patch material, woven label dimensions, or print coverage
- Packaging method, carton quantity, shaping support, polybag choice, and freight terms
- Sample fee, setup fee, production lead time, MOQ, and pre-shipment inspection options
The cheapest quote may hide looser tolerances. A supplier can reduce labor time by allowing stitch drift that only becomes obvious after delivery. That does not make the supplier dishonest; it means the buyer did not define the level of finish clearly enough for the price being negotiated.
Packing can also damage presentation. Crushed cartons deform soft brims, making good stitching look careless. If presentation matters, discuss carton strength, packing density, and whether hats ship nested, flat, or lightly supported. Packaging performance testing frameworks from groups such as ISTA are useful reference points for transit risk, even when a hat order does not require formal lab testing.
Match the unit cost to the use case. Giveaway events can tolerate simpler construction. Retail, influencer kits, resort shops, and brand stores need stricter brim control because customers inspect products closely and compare them with hats they already own.
Step-by-Step Sample Review Before You Approve Bulk Hats
A good review takes 10 minutes. A poor approval can affect the whole order. Use the checklist with the sample in hand, not from memory.
- Place the hat on a flat surface. Set it crown-up and check whether the brim sits evenly. Waves, twists, or one side lifting higher can indicate uneven feeding, poor pressing, or inconsistent brim layers.
- Count the stitch rows. Move from the crown outward and compare the count against the quote or spec sheet. Note missing rows, uneven spacing, or differences between the physical sample and production photos.
- Inspect the brim edge slowly. Look for skipped stitches, thread breaks, fraying, needle holes, rough trimming, and seam allowance showing through. Use daylight if possible; factory lighting can hide shade and tension problems.
- Feel the tension. Run a fingertip around the brim. Puckering, hard ridges, and loose thread loops may be easier to detect by touch than by sight.
- Fold and release the brim once or twice. A packable hat should recover without a permanent crease. Nylon, washed cotton, and soft canvas deserve extra attention here.
- Check the logo relationship. Embroidery, patches, woven labels, and screen prints should not distort nearby stitching or make the front brim pull upward.
- Photograph the standard. Capture front, side, top, underside, and one macro close-up. Those images become the reference for the supplier and the internal approval team.
Be specific in revision requests. “Improve stitching” is weak. “Keep six rows at roughly even spacing, correct puckering at the front left brim, and match thread to the approved sample under daylight” gives production staff something measurable.
For internal review, create a pass-fail table. Marketing may care about the hero image. Procurement may care about cost. Operations may care about returns. A shared inspection list gives everyone the same physical details to judge.
Common Brim Stitch Mistakes That Show Up After Delivery
Crooked stitch rows are the most visible defect, especially on contrast thread or light-colored hats. The human eye is surprisingly good at spotting uneven curves. One bad row near the front can make the entire hat feel off.
Puckering is another frequent issue. It usually points to thread tension, fabric handling, or mismatched layers. The hat may technically meet the requested row count, yet still look rippled. That distinction matters because a supplier may say, “The spec is correct,” while the buyer sees an unattractive brim.
Mismatched thread color can be subtle until the hats are photographed. A factory may substitute a close shade that looks acceptable under indoor lighting but clashes in daylight. Beige, off-white, olive, navy, and washed black tones are especially easy to misread. Ask for thread cards or daylight photos if color precision matters.
Inconsistent brim stiffness across the order may indicate mixed fabric lots, uneven reinforcement, or production split across different sewing lines. One hat folds softly; another feels cardboard-like. That inconsistency creates trouble for retail displays and subscription kits, where customers compare items side by side.
Poor edge finishing is easier to miss in photos. Loose threads, exposed seams, rough trimming, and a sharp-feeling brim edge are tactile defects. Customers feel them immediately. Packing-related deformation creates a different problem: hats compressed too tightly can arrive with bent brims that make the stitching appear warped, even if sewing was acceptable before packing.
The buyer-side mistake I see most often is approving the wrong evidence. A polished catalog-style image proves the logo looks good. It does not prove the brim is built well. Ask for construction photos before approval and random production photos before shipment.
Turn the Checklist into a Supplier Brief
The best use of a bucket hat brim stitch checklist is before sampling, not after disappointment. Convert the inspection points into a written supplier brief: brim width, row count, thread color, stitch style, fabric, logo placement, packing preference, and acceptable tolerances.
If the right build is unclear, ask for two comparison options. One economical standard brim. One premium structured brim. Request unit cost, MOQ, sample fee, and lead time for each. That side-by-side quote often reveals whether the premium version is a meaningful construction upgrade or just a vague price increase.
Also request macro photos of one approved sample and at least one random production unit before shipment. Not only the best-looking hat. Random checks matter because bulk quality is about consistency, not the single perfect sample.
Save the approved sample. Reorders can drift if the factory changes fabric, thread, machine settings, or subcontracted sewing lines. A retained sample gives the buyer a physical benchmark for future runs, especially when a brand repeats seasonal colors or core merch styles.
Brim stitching is one of the most underused quality signals in custom headwear. It is visible, measurable, and relatively cheap to inspect. A bucket hat brim stitch checklist is not about being fussy; it is a low-cost way to protect brand perception before custom hats leave the factory. Review the next sample with the brim in mind, mark every visible issue, and send one clear revision request instead of a scattered set of comments.
FAQs
What should be included in a bucket hat brim stitching checklist?
Include brim width, number of stitch rows, spacing consistency, thread color, thread tension, edge finish, skipped stitches, puckering, brim stiffness, and packing condition. Add photo references from the approved sample so the supplier has a visual standard, not only written notes. Use the checklist before sample approval, during pre-shipment inspection, and again when reviewing the first delivered carton.
How many stitch rows should a custom bucket hat brim have?
Many bucket hats use 4 to 8 brim stitch rows, but the best number depends on fabric weight, desired structure, and price point. Fewer rows can work for soft promotional hats, while more rows often create a firmer, more retail-grade brim. Clean spacing matters more than row count; uneven eight-row stitching can look worse than precise six-row stitching.
Does contrast brim stitching increase the risk of visible defects?
Yes. Contrast stitching makes crooked rows, tension issues, skipped stitches, and inconsistent spacing easier to see. It can look premium when executed well, but buyers should request close-up sample photos and stricter quality tolerances. For high-volume giveaways, tone-on-tone thread is usually more forgiving and cost-effective.
How does brim stitch quality affect the price of custom bucket hats?
Higher stitch row counts, tighter tolerances, contrast thread, structured brims, and extra inspections can increase unit cost. The increase usually comes from added machine time and quality control, not just material cost. Ask suppliers to quote standard and premium brim options separately so the trade-off is clear.
When should I inspect brim stitching during the custom hat process?
Inspect it during sample review, again at pre-production approval, and once more before shipment through photos or third-party inspection. Do not wait until the finished order arrives, because brim row count and tension are difficult to fix after bulk sewing. Keep the approved sample on hand for reorders so future production can be checked against the original standard.


