Buy Printed Clear Plastic Bags: Specs, Costs, Lead Time
Printed clear plastic bags do a harder job than they first appear to. They have to protect the product, carry the brand, and keep the package visually disciplined while still letting the contents do some of the selling. That sounds simple until you start comparing inks, film gauges, closures, and print coverage. Then the tradeoffs show up fast. For custom runs, buyers often see pricing around $2.50-$4.00 per unit at 500 MOQ, then much lower unit costs once the order moves into the 3,000-5,000 range and setup is spread across more pieces.
Transparency changes the packaging logic. Opaque packaging asks the graphic system to do most of the persuasion. Clear film asks the product to participate. That can be a huge advantage if the item looks organized, premium, fresh, or color-rich. It can also expose weak packing habits, crooked labels, or inconsistent fill levels that an opaque bag would hide. Common substrates include 1.5-4 mil LDPE and LLDPE poly film, 2-6 mil BOPP or CPP sleeves, and laminated PET/PE structures when extra stiffness or scuff resistance is needed.
For buyers, that means the right spec is rarely the fanciest one. It is the one that keeps the bag clean, the print legible, and the contents visible without making the package feel unfinished. In most programs, a practical lead time is 18-22 business days after artwork approval, with 2-4 business days for digital proofing and 5-7 business days for a pre-production sample if the artwork or structure is new.
What Printed Clear Plastic Bags Do at Shelf Speed
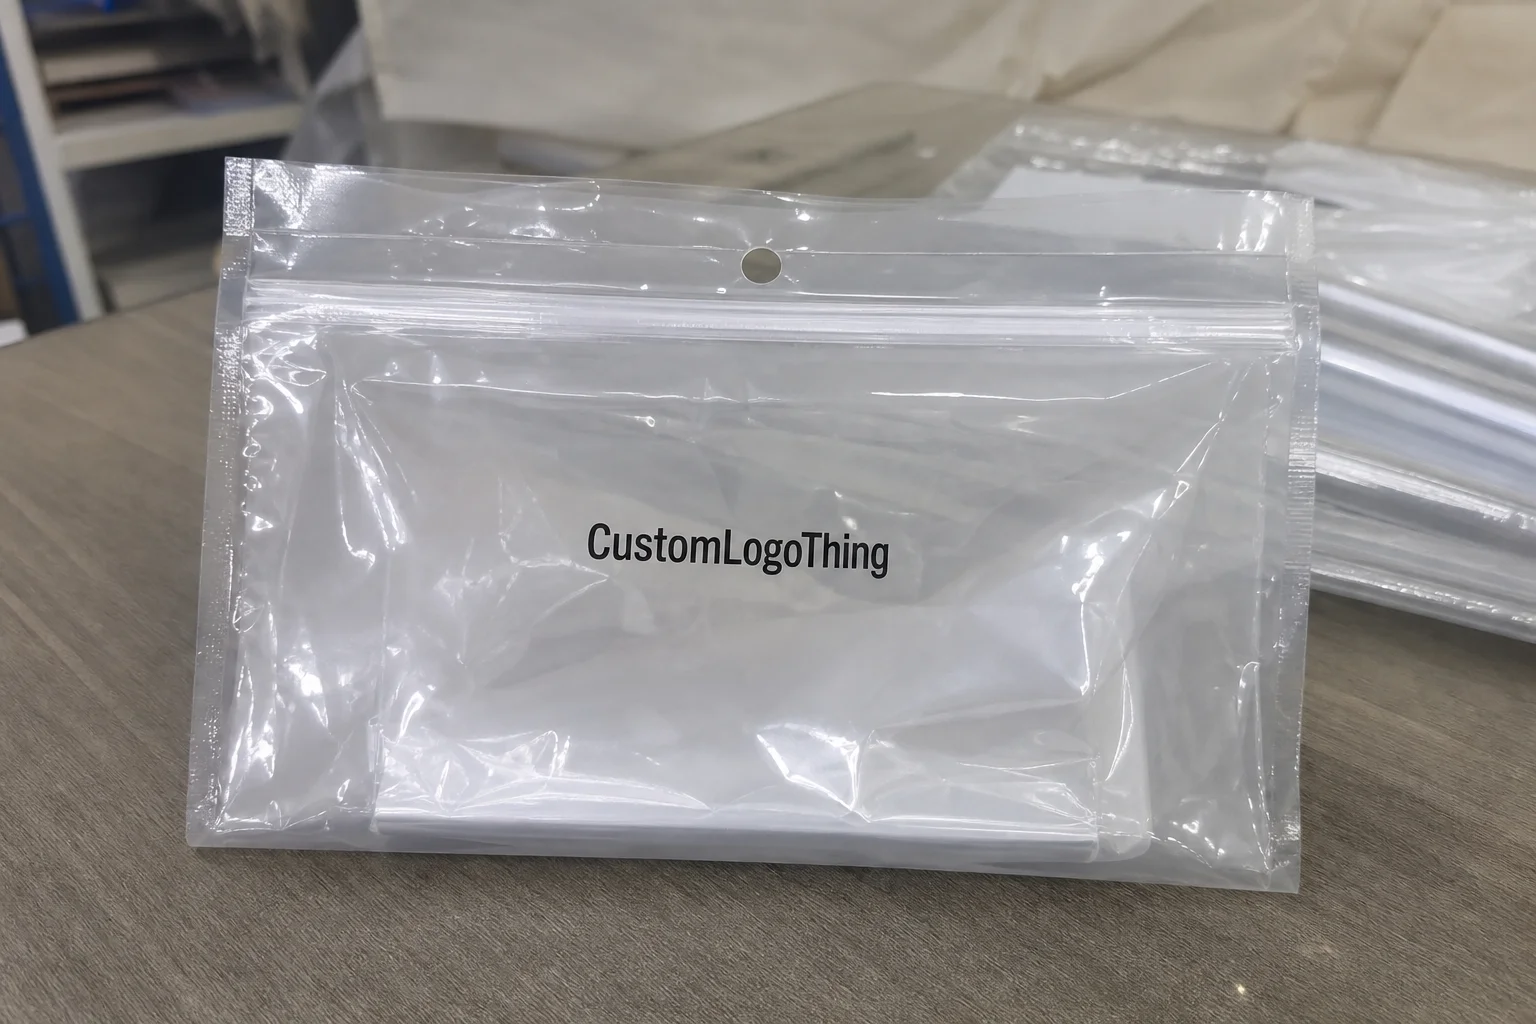
Retail shoppers do not inspect packaging like a procurement team. They glance. They compare. They decide. A clear bag gives them immediate access to the one thing they trust most: the product itself. If the item looks good in the bag, the package has already done part of the selling.
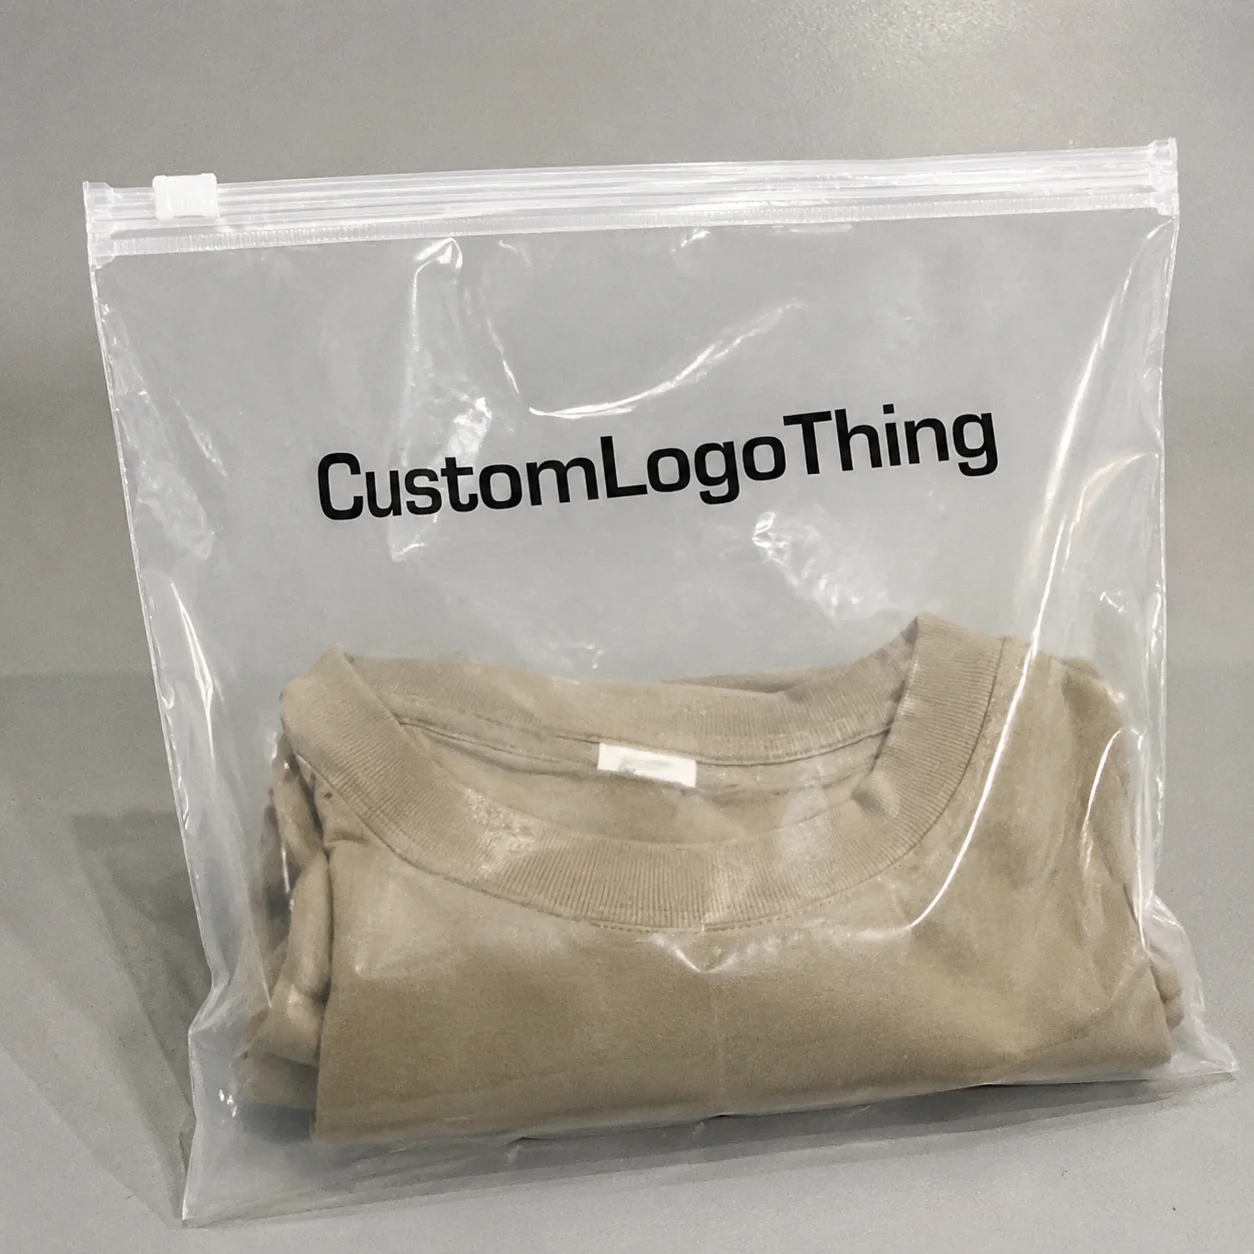
That is why this format works well for categories where contents matter visually: apparel, snacks, hardware kits, cosmetics, sample sets, promotional bundles, and assembly-packed goods. A folded shirt looks more intentional when the buyer can see the fold quality. A sorted hardware kit looks more reliable when the compartments are visible. A snack mix looks fresher when color and texture come through cleanly. For apparel packaging, buyers often pair this format with GOTS-certified textile programs or OEKO-TEX Standard 100 requirements on the garment side, while the bag supplier may need WRAP or BSCI social-compliance documentation and, if recycled resin is used, GRS transaction certificates.
The package still has to perform physically. Dust protection, moisture resistance, puncture tolerance, and shipping durability matter just as much as shelf appearance. A clear bag that scuffs easily or loses its shape during packing can make a product feel lower grade even if the print itself is fine. On the production line, that usually means checking the film haze, the seal width, and the way the print survives carton rub before the run is approved.
The real value is in the balance. Too much ink and the product disappears. Too little structure and the package looks cheap or unstable. The best design usually leaves enough clear area for the contents to stay visible while using print to frame, not smother, the product.
If the product is the selling point, the graphics should organize the view rather than compete with it.
That is the practical difference between clear-film packaging and opaque printed packaging. The film is not a blank canvas. It is a visibility tool. Good buyers treat it that way from the start, because the layout, ink density, and viewing window all affect how the bag reads in a store or on a packed shelf.
How Clear-Film Printing Stays Sharp
Printing on transparent film is less forgiving than printing on paper or coated board. The substrate can look clean in a digital proof and still disappoint on press if ink adhesion, surface treatment, or curing is off. That is why suppliers should be able to explain the print process in plain language, not just send a polished mockup.
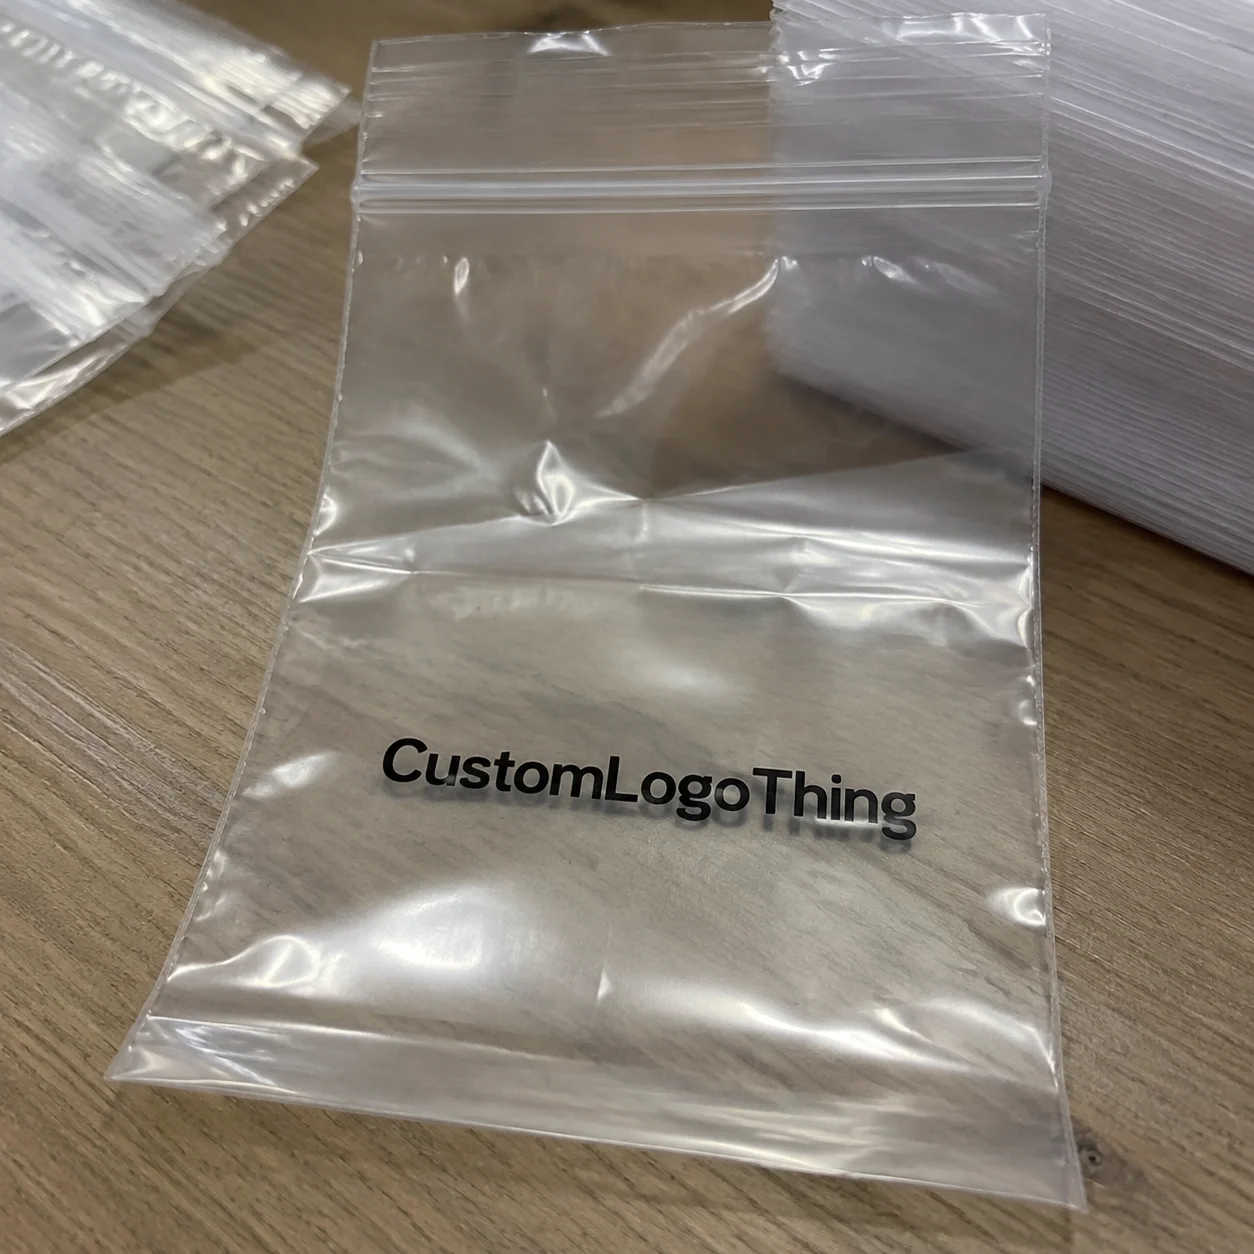
Flexographic printing is common for larger orders because it keeps unit costs under control once setup is spread across volume. A typical line may use 4-6 color flexo with a corona-treated film surface at about 38-42 dynes, followed by inline drying and rewinding. Gravure can deliver very fine detail and consistent coverage on long runs, but cylinder costs make it harder to justify for shorter quantities. Digital printing is useful for 500-2,000 unit launches, rapid artwork changes, and seasonal tests, though the per-unit price can rise quickly as volume grows.
White ink is often the difference between a logo that reads and a logo that disappears. On clear film, colored type can vanish if there is no white underbase or if the artwork sits over a dark product. A navy logo that looks strong on white paper may be nearly invisible once it sits over black apparel, dark packaging, or a dense snack mix. For that reason, many suppliers print a spot white underlay first, then the color pass on top, especially when the artwork needs to hold up against variable fill levels.
Artwork needs to be built for transparency, not pasted onto it. Negative space is not wasted space. It is part of the composition. The product fills that space, so the layout should leave room for the viewer to recognize what is inside at a glance. Overcrowded artwork usually makes clear packaging feel busier than it should.
Surface preparation matters as much as ink selection. Corona treatment, coatings, and curing behavior affect adhesion, rub resistance, and final appearance. If the print rubs off in transit or scuffs during packing, the failure is usually in the process chain, not in the logo file. Good suppliers should be able to describe how they handle adhesion checks and what they do before the run gets packed. A practical sample flow is: artwork review, digital proof, blank film or unprinted bag confirmation, pre-production sample, then mass production after written approval.
Four questions help separate a real technical answer from a vague one:
- Has the film been treated for ink adhesion?
- Will white ink be used under the logo or as a background layer?
- How will the print hold up if bags rub against each other in shipment?
- Has the proof been checked against the actual product color, not just a white canvas?
There is a practical design discipline here that is easy to miss. A clear package should not be treated like an open invitation to print everywhere. One strong logo zone, controlled copy, and a deliberate clear viewing window usually outperform dense coverage. In retail terms, restraint often reads as more premium than volume.
That is especially true for products with irregular shapes or high visual variety. If the contents are already visually interesting, the package should make them easier to see, not harder. A bag that frames the item cleanly can do more selling than one that uses every available inch.
Film Gauge, Seal Strength, and Readability
Film thickness changes more than durability. It affects stiffness, wrinkle behavior, print appearance, and even the way the bag feels in hand. A 2 mil bag and a 4 mil bag may sound similar on paper, but they behave differently on the packing line and on shelf. For light apparel and accessories, 1.5-2 mil is often enough. For heavier bundles, hardware, or products with sharp edges, 3-4 mil is a more common starting point, and 5-6 mil may be used when puncture resistance is the priority.
Thicker film usually improves puncture resistance and overall toughness, which matters for hardware, heavier apparel bundles, or products with sharper edges. The tradeoff is cost and handling feel. Heavier film can feel premium, but it can also look overbuilt if the product inside is light. Buyers should be wary of using thickness as a substitute for proper packaging design. If the bag is overbuilt, the product can look small or underfilled even when the packaging is technically strong.
Seal strength deserves equal attention. A bag that looks clean but splits at the seam is a packaging failure, not a branding win. If the package is heat-sealed, repeatedly handled, or carton-packed under compression, the seal margin needs to match the load. Many suppliers target a 6-10 mm seal width for standard clear poly bags, then check for seal uniformity, no burn-through, and no edge channel leaks during sampling.
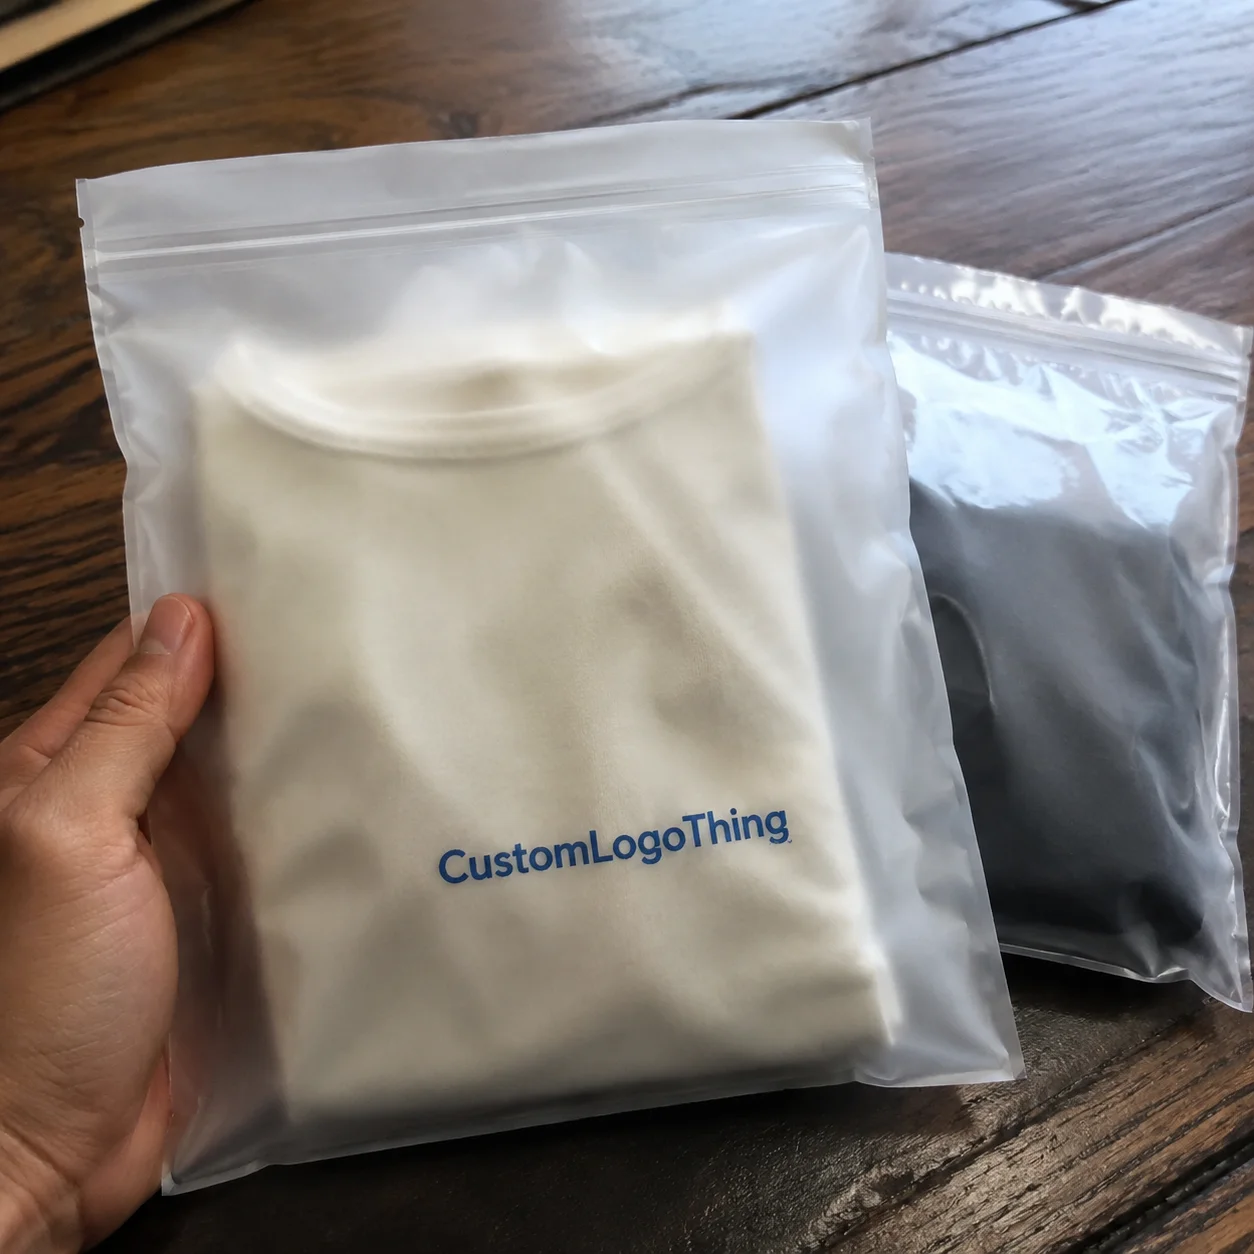
Clarity is not fixed either. Gloss film usually preserves visibility well. Matte film can look more restrained and upscale, but it softens optical sharpness and slightly mutes the contents. Anti-fog treatment becomes important for chilled products, moisture-sensitive goods, or items that move through temperature swings. UV resistance matters if the bag will sit in bright displays or near windows for long periods.
Readability is not just a logo-size question. It is a layout question. The most effective clear bag designs keep the product visible in the main viewing zone while placing brand marks where they can be read quickly. If the print crosses directly over the most important visual part of the contents, the bag starts to feel crowded even when the artwork itself is strong.
For most purchases, the useful question is not, “What is the thickest film available?” It is, “What thickness gives me the right mix of clarity, durability, and line efficiency for this product?” That is the question that usually produces a better quote and fewer surprises after approval.
| Option | Typical Use | Approx. Unit Cost at 5,000 Units | Pros | Watch-Outs |
|---|---|---|---|---|
| 2 mil clear poly, 1-color flexo | Light apparel, accessories, simple retail packs | $0.08-$0.16 | Lowest material cost, good clarity, efficient run speed | Wrinkles more easily; lighter seal margin |
| 3 mil clear poly, 2-color flexo | Cosmetics, kits, moderate-weight items | $0.14-$0.26 | Better hand feel, stronger packaging presence | Higher setup cost; needs tighter artwork control |
| 4 mil clear film, white ink plus color | Hardware, premium bundles, higher abrasion risk | $0.20-$0.38 | Improved puncture resistance, stronger logo contrast | Heavier hand feel; more ink coverage to manage |
Cost, Pricing, and MOQ
Cost depends on more than size. The real drivers are film gauge, print colors, white ink coverage, closure type, bag style, and whether the order is made with digital, flexo, or gravure printing. A simple one-color clear poly bag at 500 MOQ can land in the $2.50-$4.00 per unit range when setup, sample prep, and short-run handling are included. The same structure at 5,000 units may drop into the low cents per unit once the run is scaled efficiently.
MOQ also changes by print method. Digital programs are often workable at 500-2,000 pieces, flexo usually starts to make sense around 3,000-5,000 pieces, and gravure is typically reserved for 10,000-20,000 pieces or more because cylinder cost has to be amortized across volume. If you need recycled content, ask for GRS-certified film and request the transaction certificate before approval so the claim can be supported in the paperwork trail.
Sample costs should be part of the budget, not an afterthought. A blank or unprinted reference sample can cost $20-$50 plus freight. A printed pre-production sample may run $80-$150 depending on colors, plate setup, and whether a new die or cutter is needed. Buyers usually save money by approving the structure first, then the graphics, then the final production run.
Certifications are worth requesting when they match the product and the claim. WRAP and BSCI help buyers verify social compliance on the factory side. GRS is useful when the bag includes recycled resin. GOTS and OEKO-TEX Standard 100 are more relevant on the textile side of a retail program, but many brands ask for them alongside packaging controls so the whole supply chain is documented consistently. The key is not to overclaim: ask for the certification that matches the actual material and process.
As a practical buying rule, short-run custom printed clear bags are usually priced at a premium for speed and flexibility, while repeat orders with unchanged artwork are where the best savings show up. If the design is likely to change, digital printing can be the right choice even if the unit price is higher, because it avoids plate and cylinder costs.
Process and Timeline
A clean production timeline starts with the file, not the factory floor. The first step is artwork review, where the supplier checks size, bleed, print count, white underbase, and any transparent zones that could weaken readability. That usually takes 1-2 business days if the artwork is complete. Vector files in AI or PDF format are easiest to move forward, and most suppliers want text outlined and bleed set at 3 mm.
The second step is proofing. A digital mockup or layout proof should show the final size, the viewing window, and any white ink placement against the actual bag shape. If the product color is important, the supplier should compare the artwork against the real item rather than only a white background. A good pre-production proof cycle usually takes 2-4 business days.
The third step is sample approval. For new structures or new print builds, many factories will make a pre-production sample in 5-7 business days so the buyer can check color, clarity, seal width, and overall fit. This is the point to confirm the bag length, gusset, zipper or heat-seal area, and whether the print sits correctly when the product is inside.
Once the sample is approved, mass production typically runs for 8-12 business days on a standard order, with the full project landing in the 18-22 business day range after signoff. Larger or more complex orders may take longer if gravure cylinders, custom zippers, or special coatings are involved.
Inspection checkpoints should be defined before production starts. Common controls include incoming film gauge checks, corona level confirmation, print registration, rub resistance, seal integrity, quantity count, and final carton packing review. Many buyers use AQL 2.5 for major defects and a separate minor-defect limit for cosmetic issues such as small scuffs or slight print variation.
That process is what keeps the order predictable. Without it, buyers usually end up with an approved mockup that does not match the finished bag. With it, the factory has a clear path from artwork to packing, and the buyer has a better chance of getting repeatable results.
Common Mistakes to Avoid
The most common mistake is approving art on a white background and never checking it against the actual product. Clear packaging is unforgiving that way. A logo that looks crisp in isolation may disappear once the bag is filled, especially if the contents are dark, busy, or unevenly stacked.
Another mistake is choosing film gauge by instinct instead of by use case. Light products do not always need thick film, and thicker film does not automatically mean better packaging. If the item is fragile, sharp, or likely to shift in transit, the bag needs enough structure to survive the real handling environment. If it is a light premium product, too much thickness can make the package feel overbuilt.
Buyers also get into trouble when they forget to define the closure. Heat seal, zip lock, adhesive strip, tear notch, and hanging hole all change the way the bag is made and packed. A spec that says only “clear printed bag” is not enough for a quote that holds up in production.
Skipping the sample is another expensive shortcut. A proof can confirm the design, but it will not tell you how the bag feels in hand, whether the seal holds, or whether the white ink needs more coverage. One sample cycle usually costs far less than reworking a full order.
Finally, some buyers do not leave enough tolerance in the plan. Factories need reasonable allowances for overrun, spoilage, and final count checks. A 2%-3% production overage is common in many packaging programs, and if the buyer needs exact net quantities, that requirement should be stated up front.
Building a Quote-Ready Spec
The best quote requests are simple, specific, and complete. A good spec tells the supplier the bag size, material, thickness, print colors, white ink requirements, closure type, MOQ, target lead time, and certification needs. If any of those items are missing, the price can swing widely because the supplier has to guess at the production method.
At minimum, include finished width and height, gusset if needed, bag style, material type, film gauge, print count, one-sided or two-sided print, and whether the artwork sits on a clear window or needs a white underbase. If the bags are meant for apparel or textiles, say whether the surrounding product line needs GOTS, OEKO-TEX Standard 100, WRAP, BSCI, or GRS documentation so the supplier knows what paperwork may be required.
File prep matters too. Send vector artwork where possible, convert fonts to outlines, and include PMS colors or CMYK references if color match matters. A 3 mm bleed and a clear safe zone help avoid trim issues, especially on smaller bags where even a slight shift can crowd the logo.
If you want the quote to be accurate, ask the supplier to confirm all of these points in writing before production begins:
- Film type, thickness, and whether the material is virgin or recycled content
- Printing method, color count, and white ink coverage
- MOQ, sample cost, and whether the first sample is digital or production-based
- Lead time in business days from artwork approval to shipment
- Inspection standard, including any AQL level, rub test, and seal check
That level of specificity usually shortens the quoting cycle and reduces back-and-forth. It also makes it much easier to compare suppliers on a like-for-like basis instead of comparing one quote that includes white ink and carton testing against another that does not.
FAQs
Can printed clear plastic bags be made in small quantities?
Yes. Digital printing often works for 500-2,000 units, especially when the artwork may change later. Small runs usually cost more per unit, but they are useful for launches, seasonal items, and test programs.
What is a realistic lead time?
For a standard custom order, 18-22 business days is a practical expectation after artwork approval. Complex structures, new tools, or special certification paperwork can extend that timeline.
Do clear bags always need white ink?
Not always, but white ink is often necessary when the logo must read against dark contents or when the artwork needs stronger contrast. Without a white underbase, colored graphics can disappear in the package.
What should I ask for if recycled content matters?
Ask for the resin percentage, the exact film construction, and a GRS transaction certificate if the program claims recycled content. If the packaging is part of a broader apparel or textile line, also confirm whether WRAP or BSCI documentation is available at the factory level.
How do I avoid surprises on the final bags?
Approve the spec in writing, review a sample, confirm the print against the actual product, and define inspection checkpoints before the run starts. That sequence catches most of the issues that cause rework.
Printed clear plastic bags work best when the spec is disciplined. Choose the film for the product, print for visibility, and set the quote up with real numbers before production starts. That is what keeps the packaging clean, the order predictable, and the shelf presentation strong.
``` If you want, I can also turn this into a tighter buyer-guide style rewrite or make it more SEO-heavy without changing the HTML structure.