Printed Clear Plastic Bags for Custom Orders That Ship Clean
printed clear plastic bags are useful when the product needs to stay visible, the branding still has to read clearly, and the package needs to hold up in handling. That combination sounds simple, but clear film makes every decision more visible too. The wrong material, weak ink coverage, or sloppy seal placement shows up immediately.
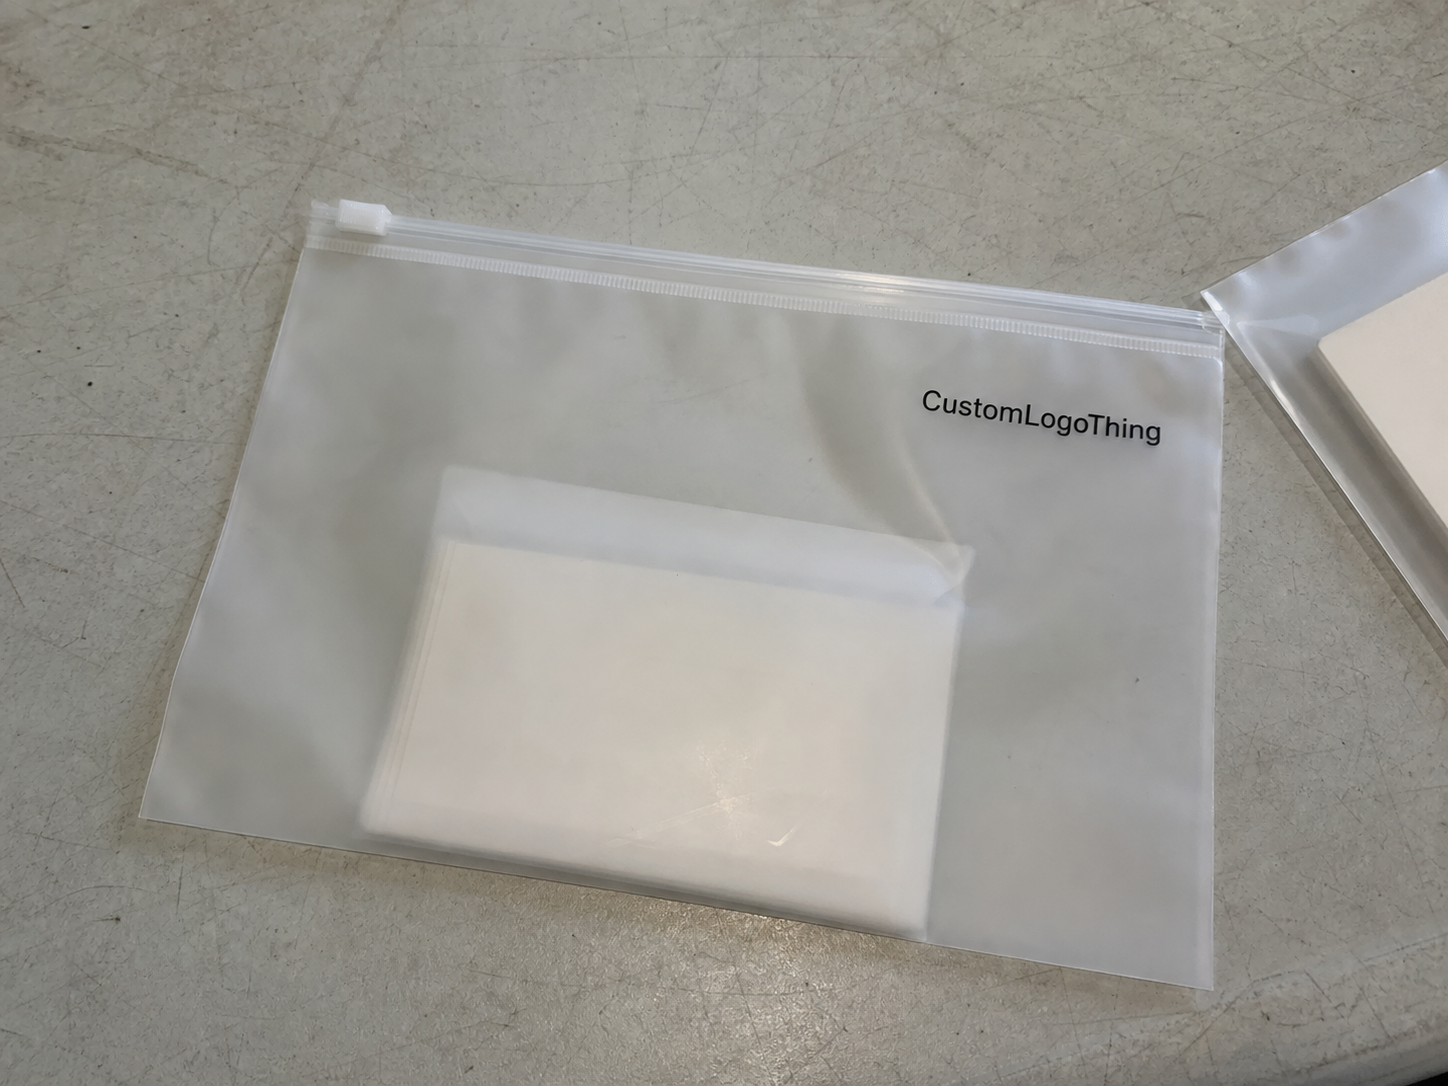
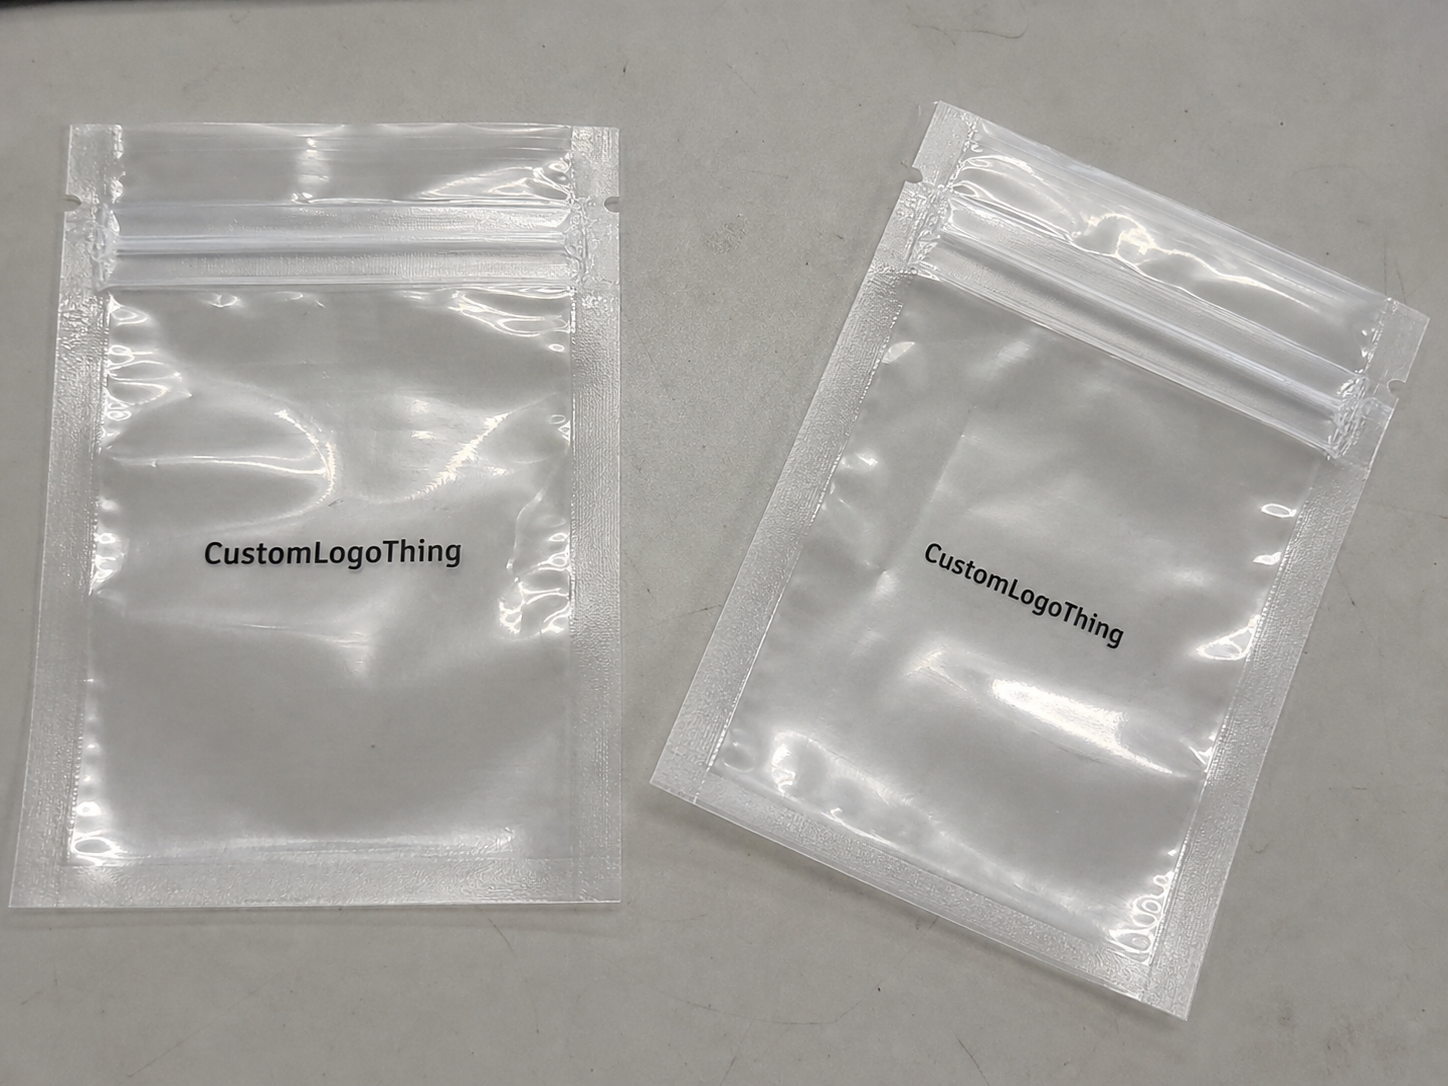
For buyers, the real value is practical. Clear bags help with retail presentation, inventory checks, and packed-kitting workflows because the contents stay visible. Printed areas add branding, size notes, warnings, or labeling without covering the product. The best result usually comes from a restrained layout: enough print to guide the buyer, enough open film to show what is inside.
The best clear bag spec is the one that supports the product instead of competing with it. Visibility, print contrast, and seal quality matter more than decorative coverage.
What Printed Clear Plastic Bags Do Better Than Plain Packaging
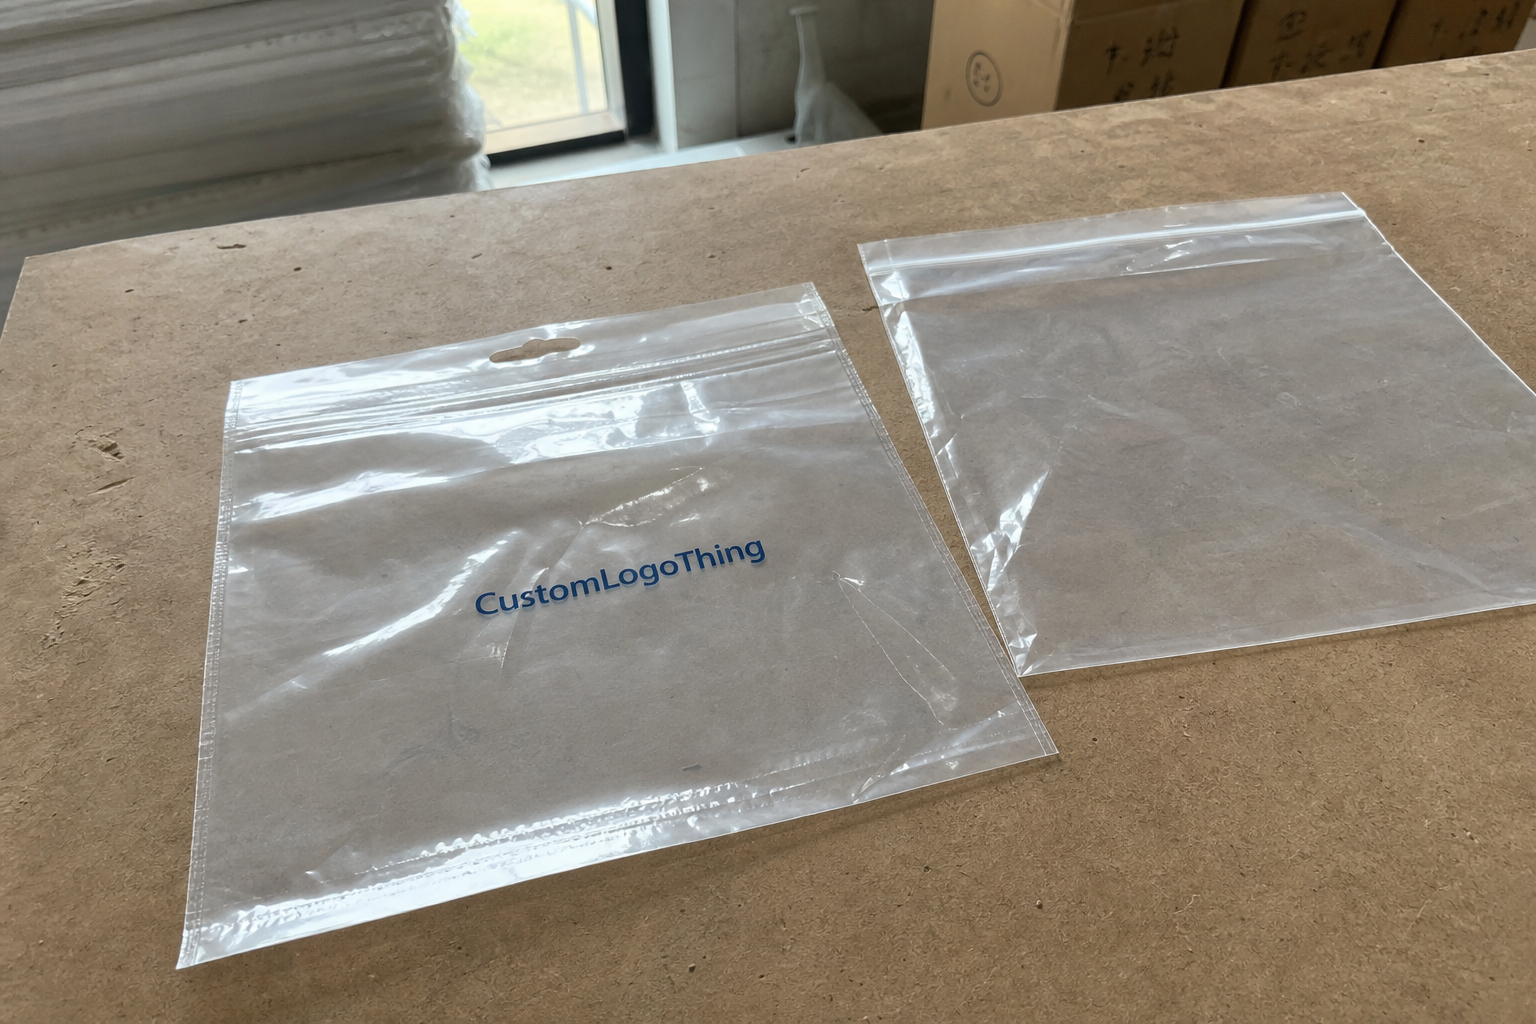
A plain clear bag protects the product and keeps it visible. A printed version adds recognition and function at the same time. That can mean a logo, a size mark, a handling note, a warning, or simple product framing. In many cases, the useful version is a clear body with limited print rather than full coverage.
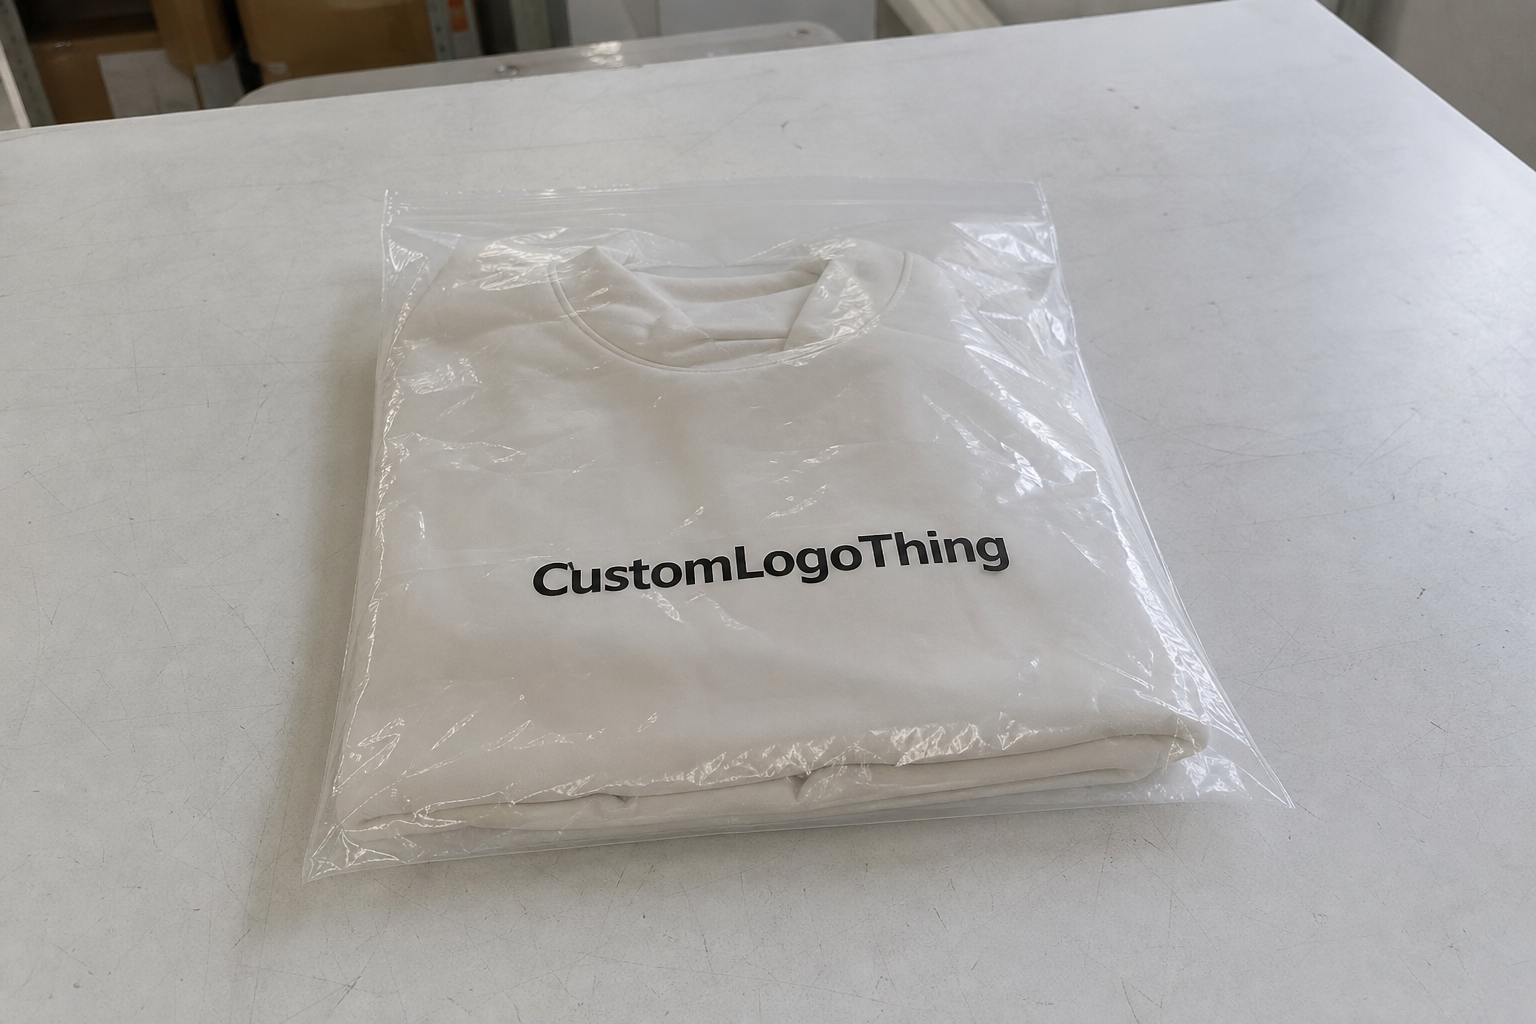
This format appears across apparel, beauty, hardware, and promotional packs. Apparel brands use it for folded shirts and accessories. Hardware companies use it for parts and kit grouping. Retail and event packs use it because staff and customers can see the contents without opening the package. That reduces handling time and helps the product feel more organized.
The downside is that flaws are visible too. Scuffed film, uneven seals, weak registration, and poor artwork placement stand out quickly. That is why bag construction has to match the product size, weight, and use case. A soft insert, a bulky apparel pack, and a parts kit do not want the same spec.
Before choosing a format, it helps to answer three questions:
- Does the bag need to show the product for retail, receiving, or customer trust?
- Does it need basic protection from dust, moisture, or handling?
- Is the print branding only, or does it also need to function as a label?
Once those points are clear, the remaining choices become much easier: film, thickness, seal style, print coverage, and whether white ink is required for contrast.
How the Printing and Sealing Process Works
The production flow usually starts with film selection, because the substrate affects clarity, feel, and print behavior. After that comes artwork setup, color separation or file prep, print method selection, curing or drying, and then bag conversion into the final format.
Registration matters more on clear film than on opaque stock. A small alignment issue that might disappear on a white pouch becomes obvious on transparent material. The same is true for white ink. If the underprint shifts, the logo edges look weak. If the press is chasing alignment during the run, waste and inconsistency rise.
Flexographic printing is common for medium and high volumes because it handles repeated jobs efficiently and works well for spot colors and simple graphics. Screen printing is useful when opacity matters and dense white coverage is needed. Digital printing works better for short runs or variable graphics. The right method depends on quantity and how much ink coverage the artwork needs.
Sealing and conversion shape the final bag more than most buyers expect. A side-seal bag behaves differently from a bottom-seal format. Gussets increase volume but also make artwork placement harder. A hang hole adds retail utility but reduces space near the top edge. A zipper or resealable closure improves convenience, but it also changes tooling and finished thickness.
Ink durability matters as well. If the ink is not matched to the film, it can scuff or lose adhesion during folding, stacking, and shipping. For packed kits or retail units that will be handled repeatedly, rub resistance is worth checking before the order is approved.
Material, Thickness, and Finish Choices That Affect Clarity
The most common clear film families are LDPE, CPP, and PP. LDPE is softer and more forgiving, which helps when the bag has to fold easily or hold irregular contents. CPP is often chosen when the buyer wants stronger clarity and a crisper feel. PP can also give a structured appearance depending on how the bag is converted.
Thickness is usually measured in mils. Lighter inserts or simple product grouping can work at lower thicknesses. Apparel, hardware, and multi-item kits usually need more body. Common ranges often sit around 1.5 to 2.0 mil for lighter applications and 2.5 to 4.0 mil for heavier or more premium packs. Thicker film usually improves feel and resilience, but it raises material cost and reduces flexibility.
Finish changes the presentation too. Gloss film reflects more light and makes color pop, but fingerprints and rub marks show more easily. Matte or frosted finishes reduce glare and can make the package feel more controlled, though the artwork needs stronger contrast. Ultra-clear film gives the best product visibility, which is why many buyers choose it, but it also exposes wrinkles, dust, and print defects more clearly.
Useful features to consider by application:
- UV resistance for retail display or long storage near direct light.
- Anti-static treatment for electronics, parts, or sensitive inserts.
- Moisture resistance for shipments that need basic environmental protection.
- Food-contact compliance if the bag will be used in a food-related application.
Compliance and recyclability claims should be checked against the actual material and the intended use. Not every clear plastic bag is made from the same film family, and not every supplier uses the same certification language. Packaging specs, local rules, and end-use requirements matter more than broad sustainability statements. For general reference, guidance from the EPA and sourcing standards from organizations such as the FSC are useful checkpoints.
There is no universal best material. The right choice depends on the contents, handling conditions, the level of clarity needed, and how much print contrast the brand requires.
Printed Clear Plastic Bags Cost: MOQ, Setup, and Unit Pricing
Price depends on size, film type, thickness, print colors, print coverage, closures, and tooling. Two bags that look similar in a catalog can price very differently once the real specification is added.
Setup is a real cost. Plate making, screen prep, file cleanup, registration work, make-ready, and first-run checks all take time. That cost is easier to absorb in a larger order and harder to hide in a small one. With low quantities, unit price rises because setup is spread across fewer bags.
MOQ is partly a production constraint. Custom dimensions, white ink, multiple colors, unusual hole placement, and specialty closures add complexity. The smaller the run, the more that complexity affects per-unit cost.
| Spec Type | Typical Price Driver | Common Buyer Impact |
|---|---|---|
| Simple clear sleeve with one-color print | Lower setup, moderate material cost | Good for labels, inserts, and basic retail presentation |
| Clear bag with white underprint and multiple colors | More setup and more press time | Better contrast, higher unit cost |
| Gusseted clear bag with closure or hang hole | More conversion complexity and tooling | Improved function, tighter spec control needed |
| Short run with custom artwork revisions | Proofing and prepress time | Highest cost per unit, useful for launches or tests |
The main quoting mistake is comparing numbers that are not built on the same spec. One quote may include white ink, another may not. One may use thinner film. Another may leave out the closure or change the construction. If size, mil, print count, and finish are not aligned, the lower number is not necessarily the better buy.
In practice, small custom orders usually land in a higher per-unit range because setup dominates. Larger quantities improve unit economics, but only if the artwork and structure stay efficient. Often the best savings come from simplifying the spec rather than changing a detail nobody will notice once the bag is filled.
Lead Times, Proofing, and Production Steps to Plan For
A realistic schedule starts with the quote, then moves to artwork submission, prepress review, proof approval, production, inspection, and shipment. The machine run is only part of the timeline. File review and proof correction can take longer than production itself.
Simple orders can move quickly once the proof is approved. More complex work takes longer. Multi-color artwork, white underprint, special closures, and unusual dimensions add time. If the bag needs a custom die, extra conversion work, or a specific finish, the schedule stretches further.
Proofing is where many delays begin. A file that looks fine on screen can fail at actual size. Thin text can disappear on clear film. Fine rules can break up. A logo placed too close to a seal line may look centered in the mockup but shift once the bag is filled.
Rush work is limited by more than labor. Press availability, drying or curing time, conversion capacity, and final inspection all have minimum durations. Even a simple print job still has to move through the same steps as any other order, which leaves fewer correction windows when the date is tight.
The safest approach is to plan backward from the in-hand date and leave room for proof revisions, freight delays, and sample checks if the order matters. That matters most for launches, store resets, and trade shows, where a missed date is more expensive than a slightly higher unit price.
Common Artwork and Spec Mistakes That Hurt Results
The most common mistake is low-resolution artwork. A logo that looks fine in a presentation can print soft or jagged on clear film. Thin type is another weak point, especially when the ink is light or the contents behind the bag vary in color. Fine lines can break apart and make the package look unfinished.
White ink is a production decision, not just a design preference. On transparent film, it is often the difference between readable branding and a washed-out mark. If the goal is contrast, underprint may be necessary. Bright brand colors can also need a base layer to reproduce accurately.
Size errors usually happen when the buyer forgets about gusset expansion, seal allowances, or the extra room needed for insertion. A bag can look right on paper and still be too tight in hand. The opposite is also a problem: if the bag is oversized, the product shifts and the pack looks loose.
Another mistake is approving artwork without checking the actual workflow. If the bag is for retail display, the hang hole and front-panel layout matter. If it is for a filling line, the seal position and closure style matter. If it is going into a shipping kit, fold direction and finished size matter. The design should match the use case, not just the mockup.
Treat the proof as a production instruction. Verify actual size, panel placement, seal lines, and closure position before the order is approved.
Clean proofing avoids scrap, reprint time, and missed launch dates. Clear film leaves less room for mistakes, so the review step needs to be more disciplined than it would be for opaque packaging.
How to Order the Right Spec and Approve the Final Proof
Start with the product, not the bag. Measure the finished item, account for clearance, and decide whether the bag is acting as retail presentation, shipping protection, or both. If the bag has to fit a workflow, that workflow should shape the spec from the beginning.
Before requesting a quote for printed clear plastic bags, collect the basics:
- Exact bag dimensions
- Film type and thickness
- Print colors and whether white ink is required
- Target quantity
- Closure style, hang hole, or gusset requirement
- Deadline or in-hand date
If clarity or logo placement matters, ask for a sample or realistic mockup. A flat digital proof does not show how the contents affect the final look. On transparent film, the product is part of the design, so a mockup often catches the problems that are most expensive to fix later.
Review the final proof at actual size. Check logo placement against the edge, seal area, fold line, and closure line. Confirm spelling, colors, and panel orientation. Make sure the artwork still reads properly once the bag is filled. That is the point where a careful buyer saves time and a careless one creates avoidable rework.
Once the spec, price, and schedule line up, the order becomes predictable. That is the real objective: a clear custom bag that is built from the product requirements, not from guesswork.
What thickness is best for printed clear plastic bags with retail products?
Thickness depends on product weight, handling, and how much structure you want. Light inserts can work at lower mils, while apparel, hardware, and multi-item kits usually need more body. A thicker film often feels more premium, but it also costs more and can change the way the bag folds or seals.
How are printed clear plastic bags priced for small and large orders?
Pricing usually reflects setup, material, print colors, size, and quantity. Small runs carry a higher unit cost because setup is spread across fewer bags. Larger orders usually reduce the unit price, but special features like white ink or custom closures can still push costs up.
Can clear plastic bags be printed with white ink?
Yes. White ink is commonly used to improve contrast on transparent film. It is especially useful when the logo, text, or graphics need to stand out against the product inside. White underprint can also help brighter colors reproduce more accurately on clear packaging.
What is the typical turnaround for custom printed clear plastic bags?
Turnaround depends on artwork approval, bag complexity, quantity, and print method. Proofing and revisions can add time before production begins. The safest approach is to plan from the required in-hand date and leave room for shipping and final review.
What files do I need to order printed clear plastic bags?
Vector artwork is preferred for logos and text because it scales cleanly. Provide exact dimensions, print colors, and placement notes. If possible, include a dieline or a sample image that shows where the artwork should sit on the finished bag.