For bakeries, cafés, caterers, and dessert brands, custom cupcake Boxes With Logo do more than carry a product from one place to another. They shape first impressions, help protect frosting, and signal whether the brand is careful or improvisational. A customer often decides whether a cupcake feels premium before tasting it, and packaging is doing a lot of that work in the background.
That is why the box cannot be treated as a generic carton with a logo slapped on top. If the structure is too shallow, the frosting gets compressed. If the print is too faint, the brand disappears under warm lighting. If the board is flimsy, the whole presentation looks like it was assembled in a hurry. In cupcake packaging, the details are not decorative. They are operational.
The tradeoff is simple and slightly unforgiving: the box has to look clean, travel well, and stay economical. That balance is where good package branding starts to show real value. Not in theory. On a pickup counter, inside a delivery bag, or on a catering table where people decide in seconds what looks worth buying.
Why Custom Cupcake Boxes with Logo Can Sell the Product Before Tasting
Shoppers scan first and taste later. A logo on the carton tells them the bakery is established, consistent, and worth remembering. That matters in retail cases, event gifting, and delivery orders where the packaging may be seen by more people than the cupcake itself. In practice, the box becomes a small billboard that works long before the lid opens.
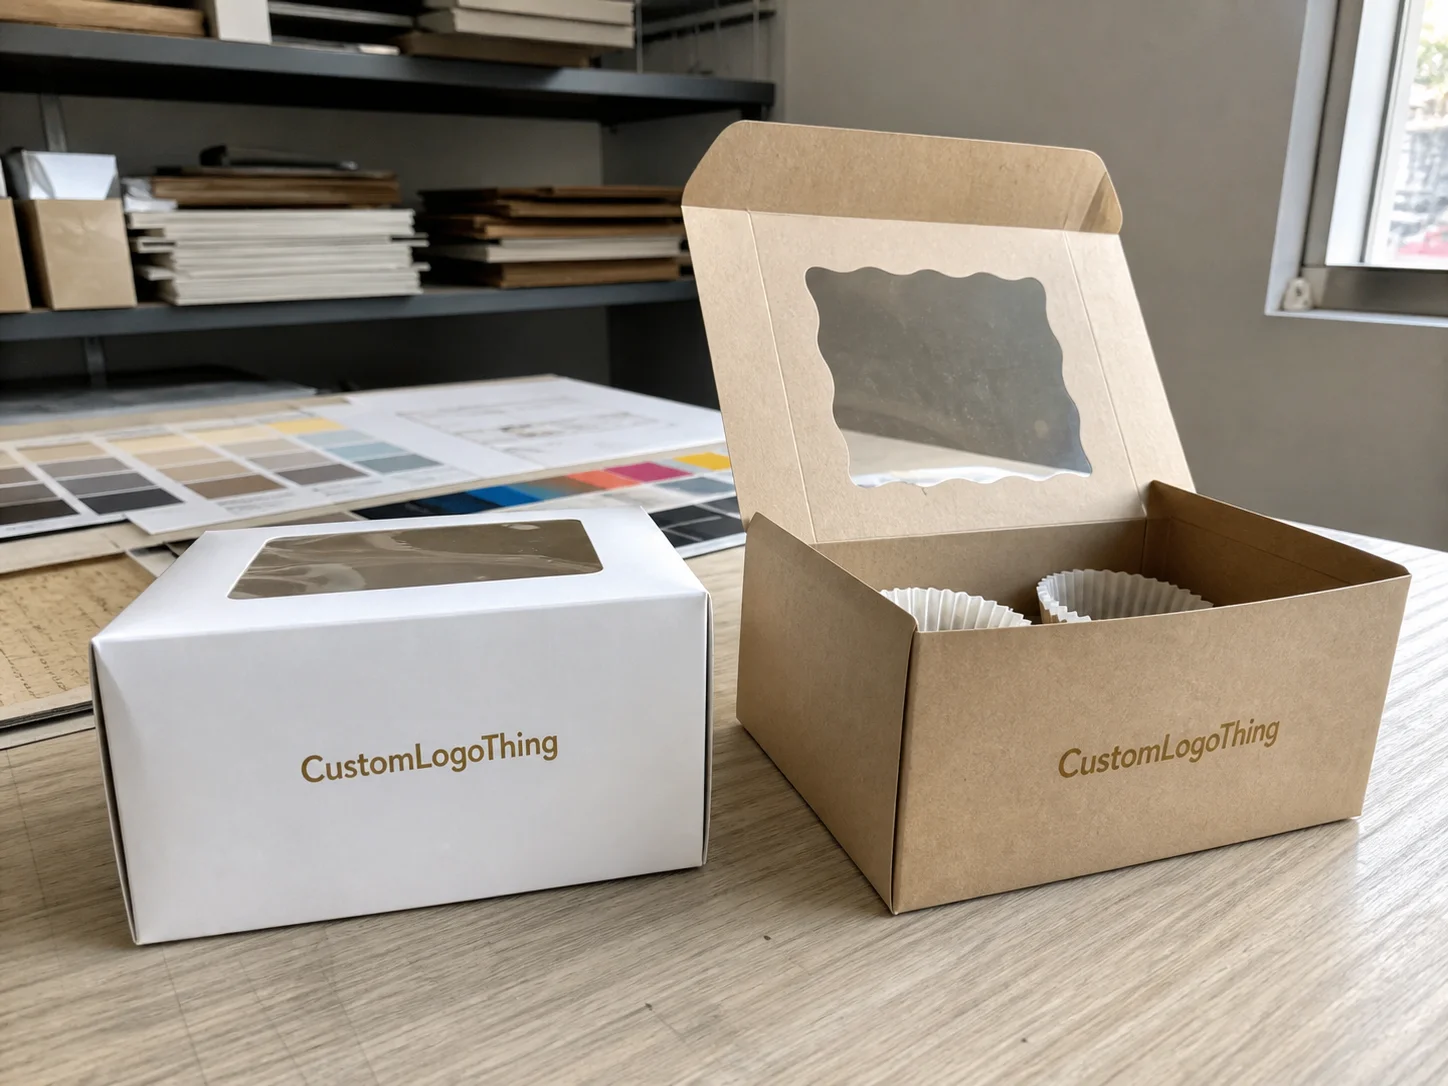
Visual contrast does a surprising amount of work. A dark logo on matte white board reads quickly. A pale logo on cream stock often disappears under bakery lighting. Kraft can feel warm and handmade, but it can also mute fine linework if the print lacks enough contrast. Buyers sometimes focus on color in the abstract and overlook how poorly a soft-toned logo performs at arm's length.
Window panels add another layer of persuasion. A clear view of buttercream piping, sprinkles, or seasonal toppers can raise the perceived value of the product. The catch is that a window also exposes the cupcake to light, dust, and visual clutter if the box is overfilled or the insert is poorly sized. A window should frame the cupcake. It should not crowd it.
Packaging also sets an expectation for price. A crisp carton tells customers that the product was handled with care. A dented lid, smeared ink, or poor fold alignment does the opposite. That is why a branded box is not just part of the presentation. It is part of the proof.
If the frosting touches the lid once, the brand looks careless even when the cupcake itself is excellent.
From a buyer's perspective, the box is a function-first object that also carries the brand. That combination is why custom printed boxes are often worth the extra planning. The goal is not just recognition. It is controlled presentation, repeated reliably across every order.
How Branded Cupcake Boxes Work: Structure, Inserts, and Print Choices
Structure is where most of the real performance lives. A tuck-top carton is common because it is affordable and easy to assemble, but it is not always the best answer. Tall frosting, multi-cup orders, and delivery routes with lots of handling usually need more structure than a basic fold-and-close design can provide. Auto-lock bottoms speed up assembly and improve stability. Sleeve styles can add a more premium presentation. Locked corners help when the box is repeatedly handled during catering or pickup rushes.
Inserts are often the deciding factor between a neat cupcake and a damaged one. A single-cavity insert keeps one cupcake centered. A multi-cavity tray supports 2, 4, 6, or 12 pieces depending on the format. The insert limits lateral movement, reduces lid contact, and makes stacking safer. If a supplier says the outer carton alone is enough, that usually means the product has not been tested in a real transport scenario.
The insert material matters as well. Corrugated inserts are sturdier and better for transit. Paperboard inserts can be fine for short counter handoffs, but they bend more easily if the box is stacked or carried for longer distances. For high-frosting products, the cavity depth should be checked against the full cupcake height, not the liner height. That small distinction prevents a lot of avoidable damage.
Print choices change both the appearance and the economics. Full-color printing gives the strongest brand presence and works well for seasonal graphics, but it usually raises the unit cost. Spot-color branding is cheaper and often cleaner for minimal logos. Labels are useful for limited runs or short campaigns, though they rarely feel as integrated as direct print. Foil, embossing, and soft-touch finishes can add premium cues, but they also add setup time and cost.
For teams comparing Custom Packaging Products, the right format depends on how the cupcake leaves the kitchen. A box used for counter pickup can be simpler than a box that has to survive courier handling. That distinction is often ignored in early packaging briefs, then becomes a problem after the first shipment.
If sustainability claims matter, ask for the actual stock specification instead of relying on vague language. FSC-certified board can be a useful option when fiber sourcing needs documentation. If grease resistance is a priority, confirm whether that barrier comes from the paper itself or from a coating, because the two behave differently in printing and recycling.
Cost, Pricing, MOQ, and Unit Cost Drivers
Pricing for custom cupcake Boxes with Logo is driven by a short list of variables: board thickness, print coverage, insert complexity, coating, finish, and the quantity ordered. The more the packaging has to do, the more the cost rises. A simple one-color logo on standard paperboard will always be cheaper than a full-color carton with a window, specialty coating, and molded insert.
It helps to separate the quote into components rather than treating the unit price as the whole story. Setup, proofing, dieline work, sample production, freight, and artwork revisions can change the landed cost materially. A quote that looks low at first can become expensive once shipping and packaging adjustments are included. The number that matters is not the sticker price. It is the total delivered cost per usable box.
| Format | Typical Use | Approximate Unit Cost | What Drives the Price |
|---|---|---|---|
| Simple tuck box with one-color logo | Counter pickup, basic retail packaging | $0.18-$0.28 | Standard board, low ink coverage, minimal finishing |
| Full-color box with window and insert | Gift sets, bakery displays, event takeaways | $0.28-$0.48 | Die-cut window, custom insert, more artwork coverage |
| Premium carton with specialty finish | Seasonal programs, upscale branded packaging | $0.45-$0.80 | Soft-touch, foil, embossing, heavier board, tighter tolerances |
MOQ exists because production setup is real. Plates, cutting dies, press calibration, and quality checks cost money before the first carton ships. Short runs therefore carry higher unit pricing. A 1,000-piece order can make sense for a test program, but once the structure becomes custom, the economics improve as volume rises. At 5,000 pieces or more, the per-box price usually starts to move in a more favorable direction.
Sampling is another place where expectations need to be specific. A digital proof may be quick and free, but it does not show fold behavior, lid pressure, or how the logo sits near a crease. A physical sample often costs somewhere in the $30-$150 range depending on complexity, and that is usually money well spent if the order includes a custom insert or a windowed panel. A cheap sample that reveals a fit issue is cheaper than a full run that fails in the field.
Freight can quietly erase a low production price. Cupcake boxes are light, but they are not compact once flattened, and the cube adds up fast. If the packaging has to ship across regions or sit in storage for a while before use, the cube efficiency matters almost as much as the print spec. Buyers often save more by choosing a smarter carton size than by shaving a few cents from the print finish.
If the packaging program includes multiple product lines, compare quote structure side by side. Ask for box-only pricing, sample cost, and shipping separately. That makes it easier to compare vendors honestly instead of guessing which quote is actually better.
Production Steps and Turnaround: From Dieline to Delivery
The production path is straightforward only if the inputs are disciplined. It usually starts with a dieline, then artwork placement, proof approval, sampling, production, packing, and shipment. Miss one step and the schedule drifts. Miss two, and the launch date starts to move.
The dieline matters because the flat layout is not the finished box. Fold lines, glue tabs, and hidden panels can shift logo placement in ways that are easy to miss on a screen and obvious on the assembled carton. A centered logo in a PDF can appear slightly high or low once the box is folded. That is why structural proofs are useful even for teams that have ordered packaging before.
Turnaround depends on how much custom work is involved. A straightforward printed stock box with approved artwork may move in roughly 12-15 business days after proof approval. A fully custom structure with inserts, specialty finishes, or multiple artwork rounds can take 20-30 business days or more. Peak seasons compress those timelines further. If the order is tied to holidays, weddings, or graduation season, the calendar should be treated conservatively.
Artwork changes are the biggest schedule risk. Structural revisions are the second. Both require rework, and rework is slow. The safest workflow is to lock dimensions first, then graphics, then quantities. If the order is large, a pre-production sample is worth the delay because it catches issues that a flat proof cannot reveal.
Transit testing is worth asking about if the boxes will travel through parcel networks or be stacked in catering kits. Not every order needs formal ISTA-style testing, but the logic behind it is useful: compression, vibration, and drop behavior are what damage packaging in real life. A carton that survives on a desk can still fail in a delivery van.
For repeat orders, keep the structure consistent and change only the graphics when possible. Reusing the same box footprint reduces setup friction and makes forecasting easier. It also helps if the bakery sells multiple items under one packaging system, because the visual language stays consistent without requiring a fresh structural design every season.
Size, Board, Finish, and Window Options That Affect Protection
Size should always be based on the finished product, not the liner alone. Measure the cupcake base, then measure the tallest point of the frosting, garnish, or topper. Add enough clearance that the lid never presses down. That extra headroom is not waste. It is the margin that keeps a piped top from becoming a flattened one.
Board selection is just as important. Standard paperboard is common for lightweight presentation, but heavier products or longer transport often need more stiffness. A box that looks fine on a counter may flex when stacked or carried for several minutes. If the product includes cream cheese frosting, buttercream, or heavy decorations, grease resistance becomes a practical requirement rather than a luxury.
Common board specs vary by supplier, but buyers frequently see 14pt to 18pt paperboard for folding cartons and E-flute or similar corrugated builds for more protective formats. The exact number matters less than the performance. Ask how the board behaves when folded, stacked, and exposed to minor condensation. Cupcake packaging has to survive real handling, not just a studio photo.
Finish changes both the look and the durability. Matte coatings reduce glare and improve readability under bright lights. Gloss makes color pop, though it also shows scuffs and fingerprints faster. Soft-touch can feel premium, but that finish is not always the best choice for high-touch foodservice environments because it can show handling marks more easily. The right finish depends on how the boxes will be sold and moved.
Window cutouts are helpful when the decoration is part of the appeal. They let customers see freshness, color, and detail without opening the box. They also introduce tradeoffs. A window can weaken stacking performance slightly, increase exposure to light, and make condensation more visible in chilled products. Full coverage is sometimes the better choice if the packaging will be stacked tightly or stored for a while before use.
Before approving size and finish, check these points:
- Base diameter of the cupcake and liner.
- Total height including frosting, toppers, and garnish.
- How many cupcakes will sit in one box.
- Whether the box will be carried, stacked, or shipped.
- Whether the finish needs grease resistance or extra moisture control.
That last point is easy to under-specify. A box that looks premium but softens under a cream-filled product is not good packaging. It is an expensive surface for a failure mode.
Common Mistakes That Cause Damage, Delays, or Waste
The most common mistake is sizing only to the cupcake base. That may fit the liner, but it ignores the frosting height. Tall swirls, edible toppers, and seasonal decorations need room above the product. If the lid closes against the top, the box has already failed, even if the outer dimensions looked right on paper.
Weak branding is another frequent issue. A logo that is too small, too pale, or crowded by other elements will not carry well on a busy counter. A clean, legible mark often performs better than a busy panel full of decorative extras. In packaging, clarity beats ornament more often than designers like to admit.
Gloss is not always the safe choice either. It can make colors pop, but it also shows fingerprints and glare. Uncoated board avoids glare but can look underfinished if the rest of the packaging is meant to feel premium. The point is not to maximize shine or texture. It is to match the finish to the channel and the product.
Operational mistakes cost just as much as design mistakes. Skipping fit tests is the big one. So is approving a structure before checking the actual product dimensions. Another common problem is underestimating lead time and assuming a custom box can be rushed without consequences. It can be rushed sometimes, but the odds of revision problems rise quickly.
Seasonal overordering is another expensive habit. A holiday graphic that seemed sensible in September may still be sitting in storage in March. Packaging inventory competes with ingredients, equipment, and finished goods for space. That is not a design problem. It is a cash-flow problem.
Sustainability claims should be handled carefully as well. Food-soiled packaging is not always recyclable, and local rules vary. Coated board, grease barriers, and window materials can change disposal behavior. The EPA recycling guidance is a practical reference for thinking through what happens after use, especially if a brand wants to make claims that hold up outside a sales page.
A real-world fit test catches more than appearance. It shows whether the box closes without pressure, whether the insert holds the cupcake upright, whether the logo lands where it should, and whether the product shifts when the box is tipped slightly. That test is worth doing before the full order is released. It prevents expensive surprises later.
Next Steps: Artwork, Samples, and Reorder Planning
Before requesting quotes, gather the basics: box dimensions, cupcake count, logo files, finish preference, quantity target, and delivery date. If the goal is to compare suppliers for custom cupcake Boxes with Logo, every bidder needs the same brief. Otherwise the quotes will look similar while covering different assumptions about print coverage, inserts, or shipping.
Then ask for a proof that shows logo placement, panel alignment, and any window or insert relationship. A digital proof is useful for layout, but a physical sample is better for fit, lid pressure, and handling. The difference matters most on taller cupcakes, heavier decorations, and boxes that will be stacked or transported in bulk.
For repeat orders, keep the base structure stable and rotate graphics by season or campaign. That lowers setup friction and makes inventory planning easier. It also helps if the business uses custom printed boxes across multiple products, because a consistent structural family is easier to manage than a separate carton for every SKU.
Reorder planning should follow sales rhythm, not optimism. If peak demand hits around holidays, graduations, weddings, or corporate gifting, place the next order before the current run is nearly gone. That gives room for proofing, freight, and any unexpected revision cycle. It also avoids the expensive habit of emergency ordering.
For brands building a wider packaging system, start with the structure that fits volume and handling requirements, then extend the look across other dessert lines. That approach is more efficient than redesigning every carton from scratch each time a campaign changes.
The practical takeaway is fairly plain: choose a structure that protects the cupcake, a print approach that keeps the brand legible, and a run size that fits the sales cycle. Do that well, and custom cupcake Boxes with Logo stop behaving like a basic supply purchase and start functioning as a repeatable part of the product itself.
What size should custom cupcake boxes with logo be for standard cupcakes?
Measure the cupcake base and the tallest point of the frosting, then add clearance so the lid never touches the top. Size the box around the finished product, not just the liner, and verify the fit with one real packed sample before approving the full run.
Do custom cupcake boxes with logo need inserts?
Yes, in most cases where the box will be moved, stacked, or carried any distance. Inserts keep the cupcake centered and reduce the chance of frosting contact with the lid. A better outer carton cannot fully replace that function.
How does printing style change the price of cupcake packaging?
Short runs usually cost more per box because setup is spread across fewer units. Full-color printing, specialty coatings, windows, and foil details raise cost faster than a simple one-color logo. The cheapest-looking quote is not always the cheapest order once setup and freight are included.
What is the typical turnaround for branded cupcake boxes?
Simple formats with approved artwork can often move in about 12-15 business days after proof approval. More custom structures, inserts, and special finishes can take 20-30 business days or longer. Revision cycles and peak-season demand are the main reasons schedules slip.
Can I order custom cupcake boxes with logo in a small quantity?
Yes, but the per-box price will usually be higher because tooling and setup costs are spread across fewer units. If the quantity is limited, simplify the structure and print spec to keep the order practical. That is usually better than forcing a premium format into a small run.


