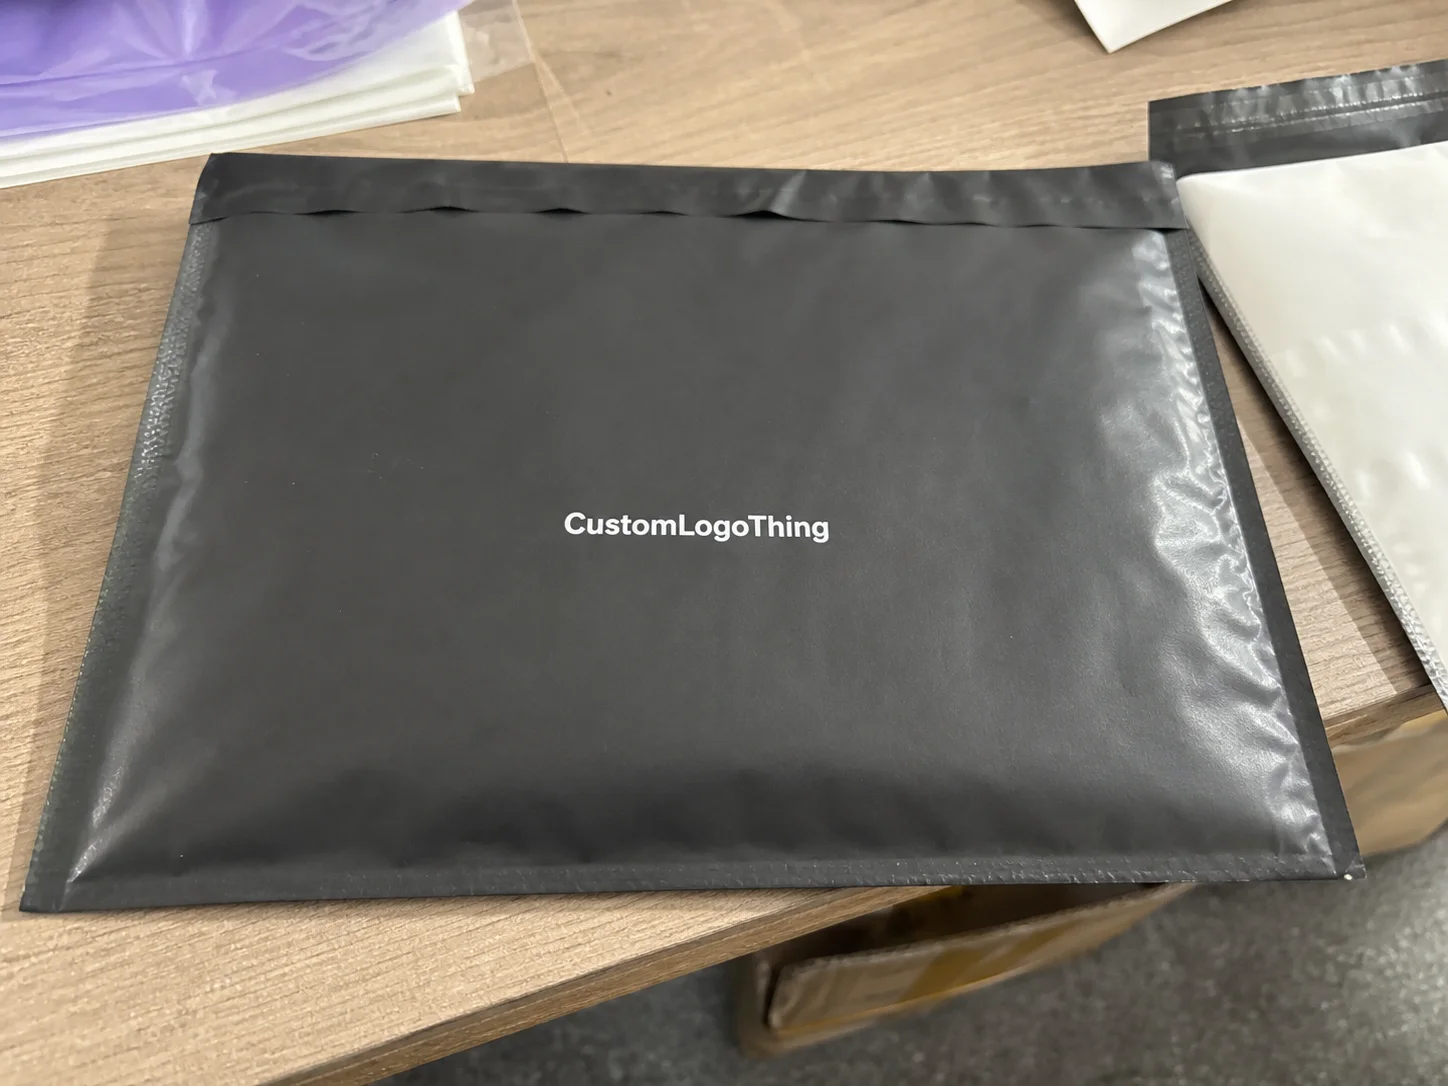
What an export-ready garment polybag must do on the factory floor
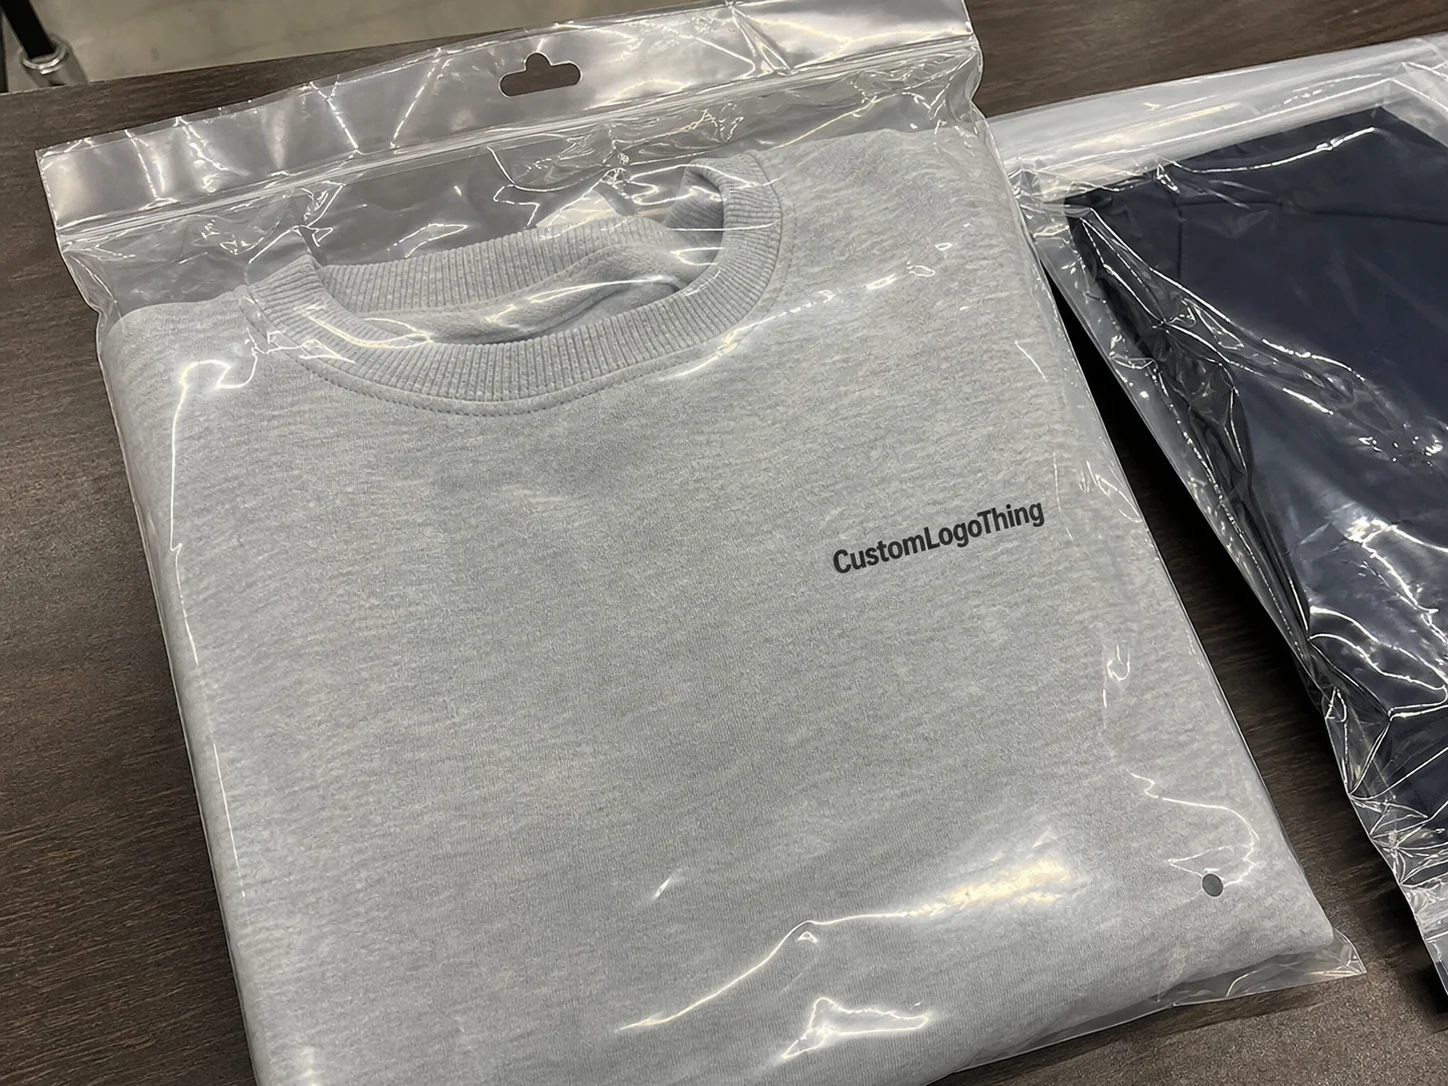
A sample bag can look perfect on a desk and still fail once it reaches real packing lines, carton compression, and long-haul transit. That is exactly why the Custom Garment Polybags export packing checklist belongs in the buying process before anyone approves a run. I have seen bags pass a visual check and then split at the side seam when operators packed hundreds of pieces in a shift, and I have also seen clear bags trap condensation during ocean freight because no one had asked how the garments would be stored, packed, and moved.
The purpose of an export garment polybag is practical. It protects apparel from dust, handling scuffs, light moisture, and accidental contamination while still presenting the folded product cleanly for receiving teams, warehouse pickers, and sometimes retail workflows downstream. In export packing, the bag is part of the product packaging, not just an accessory that gets added later.
Buyers often blur three different uses together: retail presentation bags, transit bags, and export packing bags. A retail presentation bag usually prioritizes clarity, branding, and shelf appearance. A transit bag leans toward puncture resistance and stacking efficiency. An export packing bag sits between those two, but in most programs it leans harder toward handling durability, carton efficiency, and line speed than toward showroom polish.
That distinction matters because export conditions expose weak specifications quickly. A bag that works for a domestic run can behave differently once it is packed thousands of pieces deep into a container and handled by more than one warehouse. The right checklist keeps the bag spec tied to folding method, carton count, shipping route, and destination-market labeling needs.
How export packing specs are translated into bag construction
Bag construction starts with the film, but the film alone never tells the whole story. A useful spec translates garment dimensions, pack style, and shipping conditions into the right combination of film type, thickness, dimensions, seal style, and opening orientation. If operators need to insert a folded shirt in two seconds, the opening has to be forgiving. If the bag is stacked tightly in cartons, the seal margin and film resilience become much more important than a buyer may first expect.
Common film choices are usually LDPE, HDPE, or blended films. LDPE tends to feel softer and clearer, with good flexibility and reliable seal performance. HDPE is typically thinner in feel for the same gauge and often gives a crisper hand, but it can be noisier and more prone to wrinkling. Blended films can balance clarity, stiffness, and strength, although the exact behavior depends on resin ratio and conversion method. There is no universal best material; the right one is the one that fits the packing line, garment type, and shipping route without adding unnecessary cost.
Garment size and folding style drive the bag width more than many buyers expect. A flat-packed polo shirt may fit into a narrower bag than a hooded sweatshirt folded with thicker side volume. If the product is hanging rather than flat-packed, the top opening, hanger hole, and gusset requirements change immediately. Some buyers also need side gussets so the bag does not bulge when the folded stack includes tags, tissue, or inserts. For many export programs, a bag that is 10 to 20 mm too narrow creates real friction on the line and slows pack-out more than a slightly wider bag would.
Printing, vent holes, hang tabs, and adhesive closures only earn their place if they improve export handling. A barcode window may help warehouse scanning. Vent holes can reduce trapped air and help stacked garments settle more evenly in cartons. Adhesive closures can keep a folded garment from slipping during transit, but they also add cost and may slow the operator if the line is already busy. For buyers building Custom Packaging Products, the right question is not what features can be added, but which features actually solve a shipping or handling problem.
| Bag option | Typical strengths | Tradeoffs | Best use |
|---|---|---|---|
| LDPE clear bag | Soft feel, good clarity, easy sealing | Can cost more than thinner HDPE | Most apparel export packing where presentation and flexibility matter |
| HDPE bag | Lightweight, crisp, efficient material use | Less soft, may wrinkle more | High-volume transit packing with tighter cost control |
| Blended film | Balanced toughness and appearance | Specification must be tighter to repeat consistently | Programs needing a middle ground between clarity and strength |
Key factors that affect cost, pricing, and unit value
Price in this category is shaped by several moving parts, and buyers often underestimate how quickly small changes add up. Resin grade, bag size, micron or gauge, print colors, and custom features all affect the unit number. A plain bag in a standard size can sit in a very different price band from a custom-printed garment polybag with venting, barcode placement, and a precise opening orientation. For moderate runs, a realistic pricing spread might be roughly $0.03-$0.08 per unit for a simple bag, while custom printed export versions can move higher depending on quantity, size, and finishing requirements.
Lower MOQ is convenient, but it usually raises the unit cost because setup time, print plate prep, film waste, and converted run efficiency are spread over fewer pieces. If you are ordering 3,000 bags instead of 30,000, the production math changes fast. Buyers sometimes push for a small trial quantity and then wonder why the price is not close to the later bulk run. That is normal, not a supplier trick.
Hidden cost drivers deserve attention too. Anti-static additives, recycled content requests, special surface treatment, and export documentation can all influence the final quote. If a buyer asks for recycled-content film, the price may move because the resin mix, consistency, and yield are different from standard virgin film. Some destinations or retail programs also require specific compliance language or packaging notes, which can add artwork time and more careful proofing. If your program is tied to broader sustainability goals, organizations like the EPA recycling guidance can help frame material choices in a practical way.
Carton configuration, palletization, and container loading density may not change the bag’s factory quote much, but they absolutely change the total landed cost. A slightly smaller carton that improves cube efficiency can save money on freight. A bag pack-out that allows 10% more units per carton can reduce handling and pallet count. On the other hand, if you compress too aggressively and damage fold quality, you save on freight but create claims later. Good packaging design balances all of that.
Process and timeline from artwork approval to shipment
The production path is usually straightforward, but every stage has a place where a buyer can prevent trouble. It begins with requirements collection: garment type, folded size, target pack count, destination market, and whether the bag is for retail packaging, warehouse transit, or both. From there, the supplier confirms the spec, prepares artwork or logo placement, and begins material sourcing. Film extrusion or sheet conversion comes next, followed by bag making, inspection, packing, and dispatch.
Lead time depends on tooling, print plate preparation, resin availability, and how busy the factory is. A simple unprinted bag might move through a schedule in about 7-12 business days after sample approval, while a printed or more technical version often needs 12-20 business days, sometimes longer if artwork changes late or the resin grade is constrained. If you are shipping by sea, those extra days matter because carton readiness affects booking windows and warehouse receiving schedules.
At each milestone, ask for a specific item, not a vague reassurance. Request the dieline before artwork is finalized. Ask for a pre-production sample if the bag has special dimensions or printing. Confirm bulk approval after the sample is packed with real garments, not just held in the hand. Then ask for carton and pallet packing details so you know exactly how the order will arrive.
For complex custom orders, the cycle is usually longer than for a standard one. A straightforward request can move from spec confirmation to shipment in roughly two to three weeks, while more complicated programs with multiple print colors, precise barcode placement, or special closures may need three to five weeks. Those ranges are not fixed, but they are useful for export planning. If your freight booking is fixed, build your bag timeline backward from that date, not forward from the day you send artwork.
Step-by-step custom garment polybags export packing checklist
Here is the practical version of the Custom Garment Polybags export packing checklist, the one that helps buyers avoid guesswork and gives the factory a spec they can actually build against. Treat it as a working document, not a one-time form.
- Confirm garment type, folded dimensions, and pack count. A T-shirt, sweatshirt, woven shirt, or children’s set each behaves differently in a bag. Measure folded length, width, and depth, then define whether the bag protects one piece or a multi-pack.
- Lock the bag size and material. Decide the width, length, gauge or micron, and whether you want LDPE, HDPE, or a blended film. If the bag needs to slide over a bulkier fold, allow room for easy insertion without excessive empty space.
- Define the seal style and opening orientation. Bottom seal, side seal, or top-open formats affect packing speed and strength. Add vent holes only when they help the pack-out or reduce trapped air in cartons.
- Verify artwork and compliance text. Check logo position, barcode visibility, warning copy, language needs, and any destination-specific statements. A barcode hidden by a fold is a real problem, not a small detail.
- Approve a sample under real packing conditions. Use the same folding team, the same garment, and the same speed target. A hand-packed sample on a clean table often hides the problems that show up on the line.
- Confirm carton specs, pallet pattern, and labels. Ask how many bags go in each inner pack, master carton, and pallet layer. Get carton dimensions, gross weight, and shipping marks in writing before mass production begins.
- Inspect the finished product before dispatch. Check dimensions, clarity, seal integrity, print accuracy, static behavior, and carton consistency. If possible, test random bags from different cartons, not just the top layer.
If the project includes branded packaging, keep the bag spec aligned with any matching Custom Poly Mailers or outer cartons so the whole shipment feels deliberate rather than pieced together. That kind of package consistency helps when multiple channels or warehouses handle the same product line.
“The best export bag is the one the line can actually pack fast, the carton can actually protect, and the warehouse can identify without drama.”
One detail that pays for itself is asking the supplier to state tolerances clearly. If width tolerance is ±2 mm and print position tolerance is ±3 mm, both sides know what acceptable output looks like. That reduces disputes, especially if you reorder the same spec later and want repeatable product packaging rather than a fresh round of interpretation.
Common mistakes that cause export packing failures
The most common error is buying by thickness alone. A bag that sounds strong on paper can still stretch badly, split at the seal, or wrinkle so much that operators lose time every shift. Gauge matters, yes, but film quality, seal geometry, and handling conditions matter just as much. A 20-micron bag made from the right resin blend may outperform a heavier bag made poorly.
Another mistake is ignoring moisture, odor, or static concerns. Apparel moving through long transit lanes can pick up warehouse odor, and some synthetic fabrics become annoying to handle if static buildup is high. That does not always require a specialized additive, but it does require a buyer to ask the question before production starts. If the route crosses humid and dry zones, or the cartons sit in storage before final delivery, the bag should be chosen with that environment in mind.
Some buyers approve a hand-packed sample and then discover the real line needs a wider opening or a different seal style. That happens because a skilled operator can make almost any bag look workable when speed is slow. Production reality is harsher. If your actual pack-out pace is 600 pieces an hour, the bag must support that pace without snagging or forcing rework. A short test with the real folding team is far more useful than a polished sample alone.
Destination-language marks, carton labels, and retailer-specific rules are another trap. I have seen orders move into production before anyone checked whether the carton needed a particular consignee mark, barcode format, or warning line. That sort of miss costs more than a corrected artwork file; it can delay the shipment and create warehouse confusion on arrival. If you are building a spec for export, verification is part of the product, not an afterthought.
For projects tied to sustainability or waste reduction, the reference point should be practical. Packaging buyers often ask about recycled content, source traceability, or lower-impact materials, and organizations such as FSC are useful when your packaging system includes paper-based components or broader responsible sourcing goals. Even if the garment polybag itself is plastic, the rest of the packaging system still needs to be considered as one chain.
Expert tips for cleaner pack-out, fewer claims, and smoother reorders
The easiest way to improve future orders is to build a master spec sheet and keep it current. Include approved dimensions, gauge, resin type, print file version, seal type, carton count, and pallet arrangement. When the next season comes around, nobody should have to reconstruct the job from memory. Reordering becomes much easier when the approved data is all in one place.
Ask for a pack-out test using the actual folding team and the actual garment. That test often exposes issues that a sample review cannot show, such as slow insertion, corner catching, or the bag opening collapsing under operator speed. A 30-minute pack-out test can save a week of rework later. That is one of the best uses of time in the whole buying process.
Clear tolerances reduce disputes. State the acceptable width and length range, the seal margin, print registration, and the placement of any barcode or warning copy. When everyone knows the acceptable window, inspection becomes faster and reorders become more predictable. The factory can also keep better process control because they are not guessing what you will reject.
Keep a simple incoming inspection routine. Check a few bags from the top, middle, and bottom of each carton. Look for cut quality, seal consistency, print smudging, and film scratches. It does not need to be complicated. A short inspection at receiving catches small defects before they turn into packing-room interruptions or export dispatch headaches.
Do not over-specify features that do not solve a real problem. Every added color, window, adhesive strip, or special film request increases the chance of setup variation and can make repeat orders harder to match. A cleaner spec usually produces cleaner results, especially when multiple production lines are involved.
Next steps to turn the checklist into a purchase-ready spec
If you want a clean buying process, gather the garment dimensions, define the folding method, confirm destination-market requirements, and choose the film and bag style that actually fit the job. Then turn that information into a one-page request for quote with size, thickness, print, quantity, carton pack, and delivery target. That is the fastest way to help a supplier quote accurately and avoid vague back-and-forth.
After that, ask for a sample, a realistic production timeline, and packing photos before you place the bulk order. Those three checkpoints tell you far more than a price alone. They show whether the supplier understands the line, the carton, and the export handling conditions that your shipment will face.
The strongest Custom Garment Polybags export packing checklist does more than specify a plastic bag. It reduces damage, speeds factory approval, improves carton control, and makes shipment planning easier for everyone involved. In practical terms, that is what reliable export packing is supposed to do.
FAQs
What should be included in a custom garment polybags export packing checklist?
At minimum, the checklist should include bag dimensions, film type, thickness, seal style, print requirements, carton pack, label details, and destination-market notes. It should also confirm the folding method, garment count per bag, and any moisture or static protection needs.
How do I choose the right thickness for export garment polybags?
Choose thickness based on garment weight, pack style, handling distance, and whether the bag is doing only dust protection or also transit protection. A thicker bag is not always better; the right film should balance toughness, flexibility, sealing performance, and unit cost.
What affects the price of custom garment polybags the most?
The biggest cost drivers are material grade, bag size, thickness, print colors, special features, and order quantity. MOQ, setup time, and packing configuration can also change the unit price and the total landed cost.
How long does custom garment polybag production usually take?
Timeline depends on artwork approval, sample confirmation, material availability, and the complexity of printing or special features. Straightforward orders move faster, while custom sizes, multiple print colors, or tighter compliance checks usually add lead time.
How can I reduce export packing mistakes before placing the order?
Use real garment samples, request a pack-out test, and confirm carton labels and packing counts before bulk production. A written spec sheet and approval sample help prevent sizing errors, print issues, and shipping delays.