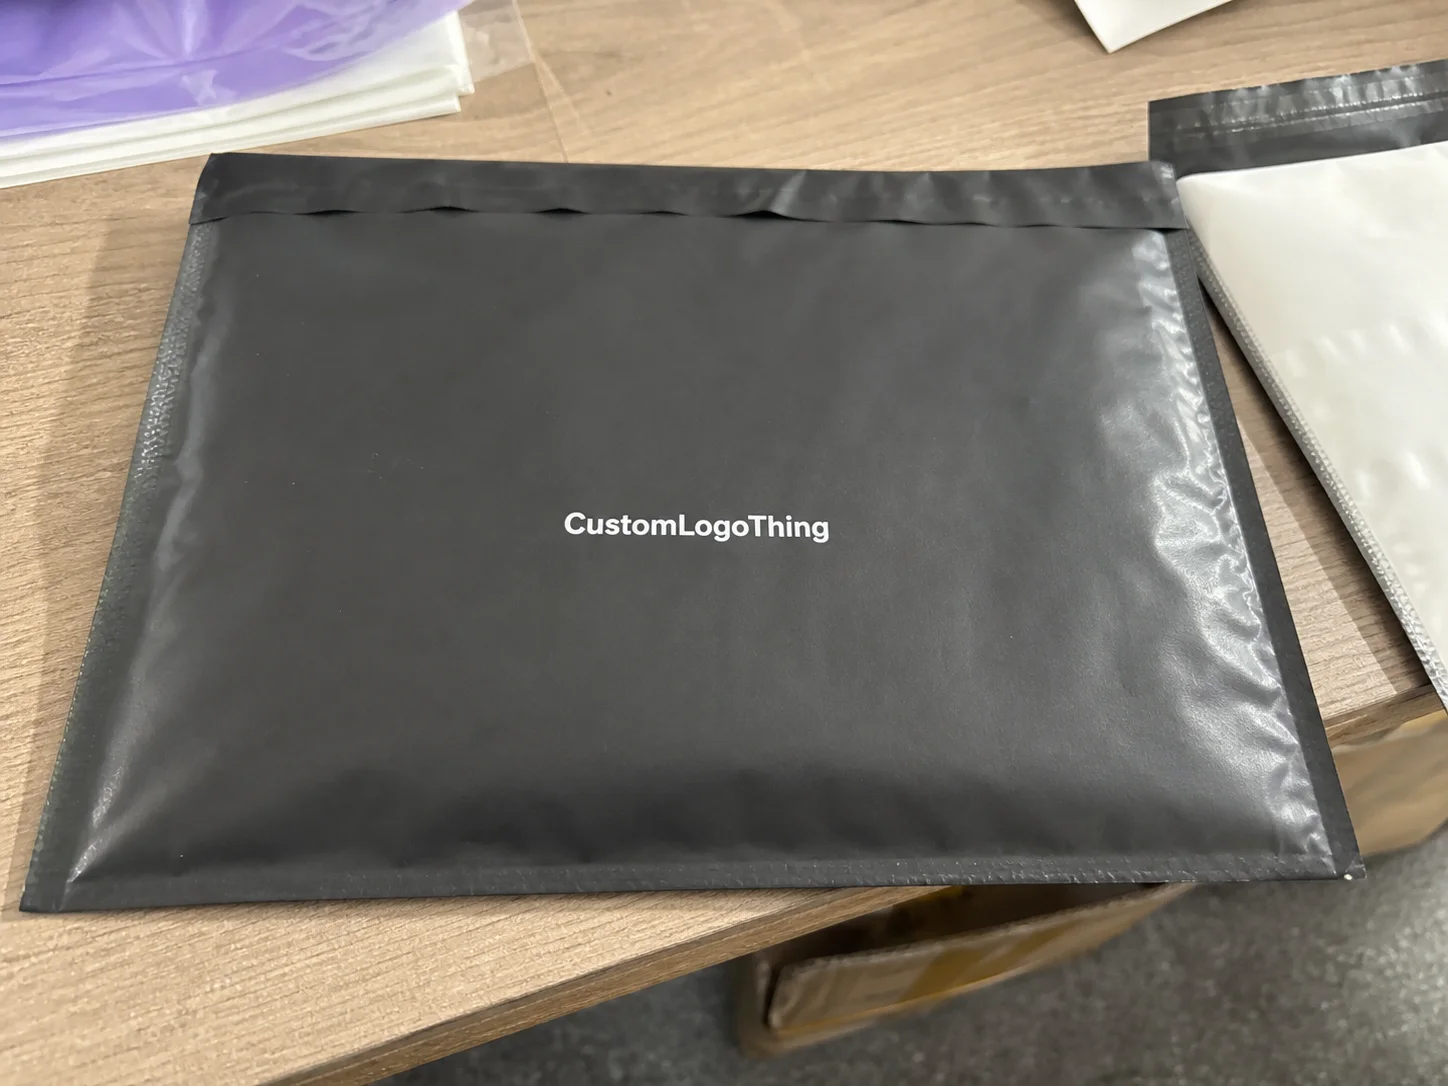
What a garment polybag spec sheet actually does
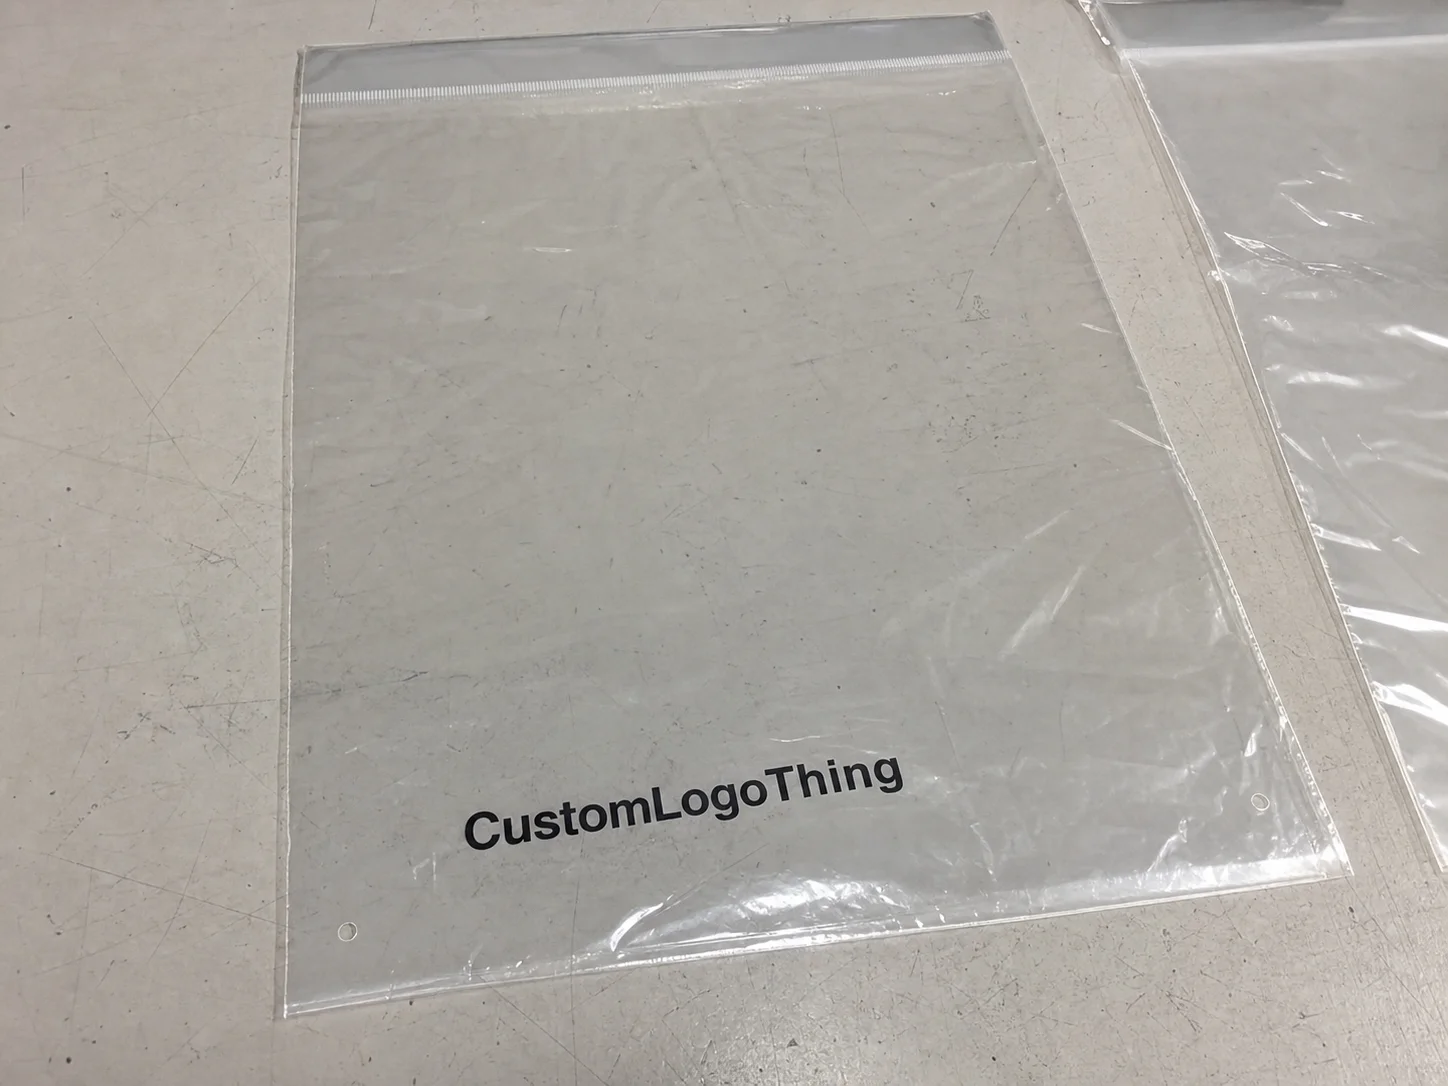
The Custom Garment Polybags packaging specification sheet is usually the point where a packaging idea stops being vague and starts becoming manufacturable. Most problems in polybag sourcing do not begin with the film or the sealing machine. They start earlier, with a sketchy brief, a missing measurement, or a buyer assuming that “standard size” means the same thing to every supplier.
At its simplest, the spec sheet translates a garment into a finished bag requirement. It defines the dimensions, film type, closure style, print, warning text, and packing method. That sounds administrative, but it is really the document that tells the converter how the garment is supposed to fit, present, and survive packing, warehousing, and delivery.
For garments, the difference between a workable bag and an awkward one is often only a few millimeters. A tee folded a little tighter, a cuff left slightly bulkier, or a tissue insert added at the last minute can change the final fit enough to create wrinkles, split seals, or poor shelf appearance. A good spec sheet prevents the supplier from guessing.
From a buyer’s standpoint, that means fewer sample rounds, fewer surprises at approval, and fewer repacks after receiving. From a production standpoint, it keeps quoting, printing, cutting, and packing aligned to measurable requirements. The document is not just paperwork; it is the control point that keeps the order moving.
How the specification sheet turns into a finished polybag
The production path is usually straightforward once the information is complete. A buyer sends the brief, the supplier reviews the spec, pricing is prepared, artwork is checked, samples are made if needed, approvals are captured, and then production begins. If one of those steps is underspecified, the order slows down almost immediately.
Each line in the sheet triggers a physical decision. Dimensions determine the cutting pattern and seal allowance. Material choice affects clarity, stiffness, tear resistance, and how the bag behaves in carton packing. Print instructions affect setup, registration, and waste. Closure style changes the assembly method. Even the location of a vent hole can affect whether the line runs in one pass or requires a separate operation.
Different apparel categories also call for different constructions. A folded T-shirt may fit well in a simple clear LDPE bag with an adhesive flap. A dress shirt might need a cleaner presentation and enough headroom to avoid crushing the collar. Lingerie and knitwear often need a softer film finish so the retail look stays neat. Outerwear almost always requires more room, stronger seams, and more careful allowance for bulk.
The spec sheet also helps decide whether a stock-style bag can work or whether a custom build is the safer choice. Stock dimensions can be fine for lightweight items with predictable folding. Once the garment includes tissue, inserts, labels, or a more premium presentation, stock sizing often becomes a compromise. A custom bag reduces that compromise because the dimensions and features match the packed product instead of forcing the product to fit the bag.
Quality checks belong in the spec, not in the buyer’s memory. Film gauge, seal strength, clarity, vent holes, print alignment, closure performance, and tolerance limits should all be written down clearly before production starts.
For consumer-facing packaging, compliance requirements may also come into play. Retailers often expect suffocation warnings, recycling language, barcode space, or country-specific labeling rules. If those details are not on the specification sheet, they can be missed during artwork setup. For broader reference on packaging standards and handling, the Institute of Packaging Professionals and ISTA testing standards are useful background sources, especially when the packed goods will be shipped through mixed distribution channels.
Key spec factors buyers should lock down first
If the goal is an accurate quote and a clean production run, start with the fields that actually change the structure and cost. The first is size. For garment bags, width, gusset, and length should be based on the packed garment, not the flat pattern measurements. A folded shirt can need extra allowance on the sides and at the top once tissue, tags, and seal overlap are included. A few millimeters may not sound like much, but on a tight retail presentation it can decide whether the bag looks tailored or forced.
Material comes next. The most common choices are LDPE and HDPE, with recycled-content films now appearing more often in branded programs. LDPE usually gives a softer hand and better clarity, while HDPE tends to feel crisper and can be suitable for lighter-duty applications. Film thickness is usually stated in microns or mils. A lightweight tee may be fine in a thinner gauge, while heavier knits, multipacks, or higher-value garments often need something in the 40–60 micron range for better tear resistance and handling. There is no universal best choice; the garment and its route through the supply chain decide that.
Functional details should be fixed early as well. Does the bag need an adhesive flap, a zipper closure, a perforation line, a hang hole, or vent holes? Is the package for warehouse handling, retail display, or e-commerce fulfillment? Should the film be easy-open for packers, or must it stay secure through returns and transit? These are not cosmetic details. They change the build method and the inspection points.
Print requirements deserve the same attention. One-color logos are usually faster and cheaper than multi-color graphics, not only because they use less ink but because they reduce setup and registration risk. A second color, a full-coverage print, or a large printed panel can add proofing time and increase waste during startup. If the bag needs a barcode area, warning text, or a clear panel for size labeling, that space should be drawn into the layout before approval rather than added later.
- Dimensions: finished width, gusset, length, seal overlap, and tolerance range
- Material: LDPE, HDPE, recycled content, film thickness, clarity, and finish
- Features: adhesive flap, zipper, vent holes, hang hole, perforation, or warning text
- Print: logo position, color count, barcode area, and compliance copy
- Performance: static control, scuff resistance, moisture protection, and handling durability
The presentation goal matters too. A bag that only needs to survive carton packing can be specified very differently from one that must look neat in retail photography or on a store shelf. Shipping-safe and retail-ready are not the same thing. That distinction also shows up in other packaging formats such as custom printed boxes, where structure and appearance have to work together instead of competing.
Pricing, MOQ, and unit cost: what really changes the quote
Polybag pricing is usually more predictable than buyers expect, once the spec is complete. The main drivers are size, thickness, material type, print complexity, closure style, and order quantity. Bigger bags use more resin. Thicker bags use more material and may run slower. More print colors mean more setup time and more inspection. Any special feature, from a resealable top to a vent pattern, can add labor or tooling cost.
MOQ has a direct effect on unit price because setup costs are spread across the run. A smaller order absorbs a larger portion of prepress, tooling, and machine setup, so the per-piece price rises. A larger order usually lowers the unit price, but only to a point. If the material is specialized or the print is complex, the savings can flatten out quickly. In practice, a straightforward custom garment bag at 5,000 pieces might fall around $0.18 to $0.28 per unit, while a larger run can come down from there if the spec stays simple and the film is standard. Add thicker film, multiple colors, or a resealable feature, and the number moves back up.
That is why the cheapest quote is not always the lowest-cost option. A thin bag that tears during packing, fogs the garment, or needs to be repacked after arrival can cost more than a slightly better spec. Labor, rework, and reject rates matter as much as the unit price. In apparel packaging, a small improvement in reliability can save real money across a season’s worth of orders.
| Option | Typical cost impact | What it changes | Best for |
|---|---|---|---|
| Simple clear LDPE bag | Lowest | Basic film, simple seal, minimal setup | High-volume tees and standard retail packaging |
| Printed bag with one-color logo | Moderate | Artwork setup and print registration | Branded packaging with controlled unit cost |
| Frosted or heavier-gauge bag | Higher | More material, better feel, stronger handling | Premium apparel and display-focused product packaging |
| Resealable or feature-heavy build | Highest | Extra components and more inspection points | Multipacks, returns, or retail presentations that need reuse |
Some buyers also ask about recycled content or recyclable film pathways. That is a worthwhile discussion, but it should stay practical. Recycled-content options may affect clarity, sealing behavior, or consistency from batch to batch. Recyclability claims also depend on local collection systems and the exact film structure. The EPA recycling resources are a useful reference point for understanding how material recovery works in practice, rather than assuming every bag will be handled the same way everywhere.
Process and lead time: from spec sheet to approved order
Once the specification sheet is complete, the project usually follows a clear path: inquiry, review, quotation, artwork check, sample approval if needed, production, inspection, packing, and dispatch. The faster this moves depends less on machine speed than on whether the buyer has already locked down the essentials. Most schedule slips come from revisions, missing data, or a change in requirements after the sample has been approved.
A straightforward custom run often needs 12 to 15 business days from proof approval, though that can stretch if the print is more complex, the material is special-order, or multiple SKUs are involved. If a pre-production sample is required, the timeline extends further. Expedited work is possible in some cases, but there are limits. Setup still takes time. Artwork still needs checking. Film still needs to be available in the right gauge and width.
The most common delays are rarely dramatic. They are small gaps that create a cascade: incomplete dimensions, no warning text, unapproved artwork, conflicting version numbers, or a last-minute change to the fold method. A clean spec sheet reduces that friction because it gives each department a stable reference point.
A practical timeline often looks like this:
- Day 1-2: buyer submits garment details and bag requirements
- Day 2-3: supplier reviews the custom garment polybags packaging specification sheet and returns a quote
- Day 3-5: artwork or dieline check, followed by proof approval
- Day 5-10: sample production or pilot run if required
- Day 10-15+: full production, inspection, packing, and dispatch
That schedule can move faster for simple repeat orders and slower for programs that involve custom film, strict label rules, or a new packaging format. If the buyer changes the spec after approval, the timeline almost always resets in some form. That is not a supplier tactic; it is a consequence of how packaging production is sequenced.
Step-by-step checklist to build a usable spec sheet
A useful spec sheet begins with the garment itself. Start by identifying the product type, fold style, finishing size, and whether the item will ship flat or on a hanger. A folded polo behaves differently from a basic tee because the collar and placket create a different packed profile. A hanger pack needs top space and a different opening than a flat retail pack. If those basics are not captured, the rest of the document is already on shaky ground.
Next, measure the actual packed item. Not the flat garment. Not the tech pack illustration. Measure the real folded state as it will be inserted into the bag. Add allowance for any tissue, insert card, hang tag, or closure overlap. If the goal is a snug retail appearance, avoid overestimating slack. Too much empty space leads to wrinkling and a looser look, especially in clear bags where every fold is visible.
After that, choose the structure and film. Decide whether the presentation calls for a clear bag, a frosted finish, or a heavier gauge for handling durability. If package branding is part of the brief, specify the exact print area and safe margins around the logo. Mark whether the print is top-center, corner-positioned, or full-width, and include the file version so nobody works from the wrong artwork.
A solid specification sheet should also include:
- Print files and version: exact artwork, file format, and revision control
- Language and compliance text: warning copy, recycling marks, barcode space, and retailer requirements
- Carton pack-out: units per inner pack, inner packs per master carton, and case labeling
- Tolerances: acceptable size variation, print shift allowance, and defect limits
- Approval contacts: who signs off on sample, proof, and final production release
If the bag is part of a wider packaging system, keep the visual and functional standards aligned with the rest of the program. A garment bag that supports brand presentation should not look disconnected from custom printed boxes, mailers, or hang tags. Inconsistent packaging often signals rushed sourcing even when the materials themselves are decent.
For buyers managing multiple formats, it helps to keep the bag spec linked to other pieces in the same set, including Custom Packaging Products and, where relevant, Custom Poly Mailers. Shared standards make it easier to compare options and maintain a consistent packaging brief across categories.
Common mistakes that create waste, delays, and reorders
The most expensive mistake is vague sizing. “Fits most tees” sounds convenient, but it tells the supplier almost nothing useful. Exact finished dimensions, plus the fold method, are the real starting points. If the garment has a thick print, woven patch, or tissue insert, that bulk has to be included in the calculation.
Another frequent miss is forgetting closure overlap or flap area. A bag can technically fit the garment and still fail on the line because the flap covers part of the print, the opening is too tight for efficient packing, or the seal lands where the product should be visible. Those are the kinds of details that are easy to overlook on paper and obvious once production starts.
Artwork issues are equally costly. If the logo is off by a few millimeters, if the warning text is incomplete, or if the wrong file version is used, the problem may not show up until plates or cylinders are already made. Corrections at that stage can mean wasted setup time, scrap, and delayed delivery. A digital proof helps, but for jobs where both fit and print matter, a physical sample is often the better check.
Film thickness is another area where assumptions cause trouble. Too thin, and the bag tears or feels flimsy. Too thick, and it can become stiff, cloudy, or harder to seal cleanly. Neither is a good outcome if the goal is tidy retail packaging. Wrong thickness can also lead to static cling, poor stacking, or extra friction during carton loading.
Compliance text is the detail buyers leave out at their own risk. If a retailer wants warning copy or specific labeling, forgetting it can stop the order entirely. The same issue appears when a buyer changes the spec after approval. Even a small adjustment after sampling can restart part of the process and add cost. That is not friction for its own sake; it is how film, print, and inspection steps are scheduled.
Expert tips for approving the final spec with confidence
Ask for a pre-production sample or a digital proof when print and fit both matter. One check does not replace the other. A sample that fits properly but prints badly is still a reject. A perfect proof that has not been tested against the actual garment is only half-verified. Both views are useful, and together they reduce surprises.
Compare the specification against the real folded garment rather than the tech pack alone. Garments rarely pack exactly the way drawings suggest. A slightly thicker collar, a different fold line, or an added tag can change the packed profile enough to affect the bag size. That is why experienced buyers always check the physical sample, not just the measurements on paper.
Document tolerances clearly. A tight spec without acceptable variation can create disputes that are avoidable from the start. Film, sealing, and print registration all have some normal variation. If the buyer is comfortable with a ±2 mm size range or a small print shift, that should be stated in the document. Clear tolerance language protects both sides and makes QC decisions much easier.
Separate mandatory items from preferences. If the budget gets adjusted, the team should already know what can move and what cannot. Maybe the warning copy is fixed, but the finish can change from frosted to clear. Maybe the logo placement is non-negotiable, but the carton labeling can be simplified. That kind of ranking keeps the order from becoming a moving target during quoting.
Finally, test the bag in real handling conditions: folding, insertion, sealing, shipping, unboxing, and retail display. A bag that looks good in a flat proof can behave very differently once it is packed at speed. If it wrinkles, scuffs, or traps too much air during packing, that issue is much easier to catch before a full run is produced than after the goods are received.
FAQ
What should a custom garment polybags packaging specification sheet include?
It should include finished bag dimensions, material type, thickness, closure style, print details, compliance copy, and carton pack-out requirements. It should also note garment fold style, tolerance ranges, and approval contacts so the factory can build accurately.
How do I choose the right size for garment polybags?
Measure the folded garment in its real packed state, then add space for insertion, seal overlap, and any insert card or tissue. Check that the bag can be packed efficiently without excess slack that creates wrinkles or a sloppy retail look.
Why does MOQ affect custom polybag pricing so much?
Setup, printing, and tooling costs are spread across the order quantity, so smaller runs usually carry higher unit cost. Higher MOQs can lower price per bag, but only if the quantity matches your sales forecast and storage capacity.
How long does production usually take after the spec sheet is approved?
Lead time depends on print complexity, material availability, sampling, and whether the artwork is already finalized. A clean spec sheet shortens the process because it reduces revisions and approval cycles before production starts.
What mistakes cause the most delays with custom garment polybags packaging specification sheet approvals?
Missing dimensions, unclear artwork files, forgotten warning text, and last-minute changes after sample approval are the biggest culprits. The fastest fix is to compare the spec sheet against the actual garment, then confirm every required field before release.
For buyers at Custom Logo Things, the practical takeaway is straightforward: treat the Custom Garment Polybags packaging specification sheet as a production control document, not a formality. A complete sheet leads to faster quoting, tighter fit, fewer revisions, and fewer surprises once the bags arrive at receiving.