Why print method choice changes how garment polybags perform
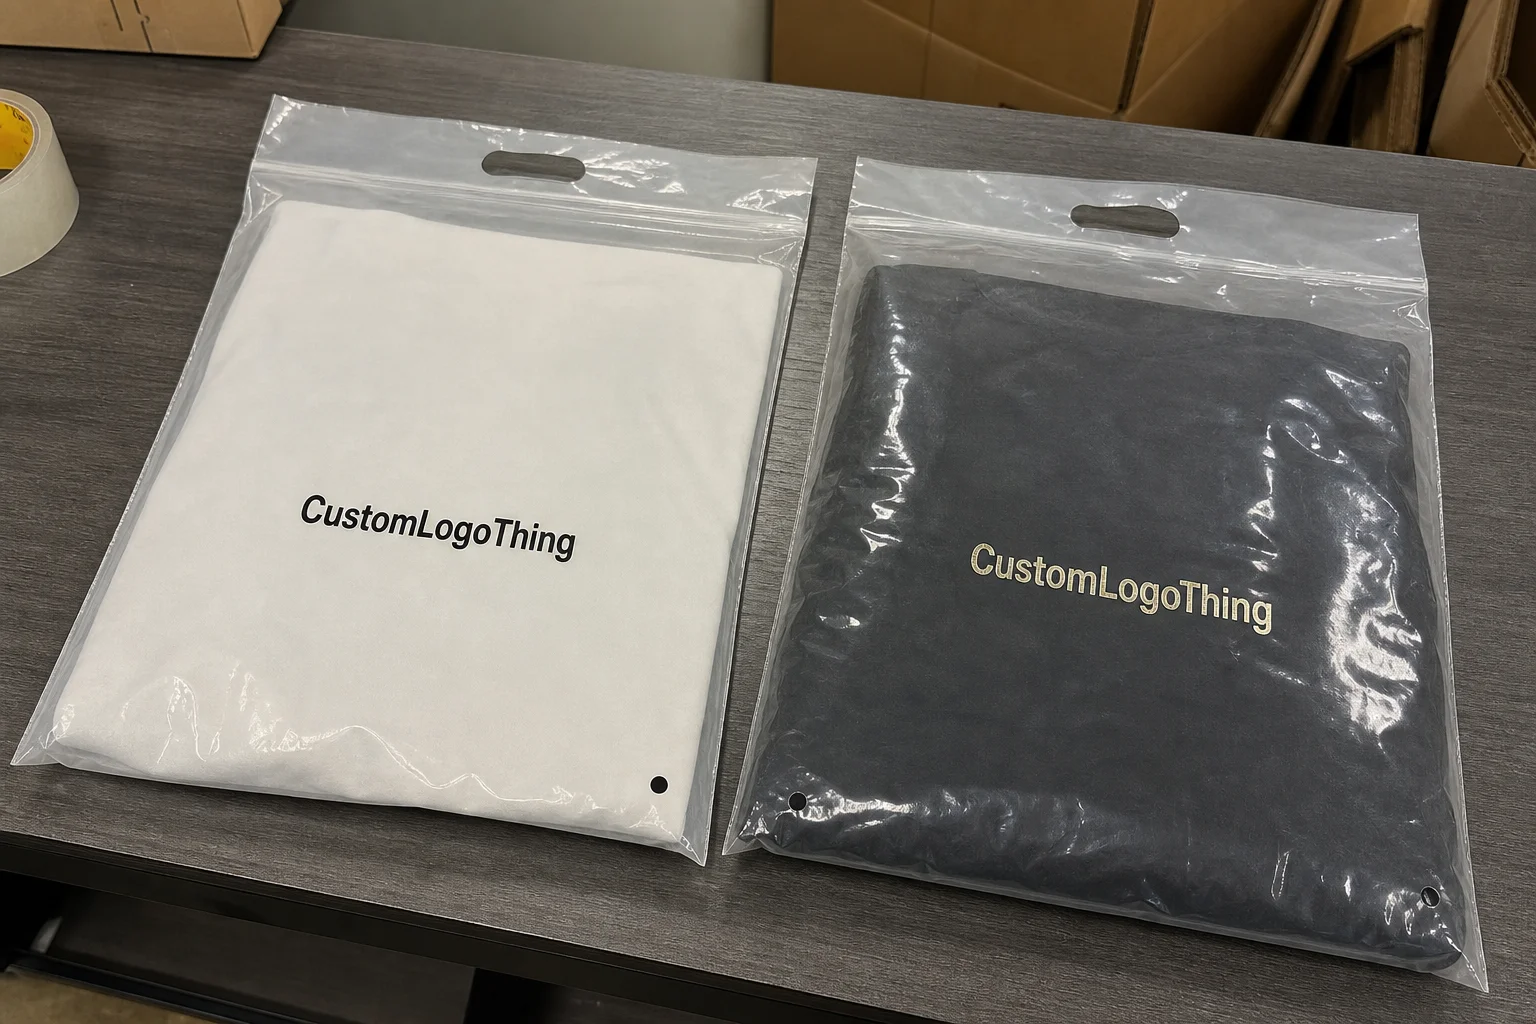
Two garment polybags can look nearly identical on a sample table, yet behave very differently once they move through packing, carton loading, freight, and retail handling. One keeps the logo sharp after folding and rubbing. The other scuffs, smears, or fades before the customer ever sees the garment. That is why a Custom Garment Polybags print method guide is not just about appearance. Print choice affects adhesion, opacity, production speed, unit cost, and how premium the finished pack feels in hand.
For apparel brands, garment polybags are doing several jobs at once. They protect folded shirts, dresses, intimates, and basics from dust and moisture. They also support retail packaging and brand presentation, especially when the pack is visible in a fulfillment line or on a shelf. In e-commerce, the bag may be the first branded surface a buyer notices after opening the shipping carton, which makes print quality part of the product experience rather than an afterthought.
The real buying challenge is trade-offs. Most teams want vivid graphics, low minimums, fast turnaround, strong durability, and the lowest possible unit cost. In practice, you usually get three or four of those at once, not all five. Buyers who understand that early tend to ask better questions, approve fewer wrong proofs, and avoid the kind of reprint that quietly eats a packaging budget.
How custom garment polybag printing works
Printing on a garment polybag starts before ink reaches the film. Artwork is checked, colors are separated, and files are prepared for the chosen process. Depending on the method, the supplier may need plates, cylinders, or digital print files. After that, the film is printed, cured or dried, inspected, and packed for shipment.
The material matters as much as the artwork. Flexible plastic behaves differently from paper or paperboard. Surface energy, slip, and stretch all influence how ink bonds and how it looks once the bag is folded or stacked. On LDPE and PP films, the right ink system is often the difference between a clean finish and one that rubs off at seams or corners.
Most buyers run into three core methods:
- Flexographic printing for efficient long runs and repeat SKUs.
- Gravure printing for very large volumes that need fine detail and consistent coverage.
- Digital printing for short runs, sampling, and artwork that changes more often.
Color count affects cost more than many first-time buyers expect. Each additional color can add setup time, registration work, and proofing complexity. On clear film, a dark logo may also need a white underprint or a redesigned layout to stay readable. The same artwork that looks strong on white cardboard can look faint, busy, or misaligned on transparent polyethylene.
Film thickness belongs in the conversation too. Common gauges such as 1.5 mil, 2 mil, and 3 mil behave differently under press tension and in later handling. Thicker film often feels more premium and resists tearing better, but thinner film can feed faster at the packing table and cost less per unit. That trade-off affects print performance because the bag structure changes how the graphic sits on the surface and how much abuse the package can tolerate in transit.
Print methods, finishes, and quality factors to compare
If you are comparing suppliers, start with five practical criteria: print durability, color fidelity, setup cost, minimum order quantity, and lead time. Those five usually explain why one quote looks attractive on paper and disappointing in production.
| Method | Best fit | Setup complexity | Typical buyer advantage | Watch-outs |
|---|---|---|---|---|
| Flexographic printing | Reorder programs, larger runs, standard branding | Moderate | Lower unit cost at volume | Plate setup and color matching require discipline |
| Gravure printing | High-volume, premium detail, repeatable artwork | High | Excellent consistency at scale | Cylinder investment makes small runs expensive |
| Digital printing | Short runs, sampling, seasonal launches, changing graphics | Low to moderate | Fast artwork changes and low setup | Unit cost can rise quickly as quantity increases |
Flexographic printing is often the workhorse choice for garment polybags because it balances speed and economy. Once plates are made, repeat runs can move efficiently, which is why buyers with stable SKUs often favor it. For brands that ship the same T-shirt, hoodie, or underwear pack all year, the math can work very well, especially when the design stays within one or two colors.
Gravure is a different animal. The upfront cylinder cost can be hard to justify unless the order quantity is high and the artwork calls for very fine, repeatable detail. The payoff is consistency. If your packaging design relies on smooth gradients, dense coverage, or a premium appearance across a large run, gravure may hold up better than other methods once volume is high enough to absorb the tooling.
Digital printing is useful when flexibility matters more than volume economics. It is common for prototypes, promotional packaging, or designs that may change after internal review. A lot of buyers use it as a bridge: confirm the look first, then move into a tooling-based method once the program is stable. That is often the least wasteful way to launch a new garment bag program.
Quality factors deserve as much attention as the print method itself. Ink adhesion, opacity, print placement, and fold behavior all matter. Clear bags can make dark graphics look stronger, but they also reveal alignment issues that a solid white film might hide. If the bag will be folded in a warehouse, handled by multiple teams, or shipped long distances, ask how the print will hold under abrasion. For transit testing, many packaging teams refer to ISTA protocols when the bag is expected to survive rough handling before it reaches the buyer.
There is also an environmental side to the decision. Some buyers want a film and ink system that fits recycling goals, but the answer depends on the full structure, not one component in isolation. A printed polybag is not automatically recyclable just because it is thin plastic, and a claim should never be assumed from appearance alone. If sustainability is part of the packaging brief, ask for material disclosure and compliance information early. The EPA’s packaging and waste resources are a useful starting point: EPA guidance.
Custom garment polybags print method guide: choosing the right approach
A practical buying process starts with four questions, in this order: how many bags, how complex is the artwork, how fast is the delivery window, and what is the budget ceiling? That sequence gets you to the right method faster than debating print technologies in the abstract.
- Quantity sets the economic baseline.
- Artwork complexity affects setup and registration.
- Turnaround determines whether tooling-heavy methods are realistic.
- Budget tells you how much room you have for premium finishes.
For retail apparel launches, buyers usually want cleaner graphics and better visual consistency because the bag is part of the shelf presence. In that case, flexographic or gravure printing may make sense once the volume justifies the setup. For warehouse packing or basic replenishment programs, utility often wins. A clean one- or two-color print can support branded packaging without pushing the cost of the pack into a range that makes no sense for a simple item.
Subscription programs and promotional runs are different again. The order may be smaller, but the artwork may be seasonal or campaign-specific. That is where digital printing often fits well. You avoid heavier setup, and you keep the design agile enough to respond to a new launch, a short-term promotion, or a fast-moving collection update.
A useful rule of thumb: higher volumes tend to justify tooling-heavy methods, while smaller or changing runs benefit from flexible setup. It is not absolute, but it gives buyers a practical starting point. If a quote looks good only because the supplier assumed a much larger order than you can really place, the math will fall apart quickly.
Brand goals matter as much as unit economics. A luxury look may call for strong contrast, crisp registration, and careful white ink use on clear film. A utilitarian pack may prioritize speed, low scrap, and straightforward handling on the packing line. Both are valid, but they solve different problems.
File prep can save or sink a project. Send vector art when possible. Define spot colors clearly. Add bleed where needed, and keep key copy inside safe zones because flexible packaging shifts during converting and sealing. Before production, approve a digital proof or physical sample. That step sounds basic, but it prevents a surprising number of expensive mistakes.
“The cheapest quote is not always the cheapest package. On garment polybags, the real cost shows up in setup errors, reprints, and delayed launches.”
Cost, pricing, MOQ, and unit cost trade-offs
Costs for printed garment polybags are driven by six variables: print method, color count, bag size, film thickness, ink system, tooling, and order quantity. If a quote does not explain those factors clearly, it is difficult to compare fairly.
A low quote can hide trouble. Sometimes the film is thinner than expected. Sometimes ink adhesion is weaker. Sometimes inspection is limited to a quick visual check instead of a more disciplined quality control process. In practice, those shortcuts can cost more later if the bags arrive scuffed, faded, or off-register.
MOQ matters because setup costs have to be spread across the run. A 5,000-piece order almost always carries a higher unit cost than a 50,000-piece order, even if the artwork is identical. That is not a markup trick. It is how tooling and press setup behave, especially when the design requires careful registration or repeated color calibration.
For planning purposes, buyers often see short-run digital jobs priced higher per unit but lower in setup, while flexographic or gravure jobs become more attractive as quantities climb. A small order might land in the $0.10-$0.25 range per bag depending on size, film, print coverage, and closure style. Larger runs can come down materially, but only if the spec stays consistent and the artwork does not force extra steps. Exact pricing varies with market conditions, film grade, and freight.
Use the same comparison frame for every quote. Match these items line by line:
- Bag dimensions
- Film gauge or thickness
- Material type, such as LDPE or PP
- Print colors and coverage area
- Closure style
- Packaging format, such as loose packed or carton packed
- Delivery terms and destination
Also ask whether plates, cylinders, and artwork revisions are one-time charges or recurring costs. That distinction changes the true landed cost more than many procurement teams realize. If you also buy Custom Packaging Products or compare options like Custom Poly Mailers, keep the same costing discipline across categories. Packaging programs get messy when each SKU is quoted on a different basis.
Production steps, timeline, and lead time planning
The production timeline usually begins with inquiry, artwork submission, and specification review. After that comes proofing, then tooling or print setup, then production, drying or curing, quality inspection, and shipping. Simple repeat jobs can move quickly. New launches with several colors and a fresh film structure take longer, especially if the spec is still changing while the order is being quoted.
Delays usually happen in three places: artwork revisions, color matching, and tooling approval. Rush scheduling can also slow things down if the press line is already committed. Buyers often underestimate how much time a supplier spends getting registration right before a job runs at scale. A bag that looks acceptable in a one-sheet proof can still need a careful press check once it is printed on the actual film.
As a planning guide, simple repeat work often ships faster than first-time custom orders. Digital printing can shorten the early stages because there are no plates or cylinders, while flexographic and gravure methods generally require more upfront preparation. That does not make them slow by default. It simply means the clock starts earlier on setup, and the approval window matters more.
For promotions, retail resets, or fulfillment launches, confirm lead time before you commit to the sales calendar. If a bag needs to support a seasonal drop, build in a buffer for proof approval and freight. A one-week delay in packaging can ripple into labor scheduling, carton usage, and launch timing. For an apparel program, that can mean garments are ready but cannot be packed on time, which is a more expensive problem than it sounds.
For buyers who care about traceability or certification, ask whether the film or paper components involved in the broader package branding program can support FSC claims where applicable. FSC is not relevant to every polybag, but it can matter in mixed-material packaging programs where paper inserts, headers, or outer cartons are part of the complete pack. For reference, see FSC standards and certification.
Common mistakes that cause reprints or delays
Most reprints are predictable. One of the most common mistakes is approving artwork without checking scale. A logo that looks balanced on screen can appear cramped or too small once it wraps around a folded polybag. Another common error is assuming that clear film will make every color pop the same way it does on coated paper. It will not.
Buyers also mix up bag dimensions, film thickness, and closure style when requesting quotes. That creates bad comparisons. A 12-inch bag in 1.5 mil film is not the same product as a 12-inch bag in 2.5 mil film with a resealable flap. The difference can be significant in feel, cost, and performance, and it affects how easy the bag is to use in a packing operation.
Complex graphics can create trouble too. Thin type, small reverse-out copy, and heavy tonal shading may look muddy once printed on plastic. If the bag is folded, sealed, or stacked, the visual problem gets worse. Simpler artwork often prints better on flexible packaging than an overdesigned layout that relies on tiny detail to do too much work.
Another delay source is sample approval. Some teams skip it to save time, then pay for it later in a production problem. If the order matters to launch timing, allow for a production-ready proof. Confirm PMS values if color consistency is critical. Ask for a spec sheet. Check whether the film will scuff under carton movement or whether the print still reads after folding. Those steps are routine for a reason.
The short version is simple: fewer assumptions, fewer surprises. That applies to garment bags, custom printed boxes, and most other packaging formats that travel through a real supply chain instead of a display table.
Expert tips and next steps for ordering smarter
If you are deciding between methods, request two quote scenarios. One should be optimized for the lowest unit cost. The other should prioritize speed or premium print quality. Seeing both side by side makes the trade-off visible instead of theoretical, and it usually reveals whether the order belongs in a short-run, mid-run, or tooling-based program.
When the artwork is highly brand-sensitive, test a sample run before committing to the full purchase. Even a small pilot can show how the ink behaves on the film, whether the registration stays clean, and whether the bag still fits the brand’s positioning after it is folded and packed. That is particularly useful for high-visibility retail packaging, where small flaws tend to stand out.
Keep a standard spec template for future orders. Include bag size, thickness, film type, print colors, closure style, carton count, and target delivery date. The best packaging teams do not rebuild the brief every time. They reuse it, then update only what changed. That habit shortens quote cycles and reduces the chance that one order is quoted on a different basis from the next.
It also helps to think downstream. How will the bag be folded? Who inserts the garment? How much warehouse handling will it see? A print method that looks ideal in concept can become a bottleneck if it slows packing or forces extra inspection. In apparel packaging, the right answer is rarely the one that looks best in isolation; it is the one that still works after the bag leaves the printer.
My practical advice is straightforward: gather your artwork files, define quantity and launch date, compare methods by cost and timeline, then request a sample or formal quote. If you are using this Custom Garment Polybags print method guide to narrow the field, you are already ahead of most buyers because you are comparing performance, not just price.
FAQs
What is the best print method for custom garment polybags if I need low MOQ?
Digital printing is often the most flexible starting point because it usually requires less setup than plate- or cylinder-based methods. It works well for short runs, seasonal tests, and designs that may change after the first order.
How do I know which custom garment polybag print method is most cost-effective?
Compare total quote cost, setup fees, and the final unit cost at your actual order quantity. For larger repeat runs, methods with higher tooling costs can become cheaper per bag than short-run printing.
Will printed graphics on garment polybags hold up during shipping?
They should if the ink system matches the film and the curing process is done properly. Ask for durability details if bags will be stacked, folded, rubbed, or exposed to moisture during transit.
How long does production usually take for custom garment polybag printing?
Lead time depends on artwork approval, print method, quantity, and whether tooling is required. Simple repeat jobs are faster; complex multi-color orders or first-time setups usually take longer.
What should I send before requesting a quote for custom garment polybags?
Provide bag size, thickness, material type, print colors, quantity, closure style, and target delivery date. Including artwork files and a reference photo or sample helps reduce revision time and quote confusion.