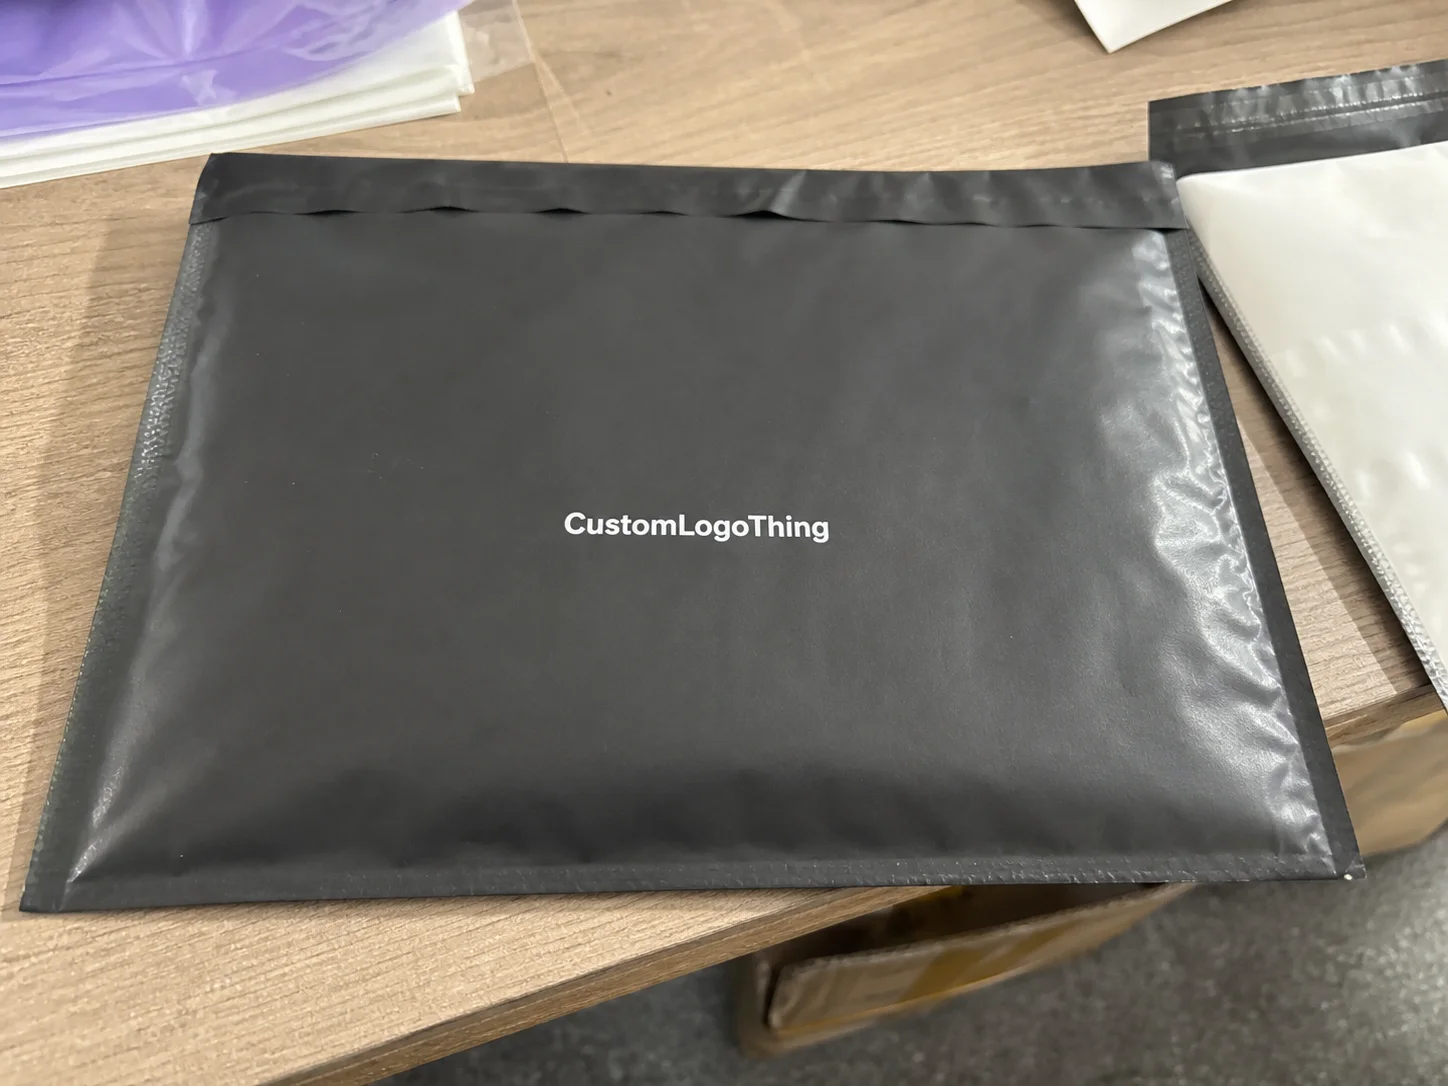
If you buy packaging for apparel, a Custom Garment Polybags quality inspection checklist is one of the least glamorous tools in the process and one of the most valuable. A bag can look clean on a sample table and still create problems once it is folded, packed, stacked, and moved through a warehouse. Split seals, off-size bags, weak print, and cartons packed too tightly are the sort of defects that do not announce themselves until the order is already moving.
Garment polybags are not just clear sleeves. They affect product presentation, shipping protection, labor efficiency, and the customer’s first impression when the carton is opened. A weak bag can turn a low-cost packaging item into a costly issue because the damage shows up after production is finished, not before.
For buyers managing several packaging formats, it helps to compare garment bags with other items like Custom Packaging Products and Custom Poly Mailers. The materials may differ, but the buying logic stays the same: confirm the spec, test the sample, and inspect the run before approving volume.
Why garment polybags fail in real shipments
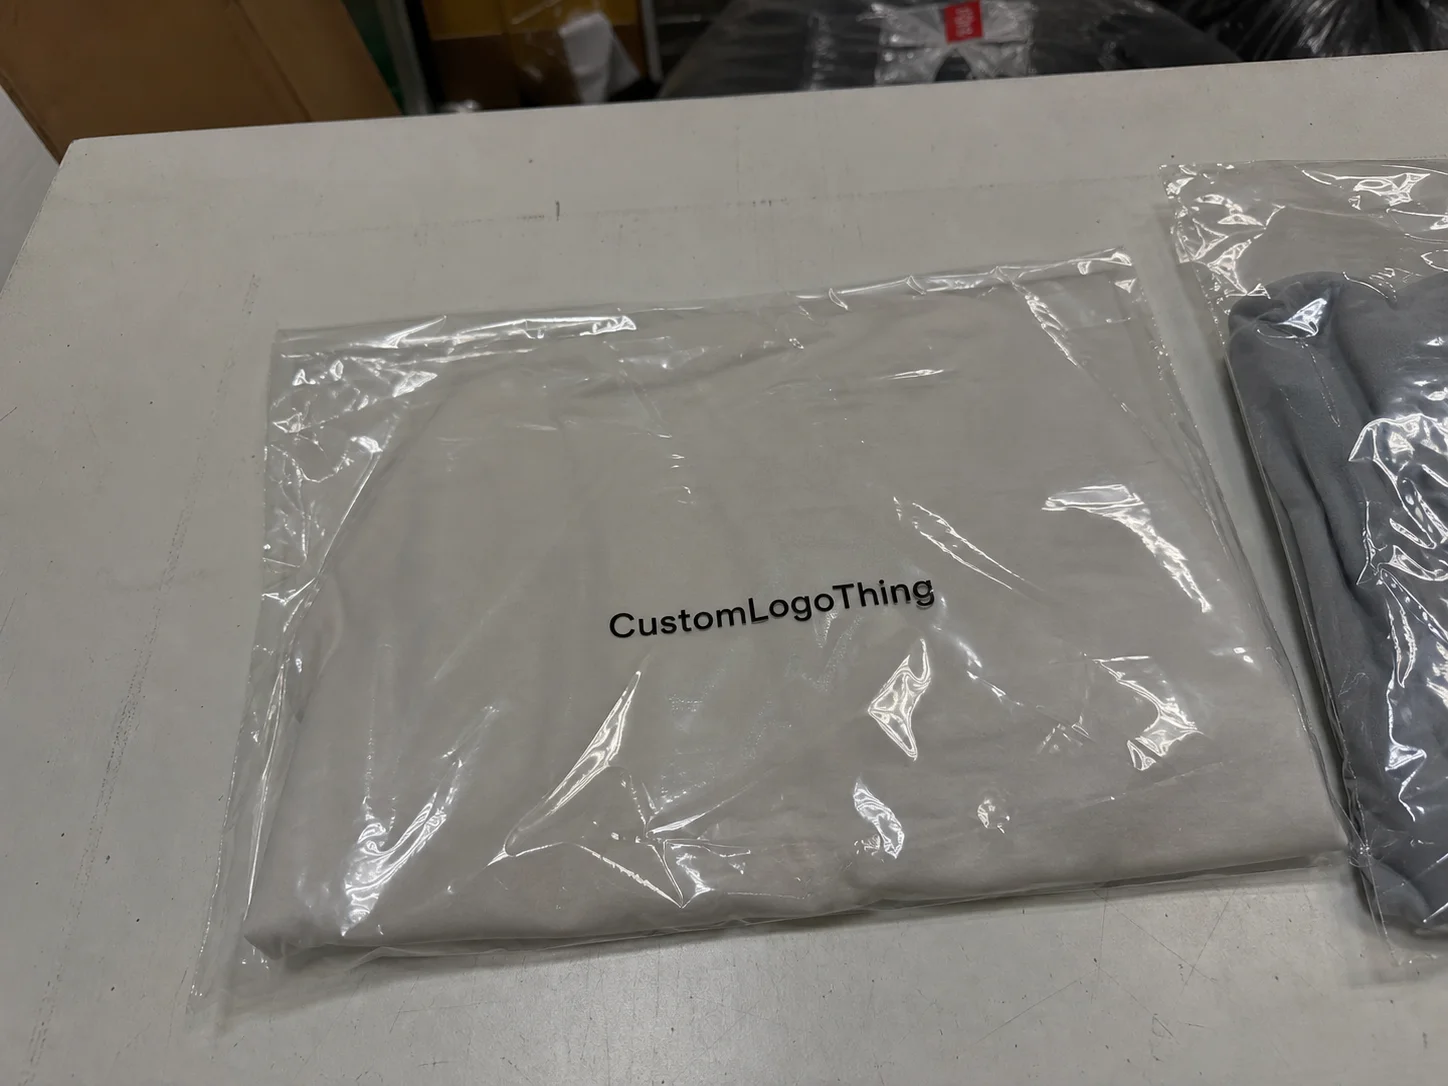
A polybag can pass a visual check and still fail in production. That happens because sample handling is gentle, while actual shipment conditions are not. Cartons get stacked, shifted, compressed, and re-taped. Forklifts bump pallets. Warehouse teams work fast. Even a bag that looks perfectly adequate in hand may tear once it is under load or rubbing against other packed goods.
The most common failures are predictable: split seams, cloudy or inconsistent film, wrong dimensions, weak seals, and print that looks sharp from a distance but falls apart on close inspection. Buyers often focus on the logo first, yet the seal and sizing are usually what decide whether the bag survives packing and transit. A bag that cannot hold the garment properly is not doing its job, no matter how good the branding looks.
The other issue is fit. A sleeve that works for a flat cotton tee may be too tight for a thicker hoodie, a folded sweatshirt with hang tags, or a shirt that includes an insert card. Once the garment thickness changes, the bag’s real-world performance changes too. A few millimeters can matter more than buyers expect, especially when packing speed is high and operators are trying to move quickly without damaging the contents.
Good inspection is not about finding perfection. It is about reducing avoidable risk. If the bag will be handled at retail, stored for a long period, or shipped with multiple units per carton, the margin for error becomes much smaller. That is where a written checklist earns its keep.
“A sample can be attractive and still fail once production starts. Packaging has to survive handling, not just approval photos.”
How the inspection process works from sample to mass production
The inspection process should move in stages. Approving a run only at the end is how expensive problems get locked into inventory. A stronger workflow starts before production, continues during production, and finishes with a final random check and packing review.
Pre-production sample approval is the first checkpoint. This is where artwork, dimensions, material, seal style, and closure method are confirmed. The sample should be tested with the actual folded garment, not a random shirt pulled from the office. If the approved sample fits a lightweight tee but the shipment includes thicker fabric, the approval is incomplete.
In-line inspection catches issues while the run is still active. This is where thickness, width, length, gusset, seal width, and print placement should be checked against the spec sheet. If a supplier relies only on visual inspection, that is not enough for custom printed packaging. Measurements matter because small shifts become expensive when repeated across thousands of units.
Final random inspection remains necessary, but it should not be the only quality gate. By the time the order is completed, rework can be slow and costly. A bad color match, a shifted print position, or poor seal integrity may already require sorting or replacement.
Packing review is often overlooked and then regretted. Count accuracy, bundle uniformity, carton strength, and protection against scuffing all affect whether the bags arrive usable. A bag may technically pass on dimensions and print but still fail because the cartons were overfilled or packed in a way that deforms the film.
Custom printing adds another layer. Ink adhesion, color consistency, barcode readability, and logo registration need separate checks. Recycled blends and specialty films can change print performance as well, so the approval process should allow for that variation instead of pretending every material behaves the same way.
Key quality factors that decide whether the bag passes
A useful Custom Garment Polybags quality inspection checklist has to look beyond appearance. A bag can have a clean logo and still be poor quality if the film is too thin, the seal is weak, or the size is slightly off. The part that fails first usually decides the lot.
Material clarity and thickness
Garment polybags are commonly made from PE, CPP, PET, or recycled blends. PE is flexible and widely used for apparel. CPP tends to offer a clearer, crisper look. PET is often used where a firmer structure is helpful. Recycled content may show more haze or variation, and that is not automatically a defect if the spec allows it. Typical film thickness often ranges from about 30 to 80 microns for garment applications, although the right number depends on garment weight, shipping method, and how much protection the bag needs to provide.
Seal quality
Seals should be straight, even, and consistent from bag to bag. Weak or uneven sealing is one of the most frustrating defects because it may not be obvious until operators start packing or cartons are compressed in transit. Buyers sometimes accept a small print shift, but split seals usually trigger immediate rejection. That reaction makes sense. A bad seal defeats the whole purpose of the bag.
Print quality
Check logo sharpness, color match, barcode readability, and rub resistance. If the bag is part of the brand presentation, the print has to survive folding, loading, and handling. A logo that smears when touched is not acceptable, even if it looked fine right after printing. Good print should stay readable, stable, and aligned through the normal roughness of packing and shipping.
Sizing accuracy
Garments need room for folding, inserts, hang tags, and easy insertion. A bag that is 5 to 10 mm off can cause packing delays, especially on fast lines where workers do not have time to fight with every unit. Width, length, and gusset should match the approved range, and the tolerance should be stated in writing. Guessing by eye is a poor method for volume approval.
Functional fit
The bag should protect against dust and light moisture without trapping so much air that cartons bulge or the garment looks distorted. A bag that is too tight can crease the garment or tear under load. A bag that is too loose can look sloppy and take up more space than planned. The best result is the one that balances appearance, protection, and packing efficiency without creating extra work for the warehouse.
For buyers comparing suppliers, the key difference is between “looks acceptable” and “passes spec.” Hand feel is not a test method. Measured checks, seal-strength checks, and inspection records tell a much better story than instinct. For broader packaging and materials references, organizations such as the Packaging School and ISTA are useful starting points, especially when packaging has to survive distribution rather than only appear correct on a desk.
Custom garment polybags quality inspection checklist: step-by-step
Here is the practical version buyers can use with a supplier, an internal QC team, or a third-party inspector. It should be written down, shared in advance, and matched to the approved spec sheet. A memory-based inspection is how details get lost.
- Confirm artwork files, dielines, and the approved proof before production begins. Verify logo placement, size, color references, barcode position, and any size marking or regulatory text. If the proof has not been signed off, the run is not ready.
- Measure dimensions, film thickness, and seal width against the specification. Use actual tools, not estimates. Width, length, gusset, and thickness should stay within the agreed range. Many buyers use a tolerance of ±2 to 5 mm on size, but the supplier should state the accepted range clearly.
- Inspect print placement, logo color, and any variable data. Check registration, repeat consistency, and clarity of barcodes or SKU marks. If the order involves custom printed packaging, inspect under standard light, not just under warehouse lighting that makes everything look slightly washed out or slightly yellow.
- Test opening, loading, and closure if the bag includes adhesive or a zip feature. The bag should open cleanly, take the garment without snagging, and close securely if that is part of the design. Weak adhesive or poor zipper engagement is a defect, not a cosmetic issue.
- Check carton packing, count accuracy, bundle uniformity, and transit protection. Count units per bundle and carton. Confirm that the packing method prevents creasing, rubbing, or crushing. Overfilled cartons can deform bags before they leave the facility.
- Record defects by type and severity. Separate critical defects from minor ones. A seal failure is not the same as a tiny variation in print tone. Clear defect categories help the supplier correct the right issue instead of guessing.
A solid inspection form should also define acceptance criteria. Common examples include no open seals, no unreadable barcode, no missing print, no dimensions outside tolerance, and no carton count shortage. If a buyer uses statistical inspection, an AQL-based plan gives the review more consistency than a purely subjective pass/fail discussion.
| Inspection item | What to check | Typical pass/fail example |
|---|---|---|
| Dimensions | Width, length, gusset, tolerance range | Pass if within spec; fail if the folded garment cannot fit properly |
| Seal | Straightness, width, strength, edge integrity | Pass if the seal holds under handling; fail if it opens under light pressure |
| Color match, alignment, clarity, rub resistance | Pass if the logo remains legible and stable; fail if ink smears or shifts | |
| Packing | Count accuracy, bundle consistency, carton protection | Pass if counts match and cartons stay intact; fail if units are short or crushed |
If your packaging program also includes boxes or mailers, keep the same discipline across formats. The material may change, but the inspection logic does not: spec first, sample second, production last.
Cost, pricing, and MOQ factors buyers should compare
Pricing moves with film type, thickness, size, print colors, and closure style. A plain clear PE garment bag is usually much cheaper than a custom-printed bag with multiple colors, heavier film, and an adhesive strip or zipper. For smaller custom runs, a rough buyer range might fall around $0.08 to $0.20 per unit at higher MOQs, with more complex printed bags landing above that depending on size and coverage. That is only a working estimate, not a promise.
Low unit cost can hide expensive defects. If a supplier saves money by using weak film or by treating inspection as a box-ticking exercise, the savings vanish quickly once there are returns, repacking labor, or a delayed launch. A slightly higher quote that reflects real material and real QC is often the safer buy.
MOQ matters because setup, print preparation, and color matching take time. Larger runs usually improve unit cost, but they also increase exposure if the spec is wrong. For a first order, conservative volume is usually wiser unless the design has already been proven through production and shipping.
Watch for costs that do not always show up clearly in the first quote:
- Artwork revisions and proof changes
- Plate or cylinder setup
- Freight and import duties
- Rework after failed inspection
- Rush charges for timeline recovery
Comparing suppliers works best when every quote is normalized to the same basis, such as price per 1,000 units and total landed cost. That total should include freight, testing, packing, and any likely rework. A quote that looks cheaper only because the film is thinner or the inspection is lighter is not really cheaper.
Process, timeline, and lead time for inspections
A realistic order flow starts with artwork approval, then sample confirmation, then production, then inspection, then packing and shipping. For many custom runs, lead time often lands around 12 to 20 business days after proof approval, though special finishes, busy schedules, or tighter tolerances can extend that. Buyers who need packaging for a launch should build in buffer time, because custom orders almost always encounter at least one correction.
Delays usually happen in the same places: late proof sign-off, color adjustments, and rework after inspection failures. A logo that looks right on screen may shift slightly on film. A barcode that is fine on the proof may sit too close to the edge once production starts. Those problems are ordinary, but they still affect the schedule.
Tighter tolerances can also lengthen the process. If the bag must have cleaner seals, more precise dimensions, or multiple print checks, the supplier needs extra setup and more inspection time. Specialty materials, such as matte film or anti-static treatment, add another layer of process control as well.
For higher-value orders, third-party inspection is often worthwhile. That is especially true when the supplier is new, the order is going directly to retail, or a defect would create a costly delay. For smaller runs with a trusted supplier, factory inspection may be enough. The decision depends on risk, not on habit.
Material and sustainability choices can matter too. If your team is considering recycled content or film reduction, resources from organizations such as the EPA can help frame waste and material tradeoffs without treating every packaging choice as purely a cost question.
Common mistakes buyers make during bag approval
The first mistake is approving a sample without testing it with the actual folded garment. A bag may look fine with a lightweight shirt and fail once the real product, hang tag, or insert is added. That mistake shows up often with thicker tees, hoodies, and garments that have bulky trims or extra paper items inside the package.
The second mistake is treating hand feel as proof of quality. A film can feel decent and still be too thin for handling, or a seal can feel firm and still fail under compression. Thickness and seal strength should be measured, not guessed.
The third mistake is leaving barcodes, recycling marks, or size labels to the last minute. Small marking errors can stall a shipment just as easily as a torn bag, especially if the packaging is destined for retail or distribution centers with scanning requirements.
The fourth mistake is not agreeing on defect thresholds. If no one defines what counts as critical, major, or minor, the inspection becomes a negotiation instead of a check. Written limits make the review more objective and much easier to enforce.
The fifth mistake is forgetting shipping compression. A bag that passes on a bench may fail after cartons are stacked in a warehouse or loaded into a container. Transit is not gentle, and packaging that ignores that reality usually gets exposed before the end customer ever sees it.
Expert tips and next steps before you place the order
Start with a written spec sheet. It should list dimensions, material, thickness, seal type, print method, tolerance ranges, carton pack, and any handling notes. If a supplier cannot quote from that document, they are estimating too much.
Ask for a pre-production sample and, when possible, a reference sample from the actual production run. The first confirms the design. The second confirms consistency. Those are not the same thing, and the difference matters once the order scales up.
Use an AQL-based inspection plan or another clear defect threshold system. Define critical, major, and minor defects, along with the sample size and pass/fail rules. Add photo evidence to the inspection record so any dispute can be traced to an actual bag, not a vague memory.
A simple photo checklist helps a lot during incoming inspection:
- Front view
- Back view
- Seal edge close-up
- Print close-up
- Packed carton label and count
Then compare supplier quotes using the same checklist and the same test garment. Do not compare two different specs and call it a fair review. The only useful comparison is one built on the same dimensions, same material target, same print standard, and same tolerance range.
For apparel packaging, a Custom Garment Polybags quality inspection checklist should be in place before the order is placed, not after defects show up. That simple discipline protects budget, schedule, and brand presentation far better than trying to fix problems once cartons are already moving.
What should a custom garment polybags quality inspection checklist include?
It should cover material type, thickness, dimensions, seal quality, print accuracy, closure function, carton packing, and a clear defect limit or acceptance standard. If the checklist does not define pass/fail rules, the inspection will become subjective very quickly.
How do I check if garment polybags are the right size?
Test them with the actual folded garment, including any hang tag or insert. Measure width, length, and gusset against the approved spec sheet rather than judging by eye.
What is the most common defect in custom garment polybags?
Weak seals and off-spec sizing are among the most common issues. Print problems such as smudging, poor registration, or color mismatch also appear often on custom runs.
Should I inspect the sample and the full production run the same way?
Use the same core checklist, but include print, count, and packing checks for the full run. The sample proves the design; the production order proves consistency.
How can I reduce risk before paying for a large order?
Approve a pre-production sample, confirm the spec sheet in writing, and compare quotes using total landed cost rather than factory price alone. If the order is important or the supplier is new, third-party inspection before shipment is usually money well spent.