What custom glassine bags actually do on a pack line
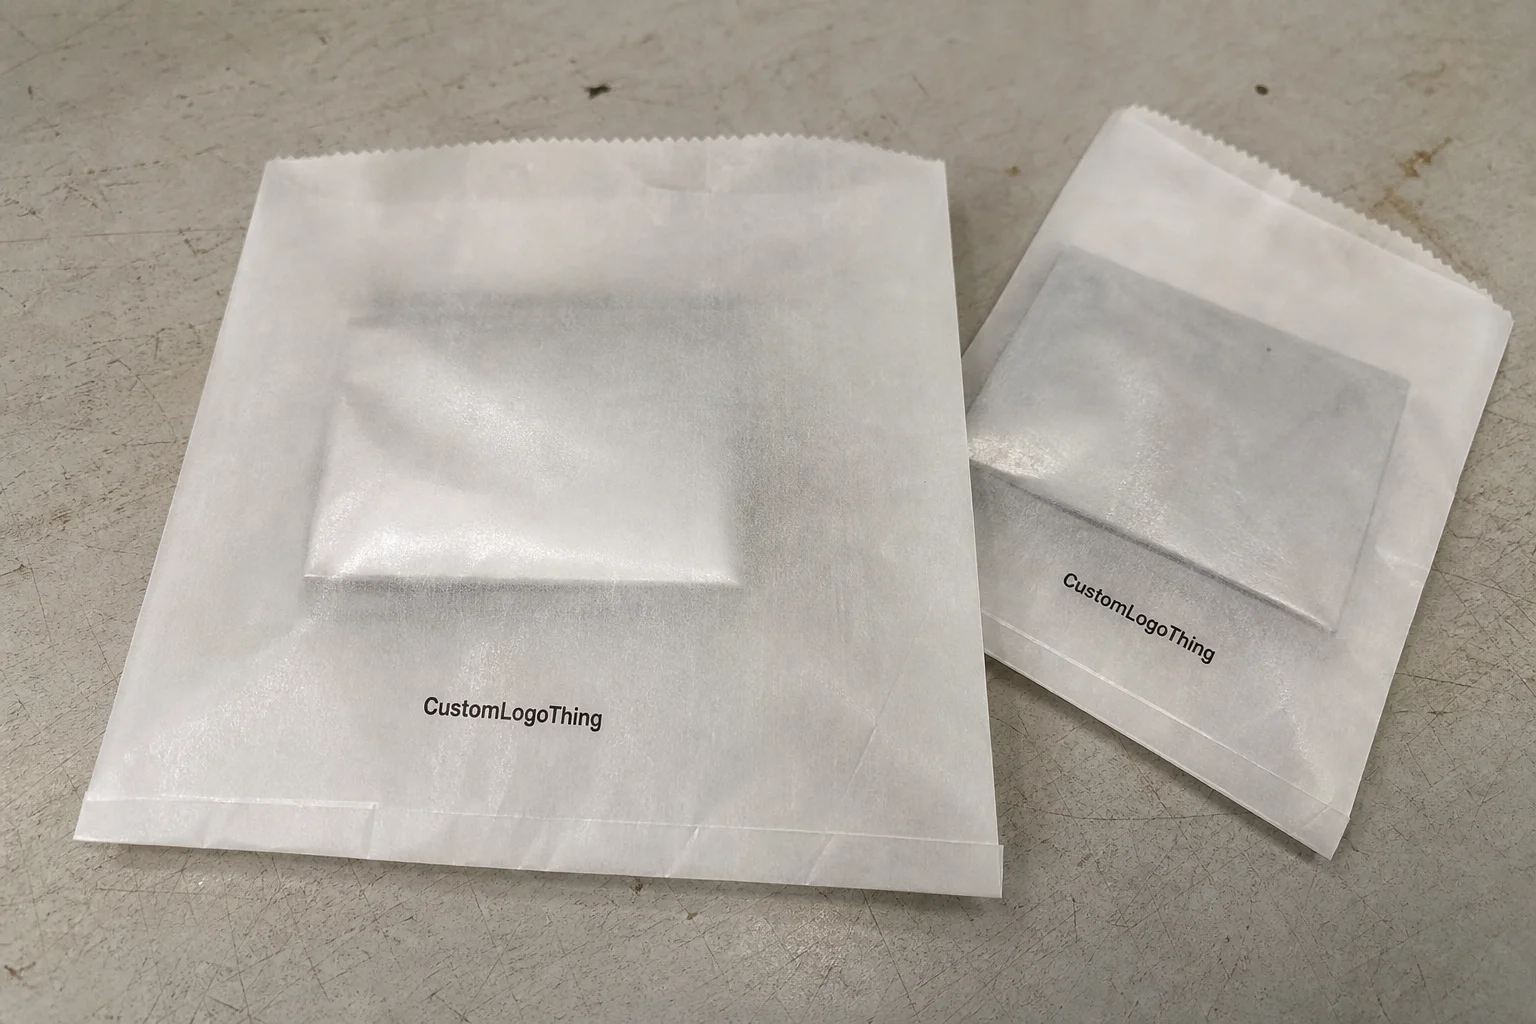
Custom glassine bags are usually selected for presentation, but their value on the line is operational. Glassine is a dense, refined paper with a smooth surface and a translucent look. It gives the product visibility without exposing every detail, and it looks cleaner than kraft or a basic poly sleeve.
That makes the format useful for dry or lightly oily products where the buyer wants a neater presentation and moderate protection. Bakery inserts, stationery, apparel accessories, soaps, small gift items, and retail components all fit that profile. The bag reduces scuffing, keeps pieces organized, and creates a more finished handoff at the end of packing.
It is not a high-barrier structure. If the product needs moisture control, odor retention, or serious transit protection, glassine is usually the wrong choice. In those cases, a laminated pouch, coated film, or different paper build will perform better.
The right question is whether the format helps the actual workflow. A good spec should support loading, sealing, stacking, and shipping without creating extra handling or waste. If the bag only looks good in a mockup, it has not solved the packaging problem.
How the material and finish affect performance
Paper weight changes both performance and cost. A lighter sheet lowers bulk and can reduce price, but it may wrinkle during filling or feel too thin for retail display. A heavier sheet adds stiffness and a more substantial hand feel, though it can fold less neatly and cost more. The right weight depends on how the bag is filled, stacked, and shipped.
Finish affects print quality and readability. A smoother surface usually prints cleaner and feels more refined. A more natural finish can suit an artisanal brand, but small type and thin linework often lose clarity. If the bag needs a logo, care note, or batch code, readability matters more than decorative texture.
Glassine performs better than many ordinary paper wraps around light grease, but it is not waterproof. It can handle dry goods and some lightly oily products, yet it will not behave like a true barrier pouch. Abrasion can also soften folds or scuff ink during repeated handling.
A flat sample does not guarantee real-world behavior once the bag is filled, sealed, bundled, and shipped. Warehouse humidity, temperature swings, and pack-line handling all affect the result. A spec that looks fine in a catalog can still fail in storage or transit.
Print method should match the surface. Hairline rules, pale gray copy, and soft gradients tend to disappear more easily than bold shapes and strong contrast. If the packaging needs to carry brand information clearly, the artwork should be built for the paper, not adapted from a box design.
For broader packaging planning, it helps to review the full range of Custom Packaging Products before locking the structure. Glassine can be the right answer, but only if the material spec matches the product and the workflow.
Cost, pricing, and MOQ: what changes the quote
Pricing for custom glassine bags comes down to a few variables. Size is the most obvious one. A small sleeve for inserts uses less paper, packs more efficiently, and usually costs less than a large bag for folded apparel or multipiece kits. Bigger formats also affect conversion speed, carton count, and shipping density.
Paper weight is the second lever. Higher basis weight generally costs more, but the bigger cost driver is often throughput. If the run has to slow down to keep folds aligned or print registration accurate, the unit price rises even when the paper difference looks minor.
Print coverage also changes the quote. A one-color logo in one location is far easier to run than a full-coverage design with multiple placements or tight registration. More colors mean more setup, more testing, and more waste during make-ready. Special effects, white underprint, and very detailed graphics can add cost as well.
Closure style matters too. A simple fold-over is usually the least expensive option. Adhesive strips and die-cut features add setup and may require extra checks. Heat-seal or tamper-evident requirements can also increase tooling or process adjustments.
MOQ is where the pricing structure becomes more visible. Lower quantities usually carry a higher unit price because setup is spread across fewer pieces. Standard sizes are generally easier to source at a lower minimum. Fully custom dimensions and complex printing tend to push the order toward a higher MOQ.
| Option | Typical unit range | What changes the price | Best fit |
|---|---|---|---|
| Standard size, 1-color print | $0.16-$0.27 each at 5,000 pieces | Paper weight, carton count, print coverage | Simple branded packaging, test launches, seasonal runs |
| Custom size, 1-2 colors | $0.23-$0.39 each at 5,000 pieces | Cutting, setup, proof cycles, tolerance control | Products with unusual dimensions or loading needs |
| Custom size, higher print coverage | $0.34-$0.58+ each | Ink coverage, registration, slower output, waste allowance | Premium presentation, retail-heavy programs, display packaging |
Quote totals can also include sample charges, revised proofs, custom cartons, freight, and compliance paperwork. A low unit price can still be a poor buy if the order requires a high MOQ that does not fit inventory planning.
A practical approach is to request two quotes: one with the closest standard size and one fully customized. That comparison usually shows whether the custom version is worth the added cents because it improves pack speed or reduces waste.
Production steps and timeline from proof to shipment
A clean production schedule starts with a complete brief. The sequence is straightforward: define the product, confirm dimensions, review artwork, approve a proof, run conversion, inspect quality, pack, and ship. Delays usually come from missing information at the start, not from the machine time itself.
The brief should cover the product shape, fill method, sealing method, storage conditions, and the finish the package should convey. When those points are settled early, proof cycles move faster and avoidable revisions drop. Even a small artwork change can trigger a new plate, revised registration, or another proof round.
For straightforward runs with ready-to-print files, turnaround is often measured in business days rather than weeks. A realistic planning baseline is about 12-15 business days after proof approval for a standard order, assuming material is available and the artwork does not need rework. More complex jobs or heavier print coverage can take longer.
Quality control should cover dimension accuracy, fold consistency, print alignment, and carton count before shipment. For larger distribution programs, some buyers also request transit-related checks or packaging tests aligned with ISTA-style procedures. That matters because a bag that looks perfect on a table can still fail once it is compressed in cartons or handled in a rough shipping network.
If the program needs FSC documentation, recycled content claims, or chain-of-custody support, confirm that before the run starts. Documentation is part of the timeline, not something to sort out after packing.
A short proof cycle saves more time than a rushed release.
For packaging, a clean approval process is cheaper than a reprint. A few extra days at the start usually beat a missed launch at the end.
How to specify size, seal, and print for a clean result
The best spec starts with the product, not the bag. Measure the finished item first, then add clearance for loading, folding, and easy opening. If the fit is too tight, the paper can crease and the closure can shift. If the bag is oversized, the product moves around and the package loses the tidy look that made glassine attractive.
Size should reflect the actual packing process. A bag that fits in a sample photo may slow the operator if it requires repositioning before sealing. Those small inefficiencies become expensive at volume.
Closure selection affects both presentation and throughput. A fold-over seal is usually the simplest and most restrained option. Adhesive closures can speed packing, but they should be tested with the real fill process. Heat-seal structures can add tamper resistance where the construction supports it, though they are not right for every build.
Print planning needs the same discipline. Small formats do not have much visual room, so the artwork should be direct. Bold logos, clear type, and strong contrast generally work better than complex illustrations or soft gradients. Fine copy can disappear once the bag is filled or seen under bright lighting.
Treat the bag as packaging, not a mini poster. If the artwork tries to do too much, the result usually looks crowded. One strong mark, a short message, and enough empty space often work better than a busy layout.
For teams comparing glassine to custom printed boxes or other branded packaging, the key is to match the structure to the workflow. Boxes carry more structure. Glassine brings speed and a lighter visual footprint. The better choice depends on whether the item needs protection, display, or fast hand packing.
Sustainability messaging should stay accurate. A paper-based bag can support a cleaner brand story, but only if the sourcing and claim set are true. The material should be documented, the inks should fit the application, and recyclability or composability language should match the actual construction.
Common mistakes buyers make with glassine packaging
The most common mistake is choosing a size that looks right in theory and fails in practice. Buyers measure the product itself, forget loading motion, and end up with a bag that binds at the opening or wrinkles after sealing. A small dimensional miss can become a line-speed problem at scale.
Another error is assuming glassine functions like a barrier pouch. It does not. It can be a good paper-based wrap for dry items and some lightly oily products, but it will not replace a true moisture-control structure. If the product needs aroma retention, high humidity resistance, or long shelf-life protection, the spec should change first.
Artwork can also fail quietly. A logo that looks crisp on screen may blur on a translucent substrate. Light gray type, thin rules, and delicate gradients often lose impact once printed. The package may still look acceptable at a glance while failing to support the brand in retail conditions.
Operational mistakes matter just as much. Ordering too late leaves no room for proof changes. Skipping samples means guessing on Fit and Finish. Ignoring how the bag will be opened, filled, stacked, and stored can create slowdowns that are small individually but costly across a full run.
Price comparison can be misleading too. A cheap quote that forces a larger MOQ, a more complicated closure, or a slower pack-out is often more expensive in the end. Buyers who track labor and waste, not just unit price, usually make the better decision.
What to finalize before you request samples and pricing
Before asking for samples or pricing, lock down the product dimensions, expected quantity, fill method, print needs, and any protection requirements that affect the material choice. Those details let the supplier quote the same item in the same way across options. Without them, the numbers are not really comparable.
If there is uncertainty about size, request two sample paths: one tighter fit and one with a little extra room. That makes the tradeoff obvious. The tighter version may look cleaner on shelf, while the looser one may pack faster and reduce damage during insertion. The better choice is the one that works in production.
Ask for more than one quote structure as well. A standard-size version with a simple print may be the cheapest route, but a custom size may solve the loading problem and cut labor on the line. The unit cost is only part of the story.
For broader packaging programs, review the full range of Custom Packaging Products alongside the glassine spec. That makes it easier to see where the bag fits within the wider packaging system, especially if the launch also needs boxes, inserts, or retail display items.
Confirm paperwork before production. FSC status, food-contact requirements, recycled content claims, and print approvals should be settled early. That prevents last-minute corrections and reduces the risk of shipping a bag that looks right but fails compliance review.
The cleanest buying process is usually the simplest one: define the product, define the workflow, approve the sample, and compare at least two realistic options. That gives a more accurate view of price, lead time, and presentation before the order scales up.
Are custom glassine bags food safe for bakery items?
They can be appropriate for dry or lightly oily bakery items if the paper, ink system, and intended use are specified for food-contact applications. The compliance standard still needs to be confirmed because coatings, print methods, and end use can change what is approved.
What size should I order for custom glassine bags?
Measure the finished product first, then add room for loading, folding, and sealing. If the bag is too tight, it will slow the line; if it is too loose, the product can shift. Sampling two sizes is usually the fastest way to see the difference.
How much do custom glassine bags usually cost?
Unit price depends on size, paper weight, print coverage, quantity, and any special features such as adhesive closures or custom cutting. A lower unit price does not always mean a better buy if the order requires a high MOQ or creates more waste during packing.
What is the typical lead time for custom glassine bags?
Lead time depends on proof approval, print complexity, material availability, and run size. Straightforward orders move faster than fully custom builds, so final artwork and dimensions should be ready before pricing starts.
Can I print a logo on custom glassine bags?
Yes. Simple logos and bold type usually print better than fine detail because the paper is translucent and smooth. Artwork should be built for that surface rather than copied directly from a box or label design.