Custom inlay stickers look like ordinary pressure-sensitive labels, but they include an RFID or NFC inlay that changes the material, print, and testing requirements. A label can print well and still fail once it hits corrugated, chilled packs, metal shelving, liquid-filled products, or a real reader setup.
That is where most avoidable cost shows up. Buyers usually need more than a good-looking label. They need a construction that reads reliably, bonds to the target surface, runs through the applicator, and stays compatible with readers, phones, printers, and data workflows.
The decisions that matter are not glamorous: face stock, adhesive, inlay type, chip family, print coverage, quiet zones, roll orientation, and the surface the label will live on. Miss one, and the label may arrive looking finished while performing poorly.
Custom inlay stickers are small labels with real failure points

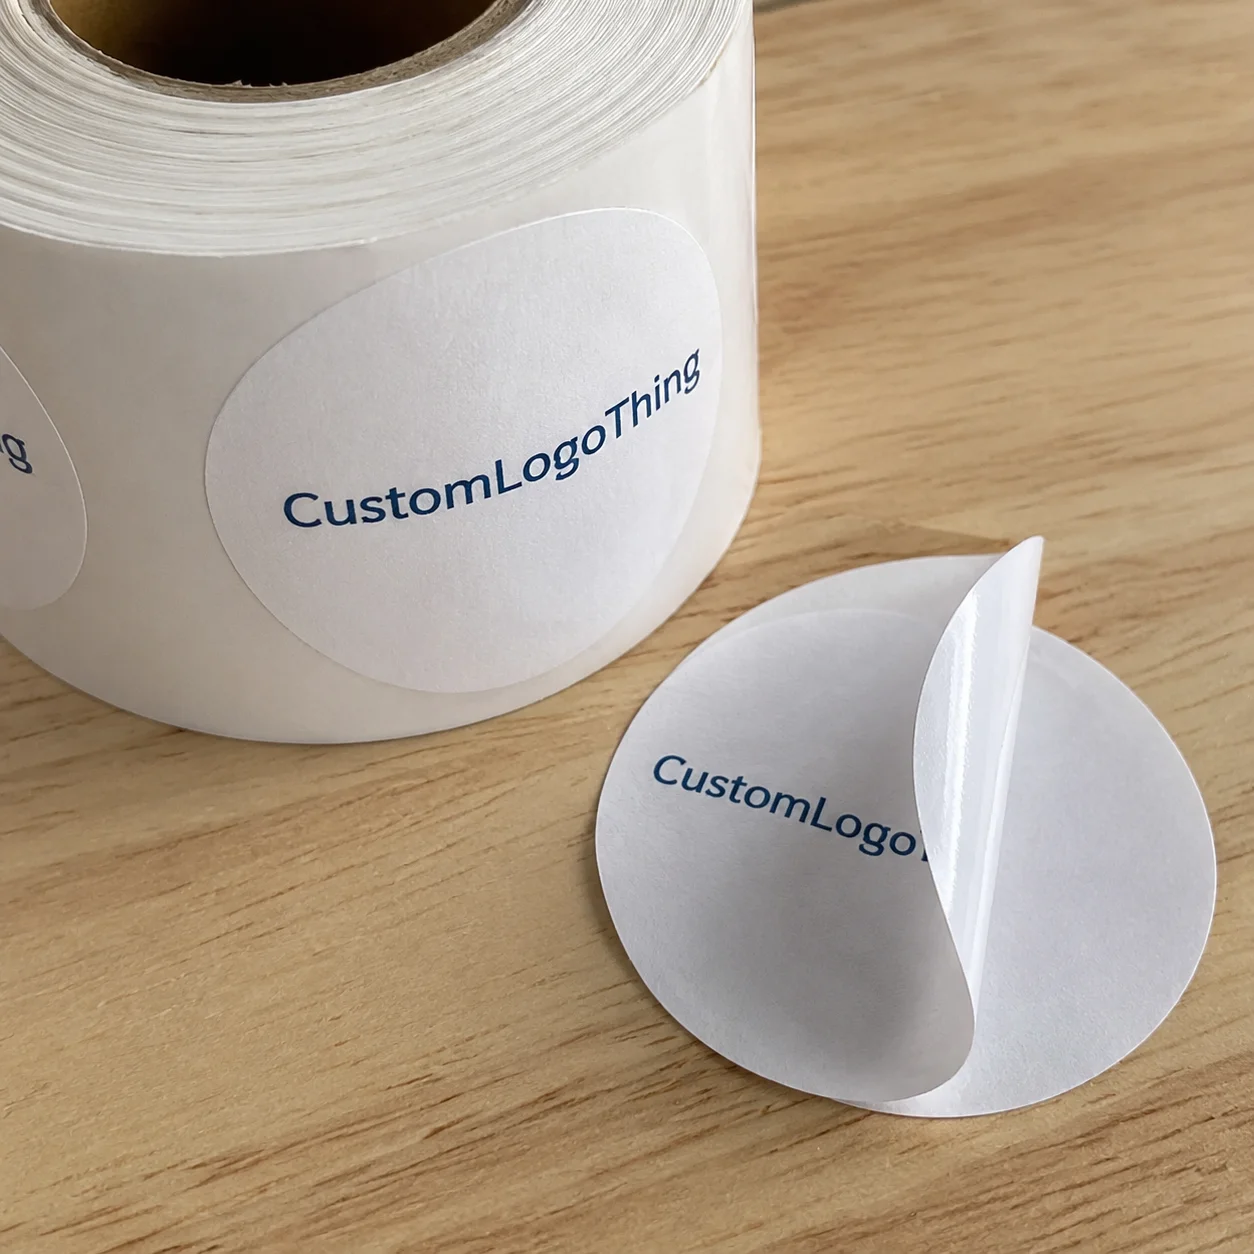
A practical definition helps. Custom inlay stickers are labels built around an RFID or NFC inlay, then converted into a finished sticker with print, adhesive, liner, and sometimes a laminate or topcoat. The inlay contains the chip and antenna. Everything around it exists to make that electronic component usable in the real world.
That makes them different from standard stickers. A plain label mainly has to print well, dispense properly, and stay attached. An inlay-based label must do all of that while allowing the chip to communicate through the final construction. You are balancing print, adhesion, handling, and signal behavior at the same time.
Most failures appear after sample-board approval. Corrugated edges create abrasion. Plastic containers flex. Condensation weakens some adhesives. Metal detunes many inlays. Liquids can reduce read distance. Dense stacking changes orientation and consistency. A label that looked fine on a flat proof sheet may not work on the actual pack.
Common applications include:
- Retail inventory and item-level visibility
- Asset tracking for tools, devices, totes, and returnable containers
- Access control and credentials
- Connected packaging with NFC tap functions
- Authentication and anti-counterfeit labeling
- Logistics and chain-of-custody workflows
Teams get into trouble when they buy these as upgraded branded stickers. They are not. If the face stock, adhesive, and inlay are mismatched to the job, the result can be poor read rates, edge lift, bad application, or dead zones near metal and liquids.
“The label looked good in proofing” and “the label worked on the actual line” are two different approvals.
Anyone familiar with Custom Labels & Tags or broader Custom Packaging Products already knows that converting choices matter. With inlay-based labels, they matter even more because the label is also a small electronic assembly.
How custom inlay stickers are built
A finished label usually has five parts: face material, adhesive, release liner, RFID or NFC inlay, and sometimes a topcoat or laminate. The inlay provides the chip and antenna. The rest of the construction determines whether the label can be printed, dispensed, applied, and handled without hurting read performance.
Three terms often appear in quotes. A dry inlay is the electronic component before it becomes a pressure-sensitive label. A wet inlay adds adhesive and liner. The finished converted label adds face stock, die-cutting, print, and any variable data or encoding required.
Customization usually involves:
- Label size and die-cut shape
- Chip type, protocol, and memory
- Inlay layout or antenna format
- Adhesive selection for the target surface
- Print method, color count, and data placement
- Serialization and encoding workflows
- Topcoats or laminates for abrasion and moisture resistance
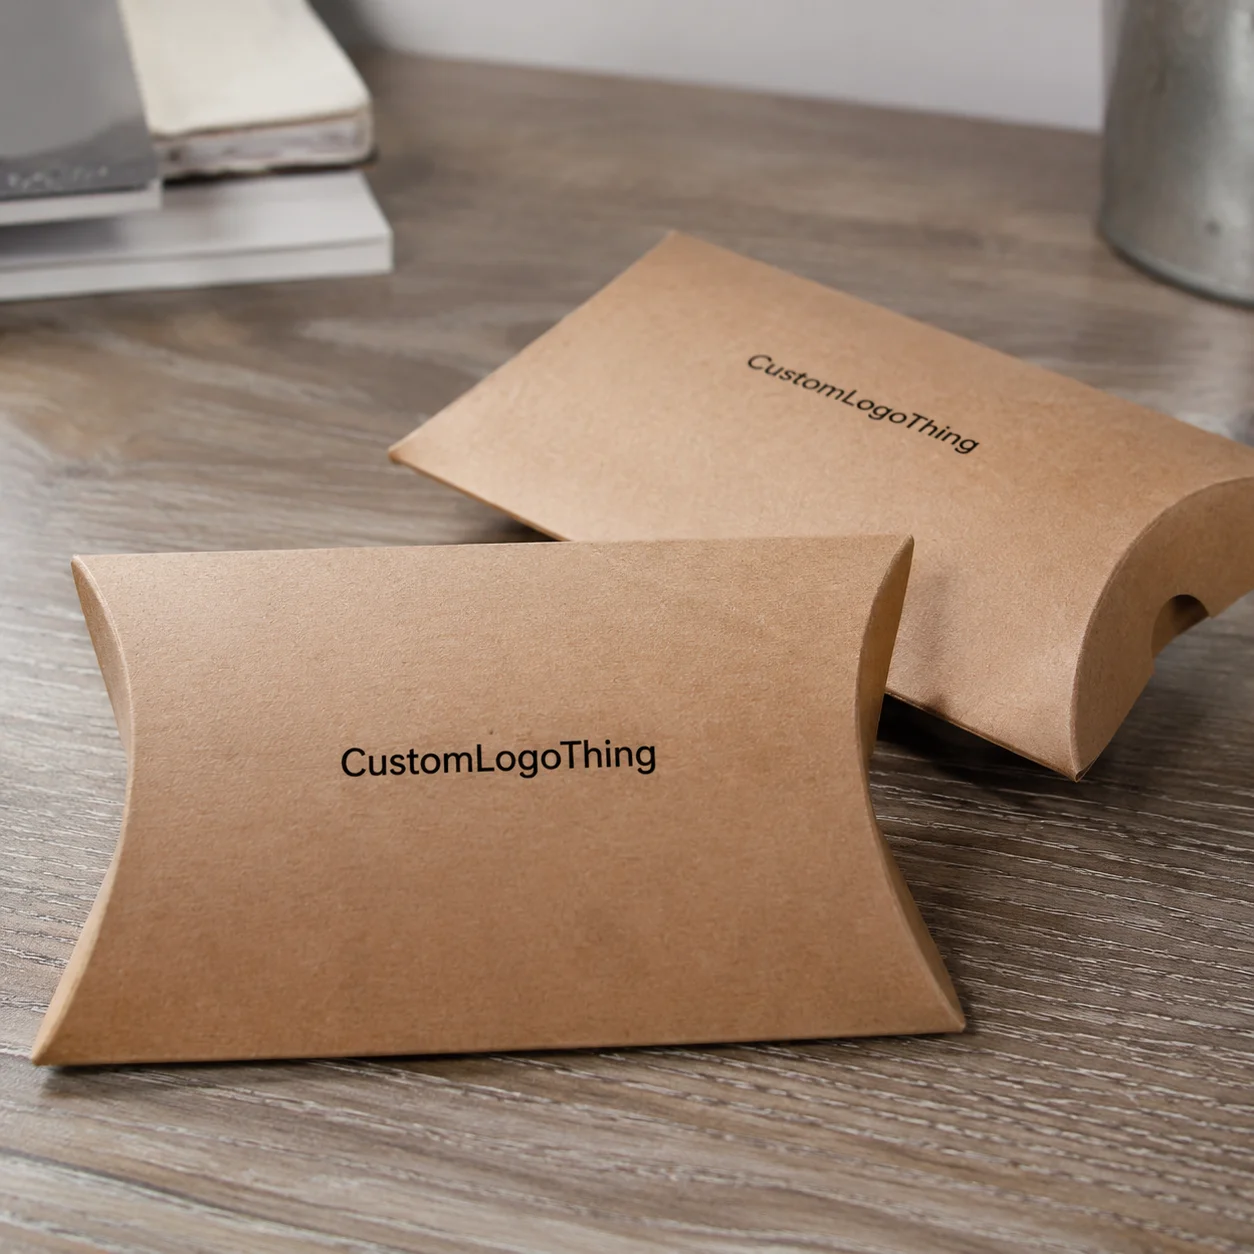
The visible face stock gets the most attention, but it is rarely the main reason a job succeeds or fails. Paper often works for short-life indoor uses such as carton labeling or retail tags with limited moisture and abrasion. Film materials such as polypropylene and polyester are usually better for longer service life, repeated handling, moisture, or chemical exposure.
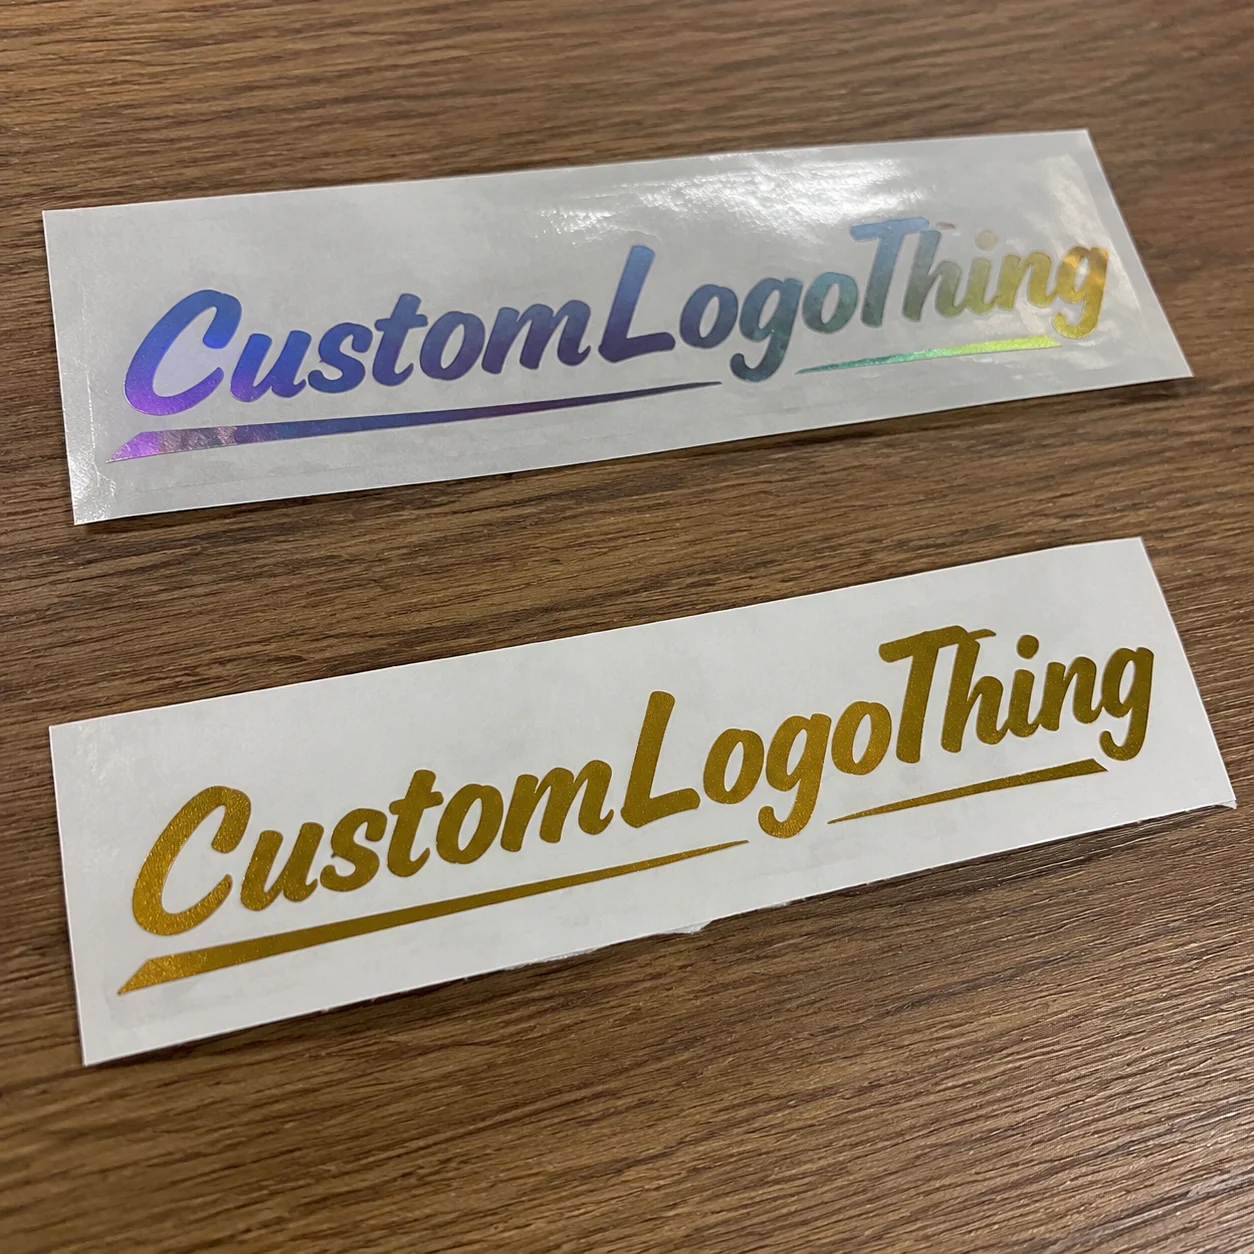
Surface finish matters too. Matte stocks usually help barcode contrast and reduce glare under warehouse lighting. Gloss can improve color appearance on consumer packaging but may show scratches sooner. Clear constructions can look cleaner on-pack, though inlay visibility and opacity layers need more planning.
Adhesive choice is a common failure point. Clean corrugated, textured board, glass, low-surface-energy plastics, powder-coated metal, and chilled packaging do not behave the same way. A standard permanent adhesive that works on a sample panel may fail in a cold room, over a curve, or on a dusty case pack.
Signal behavior adds another layer. Metal can detune an inlay. Liquid can absorb energy and reduce consistency. Thick decorative coatings, foil effects, and heavy opaque ink coverage can also interfere if they crowd the antenna area. Premium graphics are possible, but the artwork has to respect the electronics.
For broader transport and handling validation, resources from ISTA are useful because they focus on real distribution stress rather than tidy bench tests.
Specs that matter before you request a quote
A useful quote starts with a useful brief. For custom inlay stickers, include the application, reader or phone type, target read distance, protocol, surface material, environment, label size limits, print requirements, and data or encoding needs. If those points are vague, the quote is mostly an estimate built on assumptions.
Material choice usually comes first. Paper is often the lower-cost option for indoor retail, shipping cartons, and short-term tracking. Film constructions hold up better where there is moisture, abrasion, repeated handling, or longer service life. Polyester is often selected where dimensional stability matters; polypropylene is common when buyers want a balance of durability and cost.
Size is more restrictive than it looks. Small labels reduce visual impact, but they can limit antenna options, print area, and human-readable data. Larger labels often improve layout flexibility and read performance, yet they may conflict with package design or available application space.
Data structure also needs early attention. Some programs only need a simple encoded identifier. Others need EPC data, NFC URLs, serialized text, QR backup, UID capture, or a file exchange tied to a database. If serialization is required, specify how the data will be supplied, what format is expected, and how verification will be reported back.
Artwork should be built around the inlay from the start. Quiet zones, barcode placement, opaque whites, and heavy ink areas all need to work around the antenna. Metallic inks and foil are not automatic deal-breakers, but they are frequent trouble spots when placed carelessly.
| Spec choice | Typical upside | Tradeoff |
|---|---|---|
| Paper face stock | Lower cost, easy to print | Lower durability and weaker moisture resistance |
| Film face stock | Better durability and handling resistance | Higher unit cost |
| Standard adhesive | Works well on clean, flat surfaces | Can fail on cold, curved, textured, or dusty substrates |
| Specialty adhesive | Better performance on difficult surfaces | Higher cost and sometimes longer lead times |
| Standard size | Lower tooling cost and faster setup | Less freedom for layout and pack fit |
| Custom die-cut | Better fit for package geometry | Higher setup cost |
If the job sits inside an audited supply chain, ask early about traceability, material documentation, and paper sourcing support. For chain-of-custody background, the FSC site is a useful reference.
Process and lead time from sample to shipment
Most projects move through requirements review, inlay selection, material pairing, dieline setup, artwork proofing, prototype construction, encoding and read testing, pilot verification, and then full production.
Sample approval is where many teams stop too early. They confirm color, shape, and print clarity, then sign off. For inlay labels, approval should be both visual and functional. Test with the actual handheld, portal, kiosk, printer-encoder, or phone model that will be used after delivery.
A label that performs well in a supplier test fixture can behave differently on your shelves, at your line speed, or inside a palletized load. Reader power, orientation, interference, stacking density, and package contents all affect the result.
Typical lead times often fall into this range:
- Prototype construction: about 5-10 business days
- Pilot or encoding verification: about 2-5 business days
- Full production: about 7-15 business days after approval
- Freight: varies by destination and shipping method
Those numbers change with the build. Stock materials with simple print usually move faster. Custom die-cuts, unusual adhesives, premium films, special inlays, and serialized data workflows add time. Late artwork revisions do too.
Delivery format matters more than many buyers expect. If the labels are going into an applicator, the core size, maximum roll diameter, unwind direction, label pitch, and gap have to match the equipment. A roll shipped in the wrong orientation can stop a line.
Quality control should go beyond appearance. Standard checks often include print registration, die-cut consistency, missing-label detection, chip encoding verification, and read testing against a defined pass threshold. Some programs require 100% encoding verification. Others rely on sampling plans, but only if that risk is accepted in advance.
Cost and pricing: what changes the quote
Custom inlay stickers cost more than ordinary printed labels because you are paying for the inlay, converting work around it, data handling, tighter defect controls, and functional testing.
Most quotes are shaped by the same cost drivers:
- Chip and inlay selection
- Face stock and adhesive
- Printing method and color coverage
- Encoding and verification
- Serialization or variable data management
- Finishing such as laminate or topcoat
- Tooling and setup
- QA requirements
- Packing and freight
Run size has a large effect on unit price. Setup, proofing, and testing do not disappear on a small order. A 500-piece run may cost much more per label than a 10,000-piece run, even with similar artwork.
As a rough planning range, a fairly standard inlay label may land around $0.18-$0.28 per piece at 5,000 units if the inlay is common, print is straightforward, and encoding is simple. Small runs often price well above that. More durable films, specialty adhesives, custom die tooling, premium chips, or strict serialization controls raise the number.
The biggest quote swings usually come from chip family, antenna format, durability requirements, adhesive chemistry, and the level of verification expected. Comparing suppliers only makes sense if they are quoting the same construction and test scope.
Trying to shave pennies can become expensive fast. A cheaper face stock may scuff too easily. A generic adhesive may fail in cold storage. Skipping pilot testing can leave you with thousands of Labels That Look right and read poorly.
Common mistakes that cause read failures or budget overruns
The first mistake is treating the order like a standard sticker job. Once a chip and antenna are involved, the label stops being purely decorative. If the supplier does not know the use conditions, someone is guessing.
Another common mistake is choosing size only for appearance. A smaller label may look cleaner, but if the inlay becomes too constrained or the data layout turns cramped, the tradeoff is rarely worth it.
Adhesive mismatches are a frequent source of waste. A label that bonds well to a clean office sample can fail on dusty corrugated, curved plastic, textured board, or refrigerated packs. Surface energy, temperature, contamination, and dwell time all matter.
Reader and chip assumptions create another layer of trouble. NFC and UHF RFID are not interchangeable, and even within the same protocol family, inlays behave differently depending on orientation, reader power, shielding, and nearby materials.
Artwork can also cause quiet damage. Metallic inks, foil stamping, dense flood coats, and poor barcode placement can crowd the antenna area and hurt performance. The design does not need to look stripped down, but it does need to account for the inlay.
Then there is the expensive classic: skipping real-world trials. Put the labels on filled bottles. Stack the cartons. Run them through the actual applicator. Bench success is not field success.
If a supplier never asks about the surface, the reader, or the target read distance, the job is being quoted with assumptions rather than specifications.
How do custom inlay stickers work?
Custom inlay stickers combine a printed pressure-sensitive label with an embedded RFID or NFC inlay. The chip stores or transmits data, the antenna enables communication with a reader or phone, the face stock carries branding or human-readable information, and the adhesive holds the label to the product, package, or asset.
The challenge is making those parts cooperate. The inlay needs enough space and the right surrounding materials to perform. The adhesive has to bond to the actual surface, not just a sample panel. The printed layer has to fit the package without covering critical antenna areas or creating application problems.
Buying tips before you place an order
The easiest way to improve results is to send a complete brief. Include the surface type, use environment, reader or phone model, target read distance, required data fields, artwork, quantity, and delivery format. If applicator compatibility matters, include core size, maximum roll diameter, unwind direction, and label pitch.
A serious test plan is often more valuable than the lowest opening quote. Ask how prototypes will be evaluated, which readers will be used, what pass rate is expected, and whether read testing will be done on the real substrate.
For new programs, a pilot batch is usually money well spent. The added cost is minor compared with a full production run that fails because read rates collapse near metal shelving or the adhesive lets go after cold-chain exposure.
Supplier comparisons get easier if you ask direct process questions:
- How do you handle encoding and verification?
- What pass criteria are used for QA?
- Can you support the required roll format for our applicator?
- How is serialization supplied, checked, and reported back?
- What happens if the pilot performs differently on our line than in your test setup?
Custom inlay stickers work best when the construction matches the surface, the artwork protects the antenna area, and testing uses the real equipment. Compare quotes against the same requirements, not just the lowest unit price.
What are custom RFID or NFC inlay stickers used for?
They are commonly used for inventory tracking, asset management, retail tagging, authentication, event access, and connected packaging. The best construction depends on the chip, target read distance, surface material, and how the label will be applied and used.
How much do custom inlay stickers cost per unit?
Unit cost depends on the inlay, quantity, face material, adhesive, print coverage, encoding, serialization, and QA scope. Small runs usually carry a much higher per-piece cost because setup and testing are spread across fewer labels.
What is the lead time for custom inlay stickers?
Lead time varies with sample requirements, inlay availability, print complexity, encoding steps, and shipping method. Prototype and pilot testing add time, but they usually prevent much costlier failures after production starts.
Can custom inlay stickers work on metal or liquid-filled products?
Sometimes, but standard constructions often perform poorly near metal or liquids. Special inlays, spacing layers, or alternative label builds may be required. Testing on the actual product and package is the only dependable way to confirm performance.
What information should I send for a custom inlay sticker quote?
Send the use case, size, shape, quantity, surface type, environment, chip preference, target read distance, artwork, and data or encoding requirements. If the labels will run through an applicator, include roll format, core size, unwind direction, and other handling requirements. Photos or a physical sample are also useful because they reduce assumptions during quoting.