Custom Labels for Soap: How to Order the Right Specs
Custom labels for soap look straightforward until they have to survive real use. A bar may sit in a humid bathroom, get handled with damp hands, continue releasing moisture as it cures, or travel through shipping conditions that were never part of the mockup. The label still has to stay readable, stay attached, and keep the product looking intentional.
That is why the spec matters more than the artwork alone. A strong design can still fail if the adhesive is too light, the stock absorbs scuffs, or the format ignores the shape of the bar. If the label needs to work alongside cartons, sleeves, or a broader packaging system, the materials should be coordinated early with Custom Packaging Products instead of treated as a late-stage fix.
For many bath brands, the soap label carries more than a logo. It has to hold the scent name, ingredients, weight, batch details, and sometimes a barcode on a surface that is not very forgiving. The best results usually come from a label spec that is simple, tested, and sized around the actual product, not the idealized version.
Why soap labels fail on the shelf, not in print
Most label problems do not begin in the printer. They show up after application, when the soap starts interacting with the environment around it. Moisture, oil, friction, and handling all affect the bond and the appearance of the print. Soap can be dry and dusty in one stage, then slightly tacky or oily in another, and that changes how the label behaves.
The first signs of failure are usually subtle. A corner lifts. Type starts to blur at the edges. The surface looks rubbed. A week later the label still exists, but it no longer looks like part of the brand. For a retail product, that is enough to make the package feel cheaper than it should.
Custom labels for soap have three practical jobs: identify the product, present the brand clearly, and remain legible long enough to matter. If the label cannot hold on a curved edge, a wrapped bar, or a surface that is still moving slightly as it settles, the rest of the design work is wasted.
For a buyer, the useful question is not whether the label looks good in a proof. The useful question is whether it survives the exact conditions the soap will see: a dry shelf, a steamy bathroom, a display tray, a shipping carton, or a retail bin with constant handling. The best spec is the one that matches the worst reasonable condition, not the cleanest sample photo.
Compliance copy is another place where labels get cramped. Ingredients, net weight, business information, and batch identifiers are not decorative, but they still need room to breathe. If the label has to do too much on a tiny panel, the result is often a dense block of text that no one wants to read.
"The proof is only the beginning. The soap decides whether the label was actually specified well."
How soap labels are made, finished, and applied
The process is familiar: artwork setup, sizing, material selection, printing, finishing, and application. Each step affects the one after it. If the label size is wrong, the stock is mismatched, or the finish is too weak for the handling it will see, the final package will show it quickly.
Dieline sizing deserves more attention than it usually gets. Soap bars are rarely perfect rectangles once they are wrapped, cured, or packed. Measure the actual flat area available for labeling, not just the nominal bar dimensions. A few millimeters of error can change whether a label lays flat or buckles at the edge.
The format matters too. Roll labels are the most efficient choice for repeated application and larger quantities. Sheet labels make sense for smaller runs, prototypes, or hand application in a studio setting. Hand-applied labels can work for tiny batches, but consistency becomes a real issue if placement depends on a person matching position by eye all day.
Here is the short version:
- Roll labels: best for speed, repeatability, and higher volumes.
- Sheet labels: useful for test runs, seasonal SKUs, or low-volume orders.
- Hand-applied labels: workable for very small batches, but placement variance shows up fast.
Label shape changes the finished look more than many teams expect. A square label on a curved bar can lift at the corners. A long wrap can trap air or overlap awkwardly. A front-and-back layout often works better for bars that need ingredients on one side and branding on the other.
For boxed soap, the label has a little more protection and can sometimes be more decorative. For naked bars, the label usually has to do the full job on its own. That means type size, contrast, finish, and placement all carry more weight than they would on a carton. A clean package system usually looks simple because the difficult decisions were made early.
Materials, adhesives, and durability factors that matter
Material choice decides whether a soap label feels dependable or disposable. The main options are paper, polypropylene, textured stocks, and specialty finishes. Each has a place. None of them is right for every use.
Paper labels are usually the lowest-cost option and can look excellent on dry, boxed, or gift-style soaps. A matte or uncoated paper can fit an artisan aesthetic well. The tradeoff is moisture sensitivity. Paper can absorb more readily, scuff sooner, and show handling marks faster than film-based materials.
Polypropylene, often used as BOPP, is a practical choice when the bar needs better moisture resistance and more rub resistance. It usually costs more than basic paper, but it also tends to reduce reprints and customer complaints. For many custom labels for soap orders, this is the safer starting point unless the brand specifically wants the texture of paper.
Textured stocks can suit premium or handmade lines, especially when the design is bold and minimal. They bring a softer, more tactile feel, but the surface texture can weaken fine detail and make small type harder to read. That tradeoff is acceptable when the artwork is simple. It becomes a problem when the label depends on dense copy.
Adhesive selection matters just as much as the face stock. A standard permanent adhesive is the default for most soap labels because the goal is simple: the label should stay where it is put. A removable adhesive may be useful for certain gift packs or repackaging workflows, but it is usually not the first choice for bars that will face humidity, transport, and frequent handling.
There is no single material that is truly “waterproof” in every real-world condition. The more useful question is whether the face stock resists smudging, whether the adhesive resists lift, and whether the finish protects the print. Gloss generally improves scuff resistance. Matte can look more natural, but it may show abrasion sooner. Soft-touch lamination feels premium, though it adds cost and does not always suit a simple bath product.
If sustainability claims are part of the product story, FSC-certified paper may be relevant. The standard is described at fsc.org. For broader packaging recovery and recycling context, the EPA has useful public guidance at epa.gov.
For quality control, ask whether the supplier can speak to adhesion testing, rub resistance, and the conditions the label was evaluated against. If the finished product will ship in cartons or mixed packs, transport testing is worth discussing as well. The point is not to over-engineer every order. The point is to test the label against the kind of handling that will actually happen.
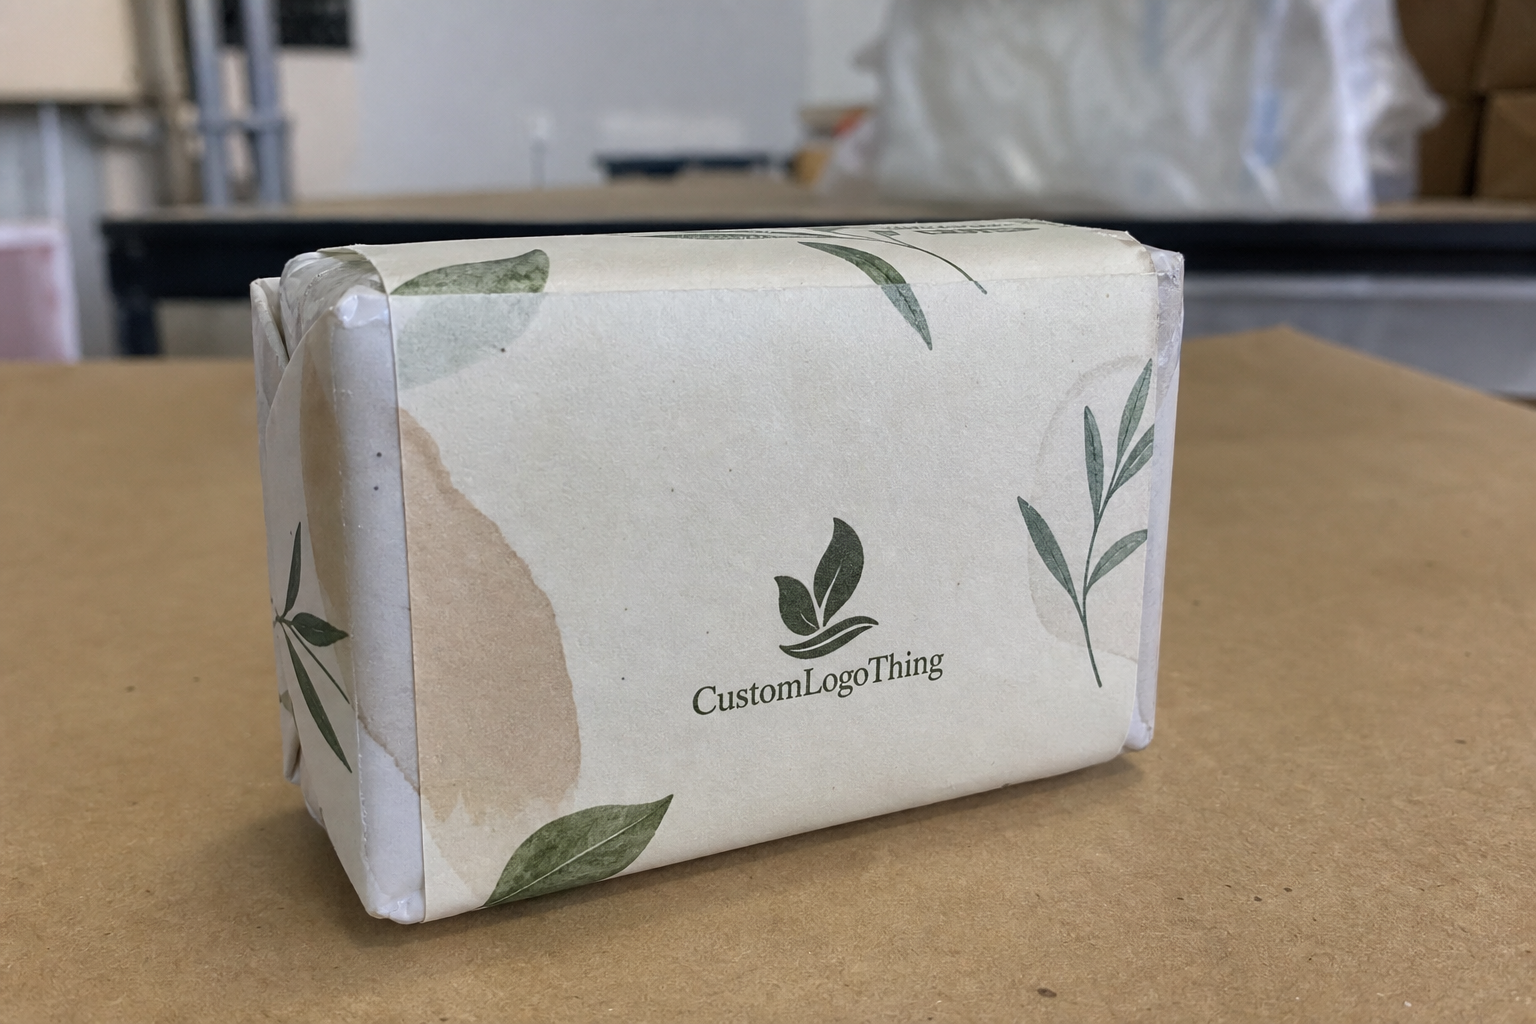
One practical distinction matters here: unwrapped bars and boxed bars age differently. A wrapped bar often needs stronger resistance to friction and ambient moisture. A boxed bar gives the label more protection, which can open up lighter stocks or more decorative finishes without adding the same level of risk.
Custom labels for soap pricing, MOQ, and quote basics
Pricing usually comes down to size, material, finish, quantity, color count, die cutting, proofing, and shipping. The quote that looks best on the first line can become less attractive once setup and finishing are included. That is usually where the real comparison happens.
As quantities rise, the unit cost drops quickly. A 1,000-piece order can be convenient for a new SKU or a seasonal run, but the setup costs are spread across fewer labels. A 5,000-piece run often gives a much better unit cost if the design is stable and the line will keep selling.
| Option | Typical Use | Approx. Unit Cost at 1,000 | Approx. Unit Cost at 5,000 | Notes |
|---|---|---|---|---|
| Paper roll label | Dry, boxed, or gift soaps | $0.18-$0.35 | $0.06-$0.14 | Lower cost, less moisture tolerance |
| Polypropylene roll label | Handled, humid, or naked bars | $0.24-$0.48 | $0.08-$0.18 | Better rub resistance and better shelf stability |
| Textured sheet label | Artisan or premium small batches | $0.30-$0.60 | $0.12-$0.25 | Strong visual character, but fine detail can soften |
| Specialty finish label | Foil, soft-touch, or special effects | $0.40-$0.90 | $0.18-$0.40 | Best for premium retail packaging, not price-led lines |
Those ranges are only a starting point. A simple label on common stock will sit near the low end, while a custom die cut with specialty finishing and tight registration will climb fast. If a specific shape is important, ask whether the die fee is a one-time setup cost or something that affects future runs too.
MOQ can be misleading. A lower minimum order quantity sounds flexible, but the unit price often stays higher because the setup costs do not change much. If the soap line is stable and reorderable, a higher run is often the smarter buy. If the scents change often or the brand is still testing demand, a smaller run protects cash flow and reduces leftover inventory.
When comparing quotes, do not stop at the unit cost. Check setup fees, proofing charges, die costs, finish fees, shipping, and reorder pricing. The first order price and the second order price are often not the same story.
If the packaging line includes boxes, wraps, or tags, the label spend should fit the rest of the system. A premium bar on a weak label looks unfinished. A basic bar on a heavily embellished label can also feel off. It is usually better to match the label level to the product line and the broader Custom Labels & Tags program than to buy the most expensive option because it sounded impressive in a quote.
Production steps, proofing, and turnaround times
Most clean orders follow the same path: submit artwork, confirm size, review the proof, produce the labels, then inspect the delivery when it arrives. The delays usually happen in the same places too, which is why the process benefits from discipline more than speed talk.
- Send print-ready artwork with fonts outlined and linked images properly packaged.
- Confirm the exact dimensions, corner treatment, and application method.
- Review the proof for spelling, bleed, sizing, panel flow, and barcode readability if needed.
- Approve production only when the proof matches the actual soap or package panel.
- Inspect the first box or roll before the full run is released into stock.
Typical turnaround for standard label jobs is often 10 to 15 business days after proof approval. Custom die cuts, specialty finishes, or larger order volumes can push that closer to 15 to 20 business days. Shipping time sits on top of that. Rush orders usually cost more than expected, and they still depend on how quickly the proof gets approved.
The main delays are usually avoidable. Missing dimensions force back-and-forth. Last-minute copy changes reset the proofing cycle. A bar size that changes after approval can create waste on both sides. The fastest path is usually the least dramatic one: final artwork, final quantity, final size, all in one clean submission.
Proofing should not focus only on spelling. Check contrast, panel balance, ingredient copy, and whether the label wraps too tightly around the bar. A digital proof cannot fully mimic the physical surface, but it should catch the obvious mistakes before any stock is committed.
If the soap is being packaged with cartons or presentation boxes, the sequence matters. The box size affects the soap position, which affects the label placement, which affects the final visual balance. Treating those as separate jobs often creates avoidable rework.
For teams who need to move faster, three habits help more than anything else: send clean files, confirm specs early, and approve proofs promptly. Those steps usually matter more than any rush promise.
Common mistakes that cause curling, smudging, and waste
The most expensive mistake is the wrong size. If the label is too wide, it overlaps seams or wraps onto a curve it was never meant to cover. If it is too short, the design looks unfinished and there is no room for the information the label needs to carry. Either way, the label starts fighting the soap instead of fitting it.
Material mismatch causes plenty of trouble too. A fresh bar that is still changing needs different handling than a fully settled bar on a dry shelf. Put a light adhesive on a moisture-active surface and curling shows up quickly. Use a finish that is too delicate and the label starts to look tired before the product has really sold through.
Design problems are just as real. Tiny type disappears. Low contrast looks elegant on screen and weak in print. Decorative flourishes crowd out the compliance panel. If the label is trying to do branding and legal copy at the same time, one of those jobs usually loses.
Soap is touched constantly. People pick it up, rotate it, set it down wet, then pick it up again. That means scuff resistance and rub resistance are basic requirements, not luxury features. If the label looks good only when untouched, it is under-specified.
Freshly cut bars can be tricky because they may still release moisture or residue. A label that holds for a day can still fail after several days if the soap has not settled. For that reason, a small on-product test is worth more than a sample stuck to a desk.
Test the label on the actual soap, not on a flat sample. That habit prevents a lot of reprints.
Inconsistent application is another source of waste. If labels are hand-applied and placement drifts from bar to bar, the line starts to look less professional even when the print quality is fine. A simple placement jig or a consistent visual guide can improve the finished result without changing the artwork at all.
Expert tips and next steps for placing the right order
Start with a real-world test. Put sample labels on the actual soap packaging and leave them there for a few days. Check for edge lift, smudging, rub wear, and readability under the kind of lighting the product will actually face. That is a cheap way to spot problems before the full run is committed.
Next, build a spec sheet and keep it consistent. Include size, material, finish, adhesive, format, quantity, application method, and reorder notes. Once the line grows, that record becomes the difference between a clean reorder and a long search through old email threads.
A useful spec sheet usually includes:
- Final label dimensions
- Material and finish
- Adhesive type
- Roll or sheet format
- Quantity and reorder quantity
- Application method and placement direction
- Ingredient and compliance copy version
Plan for variation. Seasonal scents, small-batch releases, and ingredient updates can break a label system if every SKU is treated like a one-off. A better approach is to build a template with stable layout zones and flexible scent copy. That keeps production efficient and reduces unnecessary artwork revisions.
If your packaging includes mailers, cartons, or retail boxes, keep the whole system aligned. Custom Labels & Tags should feel like part of one package family, not a separate purchase from a different design phase. When the system is consistent, reorders become easier and the shelf presentation improves without extra effort.
The strongest orders are usually the least dramatic ones: clear specs, tested materials, simple proofing, and a repeatable application method. That is how the label stays attached to the product instead of turning into a maintenance issue.
For custom labels for soap, the practical goal is not just to make something attractive. It is to make something that stays legible, stays in place, and can be reordered without rebuilding the job from scratch. That is the difference between packaging that looks finished and packaging that actually performs.
Frequently Asked Questions
What material works best for custom soap labels?
Polypropylene usually performs better than basic paper when the bar sees moisture or frequent handling. Paper can still work for dry, boxed, or gift-style soaps if the finish and adhesive are matched correctly. The best choice depends on whether the soap is wrapped, unwrapped, cured, or sold in humid retail conditions.
Do custom labels for soap need waterproof adhesive?
If the soap sits in a humid bathroom, gets handled often, or tends to leave residue, a stronger adhesive is the safer call. A lighter adhesive may work for dry packaging, but it is risky on bars that sweat, cure, or face condensation. Test the label on the actual packaging before approving a full run.
How much do custom soap labels usually cost?
Price depends mostly on quantity, size, material, finish, and whether the job needs special cutting or setup. Lower quantities usually mean a higher unit cost, even when the total order looks manageable. Comparing quotes by unit price alone is a mistake because setup and shipping can change the real cost quickly.
What size should soap labels be?
The right size depends on the bar shape, wrap style, and how much room you need for branding and ingredients. Measure the flat area that will actually hold the label, not the total soap dimensions on the spec sheet. Leave enough margin so the label does not buckle, wrap awkwardly, or cover critical product information.
How long does it take to get custom labels for soap?
Turnaround depends on proof approval speed, quantity, material availability, and whether the artwork is ready to print. Simple jobs move faster; custom die cuts, special finishes, or multiple revisions add time quickly. The fastest way to avoid delays is to send final artwork and confirm specs before asking for production.