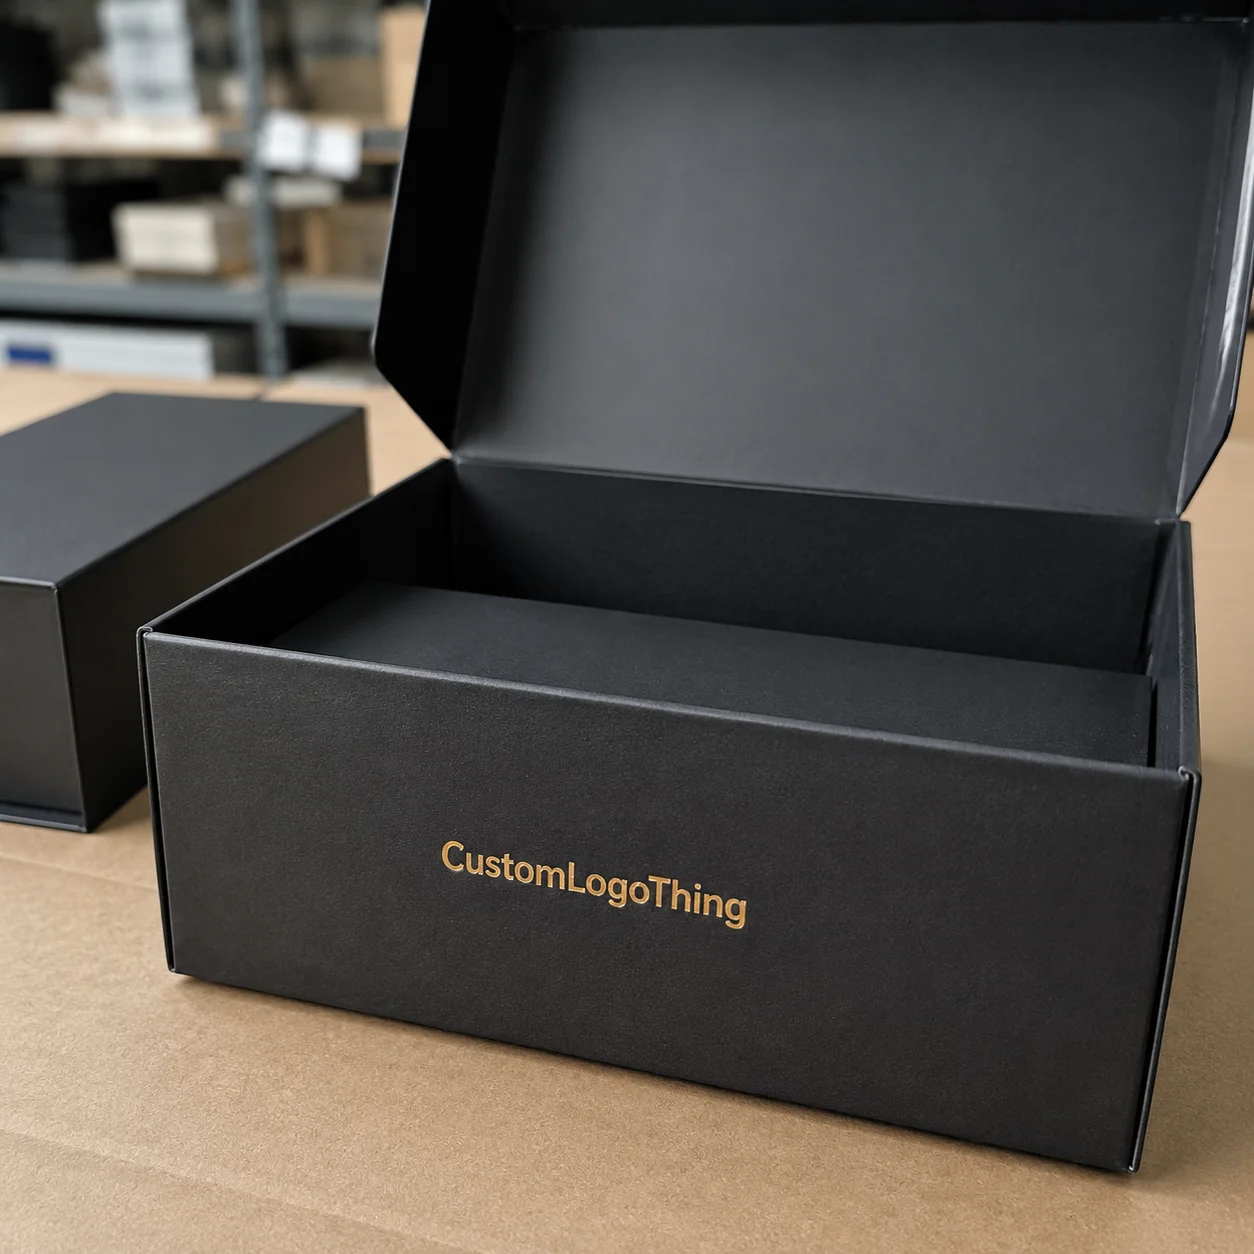
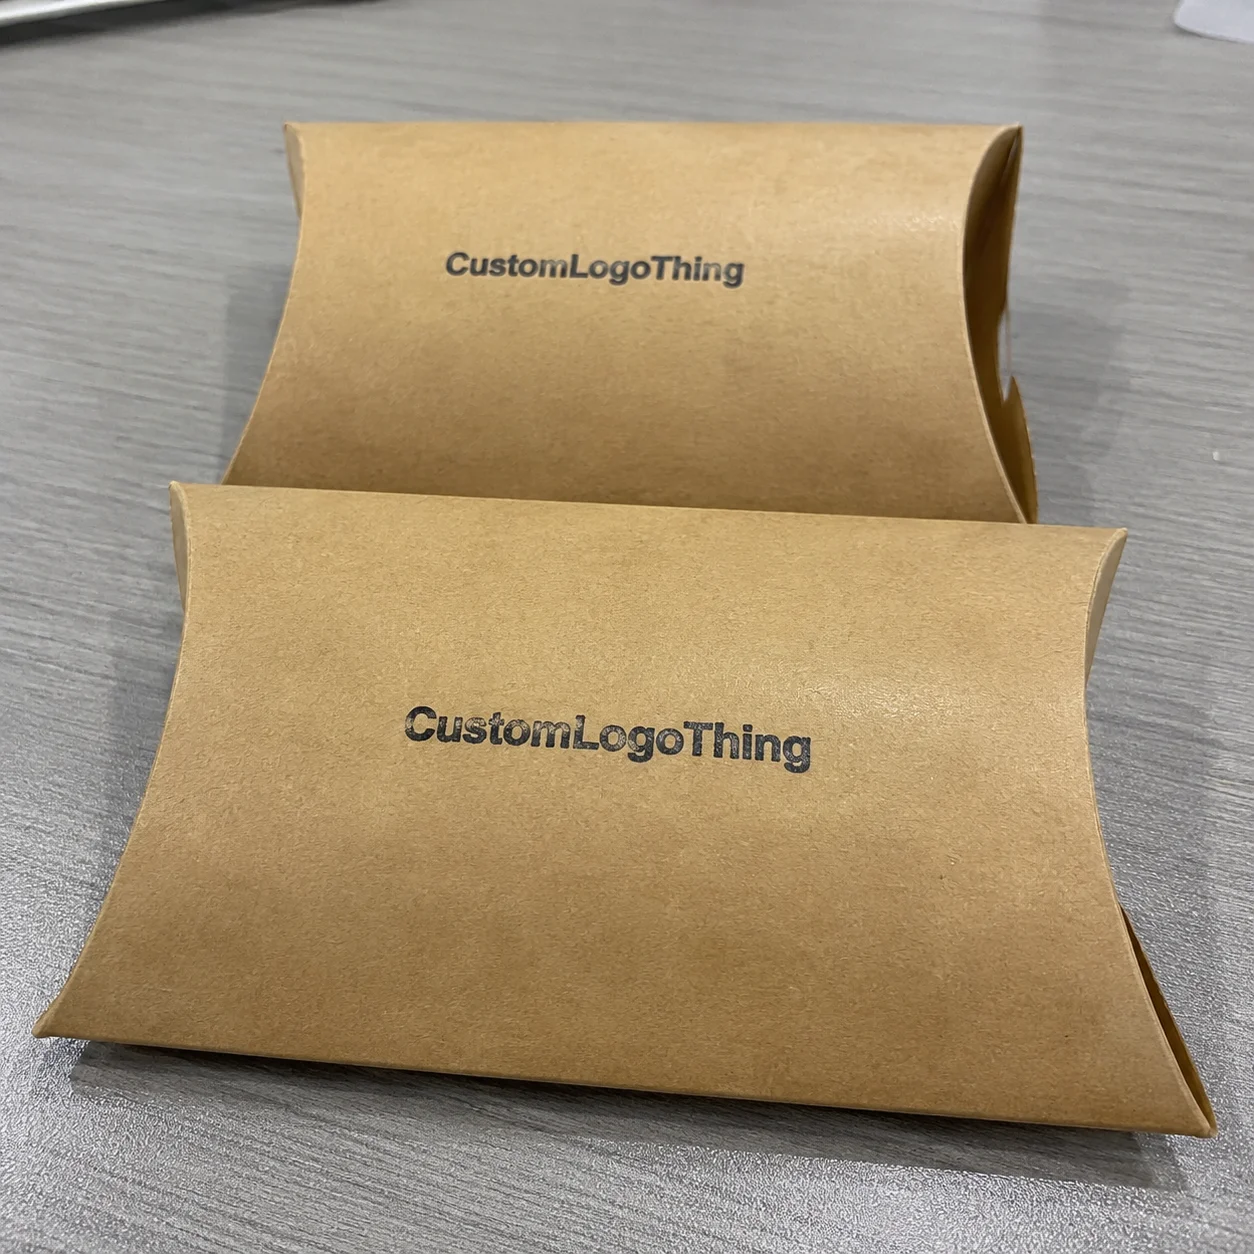
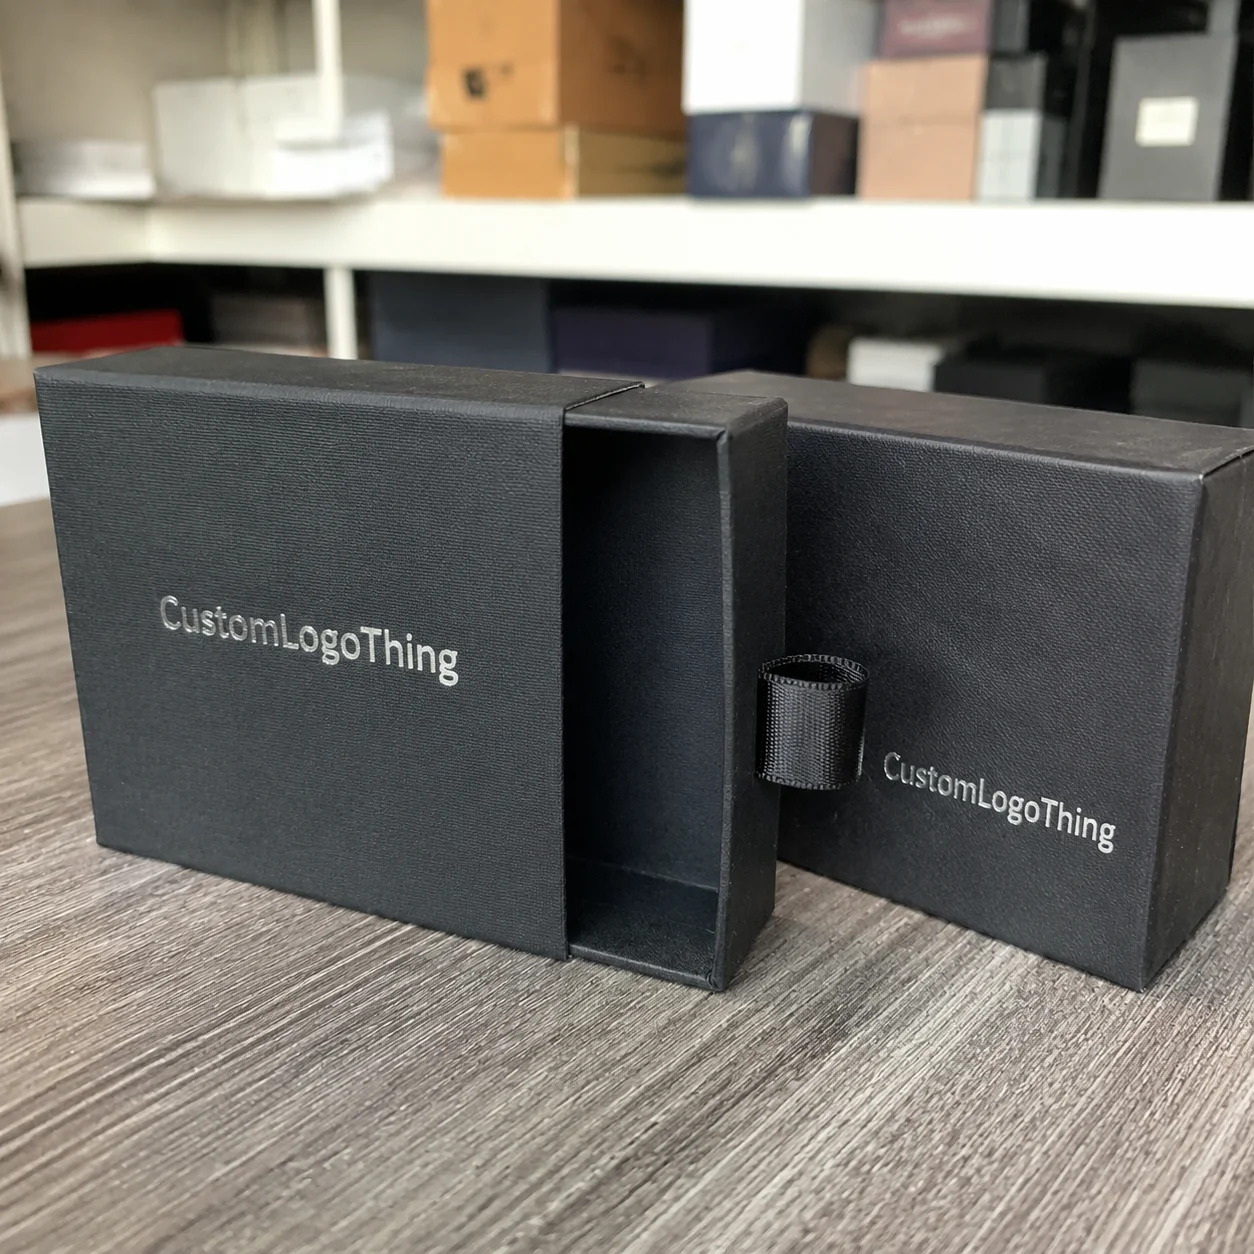
If you only need 50 boxes for a launch, ordering 5,000 is not a buying decision. It is a storage problem, a cash-flow problem, and a fast way to lock money into packaging you may redesign next month. That is the practical appeal of Custom Mailer Boxes no minimum: you can test, ship, and learn without taking on a mountain of inventory.
The catch is simple. Small runs cost more per unit. That is normal. Setup still exists. Material still costs money. Print still needs to be prepared, checked, and finished. The real question is whether paying more per box is cheaper than overcommitting to a spec that has not been proven yet. For many early-stage brands, the answer is yes.
Custom packaging is doing more than carrying a product from A to B. It shapes the first impression, protects the contents, and tells customers whether the brand feels deliberate or thrown together. A mailer box can support subscriptions, launch kits, holiday orders, influencer shipments, and retail packaging refreshes. It can also expose weak decisions fast. Cheap-looking structure. Wrong fit. Artwork that ignores folds. Those mistakes show up immediately.
If you are comparing formats, the broader lineup on Custom Packaging Products and Custom Poly Mailers can help you sort out where a mailer box makes sense and where another structure is a better fit.
What No Minimum Really Means
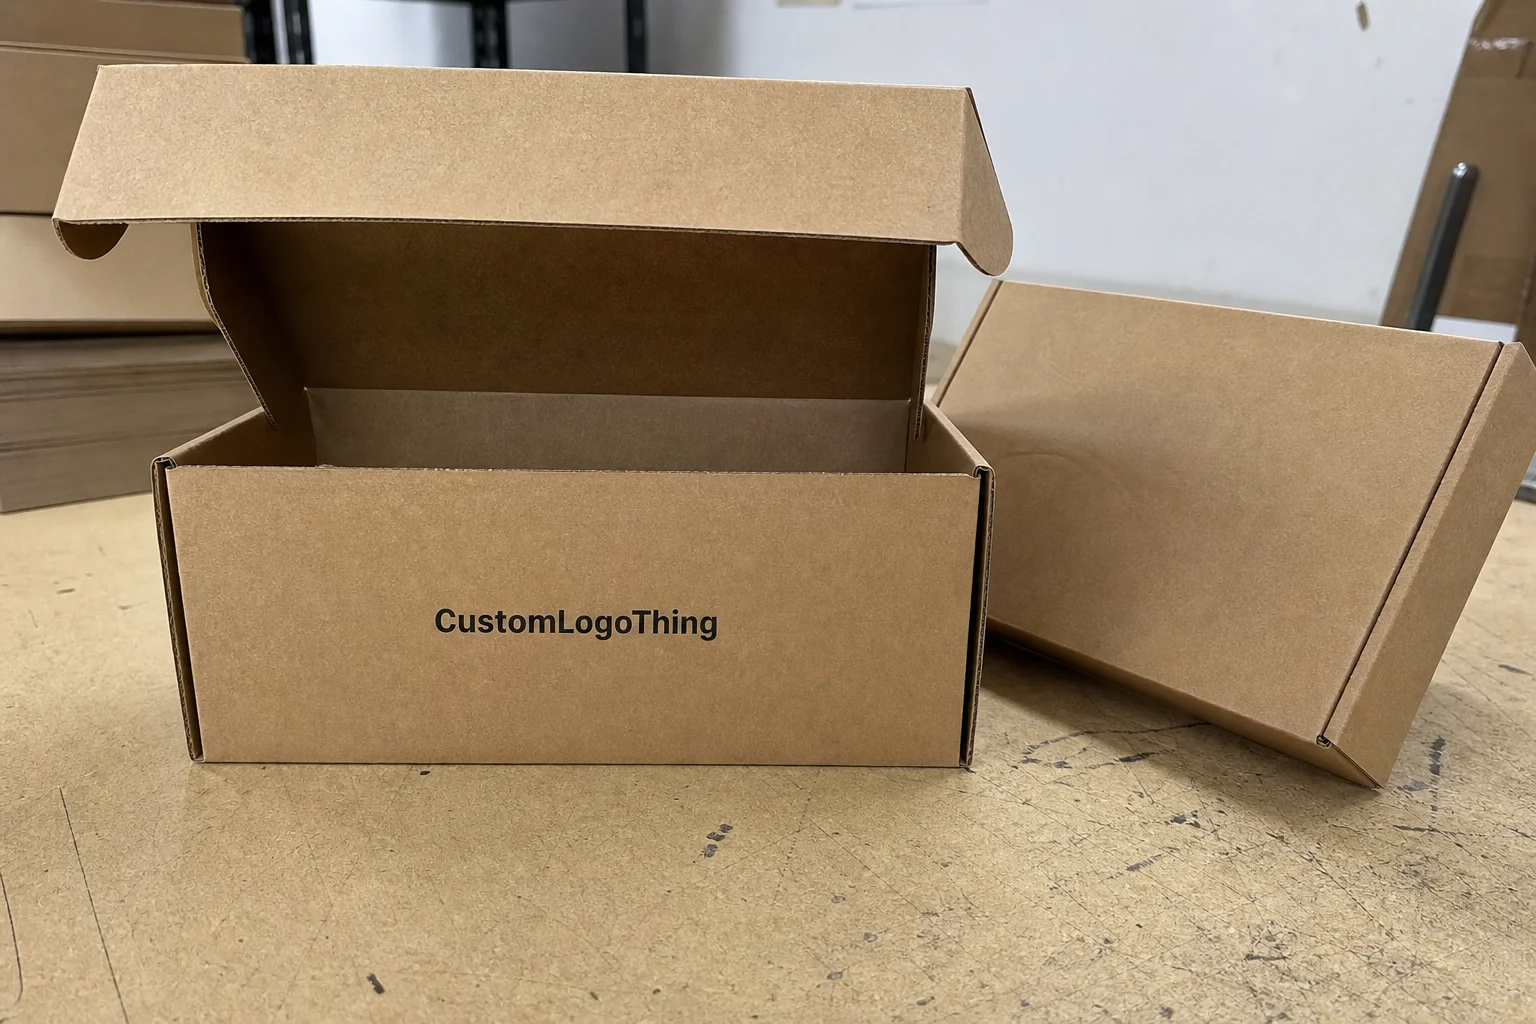
“No minimum” does not mean a manufacturer is printing one box for the same price as 10,000. It means you are not forced into a large minimum order quantity just to place the job. That matters for short test runs, seasonal drops, and brands that are still figuring out what the actual demand curve looks like.
Custom Mailer Boxes no minimum are usually best for one of three reasons. First, you are validating a new product. Second, you need a short run for a campaign, event, or holiday shipment. Third, you are trying to avoid dead stock while artwork, sizing, or SKU mix is still changing. That last one is more common than people admit.
The upside is obvious: lower inventory exposure, quicker iteration, and less risk if the packaging spec changes after the first shipment. The downside is also obvious: the unit price climbs, and some premium finishes stop making sense at very low quantities. The buyer who ignores that tradeoff usually ends up disappointed, then surprised, which is a bad combination for packaging decisions.
From a practical standpoint, small-run orders tend to make the most sense when the brand is still collecting data. How much space does the product actually need? Does it arrive cleanly with a simple insert? Do customers care more about presentation or price? A no-minimum program gives you room to answer those questions without guessing your way through a bulk order.
Small-run packaging should teach you something before it costs you too much.
That is the real value. Not magic pricing. Not mystery efficiency. Just a tighter feedback loop.
How the Process and Timeline Usually Work
The ordering process is usually straightforward, but only if the specs are clean. Vague dimensions and half-finished artwork are where the timeline starts slipping. The basic sequence is quote, dieline, artwork, proof, production, and shipping. Simple on paper. Less simple when someone discovers the logo sits across a fold line.
- Quote request: share dimensions, quantity, board preference, print coverage, and any finishing needs.
- Dieline review: confirm the structure, panel sizes, closure style, and where critical art can safely sit.
- Artwork setup: place graphics to the dieline with correct bleed, safe area, and fold alignment.
- Proof approval: check spelling, colors, panel orientation, and insert fit before production starts.
- Production: printing, die cutting, creasing, finishing, inspection, and packing.
- Shipping: freight method and destination affect the final calendar more than most people expect.
Most delays happen before the press ever starts. Artwork that looks fine on a laptop may miss the safe zone by a hair. That hair becomes a problem once the box folds. Incorrect dimensions create a second kind of delay, because packaging is not forgiving. If the product is 8.75 by 6.25 by 2.1 inches, rounding it to “about nine by six” is how you end up with a box that is either sloppy or too tight.
Lead time depends on complexity. Blank kraft mailers and one-color jobs usually move faster. Full-color custom printed boxes, inside printing, specialty coatings, and inserts add production steps, and each step adds inspection time. Low quantity does not erase those steps. It just reduces the number of boxes going through them.
For planning, simple orders often land around 7 to 12 business days after proof approval. More customized runs can take 12 to 18 business days or longer, especially if freight is slow or the artwork needs revision. If the boxes are tied to a launch, leave room. A one-week buffer is sensible. A three-day buffer is optimism pretending to be logistics.
If sustainability is part of the brief, ask about board sourcing, ink systems, and waste reduction. The EPA waste reduction guidance and FSC certification information are useful references for the conversation. They do not choose the structure for you, but they do sharpen the questions.
Pricing, MOQ, and Unit Cost Drivers
Small-run pricing is not mysterious. Fixed costs still need to be absorbed somehow, and fewer units means less spreading. That is why a no-minimum order usually has a higher unit cost. It is not a penalty. It is math.
The biggest drivers are predictable:
- Box size: more board means more cost, and oversized cartons also increase shipping weight.
- Board grade: E-flute, B-flute, and heavier corrugated constructions serve different needs.
- Print coverage: plain kraft is cheaper than full-coverage art on every panel.
- Finishing: matte or gloss lamination, soft-touch, spot UV, and foil all add cost.
- Freight: on very small orders, shipping can matter as much as the carton itself.
Directional price ranges help set expectations. They are not quotes. Real pricing depends on dimensions, board choice, print coverage, finishing, and where the boxes are going.
| Order Type | Typical Quantity | Approx. Unit Cost | Best For |
|---|---|---|---|
| Blank kraft mailer | 25-100 | $0.55-$1.10 | Testing fit, quick shipments, minimal branding |
| One-color branded mailer | 50-250 | $0.85-$1.60 | Early-stage launches and simple package branding |
| Full-color custom printed box | 100-500 | $1.20-$2.75 | Retail packaging, subscriptions, presentation-heavy unboxing |
| Special finish with inserts | 100-500 | $1.80-$4.00+ | Premium product packaging and giftable sets |
A skincare brand testing a new serum may be better off paying $1.40 per box on 100 units than chasing a $0.90 price and tying up cash in 1,000 boxes it cannot store. A growing apparel label with repeat volume may think differently. Same packaging category. Different economics. That is why the quote only becomes useful when it is tied to the real use case.
Ask every vendor to price the same spec: identical dimensions, board type, print coverage, finish, and freight assumptions. Otherwise you are comparing numbers that look similar and mean different things. That usually ends in a bad decision disguised as a good deal.
Material, Size, and Print Choices That Affect Fit
Material choice affects more than durability. It changes how the box feels, how it ships, and how much void fill you need to use. A well-sized corrugated mailer can protect cosmetics, apparel, supplements, or small consumer goods without making the package feel bulky or wasteful. That balance is the part buyers underestimate.
E-flute is common when you want a cleaner print surface and lighter weight. B-flute brings more crush resistance. Which one is right depends on the product weight, fragility, and how rough the shipping environment is likely to be. A box for T-shirts is not the same requirement as a box for glass jars or a fragile electronics kit. Obvious, yes. Ignored, often.
Size is usually the most expensive mistake. Too large and the product moves around, shipping costs rise, and the presentation feels loose. Too small and the corners bow, inserts compress, or the contents rub against the board. The right fit reduces filler, trims waste, and makes the unboxing feel deliberate. That matters even when the order is tiny.
Print choices have a similar effect on both cost and perception. Outside-only printing keeps the build simpler and usually cheaper. Inside print can create a stronger unboxing moment for custom printed boxes, but it adds ink coverage and setup complexity. One-color branding often looks cleaner than buyers expect, especially for small runs. Full-coverage art can look premium, but only if the design is built around the structure instead of slapped onto it after the fact.
Quick spec choices and what they usually signal
- Plain kraft: practical, budget-conscious, good for testing.
- One-color logo print: clean branded packaging with lower production complexity.
- Full-color print: stronger shelf appeal and higher visual impact.
- Inside print: better for unboxing and premium package branding.
- Lamination or coating: useful when scuff resistance matters.
There is also a transit side to this. If the boxes are going through parcel networks, ask about compression resistance, edge crush strength, and whether the structure has been used for shipping in similar conditions. The ISTA test family is a useful reference point for understanding shipping stress, vibration, and drop performance. Not every small run needs formal lab testing. But the logic behind those tests is worth borrowing.
The sweet spot is usually not the fanciest spec. It is the smallest spec that does the job cleanly and holds up in transit. That is where custom mailer boxes no minimum earn their keep.
Quality Checks That Keep Small Runs Out of Trouble
Small runs still deserve quality control. Maybe especially small runs, because there is less room for error to hide. A few checks can save an entire reorder. The first is print placement. Make sure logos, text, and artwork do not sit too close to folds, flaps, or cut lines. A pretty design that breaks when the box opens is not a win.
Next is color consistency. Digital screens lie. Even a good proof can look different once it is on corrugated board, especially if the stock is kraft or uncoated. If color is critical, ask what tolerance the supplier uses and whether a hard proof is available. For branded packaging, that one question can prevent a lot of disappointment.
Then check the structure itself. Does the box close cleanly? Do the corners sit square? Is the board recovering after creasing, or is it cracking along the fold? The failures here are boring, which is exactly why people miss them. Boring failures become customer complaints.
For product-heavy packs, test the actual contents inside the box. Shake it. Tilt it. Stack it. If the item shifts too much, add a better insert or tighten the dimensions. If the box flexes under a modest stack, the board spec may be too light. This is all easier to catch before production than after a customer posts a photo.
Step-by-Step: Ordering Without Overbuying
The best order process starts with the product, not the design file. Measure the item as it will actually ship, not as it looks on a desk. Include inserts, tissue, sleeves, filler, or protective layers if they are part of the final pack-out. Packaging teams that start with artwork and hope the structure will work usually end up redesigning later.
Use this sequence:
- Gather dimensions: length, width, height, plus any insert or protective layer.
- Define the use case: launch test, recurring fulfillment, retail packaging, or gift shipment.
- Set quantity: choose the smallest number that covers the test window.
- Prepare artwork: keep the print effects realistic for the quantity and board type.
- Review the dieline: check logos, copy, fold lines, closures, and panel orientation.
- Approve the proof: confirm spelling, measurements, and bleed before production.
- Plan the reorder: leave room to refine the spec after the first live shipment.
If the packaging is branding-critical or the fit is tight, ask for a sample or proof before the full run. That advice is boring because it works. It is also cheaper than fixing 100 boxes after they are already printed.
It helps to define the job by outcome instead of decoration. Do you need speed, appearance, protection, or cost control? You can get all four sometimes, but not always at the same time. A beauty brand may care most about presentation. A parts company shipping small accessories may care more about protection and dimensional efficiency. Pretending those are the same brief leads to expensive confusion.
Common Mistakes That Raise Cost or Slow Delivery
The most expensive mistake is usually avoidable revision. Vague dimensions, missing print details, or a half-finished artwork file force extra back-and-forth, and every round trip costs time. If you know the exact product size, say it. If you know the insert style, include that too. Packaging vendors are not mind readers, and the invoice does not reward ambiguity.
Another mistake is treating a custom small run like a stock carton purchase. It is not. There is still setup, proofing, finishing, and freight. Expecting a low-quantity order to behave like an off-the-shelf item is how buyers end up irritated by lead time that was never realistic in the first place.
Choosing the cheapest structure can backfire fast. If the box crushes in transit or lets the product move too much, the savings disappear into returns and replacements. I have seen brands save a few cents on packaging and then spend several dollars repairing the damage. That trade is ugly.
Overdesign causes its own problems. For a short test run, clarity usually beats decoration. A clean logo, readable product name, and balanced layout often outperform a box crammed with gradients, foil, spot effects, and one more idea than the surface can handle. Fancy is not the goal. Effective is the goal.
And compare landed cost, not just unit price. Include freight, samples, setup, and any rush charges. A box that looks cheaper until shipping is added is not cheaper. It is just better at hiding cost in more than one line item.
Expert Tips Before You Request a Quote
Before asking for pricing, gather three things: product dimensions, target quantity, and artwork files or brand guidelines. That small bit of prep tends to improve the quote immediately. Vendors can price more accurately, and you can compare responses without trying to decode what changed from one estimate to the next.
Decide what matters most on the first run. Speed? Appearance? Protection? Cost control? If the answer is “all of the above,” rank them. A launch box for a beauty brand may justify better print quality. A test run for a new accessory line may need a simpler structure with less financial risk. There is no universal answer, and anyone pretending otherwise is skipping the hard part.
Ask whether the supplier can support scale-up later. That matters because the first order should not live in a vacuum. If demand grows, you want the packaging spec to evolve without starting from zero. One-color branding can become a larger custom print run later. A simple mailer can become a more finished retail package once reorder data proves the demand.
Use the first live shipment as the real test. Watch how the boxes behave in storage, in transit, and in the customer’s hands. Are the corners holding? Is the logo sized well? Does the insert keep the product snug? Those are better signals than a mockup on a screen because they come from actual handling, not optimism.
If you want the short version, it is this: custom mailer boxes no minimum are best used to validate demand, refine packaging, and avoid overbuying before the numbers are proven. Order small, inspect the results, then scale the spec based on what the first run actually taught you.
What does custom mailer boxes no minimum actually mean?
It means you can place a small order without being forced into a large minimum order quantity. That is useful for launches, test runs, seasonal products, and limited promotions. You get more flexibility, but the unit price is usually higher than on larger runs.
Are custom mailer boxes with no minimum more expensive per box?
Usually yes. Setup and production overhead are spread across fewer units, so the per-box cost rises. Material choice, print coverage, finishing, and shipping all affect the final number. Even so, the lower inventory risk can make a small run cheaper overall.
How long does a no-minimum mailer box order take to produce?
Timing depends on proof approval, artwork readiness, box complexity, and freight distance. Simple specs often move faster than full-color or heavily finished boxes. The fastest way to avoid delay is to submit final dimensions and print-ready files early.
Can I order different sizes or designs in the same small run?
Some suppliers can accommodate multiple SKUs, but each size or design may add setup cost. Separate versions are easier to manage when the artwork and dimensions are organized clearly. Ask whether combining designs changes the quote or lead time before you commit.
What should I prepare before asking for a quote on custom mailer boxes no minimum?
Have product dimensions, desired quantity, material preference, and artwork files ready. Include notes on shipping method, branding goals, and any special inserts or finishes. The clearer the spec sheet, the faster the supplier can price the job accurately.