Custom Matte Stickers Make Cheap Packaging Look Intentional
A plain mailer, jar, box, or kraft paper bag can look polished fast with the right custom matte stickers. Use the wrong shiny bargain label, though, and the whole package can drift into school-project territory. Brutal. Also true.
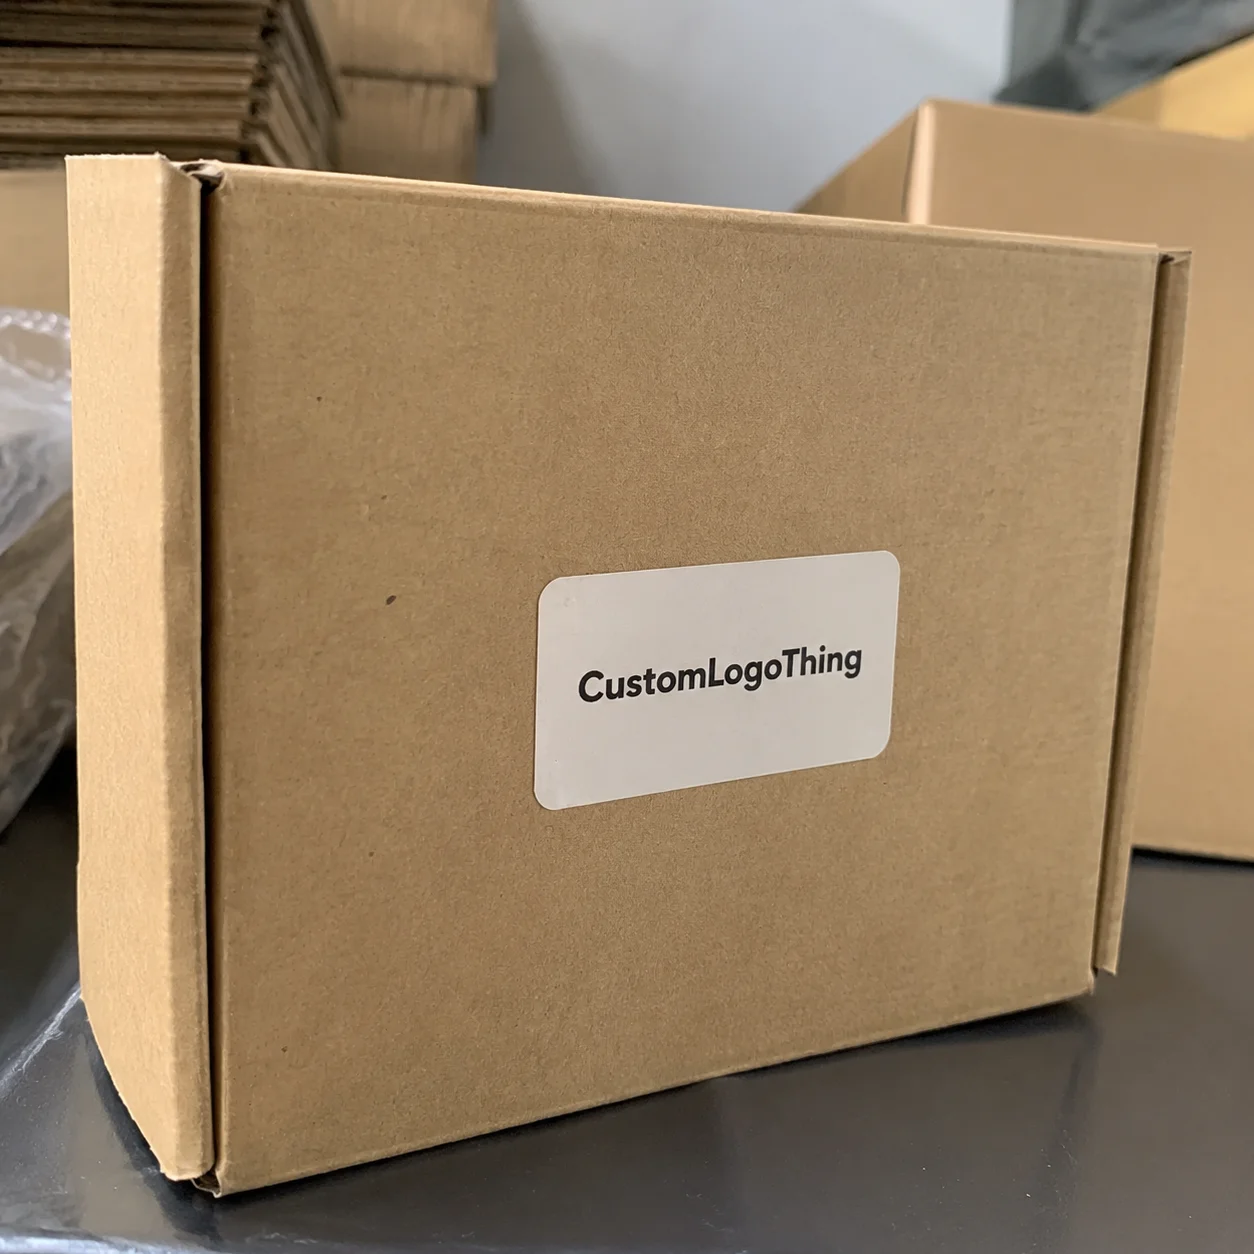
Custom matte stickers are printed adhesive labels with a low-glare surface. The finish softens reflection, improves readability, and gives packaging a calmer, more deliberate look. That matters for small brands using simple packaging because the sticker often does the visual heavy lifting. It carries the logo, product name, ingredients, barcode, scent, flavor, warning copy, or all of the above. No pressure.
You see matte stickers on ecommerce mailers, candle jars, coffee bags, skincare boxes, bakery packaging, event favors, product seals, thank-you inserts, and retail packaging. They are also useful for short-run branded packaging when custom printed boxes are too expensive, too slow, or too risky while a product line is still changing.
Here is the part buyers often miss: matte is a finish choice, not a sticker type by itself. You still need to choose the face material, adhesive, shape, size, printing method, format, and protection level. The matte look can come from the base paper, a synthetic film, a varnish, or a laminate. Those choices affect price, durability, color, and how the label behaves after it is applied.
A good sticker order is boring in the best way. The label fits. It sticks. It reads clearly. It survives the job it was hired to do. The sections below cover how matte stickers are made, which specs matter, what they usually cost, how production timelines work, and which details to prepare before requesting a quote.
How Matte Sticker Printing Works From Artwork to Finish
Most sticker construction is layered. From top to bottom, you have the face stock, printed ink, optional protective coating or laminate, adhesive layer, and backing liner. That stack sounds simple, but each layer changes the final result. Swap paper for BOPP and the same artwork handles moisture better. Add matte lamination and it resists scuffing. Use the wrong adhesive and, congratulations, you made a decorative curl.
Common materials include matte paper, matte BOPP, vinyl, textured papers, and removable stocks. Matte paper is the low-cost choice for dry indoor use such as bakery boxes, hang tags, gift packaging, or paper bags. Matte BOPP and Matte Vinyl Stickers are better for bottles, flexible pouches, mailers, and items that may face moisture or heavy handling. Textured matte papers work well for boutique products, especially candles, stationery, gourmet foods, and premium retail labels. Removable materials make sense for temporary promotions, event labels, price stickers, and short-term packaging updates.
The matte effect can happen several ways. A naturally dull paper surface gives a soft, uncoated look. A matte synthetic film creates a low-glare waterproof sticker. A matte varnish can reduce shine after printing. Matte lamination adds a protective film over the ink, which is useful when the label will be rubbed, shipped, stacked, or handled by customers.
Printing method matters too. Digital printing is practical for short runs, version changes, seasonal drops, and mixed artwork. It can often handle 100 to 2,000 pieces without painful setup costs. Flexographic printing usually makes more sense for larger repeat orders on rolls, especially thousands of labels with the same size, material, and color requirements. Screen printing or specialty printing may be used for opaque white ink, metallic details, high-build effects, or unusual materials.
Colors behave differently on matte surfaces. They often look slightly softer than glossy versions because the surface scatters light instead of reflecting it sharply. Black can look rich and expensive with the right ink coverage, but tiny gray text on a dusty beige label will still be tiny gray text. Matte does not rescue weak design.
Use enough contrast. Keep small type readable. Avoid pretending a 6-point ingredient panel is a kindness to anyone.
Practical rule: paper matte works for dry retail items, synthetic matte works for bottles and mailers, and laminated matte is smarter when the sticker will be handled, rubbed, or shipped.
Key Specs That Decide Whether Matte Labels Look Premium
Start with size and shape. A 2-inch circle is not the same buying decision as a full-wrap jar label. Shocking, apparently. Size affects material usage, print layout, die cost, application speed, and shipping weight. A small round logo seal may be cheap at volume, while a 4-by-6-inch waterproof label with full ink coverage and laminate is a different animal.
Shape changes the look and the production method. Standard circles, rectangles, ovals, and squares are usually easier to price. Custom shapes can look excellent for package branding, but they may require a custom die or slower digital cutting. If the sticker will wrap around a curved jar, bottle, or tin, test the width before ordering. Too wide and the edges lift. Too tall and the label wrinkles. Physics, rude as usual.
Die-cut and kiss-cut are not the same thing. Die-cut stickers are cut through the sticker and backing, so each piece is separate. They are good for handouts, merch, event packs, and promotional inserts. Kiss-cut stickers are cut through the face stock but left on a backing sheet or roll, making them easier to peel and apply during fulfillment.
Adhesive choice matters more than most first-time buyers expect. Permanent adhesive suits product packaging, shipping seals, and retail labels. Removable adhesive works for temporary promos, pricing, or event materials. Freezer-grade adhesive is built for cold storage and condensation. High-tack adhesive is useful for rough kraft paper, recycled cardboard, textured boxes, and some flexible pouches. Always test the actual surface if the material is coated, oily, dusty, curved, or recycled.
Format is another practical choice. Rolls are best for applicators, fulfillment stations, and repeated product labeling. Sheets are easier for small teams, mixed designs, samples, and office-style hand application. If you use an automatic or semi-automatic label applicator, confirm roll direction, core size, roll outside diameter, and gap spacing. A beautiful label wound the wrong way is still useless on the line. Funny how machines refuse to appreciate aesthetics.
| Spec Choice | Best Use | Tradeoff |
|---|---|---|
| Matte paper | Dry indoor boxes, bags, inserts, simple retail labels | Low cost, but weak against moisture, oil, and heavy handling |
| Matte BOPP | Food jars, bottles, pouches, bath products, handled packaging | Higher unit cost, better water resistance and durability |
| Matte vinyl | Outdoor use, gear labels, mailers, tough promotional stickers | Durable, but may be overkill for simple indoor packaging |
| Matte laminate | Premium labels, shipping, rubbing, retail display packaging | Adds cost, but protects print from scuffs and moisture |
Durability specs should match the environment. Ask about water resistance, oil resistance, abrasion resistance, UV exposure, refrigeration, and shipping friction. A sticker on a dry soap box has a very different job from a label on a chilled juice bottle sitting in condensation for six hours.
Color specs matter for brand consistency. CMYK printing is standard for most sticker work. Pantone matching costs more but helps when a brand color must match across labels, cartons, and Custom Packaging Products. White ink is needed for clear or metallic stocks if you want colors to stay opaque. For critical retail packaging, proofing is not optional.
The cleanest recommendation is also the least glamorous: choose specs based on where the sticker lives after application, not how nice it looks on a screen.
Custom Sticker Pricing, MOQ, and Unit Cost Tradeoffs
Custom sticker pricing is driven by size, material, order quantity, number of designs, shape complexity, finish, adhesive type, roll or sheet format, proofing needs, and packing method. That is why two quotes can look wildly different even if both say “matte sticker.” One may be paper on sheets. The other may be laminated BOPP on rolls with a custom shape and tight color target. Same label category. Very different bill.
Small paper matte stickers can be economical at volume. Simple 2-inch paper stickers may land around $0.04 to $0.12 each at several thousand pieces, depending on artwork coverage, finish, and supplier setup. Short runs may sit closer to $0.20 to $0.60 each because setup and proofing are spread across fewer units. Waterproof matte BOPP or vinyl with laminate often costs more, sometimes roughly $0.12 to $0.45 each in mid-volume runs, but that extra spend can prevent stained labels, peeling edges, and rework. Cheap is adorable until it ruins 3,000 jars.
Minimum order quantity exists because setup, proofing, material waste, press time, cutting, packing, and quality checks happen whether you order 100 stickers or 10,000. Math is rude like that. Digital suppliers may accept lower MOQs, especially for standard shapes. Roll label producers and specialty material orders often have higher minimums because press setup and material rolls cost real money.
Unit cost usually drops as quantity increases. A 500-piece run may feel expensive per label, while 5,000 pieces can be dramatically cheaper each because setup is spread across more units. Still, do not over-order if your ingredients, barcode, compliance copy, product name, formula, or brand colors may change. A box of outdated labels is not inventory. It is a small monument to optimism.
Multi-design orders can save money if the designs share the same size, material, finish, adhesive, and roll direction. Five scent labels for the same candle jar can often be combined more efficiently than five unrelated shapes on different materials. Mixed specs usually create separate setups, separate proofs, and separate costs.
Ask suppliers for pricing at two or three quantity breaks, such as 500, 1,000, and 2,500 pieces. Confirm whether proofing, die charges, artwork cleanup, and packing are included. Request the same specs from every supplier so the comparison is not nonsense. If one quote includes matte laminate and another includes plain matte paper, you are not comparing prices. You are comparing two different products wearing the same hat.
Hidden costs include rush fees, shipping weight, custom dies, color matching, artwork repair, split shipments, press proofs, and reprints caused by weak files. For regulated categories, also budget time for checking required text and barcode readability. For packaging performance testing, standards from groups such as ISTA can be useful when labels are part of a broader shipping system.
Process and Timeline: From Quote to Delivered Stickers
A clean order follows a clear sequence: choose specs, submit artwork, Request a Quote, review a digital proof, approve production, print, finish, cut, inspect, pack, and ship. The order sounds easy because the steps are easy. The mistakes happen when buyers skip details early and expect the printer to read minds. Printers are many things. Telepathic is not usually one of them.
Simple digital short runs may move quickly after proof approval, often in a few business days for standard materials and shapes. More complex orders can take longer. Custom dies, specialty adhesives, textured stocks, Pantone matching, matte lamination, large roll orders, physical samples, or press proofs can add several business days or more. Shipping time is separate, and international freight can add delays that have nothing to do with production speed.
The clock usually starts after proof approval, not after the first email. Many buyers accidentally sabotage their own launch timeline by sending unfinished files, waiting three days to approve a proof, then asking why production is not complete. If your deadline is a product launch, trade show, seasonal drop, wholesale delivery, or retail reset, build in buffer time for proof revisions.
Before requesting a quote, prepare the final dimensions, quantity, material preference, finish, intended surface, indoor or outdoor use, roll or sheet format, number of artwork versions, delivery location, and deadline. If you are ordering through a broader packaging program, include related specs for boxes, pouches, or Custom Labels & Tags so the finish and color direction stay consistent.
Digital proofs confirm size, cut line, bleed, safe area, orientation, and basic layout. They are useful, but they do not perfectly predict texture, exact color, adhesive performance, or how the sticker looks on your container. Physical samples or press proofs are better when color, material feel, or retail presentation is mission-critical.
For artwork, send vector files when possible. AI, EPS, and print-ready PDF files are standard for logos, text, and cut lines. Raster artwork should usually be 300 DPI at final size. Include bleed, outline fonts, embed linked images, and mark the cut line on a separate layer. Screenshots pretending to be print files are not “almost the same.” They are tiny disasters with confidence.
Shipping deserves a boring but necessary check. Rolls may be heavier than expected. Split shipments can cost more. Rush production is pointless if the delivery method is slow. If the stickers are part of a launch, schedule backward from the date you need finished packaging in hand, not from the date you hope labels ship.
Common Mistakes That Make Matte Stickers Disappointing
Artwork mistakes are the classic problem: low-resolution logos, missing bleed, text too close to the cut line, RGB color files, weak contrast, and screenshots used as source art. No printer loves a screenshot. A logo copied from a website may look fine on a phone and still print like it was dragged through gravel.
Bleed and safe area are especially important. If artwork runs to the edge, include bleed, often around 0.125 inch depending on the supplier’s template. Keep text and barcodes inside the safe zone. Cutting has tolerances. Even good production is not magic surgery.
Material mismatch is another common reason matte labels fail. Matte paper on chilled bottles can wrinkle. Paper on oily jars can stain. Paper on bath products can peel after a few wet hands touch it. Paper on outdoor gear is just wishful thinking with adhesive. Use synthetic stock or protective laminate when moisture, oil, abrasion, refrigeration, or repeated handling are part of the product’s life.
Finish confusion causes disappointment too. Matte does not automatically mean waterproof, scratchproof, greaseproof, or luxury. It only means the surface has low glare. If you need water resistance, ask for it. If you need scuff protection, ask for matte laminate. If the label sits on a bathroom counter or inside a cooler, say that before production, not after customers start sending photos.
Adhesive testing is not glamorous, but it saves money. Recycled cardboard, kraft paper, flexible pouches, coated boxes, textured glass, plastic tubs, and powder-coated containers can all behave differently. Some surfaces need high-tack adhesive. Some need removable adhesive. Some need a cleaner surface before application. ASTM has adhesive and materials testing standards that manufacturers may reference; buyers can learn more through ASTM International if performance testing is part of the project.
Sizing mistakes show up fast. Labels that are too small force required text into unreadable type. Labels that are too large for curved containers wrinkle, tunnel, or lift at the edges. Pouch gussets, jar shoulders, box seams, and bottle tapers all steal usable label space. Measure the real package. Not the mockup. Not the dream. The actual package.
Proof-skipping is the final trap. Buyers approve too quickly, then discover the barcode is tiny, the ingredients panel is outdated, the roll direction is wrong, or the scent name is misspelled. Prevention is simple: print a paper mockup at actual size, test it on the real container, scan the barcode, check compliance copy, and confirm the environmental exposure before production.
What to Check Before Ordering Matte Product Stickers
Before ordering, decide where the sticker will be applied, how long it must last, whether it will face moisture or abrasion, and how customers will handle the package. A thank-you sticker on tissue paper has a soft job. A label on a cold brew bottle has a much harder one. Order for the hard parts, not the pretty parts.
Measure the actual packaging. Containers curve. Seams interrupt label space. Pouch gussets love ruining perfect rectangles. If you are labeling jars or bottles, wrap a paper mockup around the container at final size and check for edge lift, wrinkles, and readability from normal viewing distance.
Choose one primary use case first: retail shelf label, shipping seal, jar label, bottle label, promotional giveaway, thank-you packaging sticker, or compliance label. One sticker can sometimes do several jobs, but designing for every possible use usually creates a compromised label that does none of them well.
- For dry indoor packaging: start with matte paper if cost matters and exposure is low.
- For shipped or handled products: consider matte BOPP, vinyl, or matte lamination.
- For chilled or wet products: ask for waterproof material, compatible adhesive, and sample testing.
- For premium retail display: review a physical sample for color, texture, and scuff resistance.
- For regulated products: check ingredients, warnings, barcode size, and required copy before proof approval.
For a quote, send size, shape, quantity, material, matte finish type, adhesive, roll or sheet format, number of artwork versions, delivery location, and deadline. Add photos of the container if the surface is curved, textured, coated, flexible, or unusual. That extra context can prevent a bad material recommendation.
Order samples or a small validation run if the sticker touches moisture, oil, refrigeration, textured packaging, or a regulated product category. The sample does not need to be dramatic. Apply it, rub it, chill it, ship it, peel at the edge, scan the barcode, and see what happens. Product packaging has a way of telling the truth before customers do.
Custom matte stickers are easiest to order when you treat them like packaging components, not decoration slapped on at the end. If the product is dry and indoor, start with matte paper. If it ships, chills, sits in a bathroom, or gets handled often, move to matte BOPP, vinyl, or laminated stock. Pretty matters. Performance pays the invoices.
FAQs
Are custom matte stickers waterproof?
Not automatically. Matte paper stickers are usually not waterproof, while matte BOPP, vinyl, or laminated stickers can handle moisture much better. For bottles, bath products, food jars, or outdoor use, ask for a waterproof synthetic material plus a matte laminate or protective coating. Always test on the actual container if the sticker will face condensation, refrigeration, oil, or repeated handling.
Do matte stickers cost more than glossy stickers?
Sometimes, but not always. Matte paper can be priced close to glossy paper, while matte synthetic films or matte lamination usually add cost. The bigger cost drivers are size, quantity, material, adhesive, shape, and whether the order needs special color matching or custom cutting. Ask for quote breaks at multiple quantities so you can see where the unit cost drops enough to justify ordering more.
What file type should I use for custom matte sticker printing?
Vector files such as AI, EPS, or print-ready PDF are best for logos, text, cut lines, and clean edges. Raster artwork should usually be at least 300 DPI at final print size, with bleed included if the design runs to the edge. Use CMYK color mode when possible, outline fonts, embed images, and clearly mark the cut line on a separate layer.
Can custom matte labels be used on glass jars or bottles?
Yes, but material and adhesive matter. Dry pantry jars can often use matte paper, while chilled drinks, sauces, candles, and skincare jars usually need synthetic stock. Curved containers need careful sizing so the label does not wrinkle, tunnel, or lift at the edges. For candles or oily products, ask about heat exposure, oil resistance, and adhesive compatibility before ordering.
How long does it take to produce matte stickers?
Simple digital orders can move quickly after proof approval, while larger runs, custom dies, specialty materials, or physical proofs take longer. Production time usually starts after the final proof is approved, not when the quote request is submitted. Build in extra time for artwork fixes, proof revisions, shipping, and launch-critical deadlines so one tiny label does not hold the whole product hostage.


