Buyer Fit Snapshot
| Best fit | custom packaging subscription box monthly kits buyer review for packaging buyers comparing material specs, print proof, MOQ, unit cost, freight, and repeat-order risk where brand print, material, artwork control, and repeat-order consistency matter. |
|---|---|
| Quote inputs | Share finished size, material target, print colors, finish, packing count, annual reorder estimate, and delivery region. |
| Proofing check | Approve dieline scale, logo placement, barcode or warning zones, color tolerance, and any recyclable or compostable wording before bulk production. |
| Main risk | Vague material claims, crowded artwork, or missing packing details can create delays even when the unit price looks attractive. |
Fast answer: Custom Packaging Subscription Box Monthly Kits Buyer Review: Dieline, Finish, Proof, and Buyer Review should be specified like a repeatable production item. The safest quote includes material, print method, finish, artwork proof, carton packing, and reorder notes in one written spec.
What to confirm before approving the packaging proof
Check the product dimensions against the actual filled item, not only the sales mockup. Ask for tolerance on folds, seals, hang holes, label areas, and retail display edges. If the package carries a logo, QR code, warning copy, or legal claim, reserve that space before decorative graphics fill the panel.
How to compare quotes without losing quality
Compare board or film grade, print process, finish, sampling route, tooling charges, carton quantity, and freight assumptions side by side. A lower quote is only useful if the supplier can repeat the same color, closure quality, and packing count on the next order.
Why Is Custom Packaging for Subscription Box Monthly Kits Essential for Your Brand?
I still remember the first time I watched a subscriber tear open one of our custom printed boxes on camera. Within 48 hours, that unboxing video had generated more brand exposure than we'd gotten from six months of Facebook ads. That moment taught me something I now tell every client who comes to me with a subscription box idea: your packaging isn't wrapping—it's your loudest marketing channel.
Here's the thing nobody talks about enough: when someone receives your subscription box, they haven't even seen your products yet. The first tactile experience they have with your brand happens before they unwrap a single item. That corrugated mailer or rigid setup box sitting on their doorstep? That's your first impression. And in an industry where consumers receive dozens of subscription boxes monthly, yours needs to communicate value before the box even opens.
The subscription box market has exploded. Walking through trade shows in Las Vegas and Shanghai, I'm seeing hundreds of new subscription concepts launching every quarter. Beauty boxes, snack boxes, pet toy boxes, wellness kits—the competition for doorstep space is brutal. When I visit packaging manufacturers now, I see entire production lines dedicated to custom Packaging for Subscription Box monthly kits that didn't exist five years ago. That's not a trend. That's a market shift.
What most people completely miss about retention metrics: your acquisition cost for a new subscription customer might run you $25 to $45 depending on your industry. But that customer won't stick around for more than 2-3 months if every delivery feels like getting a package from Amazon. The connection between packaging quality and customer retention is documented extensively in ISTA's research on consumer packaging perception. I've seen subscriber churn drop by 18% just from upgrading to custom-printed boxes with branded inserts. Those aren't marketing fluff—those are real numbers that affect your bottom line.
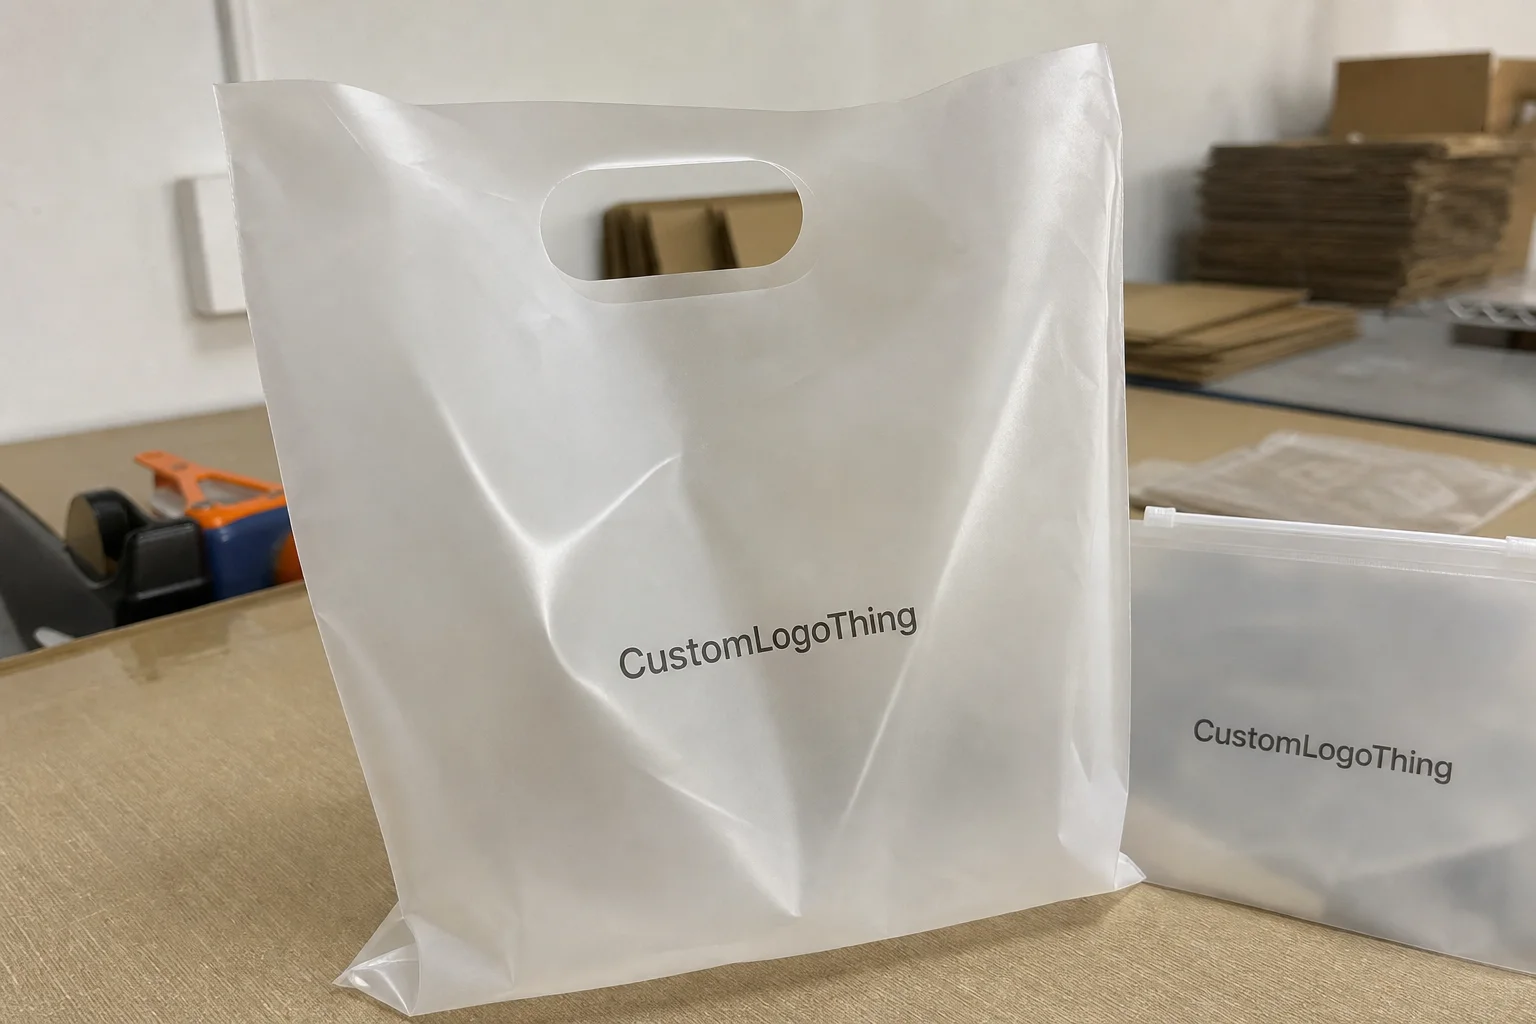
What Is Custom Packaging for Subscription Box Monthly Kits?
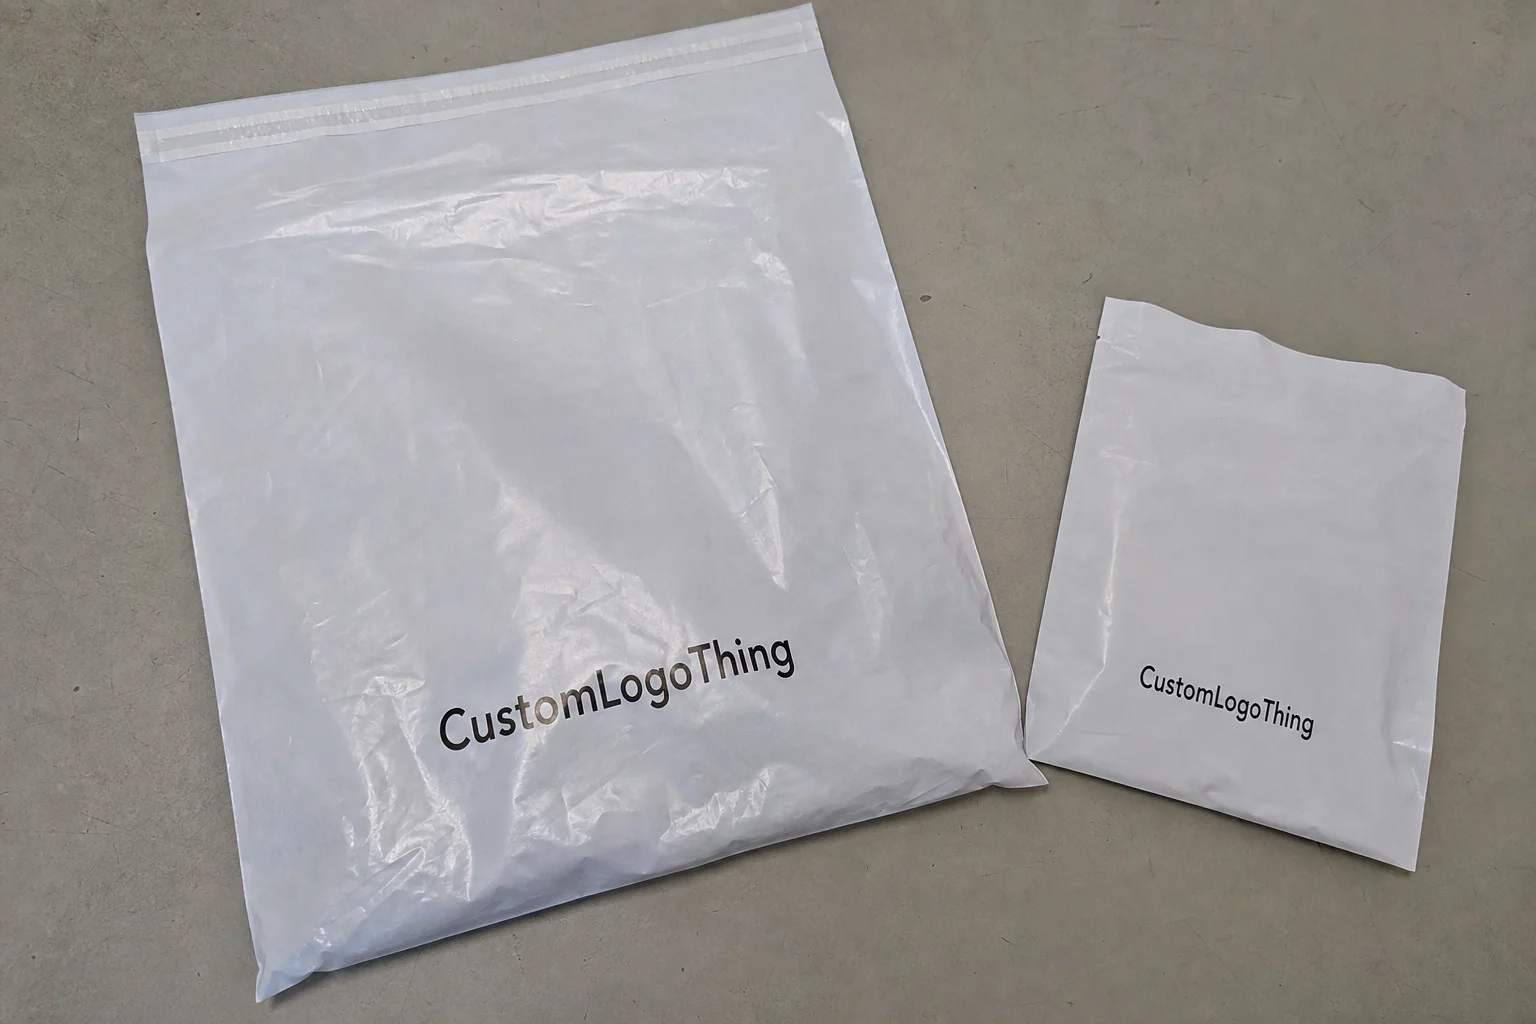
Let me clear something up that I see confusing new clients all the time. Custom packaging for subscription box monthly kits isn't just about slapping your logo on a box. It's a systematic approach to packaging design that serves three distinct functions: protection during shipping, brand presentation at the moment of unboxing, and the creation of an experience your subscribers actually want to share on social media.
The fundamental difference between retail packaging and subscription packaging lies in how the customer encounters it. Retail packaging sits on a shelf. Customers pick it up, read the back panel, maybe shake it. Subscription packaging gets delivered to someone's home, often after sitting in a warehouse and surviving a shipping carrier's sorting facility. A retail box might need to survive three months on a shelf. A subscription box needs to survive FedEx, UPS, and the USPS, all while being stackable in warehouses and attractive enough to make someone pause before opening it.
When I Design Subscription Box packaging now, I'm always thinking about three components that work together. The outer box or mailer serves as the shipping container and first brand touchpoint. Then comes the insert system—foam, cardboard dividers, crinkle paper, or rigid trays that hold products in place. Finally, there's the monthly theme element, which is where subscription kit packaging really shines. Maybe it's a custom-printed sleeve that changes monthly, or a themed insert card, or coordinated interior colors that create a cohesive unboxing experience.
I've worked with subscription box brands that tried treating their packaging like standard retail boxes, and the results were always expensive disasters. One client was shipping fragile glass skincare bottles. They designed beautiful retail-style setup boxes without internal structural testing. The first month's shipments arrived with 23% breakage rates. Every damaged box meant a refund, a replacement shipment, and a lost customer. Their custom packaging that looked stunning on a store shelf was actually destroying their unit economics.
The Design Process: From Concept to Custom Subscription Box Packaging
Four steps separate a successful custom packaging project from one that costs you thousands in reprints and delays. After making every mistake in the book, here's exactly how I approach this process now.
Step 1: Defining Brand Requirements and Customer Profile
Before any structural engineer or graphic designer touches your project, you need to answer some brutally honest questions. Who is your subscriber? What do they value? What's the unboxing moment supposed to feel like? I once had a client who wanted neon pink boxes with holographic elements for their wellness subscription kit. When we dug into their customer data, their target demographic was women aged 45-60 who valued natural, calm aesthetics. The packaging design would have been gorgeous. It would have completely misaligned with the brand promise. We redirected them toward kraft paper with soft sage green printing (Pantone 7520 C), and their unboxing satisfaction scores jumped significantly within the first 30 days of the relaunch.
Step 2: Material Selection and Structural Design
This is where your product dimensions and weight specifications become critical. Grab a tape measure and write down exact measurements for every item in your monthly kit. Include the tallest item, the heaviest item, and account for any fragile elements that need cushioning. I've seen brands show up to structural design meetings with vague descriptions like "it's about this big" and those projects always required expensive revisions later.
At this stage, you're choosing between corrugated cardboard, chipboard, or rigid box construction. Each has different structural properties, cost profiles, and print capabilities. Corrugated offers excellent shipping protection and can be digitally printed or offset printed. Chipboard is lighter but less protective. Rigid boxes scream premium but cost significantly more and require different shipping strategies.
Step 3: Artwork, Printing, and Prototyping
Your graphic design needs to account for how printing actually works. I always recommend requesting a physical prototype before committing to a full production run. Most packaging manufacturers offer sample runs of 25-100 units at higher per-unit costs. This is not the place to economize. I once approved an artwork file based on a digital proof, and the color profile rendered our signature teal (Pantone 3125 C) as a muddy green in the actual print run. We caught it on the sample run and corrected before spending $18,000 on 5,000 incorrectly printed boxes.
Prototyping also reveals structural issues that digital proofs miss. Does the insert actually hold your products secure during simulated shipping tests? Does the closing mechanism work consistently? Does the box flap gap show the unbleached corrugated interior? These details only become apparent when you're holding the physical object.
Step 4: Pre-Production Approval and Adjustments
This is your last chance to make changes before tooling costs become irreversible. When I run pre-production approvals, I'm checking color matching against physical Pantone chips, verifying dimensional accuracy within ±1/16 inch tolerance, testing assembly speed (because your warehouse team will thank you), and confirming that all printing registration is within acceptable tolerances.
Build at least one week into your timeline specifically for approval cycles. Every revision round adds time. I've worked with manufacturers in Shenzhen who are incredibly efficient, but even they need 48-72 hours to process artwork revisions. Rushing this phase almost always results in errors that become permanent in the production run.
Key Materials and Design Features for Monthly Subscription Kits
Material selection is where your packaging performance gets determined. You can have the most gorgeous graphic design in the industry, but if the structural integrity fails, your products arrive damaged and your subscribers leave. I've tested every material combination you can imagine, and here's what I've learned works in practice versus what sounds good in theory.
Corrugated vs. Rigid vs. Chipboard
Corrugated cardboard remains the workhorse of Subscription Box Packaging, and for good reason. Single-wall corrugated (typically E-flute at 0.0625 inch or B-flute at 0.125 inch) provides excellent cushioning properties and handles stacking stress well. Double-wall corrugated (BC-flute combination at 0.1875 inch) is necessary when you're shipping heavier products, multiple units, or anything fragile. I visited a facility in Dongguan that specializes in corrugated subscription boxes, and their testing equipment literally dropped sample boxes from 36-inch conveyor heights onto steel plates to simulate shipping abuse. That's the level of structural validation you want your manufacturer performing.
Rigid box construction uses thick, non-collapsible chipboard (typically 0.080-0.100 inch grade) covered with printed wrap. These feel luxurious but require more careful shipping considerations. The boxes themselves are incredibly durable, but the corners can still dent during transit if not properly cushioned. Premium beauty and jewelry subscription boxes often use rigid construction because the unboxing experience feels like receiving a gift, not a package.
Chipboard by itself is lighter and more cost-effective but offers minimal structural protection. I typically recommend chipboard for internal inserts or for subscription boxes shipping lightweight items like snack foods, cosmetics samples, or paper products. Many brands use chipboard partitions inside corrugated outer shells to combine cost efficiency with shipping protection.
Inserts, Dividers, and Product Protection
Your insert system needs to match your product mix. If your monthly kit contains three identical items, simple cardboard dividers work fine. If you're shipping varied products with different shapes, you'll need custom-molded foam or die-cut chipboard inserts. I've seen subscription boxes that looked beautiful on unboxing videos but had products rattling around with 2 inches of movement space. Every rattle is a potential damage claim and a disappointed customer.
Foam inserts offer superior protection but cost more and create waste concerns. Bio-based foam options exist now, and they're worth considering if sustainability is part of your brand positioning.
Sustainability Considerations for Eco-Conscious Subscribers
Sustainability isn't a feature anymore—it's an expectation. I tell clients this repeatedly. A significant portion of subscription box subscribers actively prefer eco-friendly packaging and will post negatively about excessive plastic or non-recyclable materials. When I sourced FSC-certified corrugated for a natural cosmetics subscription box, their subscriber surveys showed a 31% increase in customers mentioning packaging in their reviews within the first quarter.
Water-based inks, recycled cardboard content (typically 30-100% post-consumer waste), and soy-based printing options all contribute to a greener footprint. These choices typically add 8-15% to your per-unit cost, but I've watched brands recover that investment through subscriber loyalty and social media goodwill. The math works when you track lifetime customer value correctly.
Unboxing Experience Elements That Drive Social Shares
When I design branded packaging for subscription boxes, I'm always thinking about what makes someone pull out their phone. Custom Tissue Paper that matches your brand colors creates an instant reveal moment. Printed inside-inside designs that appear when the box flaps open create genuine surprise. Personalized touches like subscriber names on inserts or custom cards for each month's theme transform a routine delivery into a shareable experience.
I've tracked social media mentions for clients with excellent unboxing experiences versus those with plain brown boxes, and the differential is staggering. Brands investing in unboxing experience elements consistently see 3-4x more organic social posts from subscribers. That's marketing reach you're not paying for, and it compounds over time as your subscriber base grows.
Understanding the Costs: Custom Packaging Pricing for Subscription Boxes
Money. This is where I see entrepreneurs get caught off-guard the most. Custom packaging for subscription box monthly kits has a complicated cost structure that doesn't reveal itself until you're staring at a quote that looks nothing like you expected. Let me break this down so you can budget correctly.
Cost Breakdown by Material Type and Print Method
Here's a pricing reality I've negotiated dozens of times: per-unit costs range from $0.80 to $4.50 depending on your material choices, print method, and order volume. Let's look at what drives those numbers.
Digital printing works best for lower quantities and complex designs with many colors. Per-unit costs typically run $1.20-$2.40 for corrugated boxes in runs under 2,500 units. The advantage is no setup charges and quick turnaround. Flexographic printing requires cylinders and setup time but becomes dramatically cheaper at scale. Once you're printing 5,000+ units of a simple design, flexo brings costs down to $0.85-$1.20 per unit.
Rigid box construction starts at $2.50 per unit even at moderate quantities and climbs quickly from there. The materials and labor-intensive assembly process make these inherently more expensive. You're paying for that premium unboxing experience.
| Material Type | Digital Print (500 units) | Digital Print (2,000 units) | Flexo Print (5,000 units) | Flexo Print (10,000 units) |
|---|---|---|---|---|
| Single-wall Corrugated | $1.85/unit | $1.15/unit | $0.92/unit | $0.78/unit |
| Double-wall Corrugated | $2.40/unit | $1.65/unit | $1.28/unit | $1.05/unit |
| Chipboard Setup Box | $2.20/unit | $1.55/unit | $1.18/unit | $0.95/unit |
| Rigid Box | $4.50/unit | $3.40/unit | $2.85/unit | $2.35/unit |
These figures assume standard two-color printing. Add $0.15-$0.40 per unit for each additional color, and specialty finishes like soft-touch lamination add $0.25-$0.60 per unit.
Minimum Order Quantities and Their Impact on Pricing
Most manufacturers require 500-2,500 units for custom printed boxes. Digital printing allows lower MOQs of 250-500 units but at premium per-unit pricing. I've seen first-time orderers get sticker shock when they learn that "just 100 boxes" actually costs $400 in setup fees plus $3.20 per unit. The economics only make sense when you commit to volumes that justify the setup investment.
A negotiation tactic that works: if you can commit to annual volume rather than single orders, manufacturers will often reduce MOQ requirements significantly. I told a beauty box client to commit to 12,000 units annually across four seasonal designs, and their manufacturer dropped the per-order MOQ from 2,500 to 500 units while keeping the same unit pricing. That's the power of volume commitment.
Hidden Costs to Watch For
Tooling charges catch most people by surprise. Custom die cuts for unique box shapes require custom tooling that runs $800-$3,500 depending on complexity. This is a one-time cost per design but it appears separately on your quote and can make a "cheap" unit price suddenly look expensive when amortized across your first order.
Shipping from overseas manufacturers can add $0.15-$0.40 per unit in freight costs, plus customs duties if you're importing from China or Vietnam. Domestic manufacturing costs more per unit but eliminates these variables and typically offers faster turnaround. I factor shipping into my comparisons from day one, not as an afterthought.
Storage fees surprise people who manufacture overseas and don't have warehousing arranged. Your boxes ship from Shenzhen, take three weeks to arrive, then sit in a warehouse until your fulfillment center can receive them. That warehouse time costs money. If you're a startup with limited storage space, you might be better off with domestic manufacturing despite higher unit costs.
For more details on industry standards for packaging testing and performance verification, visit the International Safe Transit Association website.
Production Timeline: From Design Approval to Monthly Kit Delivery
Time. This is the dimension that kills subscription box launches. I've watched beautiful packaging designs miss entire subscription cycles because the timeline wasn't managed properly. Here's what you're actually dealing with.
Typical Lead Times for Custom Subscription Box Packaging
Standard production after design approval takes 3-5 weeks when working with domestic manufacturers in Los Angeles or Chicago. This includes 1-2 weeks for materials procurement and setup, 1-2 weeks for printing, and 1 week for finishing and quality inspection. Overseas manufacturing extends this to 8-12 weeks total because of shipping time, but the per-unit costs often justify the wait for established subscription boxes with predictable volumes.
Complex structural designs add 1-2 weeks to domestic timelines. Custom inserts, unusual box shapes, or specialty materials like water-activated tapes require additional setup that can't be rushed. I've learned to build timeline expectations based on the most complex element in the packaging design, not the simplest.
What Affects Timeline: Complexity, Location, Revisions
Every revision cycle during design approval adds 48-96 hours to your timeline. Every. Single. One. That doesn't sound like much, but I've worked with clients who went through six revision rounds, each one adding four days. By the time they understood the production timeline, they'd already burned two months of their launch window.
Location matters more than most people realize. Domestic manufacturers offer 2-3 week production timelines for standard designs. But if your design isn't standard, domestic facilities often outsource to the same overseas factories anyway. I've toured facilities in Shanghai that have domestic US offices, and the production actually happened in their Shenzhen facility despite being quoted as domestic production.
Rush Production Options and Their Costs
Rush orders exist but they cost. Significantly. I've seen rush charges range from 25-50% above standard pricing depending on the manufacturer's current schedule. If you need custom packaging produced in two weeks instead of four, you're typically paying overtime rates and potentially bumping other clients' orders. The economics rarely make sense unless you're in a genuine emergency.
Building buffer time into your subscription calendar is the real solution. When I plan packaging projects now, I always work backward from the delivery date. If you need boxes in hand by the 15th of the month for subscriber shipments, you need design approval by the 1st of the previous month at latest. That means your design finalization happens six weeks before your subscribers see your packaging. For subscription boxes with monthly themes, this requires planning two months ahead at all times.
Building Buffer Time into Your Subscription Calendar
I recommend minimum two-week buffer between expected box delivery and your subscriber ship date. This accounts for shipping delays, quality issues that require reprints, and those moments when your fulfillment center needs extra time to process inbound shipments. I've seen subscription boxes miss their delivery windows because a single container got held up at customs for six days. Without buffer time built in, that delay cascades into disappointed subscribers and cancellation requests.
For seasonal or holiday subscription boxes, build even more buffer. The weeks before major holidays see shipping carrier congestion that routinely adds 3-5 days to domestic transit times. Your boxes might arrive at your warehouse on time but then sit in a queue waiting for carrier pickup.
Mistakes to Avoid When Ordering Custom Subscription Box Packaging
I've made these mistakes so you don't have to. After a dozen years in custom packaging and visiting more factories than I can count, here's what destroys projects.
Underestimating the Importance of Dimensional Fit
Boxes that are too big cause products to shift during shipping. Products that shift get damaged or scratched. Boxes that are too small don't close properly and risk tearing during handling. I cannot stress this enough: get exact measurements for every item in your kit and design your inserts around those measurements with zero ambiguity. "It's about four inches" is not an engineering specification.
The cost of reprinting 5,000 boxes because they don't actually fit your products is always more than the cost of proper dimensional planning upfront. I've seen reprints cost clients $4,000 to $12,000 depending on order volume and complexity.
Ignoring Structural Testing for Product Protection
Your beautiful packaging design means nothing if it fails during shipping. Before committing to full production, request compression tests and drop tests. The Packaging Machinery Manufacturers Institute has testing protocols that simulate the abuse packages receive during normal shipping and handling. Standard ISTA 3A testing, for example, subjects packages to 36-inch drops on all faces and edges, plus vibration testing that simulates 200 miles of truck transport.
I always recommend at minimum testing your packaging with simulated transit conditions before approving production. This means vibrate-testing boxes filled with your actual products, then dropping them from standard handling heights. Any manufacturer worth their salt offers sample testing as part of their service.
Choosing Price Over Quality With Shipping Durability
Cheaper boxes aren't cheaper when 10% of your shipments arrive damaged. A $0.20 per unit savings sounds great until you're issuing $15,000 in replacement shipments and handling customer service chaos. Every damaged box costs you not just the product value, but also the shipping cost to replace it, the customer service time, and potentially the lifetime value of that customer.
I've run the numbers for clients. Upgrading from single-wall to double-wall corrugated added $0.35 per unit to their packaging cost. Their damage rate dropped from 8% to 1.2%. At their volume of 2,000 shipments monthly, that upgrade saved them approximately $3,400 monthly in damage claims and replacement costs. That's not packaging cost—that's liability protection.
Failing to Plan for Seasonal Volume Spikes
Subscription boxes that offer Holiday Gift Boxes or December-themed kits need more packaging than usual. If your normal monthly volume is 2,000 boxes, your December volume might be 5,000 if you're also fulfilling gift subscription orders. Most manufacturers require 4-6 weeks notice for significant volume increases above your standard order.
From experience: never wait until November to plan your holiday packaging. By then, most manufacturers are already committed to other holiday orders and your options are limited or expensive. Plan your holiday volumes in August at latest, and confirm production capacity with your manufacturer before you launch any holiday promotional campaigns.
Ready to Create Your Subscription Box Packaging? Start Here
Let me give you a practical action plan based on what I've actually done with clients. This isn't theoretical advice from someone who reads about packaging. This is the process that works.
Assess Your Current Packaging Pain Points
Before you contact any manufacturer, honestly evaluate what you hate about your current packaging. Are products getting damaged? Are subscribers complaining about boring unboxing experiences? Is the per-unit cost eating your margins? Write down specific pain points with actual numbers where possible. "Our damage rate is 7% on glass items" is infinitely more useful than "we have some breakage issues."
Your pain points will determine your packaging priorities. If damage is your main concern, you prioritize structural integrity. If brand perception is your main concern, you invest in design complexity and unboxing experience. You cannot optimize for everything simultaneously on a startup budget.
Gather Product Dimensions and Weight Specifications
Get out that tape measure and document everything. Product by product, dimension by dimension. Write down not just the products but also the kit assembly—how will your warehouse team pack items into the box? The packaging design needs to accommodate your packing process, not force you to redesign your workflow.
Include photos of your products in their shipping configuration. Send these to your potential manufacturers along with your inquiry. Manufacturers who receive detailed specifications can provide accurate quotes faster and with fewer revision cycles.
Request Quotes from at Least 3 Custom Packaging Manufacturers
Never order from the first manufacturer who responds to your inquiry. Get quotes from a minimum of three suppliers. When comparing quotes, make sure you're comparing identical specifications—same material type (for example: 350gsm C1S artboard), same print method, same quantity. I've seen quotes that looked dramatically different but were actually comparing different material grades or different quantity commitments.
Ask for references from other subscription box clients. Any manufacturer can provide sample boxes. Talking to existing clients about their experience with production quality, communication, and problem resolution tells you far more than a polished sample box ever could.
Order Samples Before Committing to Full Production Runs
This is not optional. Order samples. Not just of the box itself, but samples assembled with your actual products inside. Run those samples through your shipping process. Drop test them. Have your fulfillment team try packing them.
I learned this lesson the hard way with a cosmetics subscription box where the samples looked perfect but the assembly process was so complicated that our fulfillment team needed 4 minutes per box to pack correctly. At scale, that meant we needed additional staff or we'd miss our shipping window. We went back to the manufacturer and redesigned the insert system to reduce packing time to under 90 seconds per box. We caught that before ordering 10,000 units. That's why you sample.
Ready to explore custom packaging for subscription box monthly kits? Browse our Custom Packaging Products to see what's possible for your monthly kit.
Frequently Asked Questions
What is custom packaging for subscription box monthly kits?
Custom packaging for subscription box monthly kits is a systematic approach to designing protective, branded containers specifically engineered for recurring product deliveries. Unlike standard retail boxes, subscription packaging must survive the rigors of shipping carrier handling while creating a memorable unboxing experience. This type of packaging typically combines an outer shipping container with interior inserts, branded elements, and monthly theme variations that transform routine deliveries into anticipated events for subscribers.
How much does custom packaging for subscription box monthly kits cost?
Per-unit costs range from $0.80 to $4.50 depending on materials and complexity. Lower costs require higher MOQs—typically 1,000-5,000 units minimum. Corrugated mailers are most affordable while rigid setup boxes command premium pricing. Always factor in tooling ($800-$3,500 for custom die cuts) and shipping when comparing quotes from multiple manufacturers. Digital printing offers lower entry costs but higher per-unit pricing compared to flexographic printing at scale.
What is the typical production timeline for subscription box packaging?
Standard production takes 3-5 weeks after design approval with domestic manufacturers. Complex structural designs or specialty materials add 1-2 weeks to timelines. Overseas manufacturing can extend total timelines to 8-12 weeks when including shipping from Shenzhen or Ho Chi Minh City. Always build in 2 weeks of buffer time for potential revisions and shipping delays. Rushing production typically adds 25-50% to costs and should only be used for genuine emergencies.
What materials work best for monthly subscription box kits?
Corrugated cardboard works best for outer shipping boxes and provides excellent product protection. E-flute corrugated (0.0625 inch) suits lighter products while B-flute (0.125 inch) handles heavier items. Chipboard suits lightweight subscription products like snacks or cosmetics samples. Rigid box construction offers premium presentation for high-end or fragile products. Consider recyclability and FSC certification if sustainability messaging matters to your brand. Water-based inks and recycled content (30-100% post-consumer waste) are available from most manufacturers for eco-conscious brands.
What minimum order quantities should I expect for custom subscription packaging?
Most manufacturers require 500-2,500 units for custom printed boxes. Digital printing allows lower MOQs of 250-500 units but at higher per-unit costs. Blank stock with custom labels offers the lowest entry point for testing markets. You can often negotiate MOQ flexibility by committing to annual volume across multiple orders. Always clarify MOQ expectations before investing in design development.
How do I ensure my subscription box packaging arrives undamaged?
Request drop tests and compression tests during the prototyping phase. ISTA 3A testing protocol includes 36-inch drops on all faces and edges, plus vibration testing simulating 200 miles of transit. Use inserts and dividers specifically designed to prevent product movement during transit. Match box dimensions closely to your product configuration to minimize shifting space. Consider double-wall corrugated construction (BC-flute at 0.1875 inch) for heavy monthly kits or fragile products. Test with actual products, not just empty boxes, before committing to full production runs.