Custom Padded Mailers: Spec, Price, and Ordering Without Guesswork
Custom padded mailers are useful when the product is flat, needs moderate protection, and should ship in a package that still carries brand presence. They can reduce pack time, cut void fill, and lower the chance of transit scuffing, but only if the size, material, and closure are matched to the product.
The buyer risk is simple: a mailer that looks good in a proof but tears, seals badly, or leaves too much empty space becomes an expensive envelope with a logo. The right spec protects the item, keeps labor low, and avoids paying for features that do not change the outcome.
What custom padded mailers solve
The best use case for custom padded mailers is a flat or low-profile product that needs surface protection, but not rigid corner support. That covers apparel, books, beauty kits, accessories, printed inserts, stationery, and subscription components. The mailer keeps the product close to the shell, which reduces movement and keeps the pack compact.
Most damage in these categories comes from compression, rubbing, and edge wear. The item usually is not dropped from a height; it is crushed in a stack, scraped against another parcel, or shipped in packaging that was sized by habit instead of measurement. A snug mailer reduces that motion and lowers the chance of return complaints.
It also changes the pack line. A crew does not need to build a box, add fill, tape extra seams, and hope the product stays put. That saves labor and makes the process more consistent across shifts. Packaging that depends on everyone “doing it the same way” usually fails when volume increases.
There are limits. Fragile, sharp, or pressure-sensitive items still belong in a box. Glass, exposed metal edges, rigid devices with hard corners, and anything that can crack under load should not be forced into a padded mailer for the sake of branding. If the item can deform, fracture, or punch through its shell, the structure is wrong.
Used correctly, the mailer does two jobs: it protects the product and it acts as package branding the moment it leaves the shipping label printer. Kraft, poly, and hybrid builds each create a different feel, so the material choice affects both transit performance and presentation.
How the build works
Think of the mailer from the outside in: outer face, cushioning layer, inner liner, and closure system. Each layer affects price, appearance, shipping performance, and warehouse behavior. Buyers often compare samples as if the differences are only cosmetic. They are not. The build determines whether the mailer holds up or becomes a return issue.
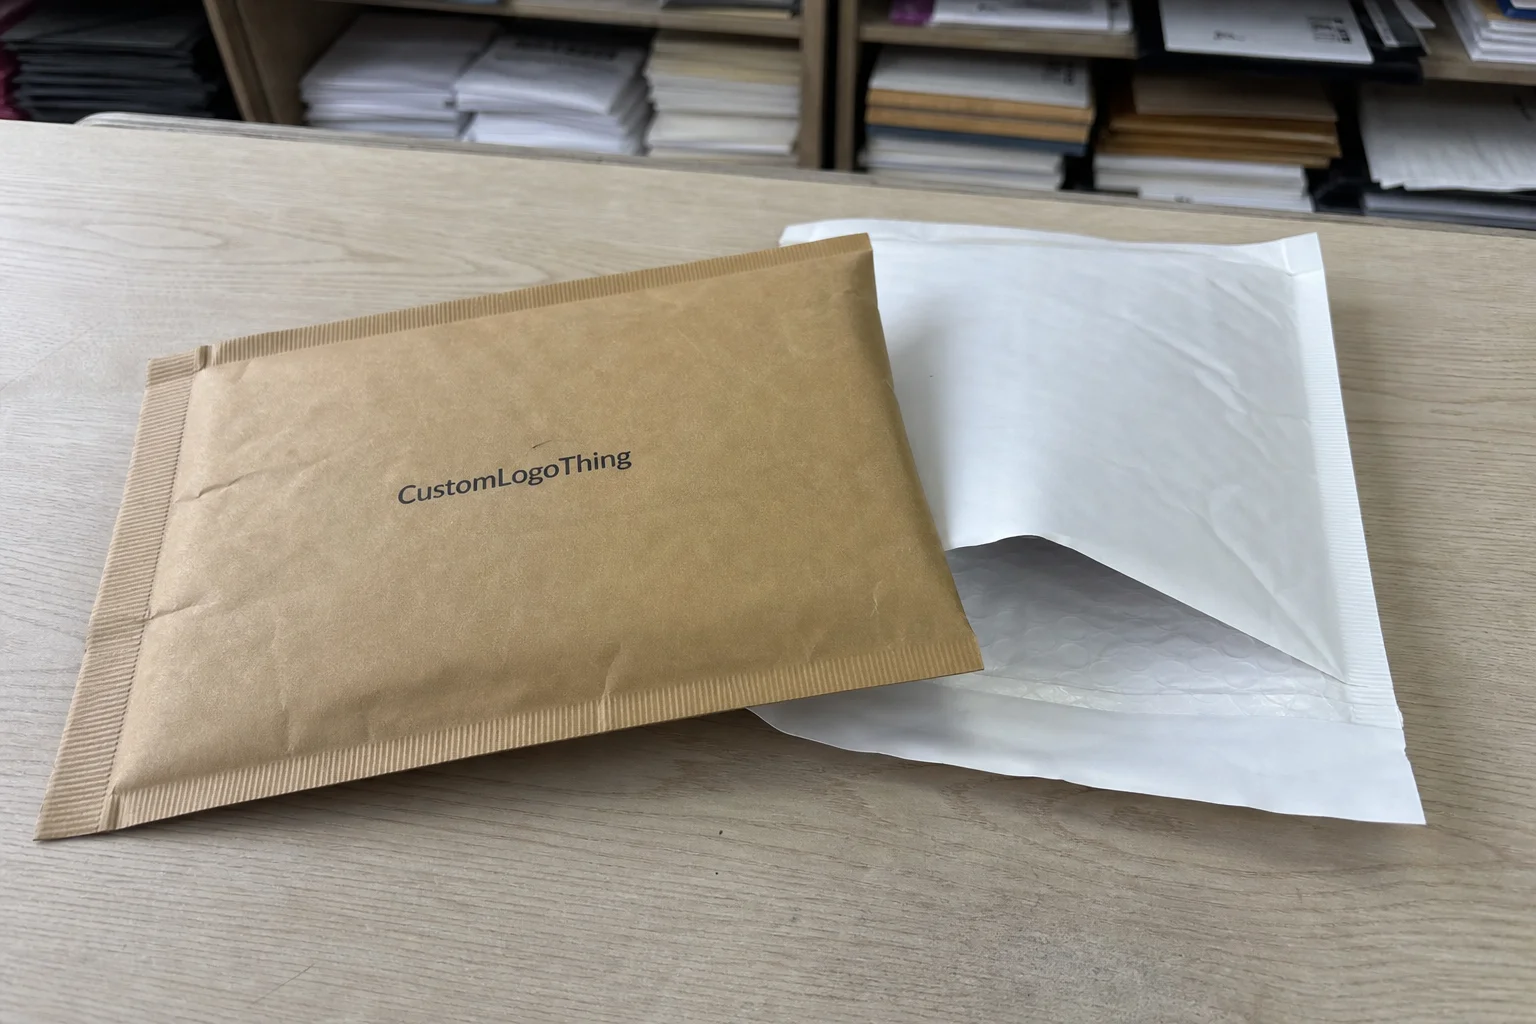
The outer layer is where the brand shows up. Kraft gives a paper-forward look that fits natural, retail, or minimalist branding. Poly gives a smoother surface, better moisture resistance, and a cleaner print field. Hybrid constructions try to balance appearance and strength without making the piece feel bulky.
The padding usually comes in four common forms:
- Bubble for light cushioning and lower cost.
- Paper for a flatter profile and a more fiber-based structure.
- Foam for better surface protection on delicate finishes.
- Quilted fiber for a softer hand feel and a more premium presentation.
Bubble is still the baseline for a reason: it usually gives the best protection per dollar. Paper-based cushioning works better for buyers who want a simpler fiber story. Foam can improve cushioning but usually increases cost and complicates the environmental message. Quilted fiber sits in the middle and is often chosen when the unboxing experience matters as much as transit performance.
The seal matters as much as the padding. Peel-and-seal is common. Tamper-evident strips are useful for retail channels and controlled fulfillment. Double adhesive helps if the package may be reused or needs a stronger hold. Weak adhesive is a late-stage failure, and late failures are the expensive kind.
Print has limits too. Full-bleed graphics can look good in a proof and still disappoint on the actual substrate. Spot color on kraft is usually the cleanest and most economical option. Multi-color art on glossy poly can look more premium, but registration tolerance gets tighter. Better to design for the material than force the material to mimic a different one.
A padded mailer that looks good in proof but fails in transit is not a branding win. It is a complaint with a logo on it.
If your range includes lighter formats, compare the mailer against other packaging options before you commit. Some products move better in Custom Poly Mailers, while others need a broader packaging system built from Custom Packaging Products rather than one oversized decision.
Specs that change the result
The cleanest way to size custom padded mailers is to start with the packed product, not the bare product. Measure the item after inserts, sleeves, tissue, cards, or accessories are included. Then leave room for the seal lip and normal packing tolerance. If the fit only works in a perfect lab scenario, it will fail on a normal fulfillment day.
Inner dimensions matter most for fit. Outer dimensions matter for carton count, freight, and storage. A mailer can be technically large enough and still be awkward on the line if the opening is too tight or the cushioning steals too much usable space. Sample testing should always use the real packed product.
Thickness changes the whole equation. A heavier build improves puncture resistance and surface protection, but it also adds weight, raises shipping cost, and takes more room on a pallet. In many programs, a slightly lighter mailer with a stronger seal performs better than a heavy spec with weak closure.
Material choice should follow the product and the channel:
- Poly is a solid choice for moisture resistance, lower weight, and a smoother print surface.
- Kraft works well for a natural look and a straightforward paper story.
- Hybrid builds make sense when you need more protection than plain paper but do not want a fully plastic appearance.
Gauge and basis weight matter too, even if sales sheets try to bury them. A thin shell with great print is still thin. A thick shell with poor adhesive still fails. If the supplier will not name the material weight, the quote is not complete enough to compare.
For practical ordering, ask for the same data on every quote:
- Inner dimensions and outer dimensions
- Material type and gauge or basis weight
- Adhesive type and seal style
- Print method and number of colors
- Any test standard or performance claim
If the item is oddly shaped, crush-sensitive, or needs a premium reveal with structure around the product, a box may still be the better call. If the product is flat and stable, a padded mailer usually cuts the packed cube, reduces filler, and speeds up the line.
Cost, MOQ, and price drivers
Price comes down to a few variables: volume, material, print coverage, number of colors, size, seal system, and any special finish. Buyers often focus on unit price and ignore the parts that change the actual spend. Freight, duties, sampling, carton configuration, and overruns can move the landed number enough to make the “cheap” option a poor buy.
The MOQ is tied to setup economics. A simple print on a standard construction can start lower, especially if the supplier is working from a stock base. Fully custom builds need a higher floor because plates, setup waste, and changeover time have to be absorbed somewhere.
| Build type | Typical MOQ | Typical unit price | Best fit |
|---|---|---|---|
| Plain or lightly branded stock-style mailer | 500 to 1,000 pieces | $0.18 to $0.35 | Early launches, internal shipping, simple presentation |
| Custom printed kraft or poly mailer, 1 to 2 colors | 1,000 to 3,000 pieces | $0.24 to $0.55 | Ecommerce shipping, recurring fulfillment, brand launches |
| Fully custom structure with specialty finish | 3,000 to 10,000 pieces | $0.40 to $0.90 | Retail packaging, premium package branding, larger rollouts |
Those numbers only help if the assumptions match. A low piece price with expensive freight is not a win. A lower MOQ with poor print quality is not a bargain. A slightly higher unit cost can still be cheaper if it cuts damage, saves labor, or reduces dimensional weight. The number to watch is landed cost per shipped piece, not headline price.
Ask for multiple tiers. Five thousand pieces may fit the first run. Ten thousand may be where the economics improve. If the supplier refuses to show breakpoints, you are missing the part of the quote that actually helps with planning.
If sustainability is part of the brief, ask whether the fiber source is verified and how the adhesive affects recovery. FSC certification can help verify sourcing on paper-based builds, but it does not automatically make a mailer recyclable in every local system. The disposal story still matters.
Price also changes with print complexity. One-color graphics on kraft are usually the cleanest path. Multi-color work, white ink, or high-coverage art on poly raises the difficulty. Decorative choices should follow the performance target, not replace it.
Production, lead time, and approval
The normal path is straightforward: request the spec, confirm dimensions, approve artwork, review the proof, sample if needed, run production, then book freight. The trouble starts when one step is fuzzy. Missing dielines slow artwork. Unclear color expectations create proof loops. Late signoff pushes the factory schedule.
Simple custom padded mailers move faster than complex ones. If the size is standard, the material is already approved, and print is limited, production can often move in roughly 12 to 15 business days after proof approval. New constructions, specialty finishes, or multi-step printing can stretch that to 15 to 25 business days or more. Freight time sits on top of that.
Testing should be part of the approval path, not a bonus item. Ask whether the supplier can support an ISTA-style distribution test or at least a documented drop and compression protocol. The point is not to turn the vendor into a full lab. The point is to make the approved sample close to the production run.
It also helps to understand the material claims. If the supplier says the mailer is moisture resistant, ask what that means in practice. If they claim better puncture resistance, ask what layer is doing the work. If they advertise sustainability, ask what part of the construction supports that claim and what part complicates it. Vague language usually means the spec has not been challenged yet.
A milestone-based approval process keeps the order honest:
- Lock the brief and use case.
- Approve dimensions and structure.
- Approve artwork on the final dieline.
- Sign off on the proof or pre-production sample.
- Release production only after final check.
For broader packaging programs, keep the mailer aligned with the rest of the line. Print tone, finish, and opening sequence should not fight the label, insert, or outer carton. If the mailer looks premium but the rest of the package feels random, the branding effort loses force.
Mistakes that drive up cost
The first mistake is sizing too tight or too loose. Too tight, and the seal struggles, seams stress, and the product can warp in the pack. Too loose, and the item shifts, corners rub, and the customer gets a package that feels sloppy before they open it. Neither option saves money.
The second mistake is ignoring shape and weight. A mailer that handles a T-shirt can fail with boxed cosmetics, chargers, small electronics, or anything with hard edges. Pressure points matter, as does the way the item sits after closure and starts moving through a real network.
The third mistake is treating decoration as the priority before the structure is proven. Nice graphics do not rescue a weak build. Packaging design should support the product first. Visuals come after the structure works.
The fourth mistake is weak spec discipline. If you never confirm adhesive behavior, moisture resistance, or return-use expectations, you are outsourcing the hard part to complaints. A mailer that opens in humidity or cannot reseal when a customer returns it creates a second round of cost that was never budgeted.
Another one is using the same mailer for every SKU. That sounds efficient until a small subset of products starts generating damage or returns. A better approach is to group items by weight, shape, and surface sensitivity. One build for all is convenient for procurement. It is rarely the best answer for operations.
The practical rule is still the same: test the mailer with the real product, the real seal, and ideally a route that resembles actual transit. Anything else is speculation dressed up as procurement.
Next steps before you order
Start with a one-page spec sheet. Keep it short and specific. Include packed product dimensions, target weight, closure preference, print area, color count, shipping environment, and any sustainability requirement. That page matters more than a long email chain because it forces every supplier to quote the same thing.
Then request two or three sample options that differ by material or thickness. Test them with actual packed products. Check sealing speed, fit, scuff resistance, and how the mailer behaves after handling. If one version looks great but slows the line down, labor cost will erase the savings.
Compare suppliers on the same checklist:
- Unit price at multiple quantities
- MOQ and setup fees
- Print method and finish options
- Lead time and freight method
- Sample policy and proof process
If the rest of the packaging line is still open, compare that before you lock the spec. The right answer may sit between a padded mailer, a lightweight box, or another format in the broader Custom Packaging Products range. Good buyers do not force one structure to do every job.
A clean spec sheet saves more money than shaving two cents off the unit price. Every time.
Once the build is chosen, document it. Keep the final dimensions, material, adhesive, print setup, and approved proof in one place so the next reorder is fast and boring. That is the point.
For most brands, custom padded mailers make sense when the product is flat, the protection need is moderate, and the unboxing has to feel intentional without drifting into box-level cost. Get the structure right, keep the print honest, and the mailer becomes part of the brand instead of a shipping afterthought.
FAQ
What size should custom padded mailers be for my product?
Measure the product after it is packed, not just the bare item. Leave room for inserts, the seal area, and normal packing variation. Then test with actual samples before you lock the size.
Are custom padded mailers cheaper than shipping boxes?
Usually, yes, for flat and light products that do not need rigid protection. Compare landed cost, though, not just unit price. Boxes can win if the item is fragile, oddly shaped, or heavy enough to need more structure.
What is the typical MOQ for custom padded mailers?
It depends on material, size, and print complexity. Stock-style builds or simpler print often allow lower minimums, while fully custom construction usually needs a higher MOQ to cover setup, waste, and production changeover.
How long does it take to make custom padded mailers?
Lead time depends on artwork approval, sampling, and production complexity. Simple runs move faster than new materials or multi-color print jobs. Add freight time to the schedule so delivery does not become a surprise.
What should I ask for in a custom padded mailer quote?
Ask for dimensions, material, thickness, adhesive type, print method, MOQ, unit price breaks, freight assumptions, and sample options. Get the quote in writing so every supplier is bidding on the same spec.