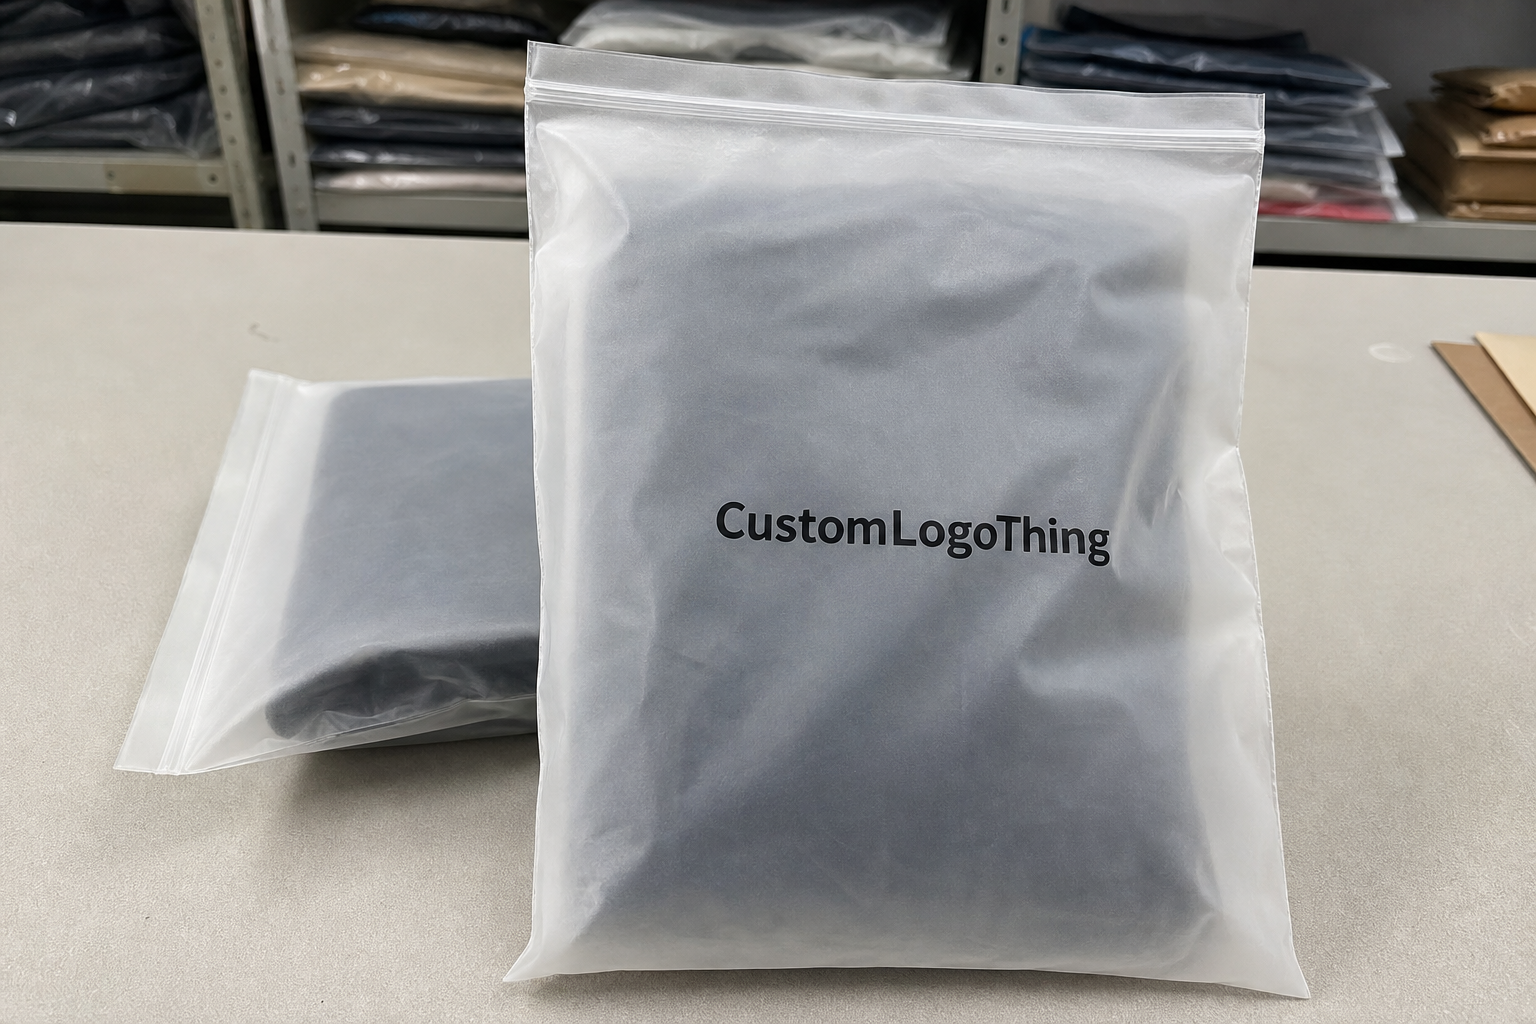
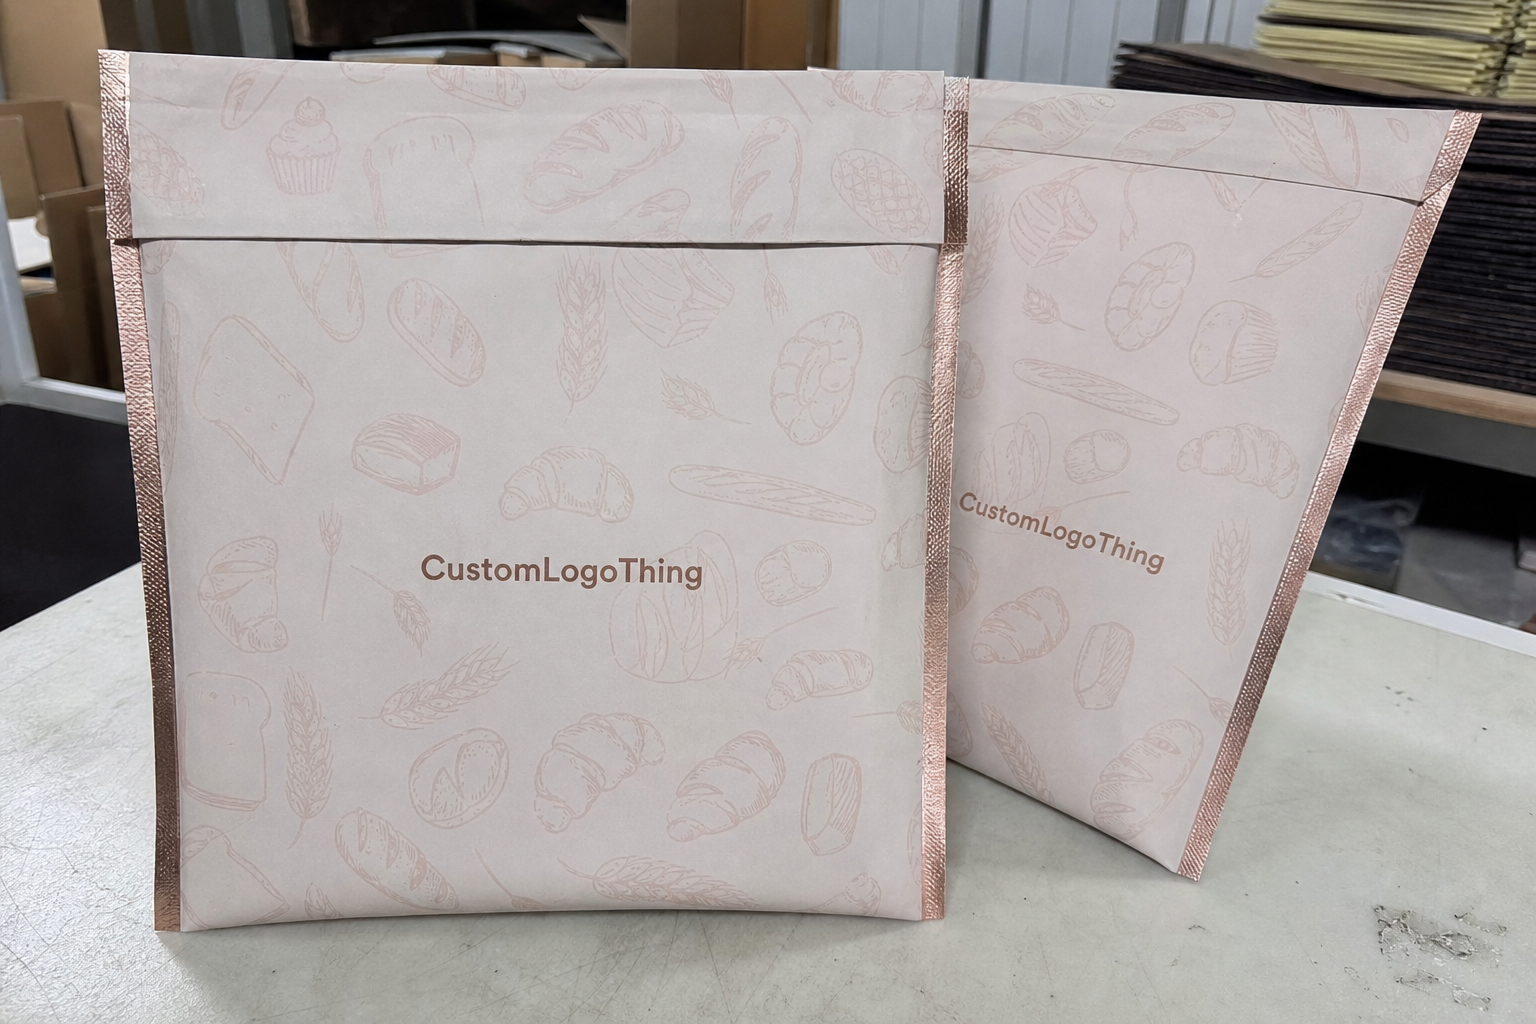
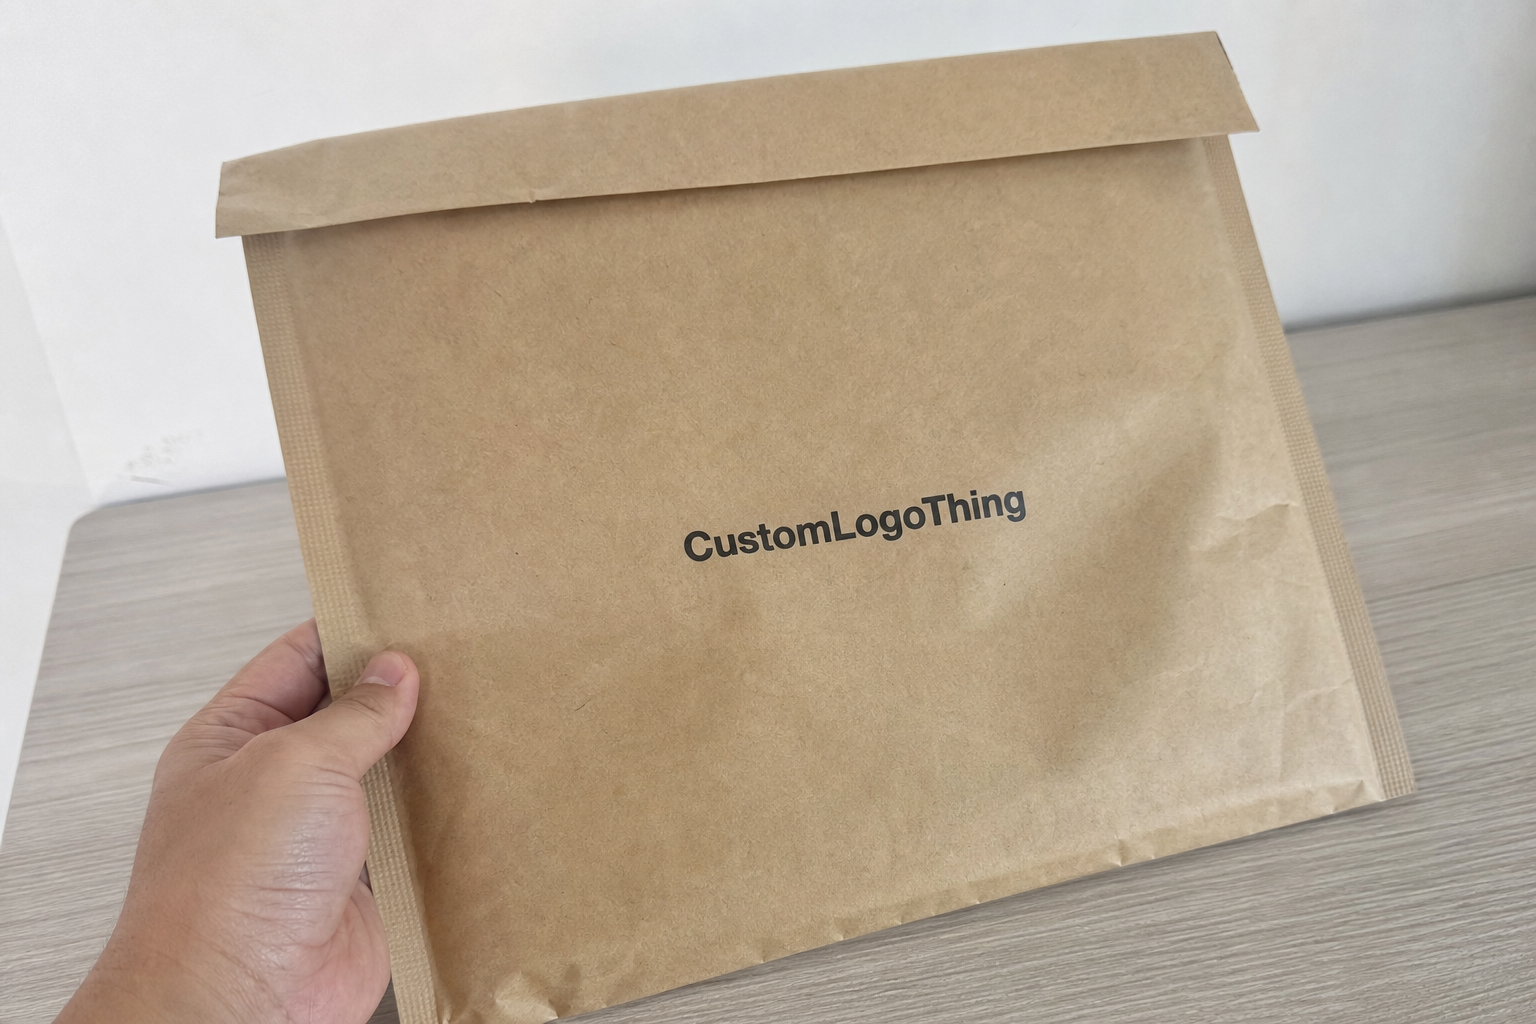
Custom Plastic Pouches: Buy Smarter, Spec Better
Custom plastic pouches can look simple from the outside. They are not. They are doing three jobs at once: protecting the product, presenting it cleanly, and making the fill and use experience easier for both the brand and the customer. A plain stock bag may hold the item, but custom plastic pouches are usually what solve the real packaging problem when freshness, shelf impact, and dispensing all matter in the same run.
That is why a pouch should be treated as a packaging system, not just a printed bag. The film structure, seal pattern, closure, and graphics all affect how the product ships, how it displays, and how much rework shows up later. In practical terms, the right spec can reduce returns, improve retail packaging performance, and keep the packing line from turning into a daily argument with itself.
What custom plastic pouches actually solve on the shelf
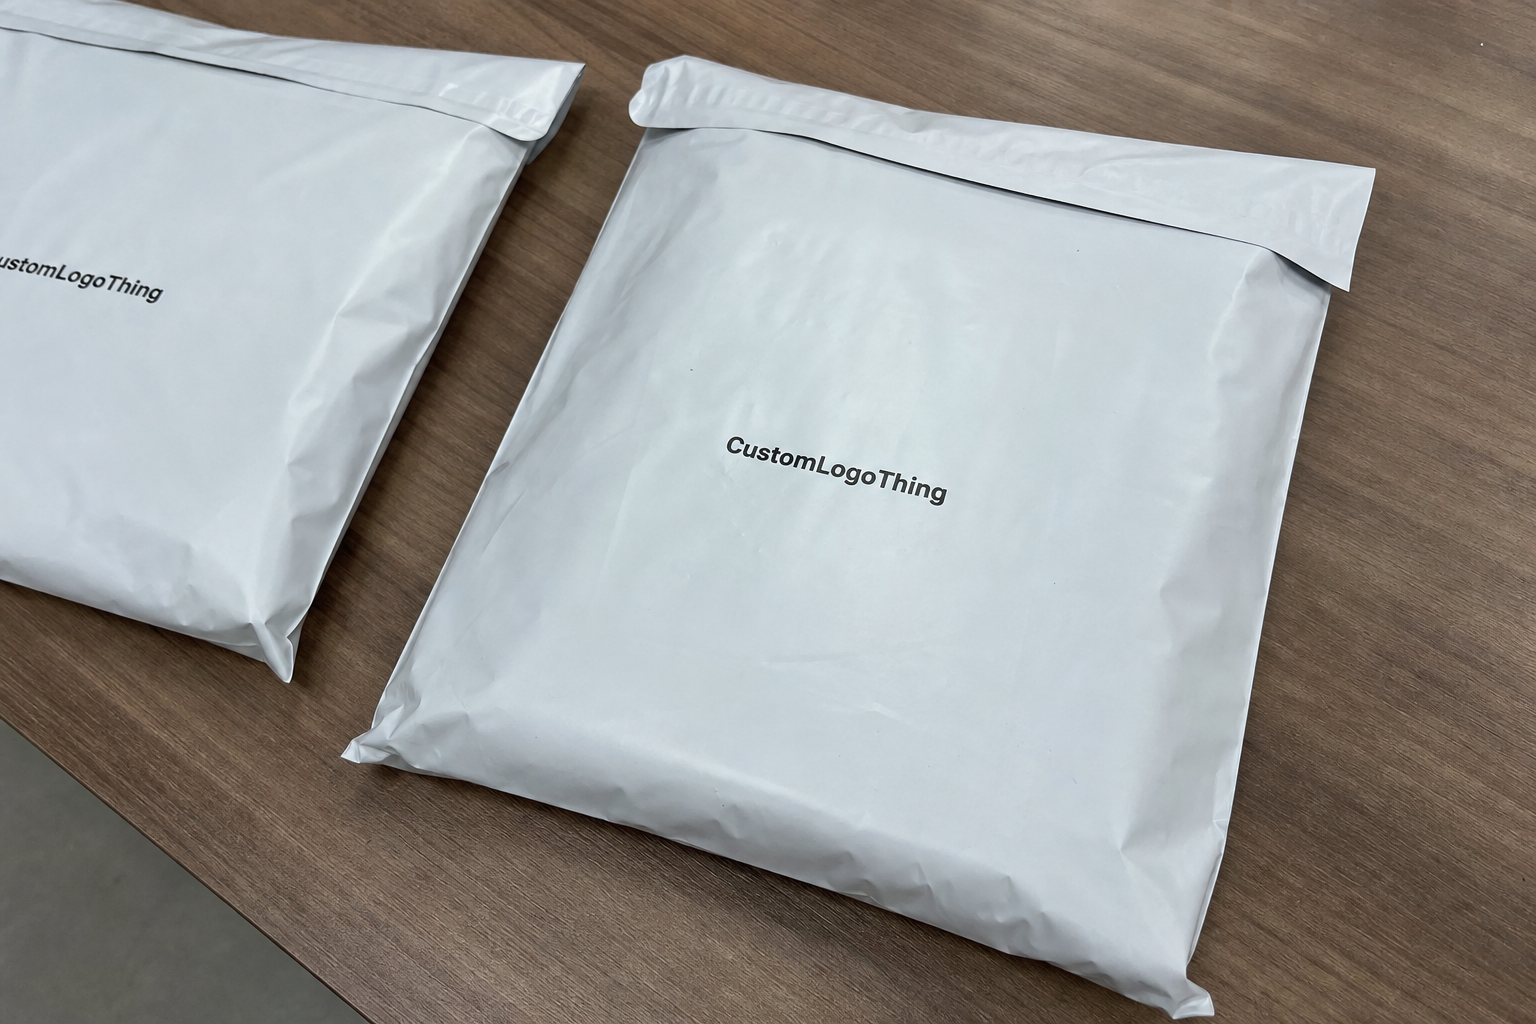
Picture a product that looks fine in a bulk carton but disappears on a retail shelf because the package sags, fogs, or reads like every other commodity pouch around it. That is the gap custom packaging is supposed to close. A well-built pouch gives you structure, brand presence, and product control in one format, which is why so many teams move from basic poly bags to custom plastic pouches once the item is ready for real market pressure.
From a buyer’s point of view, the pouch has to do more than hold product. It needs to preserve the contents, survive shipping, and tell the right story in a few seconds of shelf time. That story is part protection and part package branding. If the film is too thin, the pouch wrinkles and feels cheap. If the barrier is wrong, the product can lose aroma, absorb moisture, or oxidize faster than expected.
The other piece people miss is operating efficiency. A pouch that looks slightly better on paper can become a pain if it slows filling, creates seal failures, or forces extra handling. Small changes in gusset depth, zipper style, or film stiffness can shift both sell-through and packing efficiency. That is why experienced teams treat the pouch as part of the line design, not an afterthought.
“The best pouch spec is the one that protects the product, runs cleanly, and still looks intentional on shelf. If any one of those three is missing, the package is doing half the job.”
For teams building broader product packaging programs, that same logic applies across formats. A pouch, a label, and even Custom Packaging Products like inserts or cartons should support the same visual and functional standard. Otherwise the brand feels patched together.
How the pouch structure, seal, and print work together
Every pouch is really a stack of decisions. The film layers control barrier and durability. The seal pattern controls strength and leak resistance. The closure controls access and resealability. Then the print and finish shape how the shopper reads the brand in the first few seconds. None of those choices live in isolation, especially with custom plastic pouches that have to satisfy both production and marketing.
The structure usually starts with one of three priorities: barrier, stiffness, or cost control. A basic mono-material pouch may work for dry goods with limited shelf-life sensitivity, while a multilayer laminate makes more sense for moisture-sensitive powders, snacks, coffee, or aromatic products. If oxygen or light matters, the spec often moves toward metallized film, EVOH barrier layers, or other structures that slow transmission. That choice affects cost, yes, but it also affects real product stability.
Seal integrity matters more than most people expect
A sharp graphic does not save a weak seal. If the fill line overheats a layer, if the seal area is contaminated by powder, or if the dwell time is wrong, the pouch can fail long before the shelf-life date. That is why production teams often run seal validation and drop checks, especially for e-commerce or club-store distribution where the package may see extra compression. Standards and test methods from groups like ISTA are often part of the conversation when the ship cycle is rough or the pack is expensive to replace.
Graphics and finish matter too. Matte laminate reads more restrained and premium, gloss tends to pop under retail lighting, and soft-touch has a quieter, more tactile feel that can elevate branded packaging. Metallic effects can look strong, but they are not free; they can complicate the print process and raise the perceived quality bar. The right finish depends on the product category, the display environment, and how much visual competition the pouch has on the shelf.
When a team is refining packaging design, it usually helps to ask one blunt question: will this pouch still make sense after it is filled, sealed, shipped, stacked, and handled by a real customer? If the answer is shaky, the concept is not ready yet. Good custom plastic pouches are built around that question from day one.
Key specs that shape cost, pricing, and MOQ
Pricing is usually driven by five levers: material structure, pouch size, print complexity, added features, and quantity. A larger pouch uses more film. A higher-barrier structure uses more expensive materials. A zipper, spout, or hang hole adds operations. And once you add full-coverage print or specialty finish work, the cost curve rises again. That is normal, not a sign of overpricing.
MOQ, or minimum order quantity, matters because setup cost has to be spread across the run. If you order fewer units, the unit price usually rises because the press setup, plate work, proofing, and conversion labor are being absorbed by a smaller count. For buyers comparing suppliers, MOQ is not just a number to negotiate; it is a practical signal of how much inventory risk you are carrying and how much flexibility the quote leaves you.
| Build choice | Typical cost impact | Best use case |
|---|---|---|
| Simple printed pouch with standard zipper | Lower end of the range, often around $0.12-$0.24 per unit at moderate volume | Dry goods, promotional runs, products with lighter barrier needs |
| High-barrier laminate with matte or soft-touch finish | Usually moves into the middle range, often $0.18-$0.35 per unit depending on size and print coverage | Snacks, coffee, powders, aromatic or moisture-sensitive items |
| Specialty pouch with spout, valve, custom shape, or heavy finishing | Often the highest tier, sometimes $0.30-$0.60+ per unit depending on tooling and assembly | Liquid products, premium retail launches, differentiated shelf programs |
Those numbers are directional, not a substitute for a real spec sheet. A 5,000-piece run with simple graphics will price very differently from a 50,000-piece order with metallized film, a zipper, and a matte finish. Buyers should think in terms of total landed packaging cost, not just the quoted unit price, because freight, overages, testing, and packaging waste all change the real number.
It also helps to compare pouches against other formats such as Custom Packaging Products and even custom printed boxes. Sometimes a carton plus inner pouch gives better shelf presentation or a more efficient pack-out than forcing every feature into one structure. There is no prize for overbuilding the pouch if a simpler packaging mix performs better.
Production steps and timeline: from artwork to finished pouches
The most efficient projects usually follow a clear sequence: concept, specification, artwork setup, proofing, production, finishing, and shipping. It sounds linear, but the delays usually happen in the handoffs. A dieline revision, a missing barcode, a color correction, or an unclear closure note can add days quickly. With custom plastic pouches, the paper trail matters almost as much as the print file.
A simple repeat order is faster because the tooling, artwork, and build are already approved. A fully custom run takes longer because it may require new plates, a different laminate, closure sourcing, and fresh signoff before the press runs. In many normal production schedules, buyers should expect something like 12-15 business days from proof approval for straightforward jobs, while more complex work can stretch beyond that depending on quantity and finishing.
Artwork is one of the most common bottlenecks. Clean vector files, correct bleed, legible small type, and consistent color references help reduce revision loops. If the design includes metallic ink, white underprint, or spot varnish, those instructions should be clear early. It is far cheaper to settle those details before production than to discover them after a first sample misses the mark.
For brands with tight launch windows, the best move is usually to approve the spec before the creative is fully polished. That may feel backward to a design team, but it saves calendar time. Once the structure, closure, and dimensions are locked, the print prep becomes much more predictable. If you are unsure about the direction, asking for a mockup or sample structure can keep the project grounded while preserving speed.
Packaging buyers who manage compliance-heavy programs also look at testing. Depending on the product and distribution path, that may mean drop tests, seal checks, migration review, or transport simulation tied to ASTM methods and shipping expectations. The Packaging Corporation's technical resources and related industry references can be useful starting points when a team needs a shared language for performance, not just appearance.
How to choose the right material and closure for your product
The right pouch material depends on what the product actually needs. Dry snacks want freshness and grease control. Powders may need good seal strength and dust management. Cosmetics and personal care items often need a cleaner retail look, better puncture resistance, and a closure that feels premium in hand. Non-food products may care less about food-grade barrier and more about puncture, stiffness, and display quality.
Match the closure to the fill method
A resealable zipper is useful when the customer opens the pouch more than once, but it is not always the best answer for every line. Heat seal gives a cleaner tamper-evident finish and is often simpler for high-speed filling. Tear notches help the end user open the pouch cleanly. Spouts work when the product is liquid or semi-liquid and dosing matters. Each closure adds either user convenience or production complexity, sometimes both.
That is why fill-line compatibility should come before final artwork approval. A gorgeous pouch that jams on the line is not a win. If the product is going through automated equipment, the material stiffness, coefficient of friction, seal band width, and gusset behavior all matter. If it is being hand-filled, the operator experience and repeatability matter just as much.
Visibility choices change buying behavior
Transparent, opaque, and windowed designs each tell a different story. Clear film shows the product directly, which works well when the item itself is visually strong and consistent. Opaque film gives more room for package branding and can help hide product variation. A windowed design gives a useful middle ground, letting the customer see what matters while still protecting the brand face. For some retail packaging, that balance is the difference between an average shelf read and a sharper one.
Puncture resistance is another practical issue. If the pouch is going into cartons, subscription kits, or e-commerce packs, it needs to survive more than a single shelf touch. The film should tolerate corners, vibration, and compression without turning cloudy or splitting at the seal. A little more stiffness often helps here, but too much stiffness can make the pack feel awkward. The right choice depends on the product and the distribution route, not on theory alone.
If you are starting from scratch, sort the requirements in this order: product behavior, filling method, shelf presentation, then finish. That sequence usually produces better results than choosing a look first and trying to force the structure later. For buyers comparing multiple formats, a pouch can be part of a larger mix of product packaging, and it should still fit the overall brand system with labels, cartons, and secondary packs.
Common mistakes that raise unit cost or create rework
The most expensive mistake is designing first and spec'ing later. That path often creates a pouch that looks polished in the mockup but is awkward to fill, expensive to convert, or weak in the exact spots the product needs support. The second common error is oversizing the pouch. Extra material adds cost, increases freight, and can make the package look underfilled even when the product weight is correct.
Another frequent issue is vague artwork direction. If the printer is guessing about color, bleed, or finish, the proof cycle slows down and the risk of mismatch rises. Color shifts are especially frustrating when the brand expects the pouch to match existing branded packaging across channels. The more precise the file package, the fewer surprises.
Low-cost materials can be a false economy too. A film that saves a few cents but cannot handle puncture, oxygen, or moisture requirements may cost much more after spoilage, returns, or repacking. This is where buyers should be honest about the product’s shelf-life demands instead of trying to shave cost with a weaker structure. If the product needs protection, the film has to earn its place.
Ordering late is the final trap. Rush work usually compresses proofing, leaves less room for test samples, and increases the odds of mistakes that could have been caught earlier. A small prototype step can feel like an extra expense, but it often protects the schedule and prevents a larger loss later. In packaging, the cheapest run is usually the one that gets approved cleanly the first time.
If you are comparing a pouch against other options, Custom Packaging Products can give you a broader sense of how cost and presentation change across formats. Sometimes the smarter move is not a more complex pouch, but a cleaner overall packaging design system that uses the right structure in the right place.
Next steps for ordering pouches that fit your run
The best quote requests are short, specific, and grounded in the actual product. Start with fill weight, product behavior, shelf-life needs, and whether the pouch will be hand-filled or machine-filled. Then add dimensions, preferred closure, print coverage, and target quantity. That set of details gives a supplier enough information to recommend a realistic structure instead of guessing.
If the product is fragile, oily, aromatic, or moisture-sensitive, say that up front. Those traits change the recommendation more than most people expect. For premium launches, it also helps to define what “good” means visually. Does the pouch need to look premium, technical, natural, or retail-ready? That context drives finish, opacity, and layout choices.
Ask for sample structures or mockups if the item has tricky barrier or dispensing requirements. Compare lead time, print method, closure options, and production support, not just price. A supplier that can explain the tradeoffs clearly usually saves time later. Good procurement on custom plastic pouches is less about chasing the lowest line item and more about buying the right combination of performance and presentation for the run you actually need.
For buyers who want to make the process smoother, gather the spec sheet first, then the artwork, then the quote request. That order keeps revisions down and makes the final pouch easier to approve, fill, ship, and sell.
What information do I need before requesting custom plastic pouches quotes?
Have product dimensions or fill weight, target quantity, artwork files, closure preference, and any barrier or shelf-life requirements ready. If the product is fragile, oily, aromatic, or moisture-sensitive, mention that immediately because it changes the material recommendation and can affect the quote.
How does MOQ affect the price of custom plastic pouches?
Higher order quantities usually reduce unit cost because setup, printing, and finishing costs are spread across more pouches. A lower MOQ can be useful for testing, but the per-unit price is typically higher and material choices may be narrower.
Which features add the most to pouch cost?
Specialty films, high-barrier structures, custom shapes, spouts, valves, zippers, and complex print finishes all raise cost. Artwork changes after proofing can also add expense because they may trigger rework, new plates, or additional setup.
How long does production usually take for custom plastic pouches?
Simple repeat orders are faster than fully custom builds that need new artwork approval or tooling. Lead time depends on quantity, structure, print method, and finishing, so the most reliable estimate comes from the final spec sheet. For straightforward jobs, a common window is 12-15 business days after proof approval, while more complex runs can take longer.
What is the best way to choose the right pouch structure?
Start with the product's real needs: freshness, barrier, puncture resistance, dispensing, and shelf presentation. Then match the closure and finish to the way the pouch will be filled, shipped, displayed, and opened by the customer.
Once those decisions are clear, the order process gets much easier, the quote becomes more accurate, and the final run is far less likely to need rework. That is the practical advantage of treating custom plastic pouches as a spec-driven packaging decision instead of a generic bag order.