Custom printed Stand Up Pouches can look simple until you spec them for production. Then the details matter fast: the pouch has to stand correctly, print cleanly, seal reliably, protect the product, and still fit the budget. If one part is off, the whole order gets more expensive than it needed to be.
Buyers often start with artwork because that is what they can see first. But packaging is not just a graphic surface. It is a material system, a filling format, and a shipping container in one. If the structure is wrong, a good print job only highlights the problem.
The best choices usually follow a simple order: product needs first, structure second, decoration third, price last. Reverse that order and you pay for features that do not improve performance.
Why stand-up pouches outperform flat bags
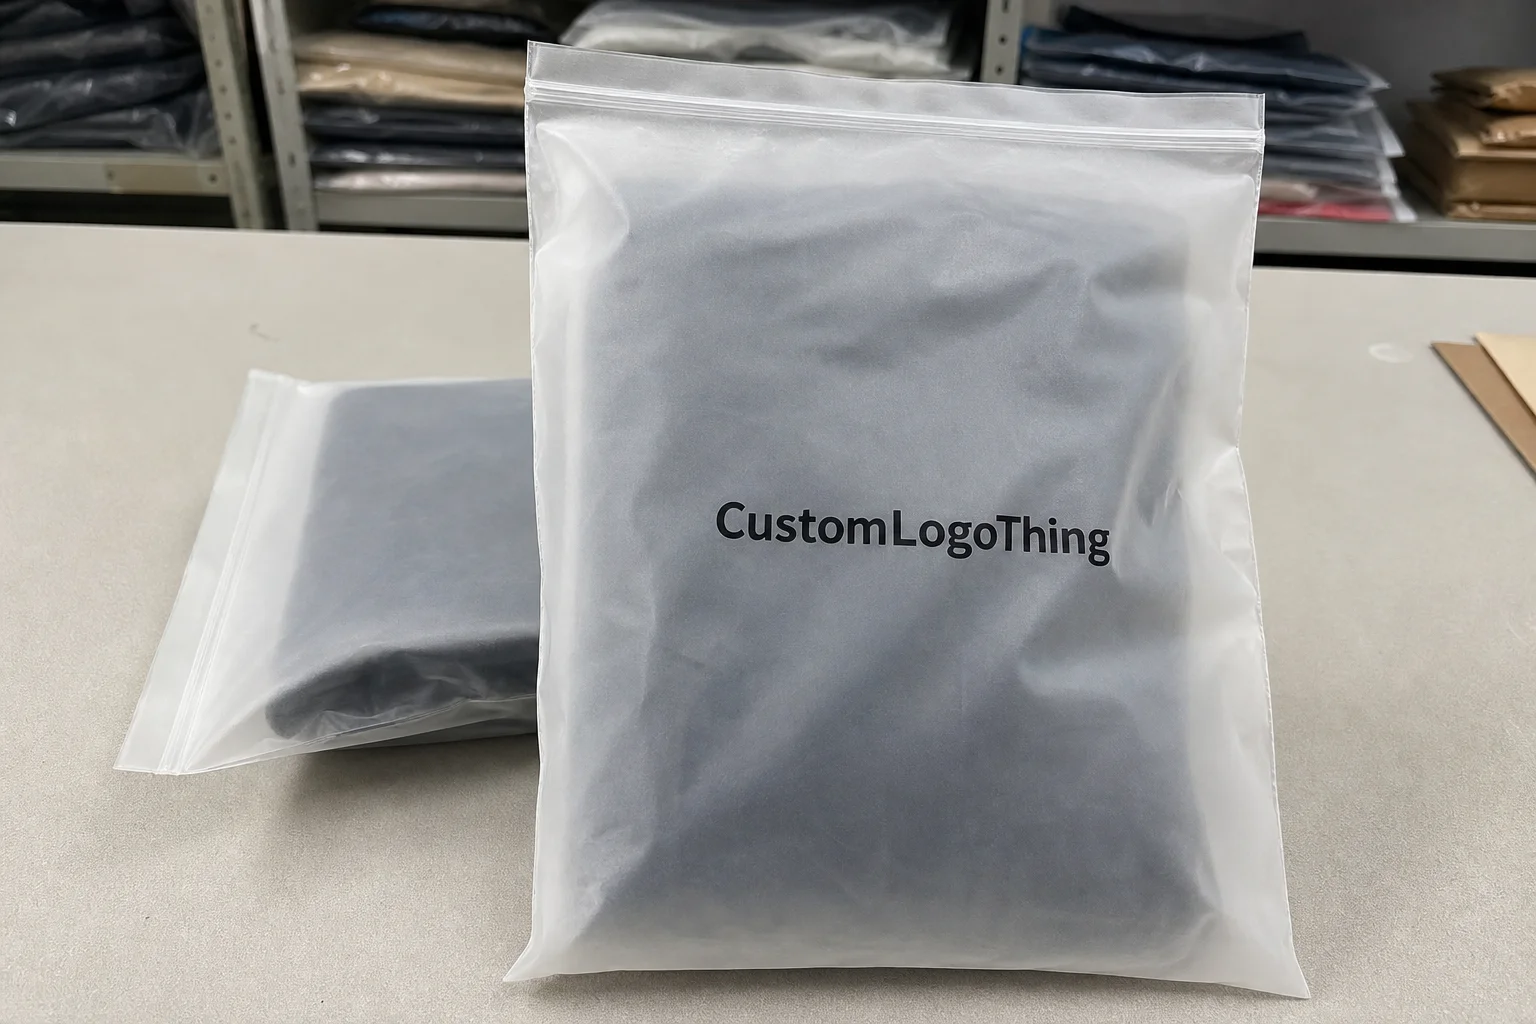
A stand-up pouch has one obvious advantage before the customer even opens it: it stands up. That bottom gusset creates a stable footprint, so the package reads as finished retail packaging instead of a loose bag that needs support from a tray. Flat bags can work for some products, but they often look temporary unless the display system does the heavy lifting.
That standing profile matters in practice. It makes shelf presentation easier, supports facings in retail displays, and usually photographs better for e-commerce listings. Warehouse handling can improve too, because the pouch can be packed and stacked more cleanly than a floppy flat bag or a rigid container.
The format fits a lot of categories: coffee, snacks, powders, supplements, pet treats, tea, and sample-size programs. Those products often need freshness protection, resealability, and decent shelf appeal. A pouch can deliver all three, but only if the structure matches the product. A clever print job cannot fix poor barrier performance or a seal that fails.
“Pretty packaging that fails in transit is just expensive disappointment.”
That line is blunt because the truth usually is. The pouch should protect the product first and look good second. Buyers sometimes flip that priority and end up choosing the wrong film, the wrong closure, or a size that looked fine on screen and awkward in hand.
Flat bags still have a place. They can be useful for low-profile products, sample kits, or items that do not need to stand on a shelf. But if you want a package that feels retail-ready and is easier to merchandise, stand-up pouches usually win on function and presentation.
What custom printed stand up pouches actually are
Structurally, a stand-up pouch is built from front and back panels, side seals, a top seal, and a bottom gusset that lets the package stand upright. Depending on the product, it may also include a zipper, tear notch, hang hole, clear window, valve, or spout.
Custom Printed Stand Up pouches are not the same as a stock bag with a label applied later. The graphics are typically printed onto film during production, then laminated and formed into the finished pouch. That gives stronger color consistency, better coverage, and a cleaner retail finish than a pressure-sensitive label. It also means the artwork must follow the pouch dieline, not a generic rectangle.
Common structures include PET/PE, PET/VMPET/PE, and other laminated film combinations with gloss, matte, or soft-touch finishes. PET helps with stiffness and print quality. PE provides heat sealability. VMPET adds a higher barrier against oxygen and moisture. If a product is sensitive to humidity, oxidation, light, or aroma loss, the film structure matters as much as the design.
Buyers usually need to separate three different ideas:
- Custom size means the pouch dimensions are matched to the fill volume.
- Custom print means the graphics, copy, and brand elements are specific to your product.
- Custom structure means the film layers, barrier level, and features are selected for the product’s performance needs.
You can have one without the others. That is where confusion starts. A pouch may be custom printed and still have the wrong barrier. It may be the right size and still feel cheap because the finish is off. Those decisions need to be made separately, then pulled together into one spec.
If you are comparing formats, it helps to review broader packaging options in Custom Packaging Products. Sometimes a product belongs in a pouch. Sometimes it belongs elsewhere.
How the production process and timeline work
The production flow is usually predictable on paper and fussy in practice. It starts with a quote, then dieline confirmation, artwork setup, proofing, plate or cylinder preparation, printing, lamination, curing, slitting, pouch converting, and final quality control. Miss one step and the schedule starts slipping.
Most delays happen before the press starts. Artwork is the usual culprit. Buyers send files with tiny legal text, missing barcodes, unsafe color choices, or copy placed too close to a seal area. A pouch dieline is not decorative. It is the map that tells production where the print can and cannot go.
Turnaround depends on print method, quantity, finish, and feature count. A straightforward pouch with standard materials will move faster than a high-barrier build with matte lamination, special inks, a zipper, and a window. Sampling is faster than production, but sample approval does not remove the normal manufacturing steps once the full order begins.
In practical terms, the timeline often looks like this:
- Sample or prototype: usually 5-10 business days if files are ready and the spec is clear.
- Standard production: often 12-20 business days after proof approval.
- More complex builds: can run longer with multiple closures, special finishes, strict color matching, or higher barrier requirements.
Then freight gets added on top. Domestic shipping can be quick. Ocean freight is not quick. If a launch date matters, leave room for transit, proof revisions, and the occasional reprint.
One practical habit saves a lot of trouble: confirm the dieline against the actual pouch size before artwork is finalized. “Close enough” is how logos end up in the wrong place and legal copy gets cut off by a seal.
Cost, pricing, MOQ, and unit cost drivers
Pricing for Custom Printed Stand Up Pouches comes down to a handful of variables: size, film structure, print coverage, finish, zipper style, barrier requirement, window cutout, and quantity. Larger bags use more material. More print coverage increases setup and press control. Higher-barrier films cost more because the laminate itself is more complex to produce and convert.
MOQ matters because setup costs have to be spread across the run. That is why a 2,000-piece order usually carries a higher unit cost than a 20,000-piece order. Low-volume runs are useful for tests and early launches, but the pricing math does not change because the budget is tight.
For most buyers, a simple pouch at a higher quantity will sit at the low end of the range, while a smaller order with special features will sit higher. A realistic ballpark for small custom runs can land around $0.18-$0.45 per unit, depending on size and features. Larger runs with simpler specs can come in lower. Add matte lamination, a zipper, a valve, a window, or a more demanding barrier, and the number rises.
Here is a practical way to compare quotes:
| Spec factor | Lower-cost choice | Higher-cost choice | Why it changes price |
|---|---|---|---|
| Material | PET/PE | PET/VMPET/PE or high-barrier film | Barrier layers add material and conversion cost |
| Finish | Standard gloss | Matte or soft-touch | Extra lamination steps raise cost |
| Closure | No zipper | Zipper, tear notch, valve, hang hole | More components and assembly time |
| Print area | Limited coverage | Full-coverage artwork with multiple colors | More ink, setup, and press control |
| Quantity | Low MOQ | Higher volume order | Setup costs get spread across more units |
Buyers can usually save on decorative extras. What should not be cut is seal integrity, compatible film structure, and barrier performance. A pouch that looks premium but leaks, stales, or jams on the filling line is not a bargain.
When requesting pricing, ask for a breakdown of size, material, print method, closure, finish, MOQ, and Lead Time. If two quotes are far apart, they are often not quoting the same pouch.
How to choose the right structure, barrier, and finish
Start with the product. Dry powders do not behave like oily snacks. Aromatic products need stronger aroma retention. Moisture-sensitive goods need better moisture barrier. Oxygen-sensitive products need tighter protection against oxidation. There is no universal pouch structure that handles every use case equally well.
Barrier requirements usually break down into a few practical concerns:
- Moisture barrier helps keep humidity out.
- Oxygen barrier slows oxidation and freshness loss.
- Light protection helps protect color, flavor, and active ingredients.
- Aroma retention keeps scent from escaping the bag.
Finish affects both appearance and handling. Gloss usually looks brighter and more saturated. Matte tends to feel more premium and cuts glare. Soft-touch adds a velvety feel that can lift perceived value. A clear window helps buyers see the product, but it also reduces printable space and can expose the contents to light.
Closures and add-ons should be chosen for use, not decoration. A tear notch helps first opening. A resealable zipper supports repeat use. A hang hole works for peg displays. A degassing valve is useful for fresh-roast coffee. A spout makes sense for liquids or semi-liquids. If the product ships frequently, durability and seal quality matter more than visual extras.
Line compatibility matters too. The pouch has to work with your filling equipment, carton size, and shipping method. If the pouch is too soft, too wide, or too bulky for the line, production slows and waste rises.
For testing and compliance references, some buyers use ISTA transit standards for shipping performance and ASTM methods for material properties. If the packaging program includes paper components or sustainability claims, FSC can matter for sourcing context. Useful references: ISTA and FSC.
Common mistakes buyers make with printed pouch orders
The first mistake is getting the size wrong. Buyers estimate fill volume by eye, then forget that product settles, compresses, or fluffs up after filling. Coffee, powders, granola, and snacks all behave differently. If you do not test with real product, you are guessing.
The second mistake is weak artwork prep. Tiny text disappears. Low-resolution logos look muddy. Color shifts happen because film behaves differently from paper or a screen preview. Packaging design needs bleed, safe zones, and realistic expectations about how much detail survives on a pouch.
Seal quality gets ignored too often. Buyers focus on the front panel and forget the functional details: side seals, top seal, zipper track, and how the pouch handles transit. If the structure is not compatible with the filling line, waste goes up fast.
Compliance gaps create another layer of trouble. Food-contact requirements matter. Barcode placement matters. Ingredient panel space matters. If the product has legal copy, it needs room before the design gets locked. Reordering gets expensive when the first run was based on assumptions instead of a real spec sheet.
- Wrong fill size.
- No settling allowance.
- Unreadable barcode placement.
- Too little room for legal text.
- Ignoring barrier needs to shave a few cents.
That last one is common. Buyers cut the film spec to save a small amount per pouch, then wonder why freshness drops or the product arrives compromised.
Also, do not treat custom printed stand up pouches like custom printed boxes. They share branding goals, but the mechanics are different. Film seals differently, flexes differently, and punishes sloppy spec choices faster than paperboard usually does.
Next steps for a clean quote and better first run
If you want a useful quote, send a spec sheet instead of a vague idea. Include product type, fill weight, target pouch size, preferred finish, closure type, print sides, quantity, and whether the product is dry, oily, aromatic, or moisture-sensitive. That one set of details changes the recommendation more than most buyers expect.
Ask for a dieline, a material recommendation, and a written lead time before anything is approved. If the supplier cannot explain the structure in plain language, that is a problem. A good production partner should be able to tell you why PET/PE fits one job and a higher-barrier laminate fits another, or why matte is the better branding choice even if gloss looked fine on the mockup.
If the product behavior is uncertain, order a sample or a short test run. That is especially useful for powders, oily snacks, fresh-roast coffee, or anything with awkward fill characteristics. A small test costs less than a full reprint.
Compare suppliers on total value, not just unit price. The cheapest bag is not cheap if it fails fill-line compatibility, creates rework, or weakens shelf appeal. A slightly higher quote with the right barrier, cleaner print, and fewer surprises often wins once real production starts.
So if you are sourcing custom printed stand up pouches, turn your product specs into a quote request that includes size, barrier need, closure choice, finish, and artwork readiness. That gives production something concrete to work with and gives your first run a better chance of looking right, sealing right, and surviving the trip to market.
FAQs
What should I know before ordering custom printed stand up pouches?
Have your fill weight, product type, and closure preference ready before you Request a Quote. Ask for a dieline and a material recommendation so the artwork and barrier choice match the product. Skipping those basics usually turns the quote process into guesswork.
How do custom printed stand up pouches affect unit cost?
Unit cost drops as quantity rises because setup costs are spread across more bags. Special finishes, higher barrier films, and extra features like zippers or windows raise the price. A simple PET/PE pouch at a higher quantity will usually cost less per unit than a small run with matte lamination and a zipper.
What is a realistic turnaround for custom printed stand up pouches?
Simple runs move faster than complex builds with special finishes or multiple custom features. Proof approval and artwork corrections are the most common reasons timelines stretch. In practice, many buyers should plan for at least two to three weeks after proof signoff, plus transit time.
How do I choose the right size for my product?
Match pouch dimensions to fill weight, density, and how much headspace the product needs. Test a sample with real product before locking the artwork, because some items settle more than expected. A pouch that looks perfect empty can look awkward, overfilled, or underfilled once product goes in.
Which features matter most for food products?
Barrier level, seal integrity, and closure style usually matter more than decorative extras. If freshness is critical, ask about oxygen and moisture protection before you care about the finish. The pretty part is nice. The fresh, sealed, functional part is what keeps customers buying again.